fullPage.js: Creating Multipage OnePagers Fast and Easily
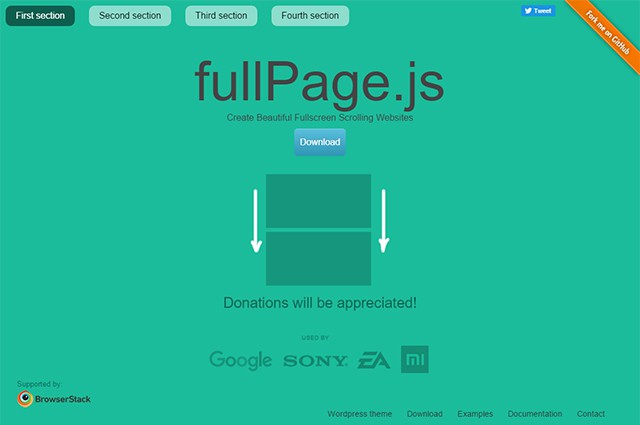
OnePagers are very popular, especially for small web projects. Their sophisticated and generous design often attracts maximum attention. The jQuery plugin fullPage.js allows you to create multipage onepagers in an easy way. The plugin causes the defined areas of an HTML document to be displayed in full page and makes it possible to switch between them in an animated way via navigation and scrolling.
Implementing the Plugin and Creating Pages
fullPage.js consists of one JavaScript and one stylesheet file each, both of which need to be integrated together with jQuery. There’s also the option to integrate the jQuery UI easing plugin for additional animation effects during the transitions between pages.

Afterward, you markup an HTML document containing your pages. For this, fullPage.js requires a container with an ID, “fullpage” for example. Within this, you define a container with the class “section” for every page. The plugin displays all containers in full page size below each other. By default, the first page is visible when acessing the website.
<div id="fullpage">
  <div class="section">page 1</div>
  <div class="section">page 2</div>
  <div class="section">Spage 3</div>
</div>
Subsequently, the plugin needs to be called via JavaScript and the ID has to be transferred.
$(document).ready(function() {
  $("#fullpage").fullpage();
});
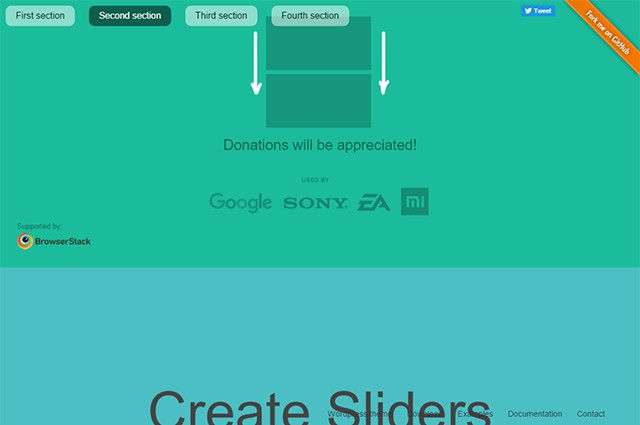
Per default, when scrolling, the first page is faded out with a simple slide animation and the next is faded in from below.
Controlling Appearance and Functionality

Animated Transition to the Next Page
This plugin provides a plethora of options that allow you to adjust appearance and functionality of the plugin. Using the plugin gives you the opportunity to define the background colors of the individual pages as well as the width of the side borders.
$(document).ready(function() {
  $("#fullpage").fullpage({
    sectionsColor: ["#ccc", "#fff", "#333"],
    paddingTop: "10px",
    paddingBottom: "20px"
  });
});
With the option “sectionsColor”, you can define the background color for all paragraphs or pages via an object literal. Using “paddingTop” and “paddingBottom” you determine the gaps on top and on the bottom.
Controlling Navigation
If you don’t want the first page, but another page to be displayed when accessing the website, you can mark any area using the additional class “active”. Then, this area will always be displayed when the URL is called. It is set as kind of a homepage. From that point onwards, you can access the other pages as usual.
<div id="fullpage">
  <div class="section">page 1</div>
  <div class="section active">page 2</div>
  <div class="section">page 3</div>
</div>
You can also create a navigation that allows you to directly access every page. The navigation is created manually within its own container. The attribute “data-menuanchor” has to be assigned to each menu anchor that is supposed to be linked to an area with a specific value. The actual link also contains the anchor name as a page-internal referral.
<div id="menu">
  <ul>
  <li data-menuanchor="page1"><a href="#seite1">page 1</a></li>
  </il>
</div>
Within the plugin’s options, you also distribute anchor designations using the parameter “anchors”. Additionally, the parameter “menu” allows you to define the menu’s ID.
$(document).ready(function() {
  $("#fullpage").fullpage({
    menu: "#menu",
    anchor: ["page1", "page2", "page3"]
  );
});
After that, you can navigate through the pages not only by scrolling, but also by using the “normal” navigation. Of course, the animated transitions remain.
Adding an Additional Horizontal Side Layer

Second Layer for Additional Content
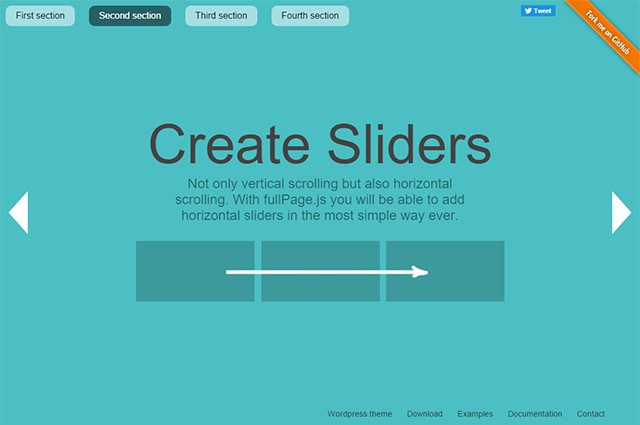
If the straightforward page structure is not enough, you can add a second layer with content. While the first layer is constructed vertically, the second one is arranged horizontally as so-called slides. This means that you scroll down to go through the pages on the first layer and to the right to access the slides. In the source code, you can markup these additional pages with their own container and the class “slide”.
<div id="fullpage">
  <div class="section">page 1</div>
  <div class="section">
    <div class="slide">page 2.1</div>
    <div class="slide">page 2.2</div>
  </div>
  <div class="section">Seite 3</div>
</div>
In the example, you’re scrolling down from page 1 to page 2.1. Here, the plugin provides control arrows which allow you to switch to page 2.2 on the right or back to page 2.1 on the left.
Conclusion
fullPage.js is a very simple, yet impressive tool that allows you to structure and present the content of a onepager in full-page size. The additional second layer enables you to integrate complex content in an appealing way. That’s why the plugin is very useful to keep presentations in the browser.
The settings are very diverse. An extensive documentation gives you a detailed overview of what’s possible. Contemporarily, the animations are based on CSS3. fullPage.js runs in all modern browsers and even in Internet Explorer from version 8 and up. It also works for mobile devices like tablets.
The plugin is available under the MIT license which allows you to use it in many ways, including commercial purposes. The download package also includes several examples which you can use to try it.
(dpe)
- Animsition: User-Friendly jQuery-Plugin for Animated Page Transitions
 DrawSVG for jQuery – Animated SVG Enlivens Your Website
 Premium for Free, the WordPress Theme HC Blog is a Must-Have
 Sequence.js: Responsive Content Slider with CSS3 Transitions and…
 Sidr for jQuery: Modern Sidebar Navigation with an Edge
 jQuery Custom Content Scroller Does Away With Ugly Scrollbars