Design a Carousel Slider in Adobe XD
In this tutorial, we’re going to learn how to design a carousel slider in Adobe Experience Design CC (Adobe XD).
The Steps (1-13)
1. From the Welcome Screen create a new document, Web 1920.
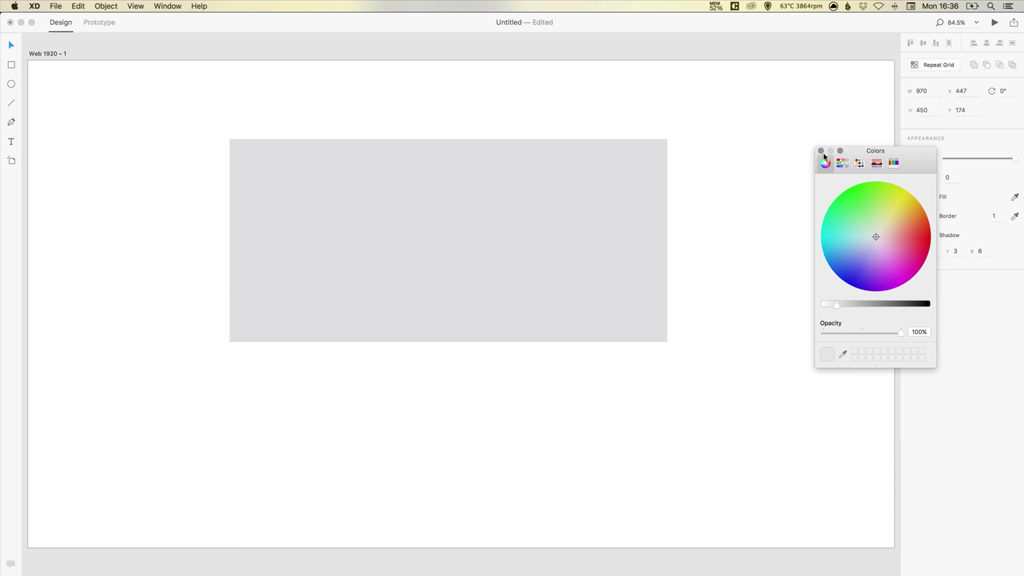
2. Select the Rectangle Tool, and draw a rectangle on the artboard. In the Property Inspector on the right-hand side, select a Width of 970 px, and a Height of 450px. This will be the size of our carousel slider.
3. In the Property Inspector, also deselect the Border option by clicking the tick box, and also select a Fill colour of your choice.

4. Position the rectangle centrally on the artboard with the help of Adobe XD’s smart guides that appear to assist with alignment, and leave a small amount of room above the carousel slider, for where the website navigatation would appear.
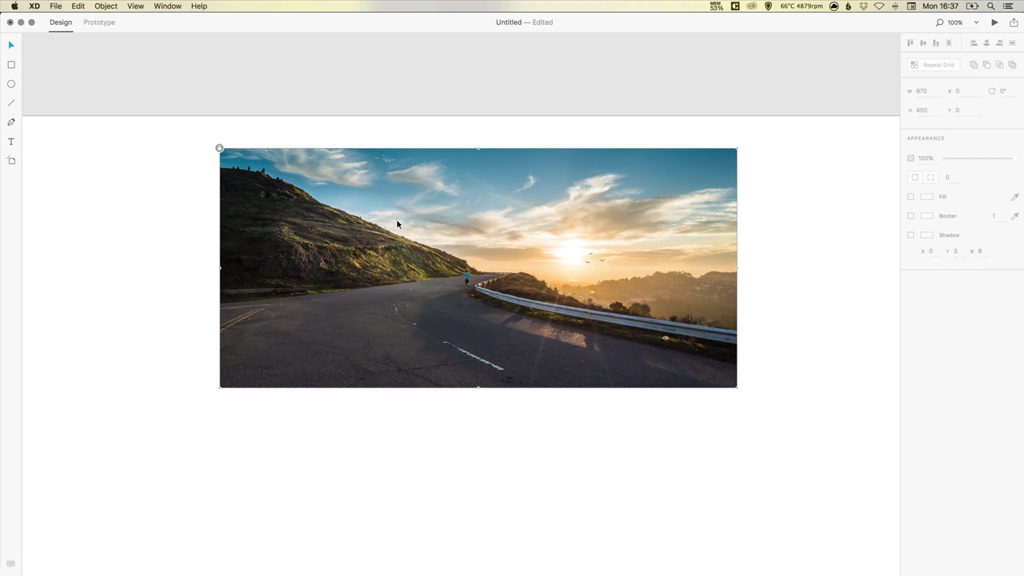
5. Locate the image for your first carousel slide on your computer, Left-click and drag into Adobe XD on to the rectangle that we created in Step 2.
6. Next, select everything on the artboard by dragging over it with your mouse, and go to Object > Lock. This will lock the position of our slider so far, so that in the next few steps we don’t accidentally move anything when working on top of it. Select the same Lock option again, to unlock the objects.

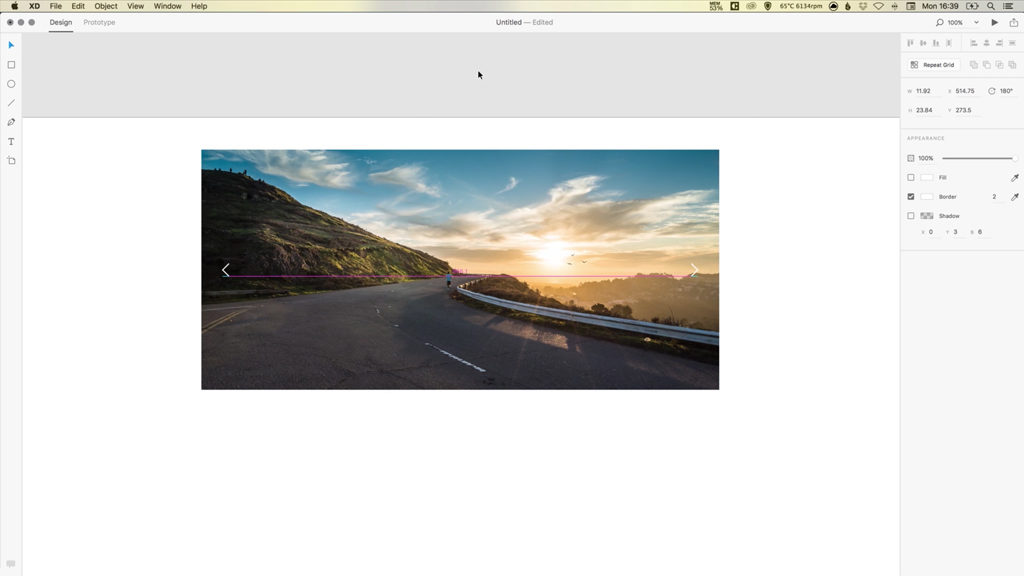
7. Select the Pen Tool, Left-click and hold Shift to draw a diagonal line. Holding Shift will ensure that the line has an angle of 45 degrees. Draw a second line also holding Shift, but going back in the opposite director, to complete the shape of your arrow. This will be the primary means of navigation for our carousel slider.
8. Select your newly created arrow and go to Edit > Duplicate. Position one arrow on the left-hand side of your carousel, pointing left, and position the other arrow on the right-hand side, pointing right.
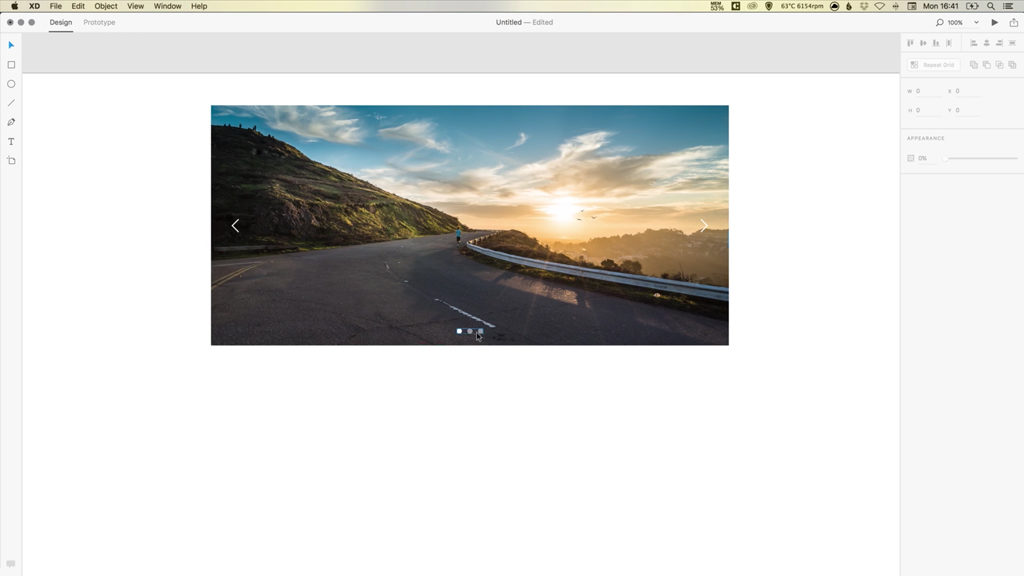
9. Lastly, we’re going to create the secondary navigation. Select the Ellipse Tool and hold Shift to draw a small circle.
10. With this circle selected, go to Edit > Duplicate, and move this duplicated circle slightly to the right of the first circle. Repeat as many times as necessary, depending on the number of carousel slides that you would like to include. Adobe XD smart guides will assist in spacing the circles an equal distance apart.

11. Select one circle, and give this circle a Fill colour of your choice – this is going to represent our ‘active’ carousel slide.
12. Select all of the other circles, select a colour, and reduce the Opacity of these circles in the Appearance options on the right-hand side. The goal here is to communicate to the user that one slide in particular is ‘active’ – and the other slides, although they are there to be viewed, are currently ‘inactive’.
13. Lastly, hold Shift and select all of these circles and go to Object > Group, and drag this group to position centrally within the carousel slider.

Download Adobe Experience Design CC (Adobe XD).
Read More at Design a Carousel Slider in Adobe XD
