Creating Animated GIFs the Right Way – with Cloudinary
Animated GIFs are very popular, although there are other options – such as HTML5 video, CSS, and JavaScript – for animations. Short video clips are often created in GIF format and then shared on social media. Cloudinary, a cloud-based image and video management solution, enables you to quickly and automatically create animated GIFs. Cloudinary also helps you to optimize GIFs and converting them into video formats.
Optimal File Size and Image Quality
With a maximum of 256 colors, GIF doesn’t seem to be a good choice for photographic content. In addition, the format often results in rather large file sizes, especially when it contains animations. So, when you convert a video into an animated GIF, you must weigh between video quality and file size.
Cloudinary offers simple compression for animated GIFs, which you can easily apply to any GIF file that you host using its URL. Although this is a lossy compression, the original files remain untouched, which enables you to create an appropriately optimized version on-the-fly.
http://res.cloudinary.com/demo/image/upload/fl_lossy/image.gif
To apply compression, simply add “fl_lossy” to the image’s URL, and you’ll receive a version of your GIF animation that was optimized to be the best compromise between image quality and file size.
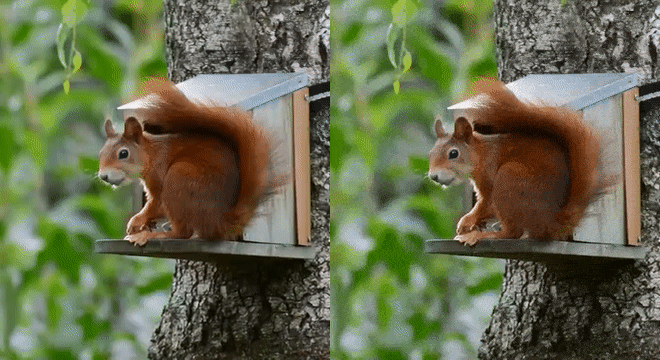
Not Compressed and Compressed Animated GIF
You can save up to 40 percent of file size when comparing an uncompressed GIF with a GIF optimized via “fl_lossy.” Because it is a lossy compression, you may notice a difference in image quality. But, overall, the image will still be impressive.

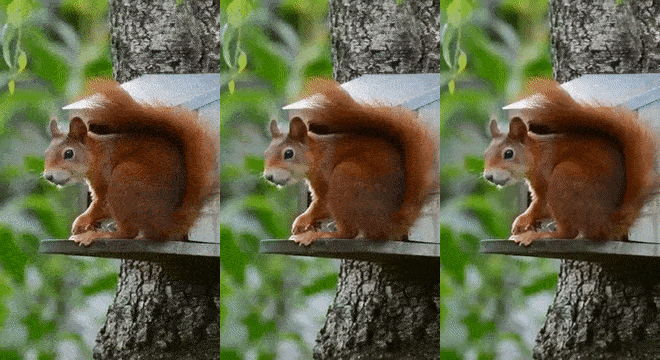
Three Stages of Compression: 25, 50 and 75 Percent
The additional parameter “q” also gives you the option to influence the GIF’s quality, which also affects the file size. The higher the value for “q,” the better the image resolution. Values between 0 and 100 are possible. 100 is the best quality, but it isn’t quite as good as an uncompressed image.
Manipulating Animated GIFs
Those familiar with Cloudinary also know that the service provides many options for manipulating images. You can crop and scale images, or apply various filters to add certain effects.
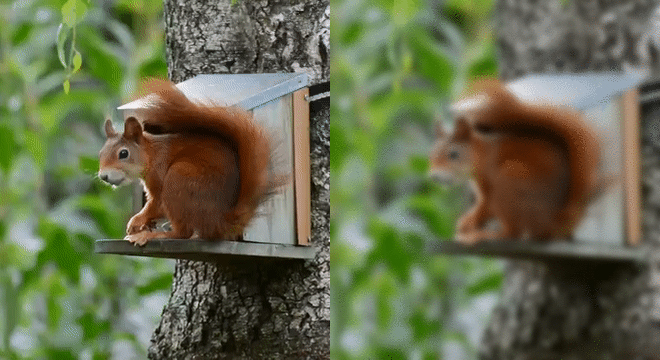
It’s possible to apply all of these options to animated GIFs, as well. For example, you can add the blur filter – “e_blur” – to an animated GIF. The effect will affect the entire animation.
http://res.cloudinary.com/demo/image/upload/e_blur:300/image.gif

GIF With and Without Blur
Cloudinary offers two additional features specifically for animation. The parameter “pg” (“page”) enables you to display a particular frame of the animation. In the example, an animation’s eighth frame is displayed as a single image.
http://res.cloudinary.com/demo/image/upload/pg_8/image.gif
The parameter “dl” is short for “delay,” which lets you set up a delay between the animation’s frames. In the example, a short delay of 200 milliseconds is implemented between each frame, resulting in a slow-motion playback.
http://res.cloudinary.com/demo/image/upload/dl_200/image.gif
Converting Animated GIF Into Video Formats – and the Other Way Around
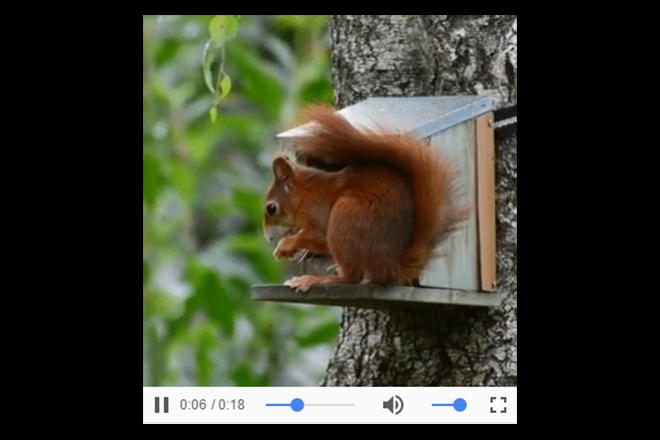
If you ever happen to need a video format version of your GIF animation, you can quickly make that change with Cloudinary. All you need to do is change the file ending from “.gif” to “.mp4” and your animation will be played as an HTML5 video in the MP4 format.
You also have the option to add other parameters to manipulate images. They also will be applied to modern video formats.

Animation as an HTML5 Video
The file size of GIFs, which is the weakness of that format, becomes evident when it comes to the conversion into dedicated video formats. GIFs converted into the MP4 format are only a fraction of the file size of animated GIFs. This difference is evident when it comes to cutscenes.
Cloudinary also supports the WebM format. The conversion is just as easy, all you need to do is enter “.webm” as the file ending.
Browsers still support different formats of HTML5 videos. So, as a result, you should always implement your videos in the MP4 and WebM format as well. Cloudinary makes the creation of both very simple.
Of course, Cloudinary also enables you to do the same thing in reverse. If you have an MP4 video, you get to convert it into the animated GIF format. You also can apply the lossy compression.
Creating Animated GIFs From Single Files
Cloudinary not only lets you turn a cutscene into an animated GIF. You can even generate one from a bunch of single images. To do so, just upload all images that you want to turn into one animation to Cloudinary, and assign the same tag to each of them. The tag determines which files will be added to the animated GIF.
Afterward, the Cloudinary API can be used to merge all images with the same tag into one animation. Among other things, there’s a PHP library that lets you create that type of animation in a very uncomplicated way.

Uploaded File With Assigned Tag
$result = CloudinaryUploader::multi("animation");
In our example, the Cloudinary API is accessed via PHP, and an animated GIF is created from all images with the tag “animation.” This animation is then accessible.
http://res.cloudinary.com/demo/image/multi/animation.gif
An important thing to note is that the file name consists of the tag (“animation” in this case), with the parameter “multi” in front of it. As you become familiar with the API, the creation of more complex animations is possible. You could place images above each other, or animate them to move across the screen.
Conclusion
Those that have already created GIF animations in Photoshop or other programs know about the peculiarities and difficulties in dealing with cutscenes. Cloudinary’s cloud service is an impressive proof of how easy it is to create, manipulate and convert animated GIFs on-the-fly.
If you’ve not used Cloudinary before, you should test drive the service. Cloudinary’s solution is not only very fast, but also offers plenty of features for the manipulation and display of images and videos.
(dpe)
