Creating Gradients in Adobe XD
In this tutorial, we’re going to learn how to create gradients in Adobe XD.
The Steps (1-6)
1. Create a New Artboard in Adobe XD.
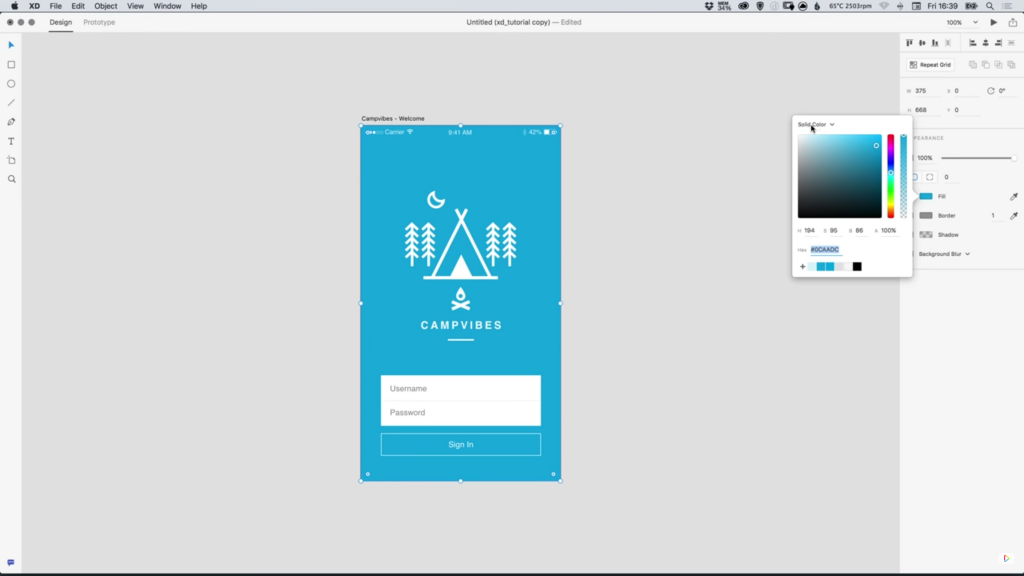
2. Select the Rectangle/Ellipse Tool and draw a shape, ensuring that the shape has a solid fill and no border.

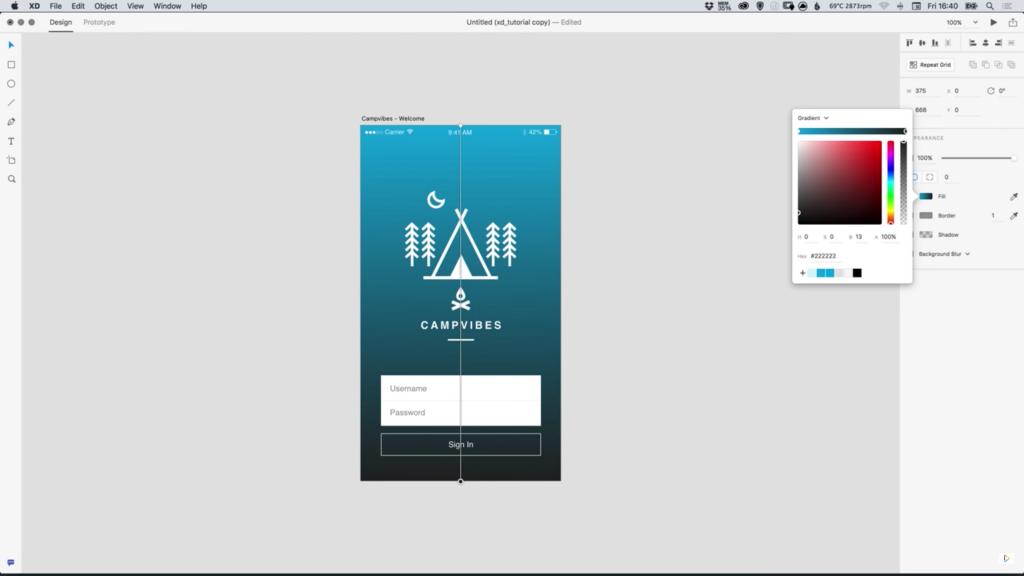
3. With the shape selected, Left-click the Colour Picker from the Property Inspector, and from the dropdown menu at the top select Gradient. A gradient will be applied to your shape’s fill using two colours by default.
4. Left-click each swatch on the Gradient Slider and select your preferred colours as desired. New colours can be added by simply Left-clicking anywhere on the Gradient Slider, and colours can be removed by Left-clicking and dragging the swatches directly off of the Gradient Slider.

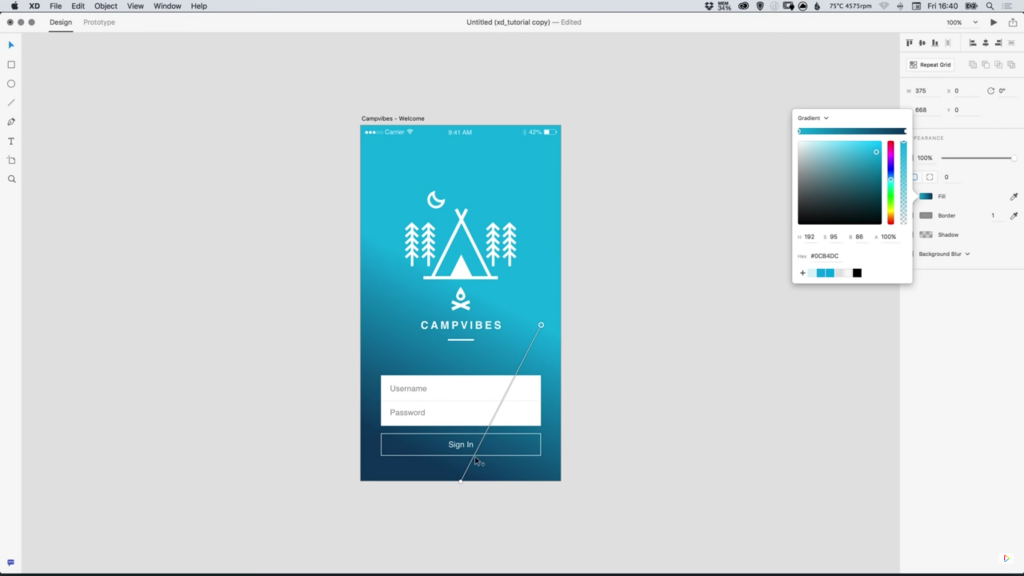
5. When a gradient is applied to a shape, a line connected by two dots is displayed upon opening the Colour Picker, this can be used to adjust the Angle of the gradient, as well as the Spread.
6. For a ‘harder’ division between two colours, drag the dots at either end of the line closer together. On the other hand, if you would like a smoother and more gradual gradient, simple move the dots further apart.

Download Adobe Experience Design CC (Adobe XD).
Read More at Creating Gradients in Adobe XD
