Animating a Moving Car in Adobe Muse
Animating a Moving Car in Adobe Muse. No Coding Skills Required.
In this tutorial I will go over how to animate a moving car in Adobe Muse using the Muse Motion 2 Widget found at http://museforyoushop.com. We will also be using Adobe Illustrator.
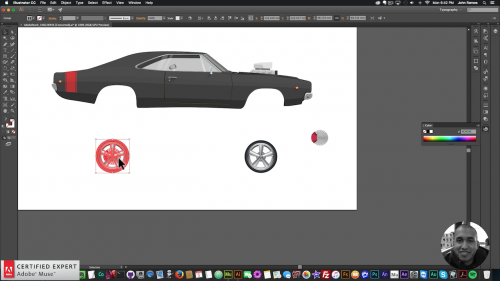
1. Open the car vector in Adobe Illustrator.
2. Copy and paste the different car parts from Adobe Illustrator into Adobe Muse. Wheels should be behind the body of the car and pasted in separately so we can rotate them. Center the car in Adobe Muse.

3. Place the “Muse Motion 2 – Add First” widget at the top of your Adobe Muse website from the library panel. If you do not see the library panel go to Window > Library.
4. Place the “Muse Motion 2 – 2D Transformations” below the “Add First” widget.
5. Assign the graphic style name that is in the widget to the two wheels that were pasted in from Adobe Illustrator. The graphic style name for the first widget is “motion1.” The graphic style name is applied via the graphic styles panel. If you do not see the graphic styles panel go to Window > Graphic Styles.
6. Have the wheels rotate by going to the Muse Motion 2 widget and enabling the rotation option. Then set the rotation to 360. Make sure the easing option is set to “Linear” and that the widget has a repeat of –1 so it continues to rotate and has the moving wheel effect.

7. Group all of the car parts and resize the car to fit nicely on the website. To group select all of the elements, right-click, and select “Group.”
8. Next open the background vector in Adobe Illustrator and copy and paste into Adobe Muse. Resize the background so it looks like the car is on the street.
9. Copy and paste the background right next to the first background that was added so there are two backgrounds next to each other. This will give enough background for it to continuously play.
10. Copy and paste the first “Muse Motion 2 – 2D Transformations” widget and change the graphic style name to “motion2.” Apply this graphic style name to both backgrounds on the website.
11. Make the backgrounds move left by going into the Muse Motion 2 widget and enabling “Translate X.” Here enter in the width of the background but give it a negative value so it moves left. Change the duration to 6 seconds so the background does not move so fast. Also make sure the easing option is set to “Linear” and that the widget infinitely repeats by setting the repeat to -1. This will give the effect of the background continuously moving. Make sure the rotation is de-selected in this widget.
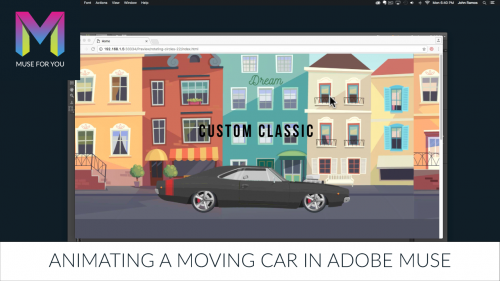
12. Preview page in the browser and watch the background move left and the wheels on the car rotate clockwise creating the moving car effect.
In the video above I go over a live demonstration on how to create this effect in Adobe Muse using the Muse Motion 2 widget and Adobe Illustrator.
For more video tutorials and widgets for Adobe Muse visit http://museforyoushop.com.
Happy Musing :).
Read More at Animating a Moving Car in Adobe Muse


