Archive

Archive for September, 2018

Introduction To Animation And The iMessage App Store With Shruggie

September 10th, 2018 No comments
Shruggie animated

Introduction To Animation And The iMessage App Store With Shruggie

Introduction To Animation And The iMessage App Store With Shruggie

Simon Schmid

2018-09-10T14:45:42+02:002018-09-10T15:25:11+00:00

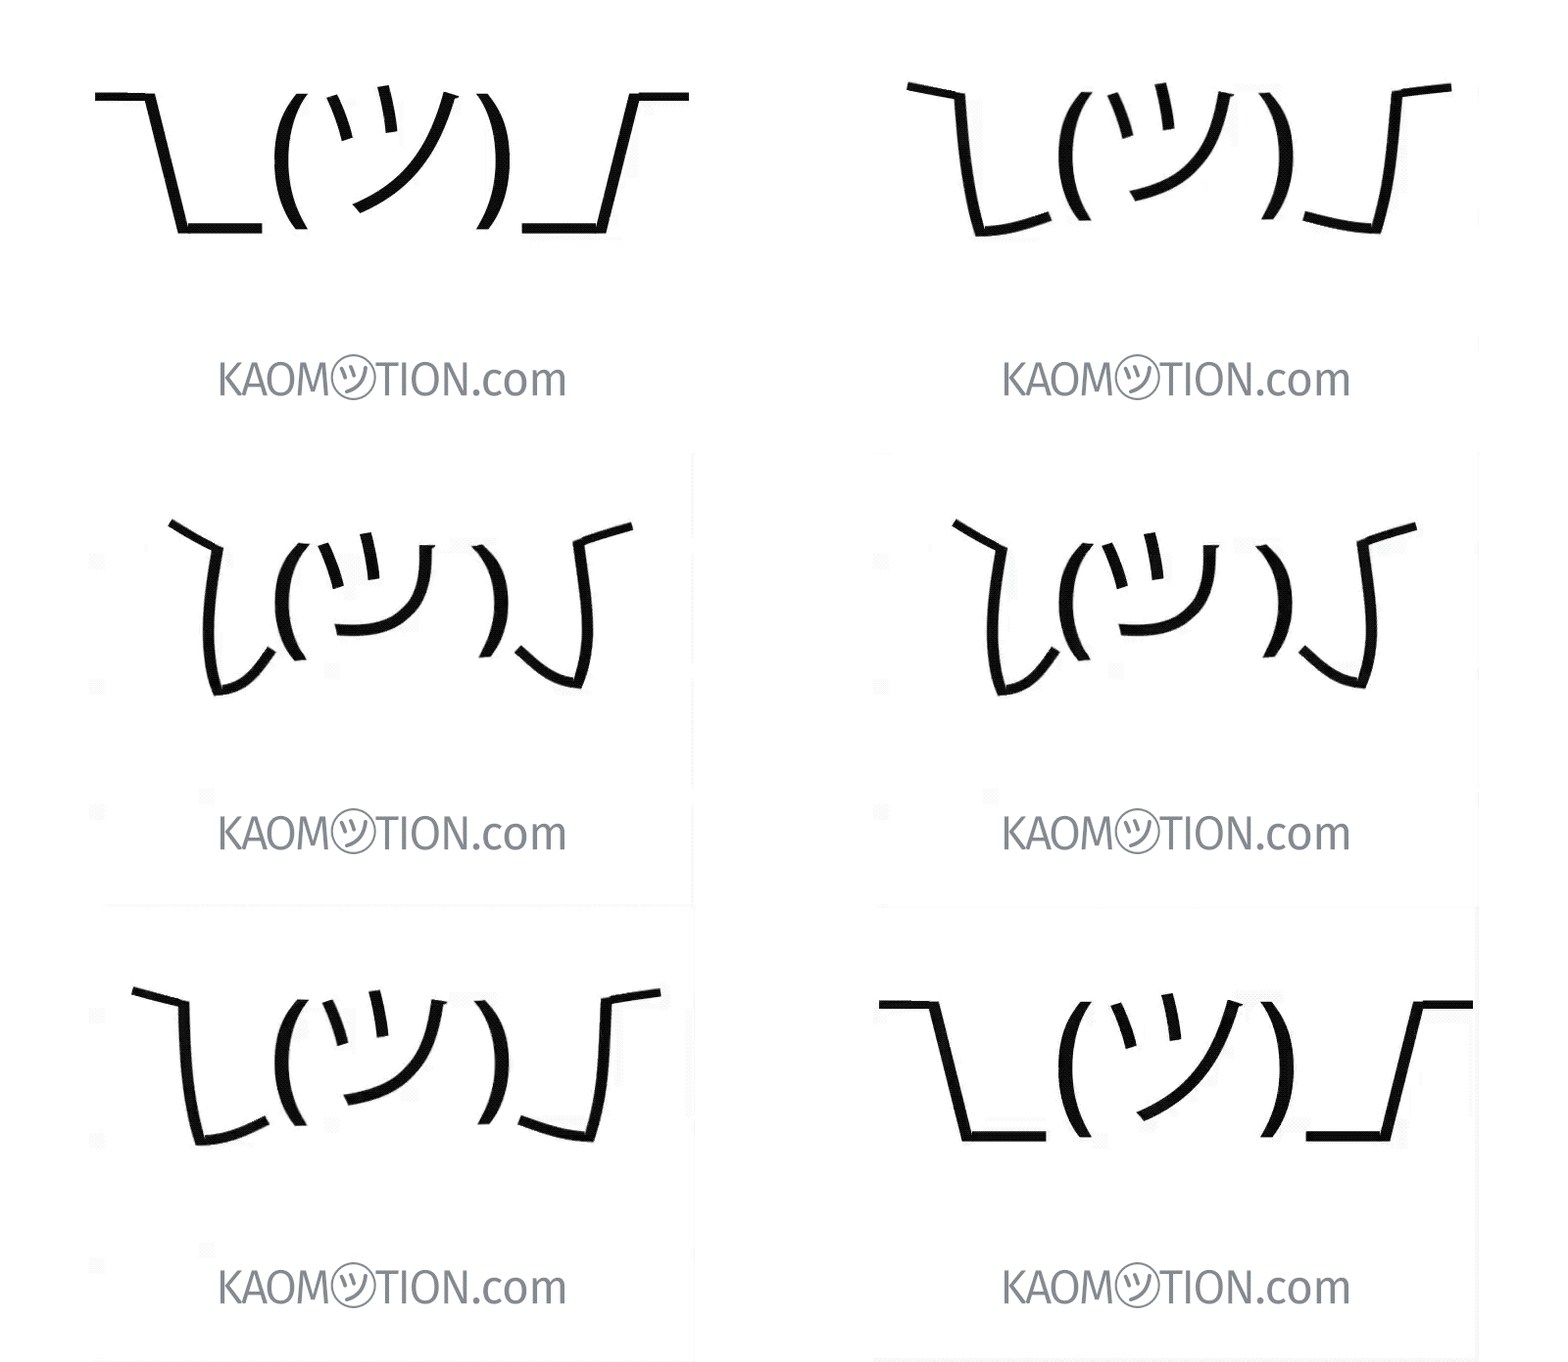
When the App Store for iMessage in late 2016 went live, I released Kaomotion, a sticker app with animated kaomoji inside. Ever since the release of this app, I wanted to write up a tutorial about how a simple text character like shruggie (i.e. ¯_(?)_/¯) can be animated to give it life-like features:

The Shruggie animation we’re going to make. (Large preview)

What you are going to read in this article is a step-by-step guide of setting up a canvas in After Effects and then going through with the animation. You’ll also read about how well the app containing more than 30 animated stickers worked and what some of the specific issues are you might be having on the App Store for iMessage:

  1. Canvas Setup
  2. Working With A (Text) Layer
  3. Working With Rulers
  4. Understanding The Puppet Pin Tool
  5. Animation And Timeline
  6. Further Reading And Tools
  7. Bonus Reading: Life On The App Store For iMessage

Without further ado, let’s jump right in.

1. Canvas Setup

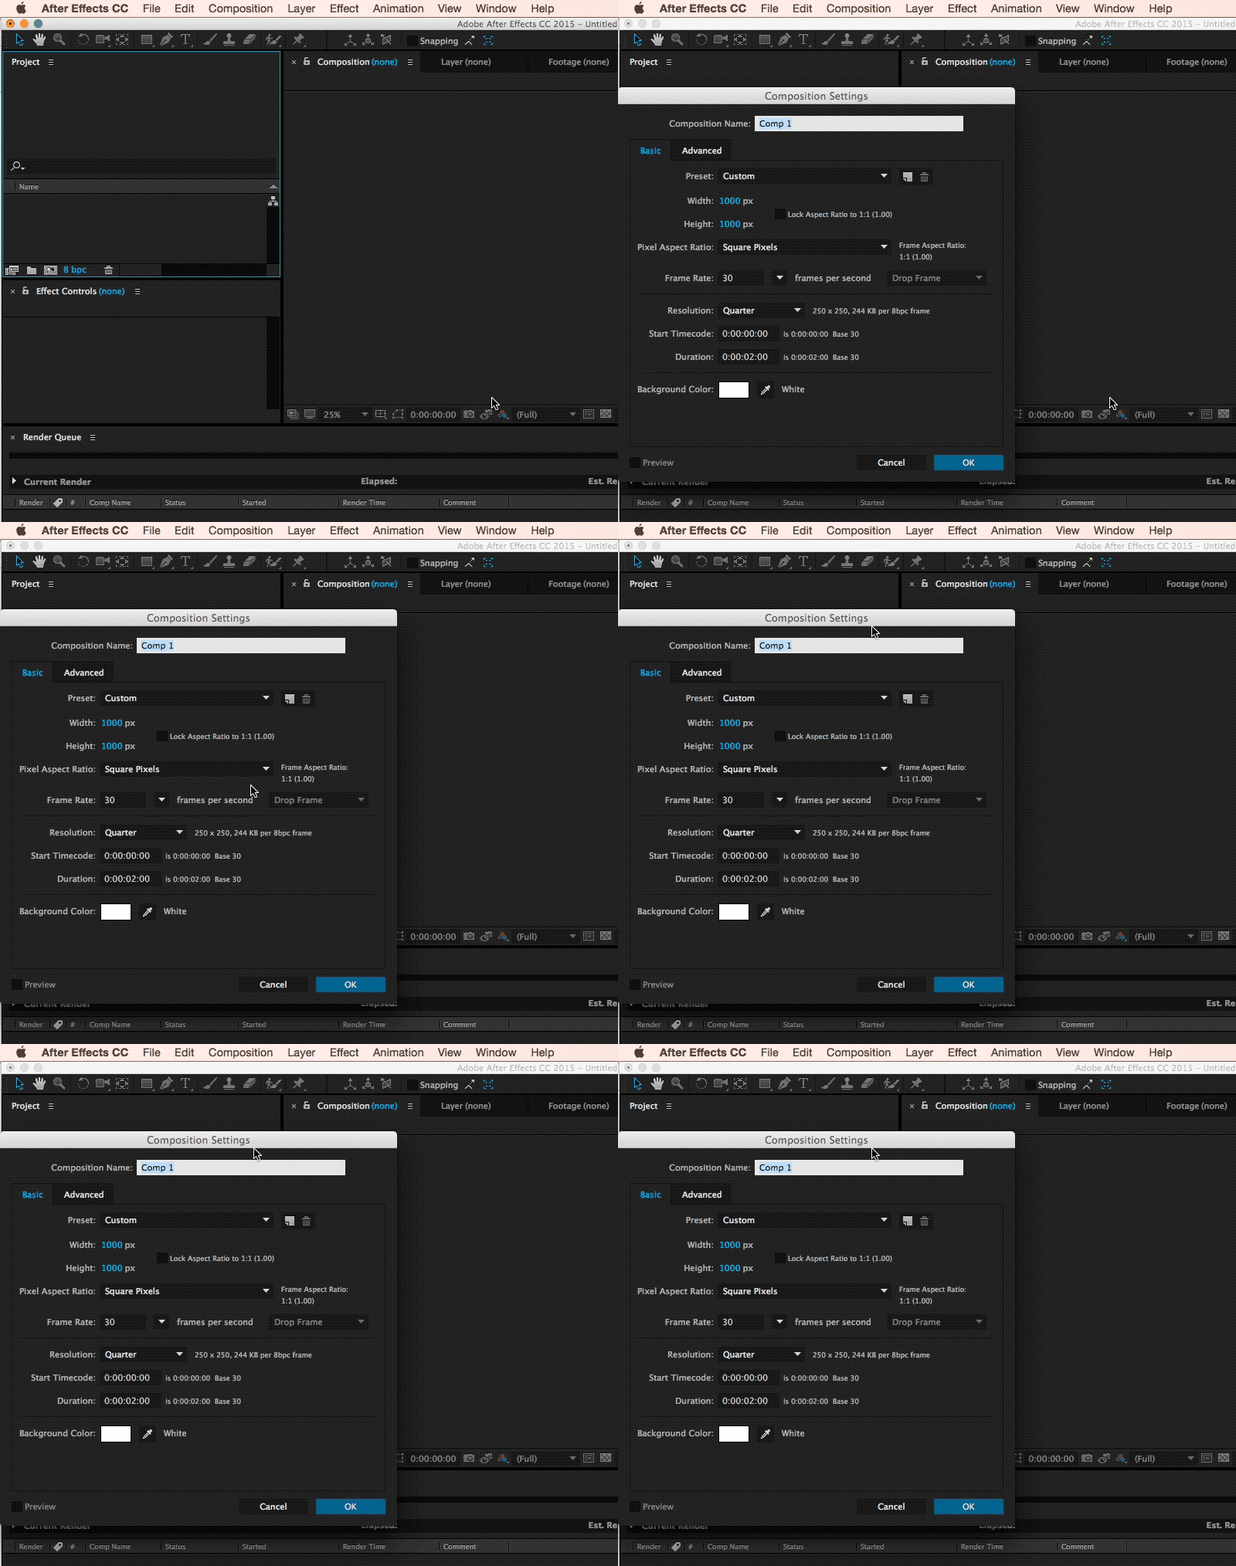
We’re starting with setting up a new composition (? + N) within After Effects with the following settings:

  • 1000px × 1000px;
  • a frame rate of 30 frames per second;
  • a quarter on resolution;
  • a run time of 2 seconds.

This is going to be the basic canvas we’re going to work with during the animation. We’re choosing a square since that is what you have to deal with within iMessage and Apple’s sticker implementation.
After Effects canvas set up
After Effects canvas set up. (Large preview)

2. Working With A (Text) Layer

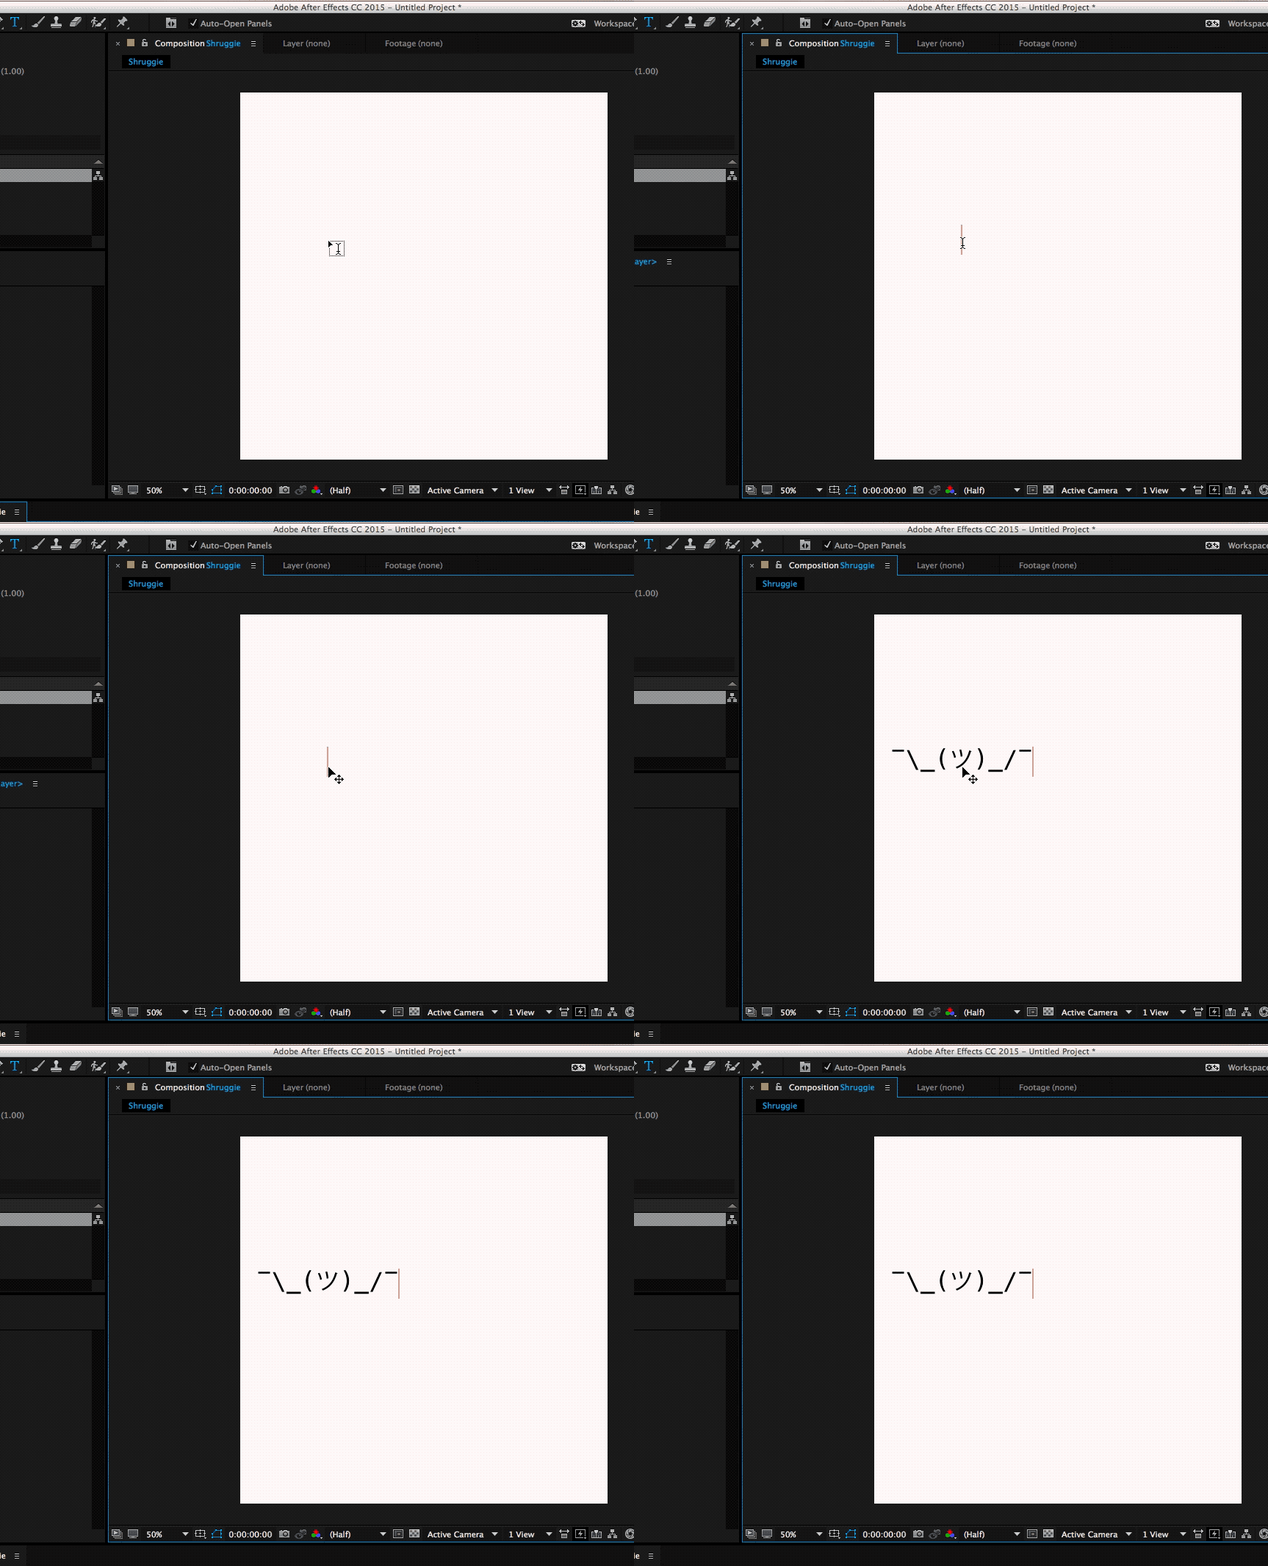
Since kaomoji are simple text-based emoticons we’re going to copy-paste a a Shruggie “¯_(?)_/¯” from the first source we can find being Jeremy Burge‘s Emojipedia via Google.

After having found it on Emojipedia we’re pasting it as a text layer into After Effects. It’s time to utilise the text tool.

The Text Tool

Copy ? + T in with ? + V:
After Effects text layer
Using the text layer. (Large preview)

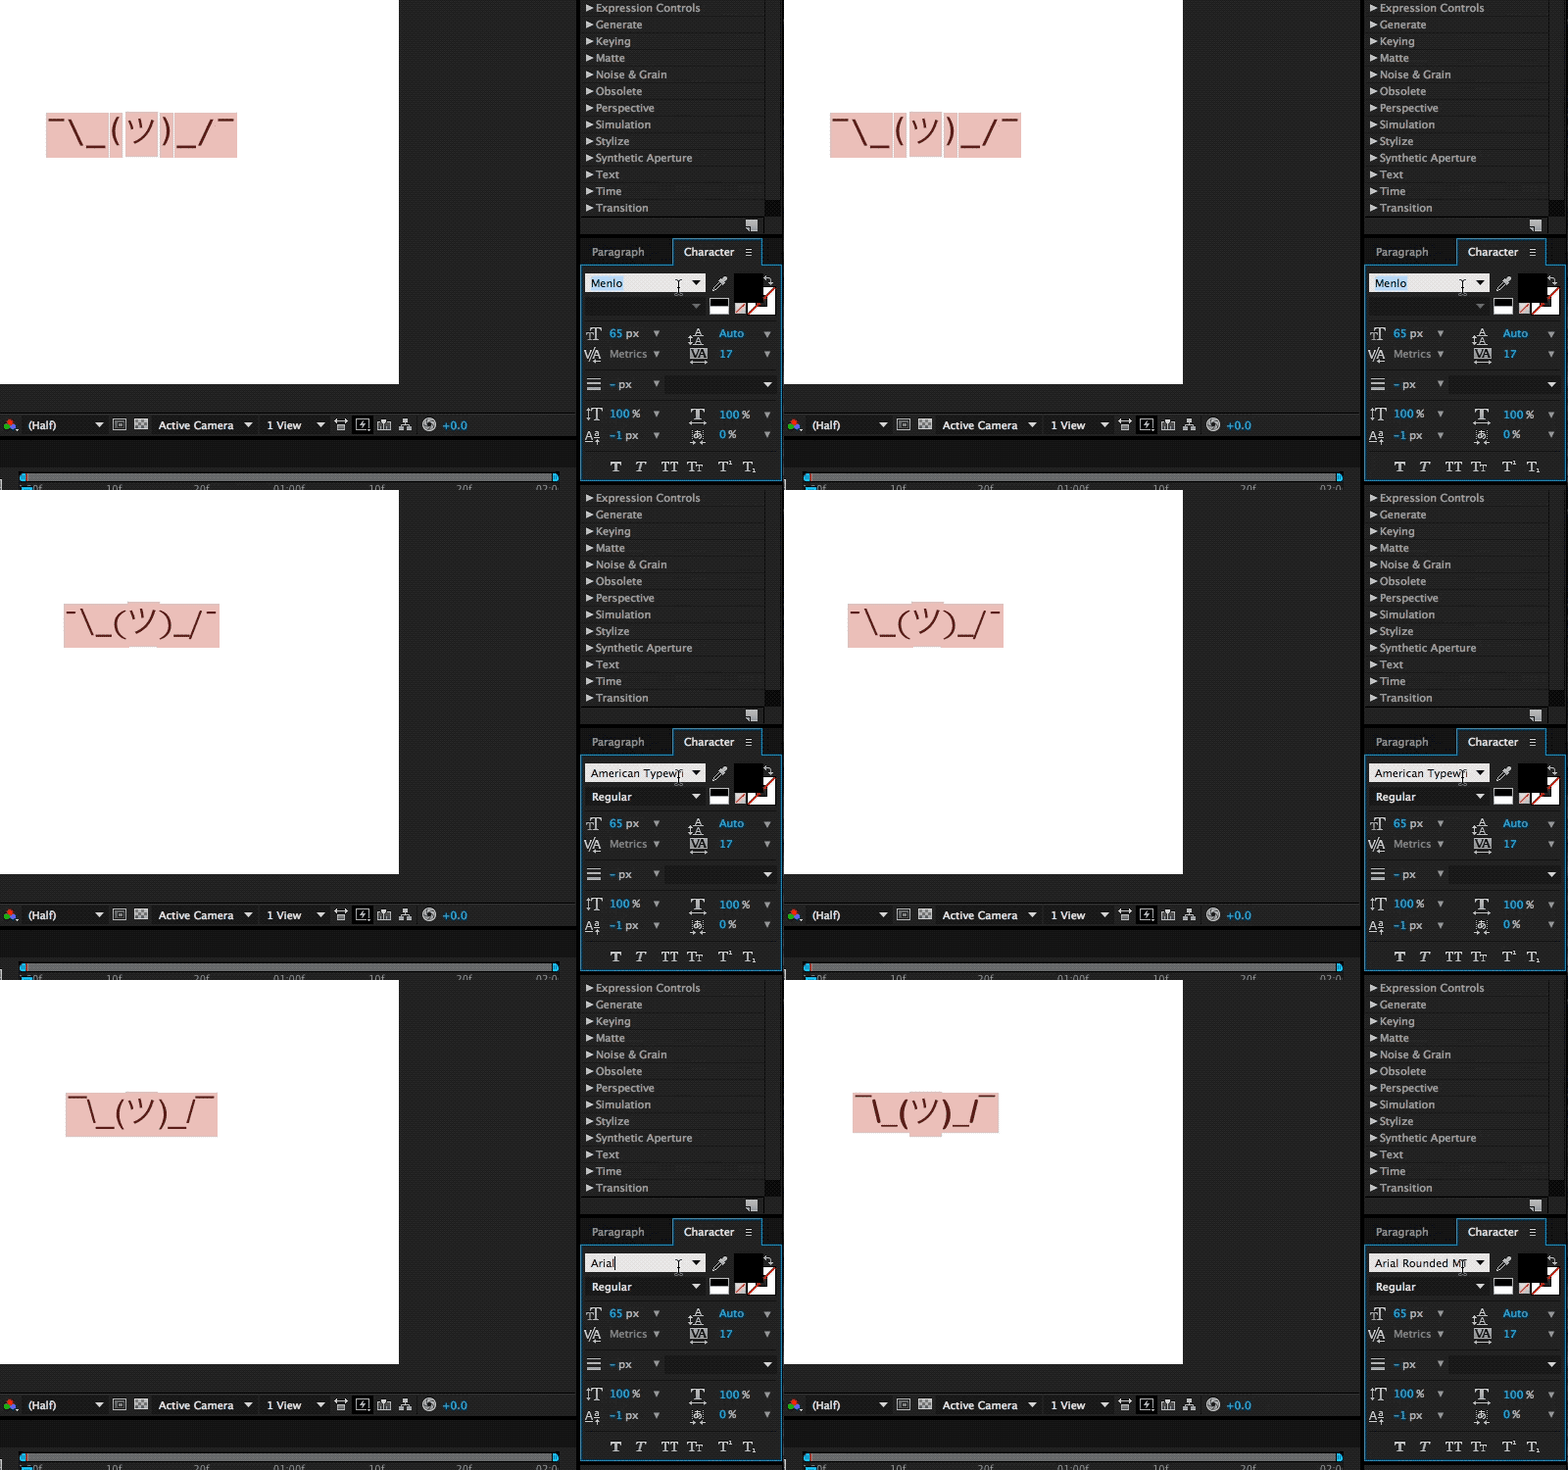
The Shruggie inside your canvas might not look exactly the way you’ve found him on Google, or on Emojipedia for that matter, that’s because of differences in font types. We’ve chosen a font that makes Shruggie look decent and made him stretch across the canvas to prepare him for his facelift: double-click on the Source Name to select all characters.

The Character Menu

Double click Name Source and then get the font type in your Character menu.
After Effects character menu
The character menu. (Large preview)

Scaling A Layer

Select Layer, then S + Scale (by sliding right for example).

To position the layer properly, we’re scaling it up to fill the canvas by selecting the layer by pressing S, then Scale and then finally moving the scale until it fits.
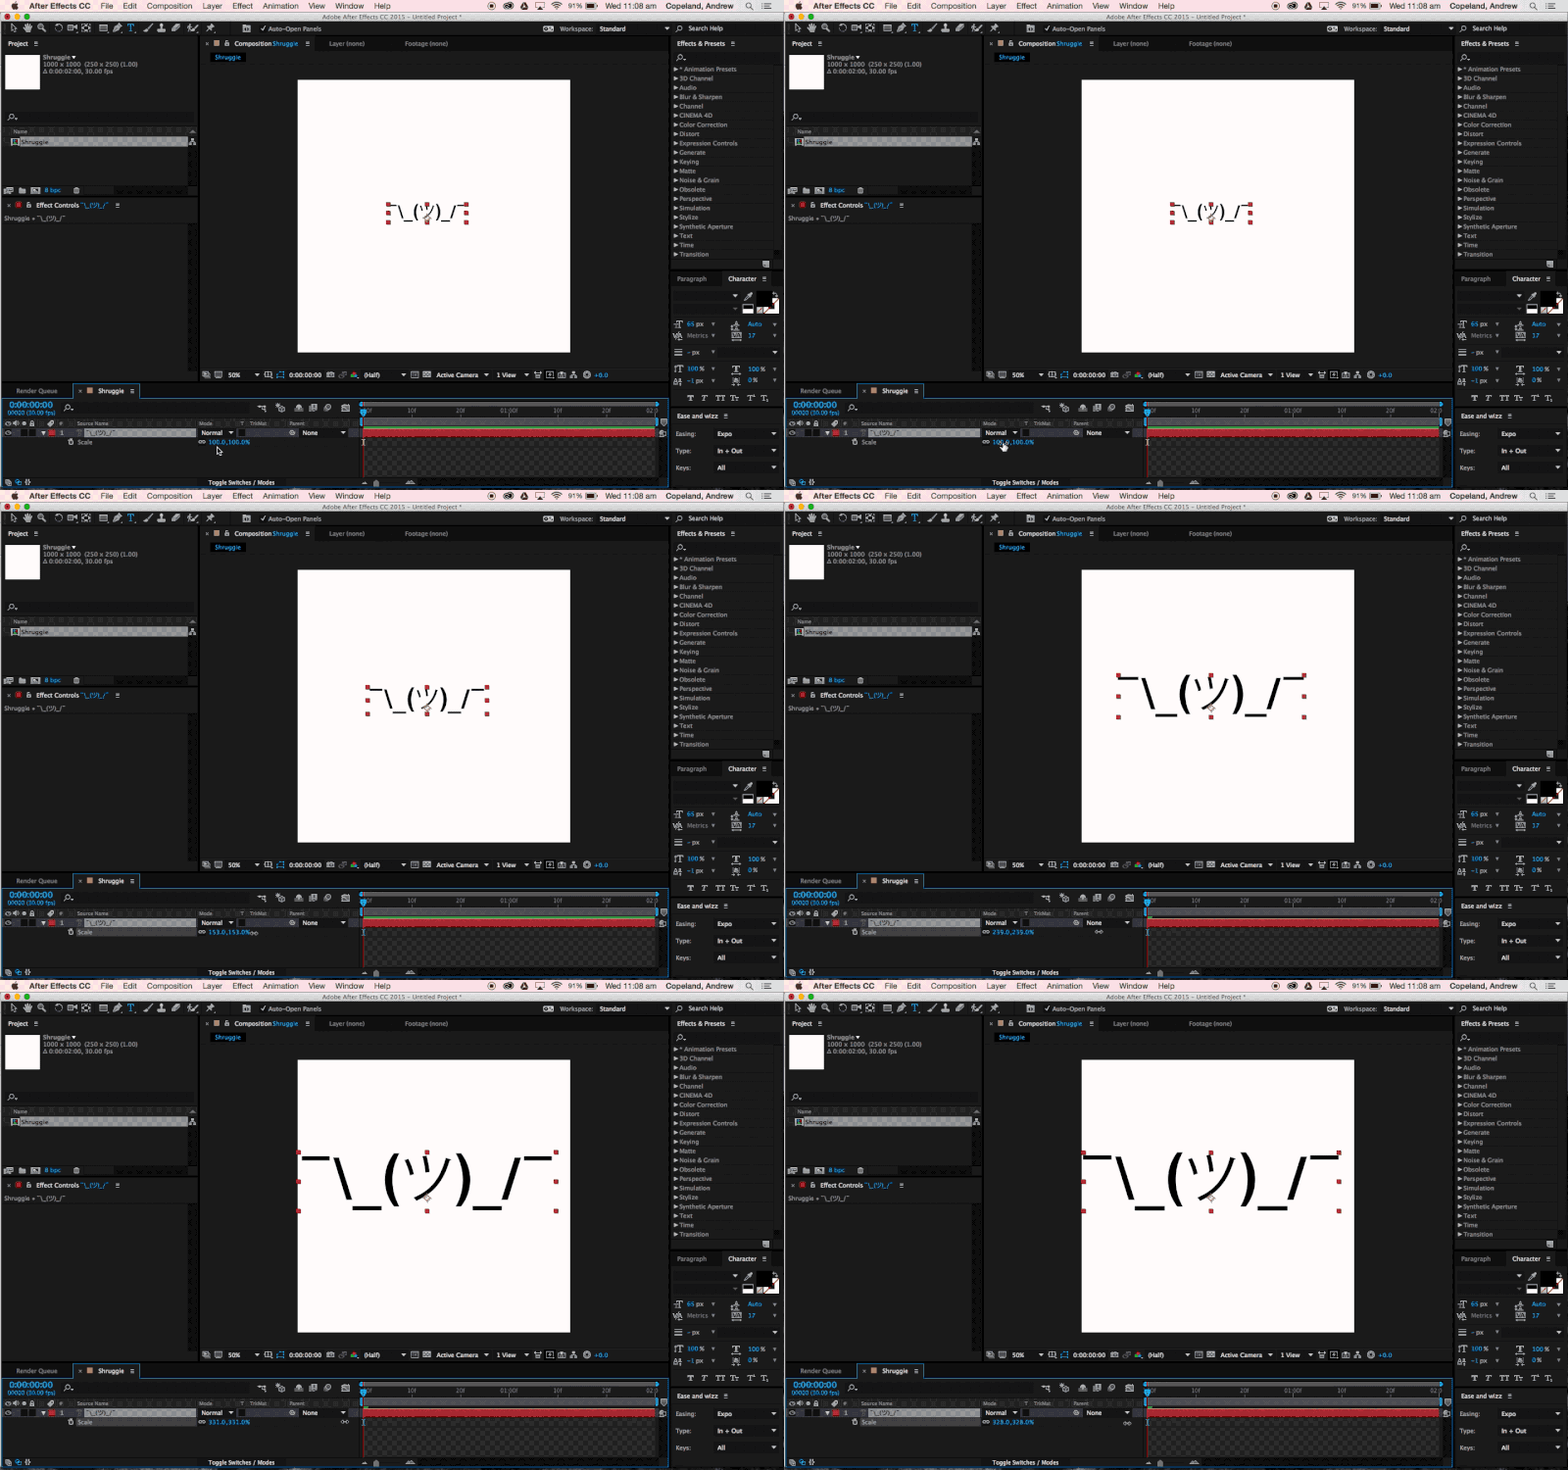
After Effects scale a layer
Scaling a layer. (Large preview)

To further explore some smaller tweaks let’s look into making our Shruggie a little more connected. For that we’re looking into some kerning and height options. To adjust the gap between Shruggie’s arm and hand, we’ll use the kerning tool (V/A) either manually in the menu or with another keyboard shortcut:

Kerning

Select Space + ALT + ? ?. When we’re happy with the kerning gaps, we’ll adjust the height of the arms and make it look like the arms are actually connected. To join up the slashes with the underscore we’re going to play around with increasing the height of the slash/vertical scale, moving it vertically and potentially adjusting the baseline. In our case we’ve increased the height of the slash character to 120% and then adjusted vertically:
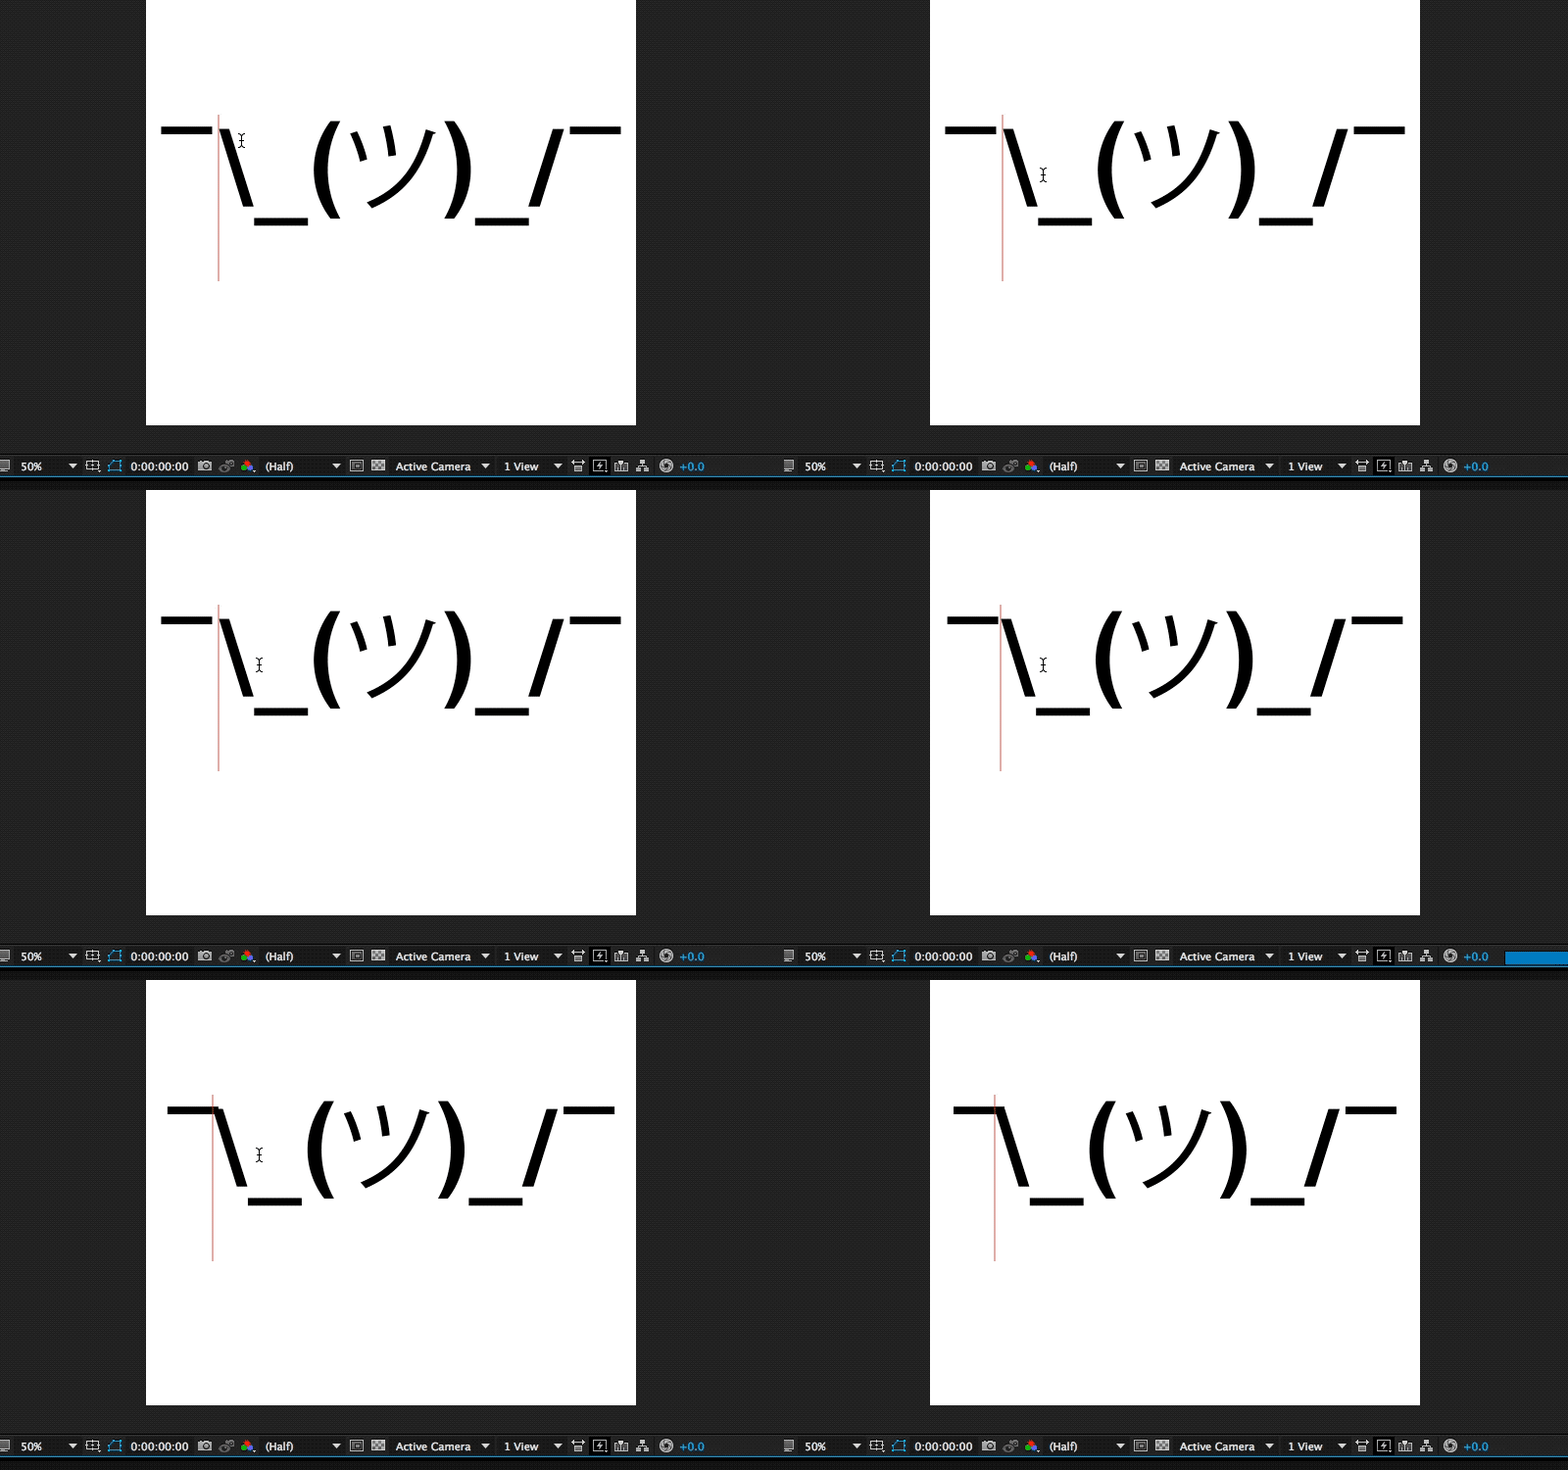
After Effects text kerning
Text kerning in action. (Large preview)

Moving Vertically

Make selection + ALT + SHIFT + ? ?
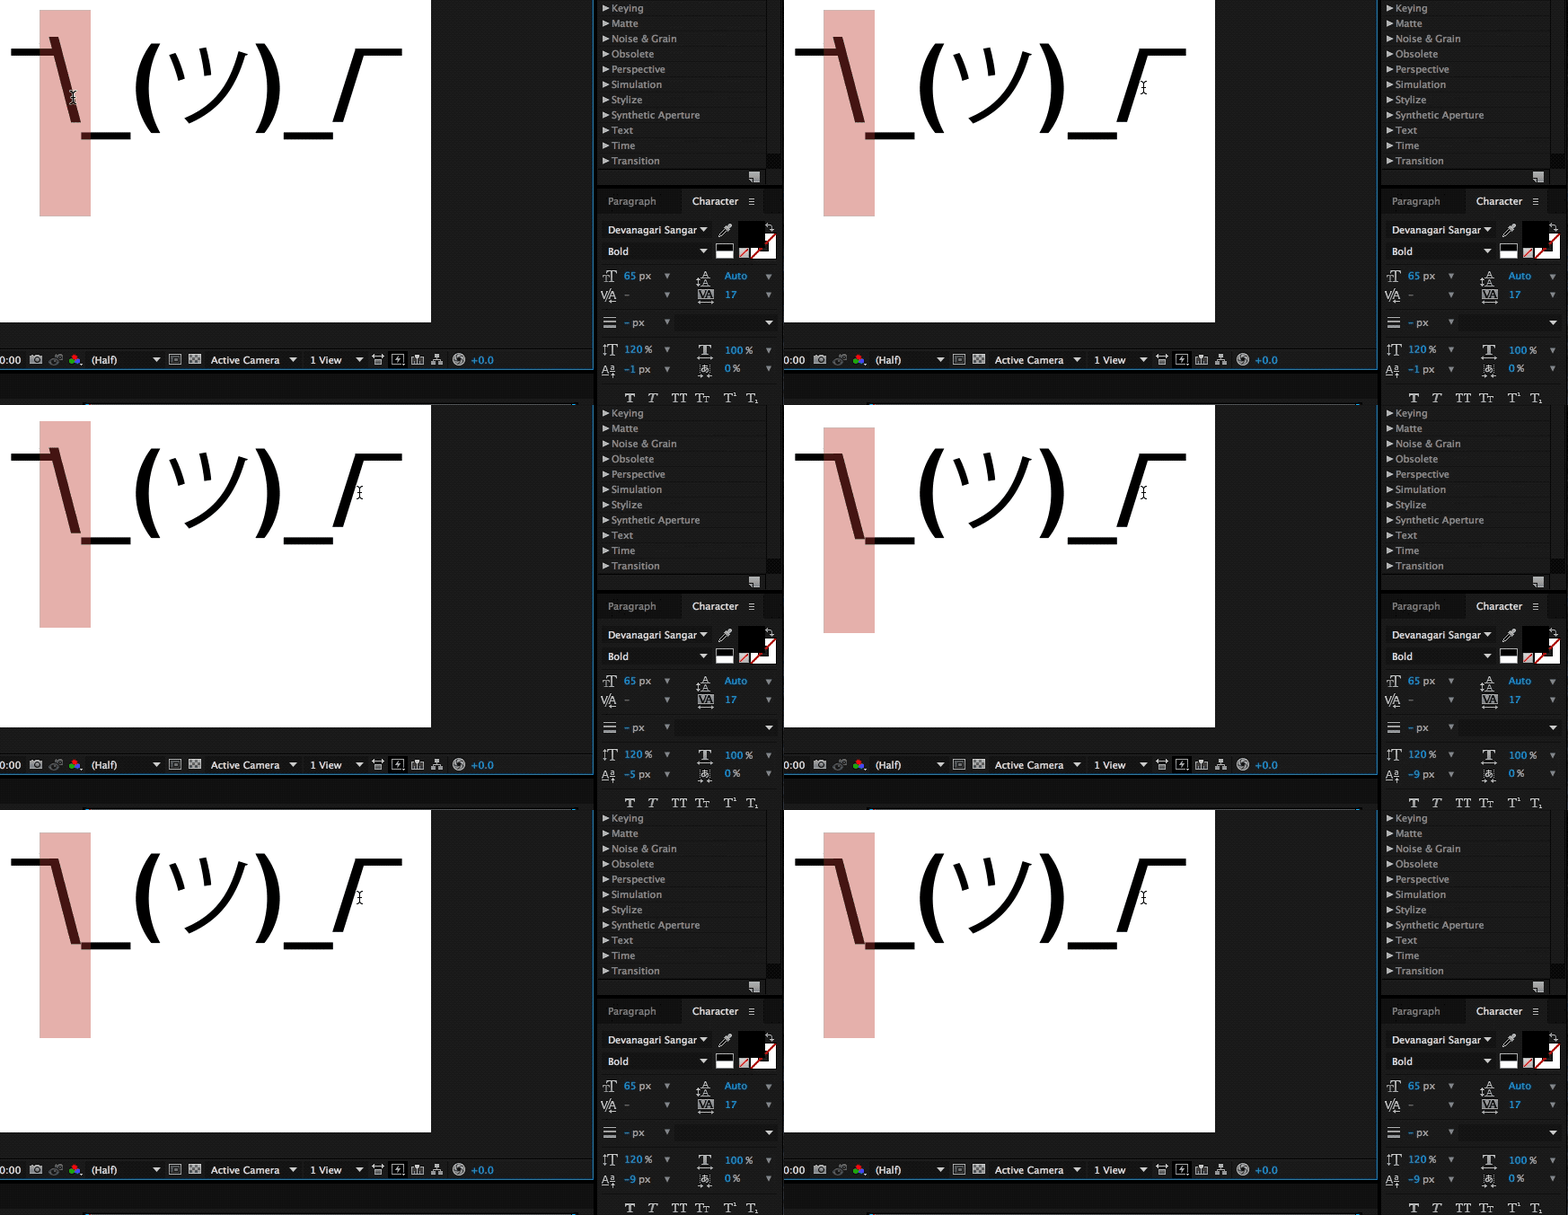
After Effects move selection vertically
Move selection vertically. (Large preview)

If you repeat the steps above on the other side we’ll by now have a pretty looking Shruggie, but what’s that, we don’t like how it aligns at all, do we?
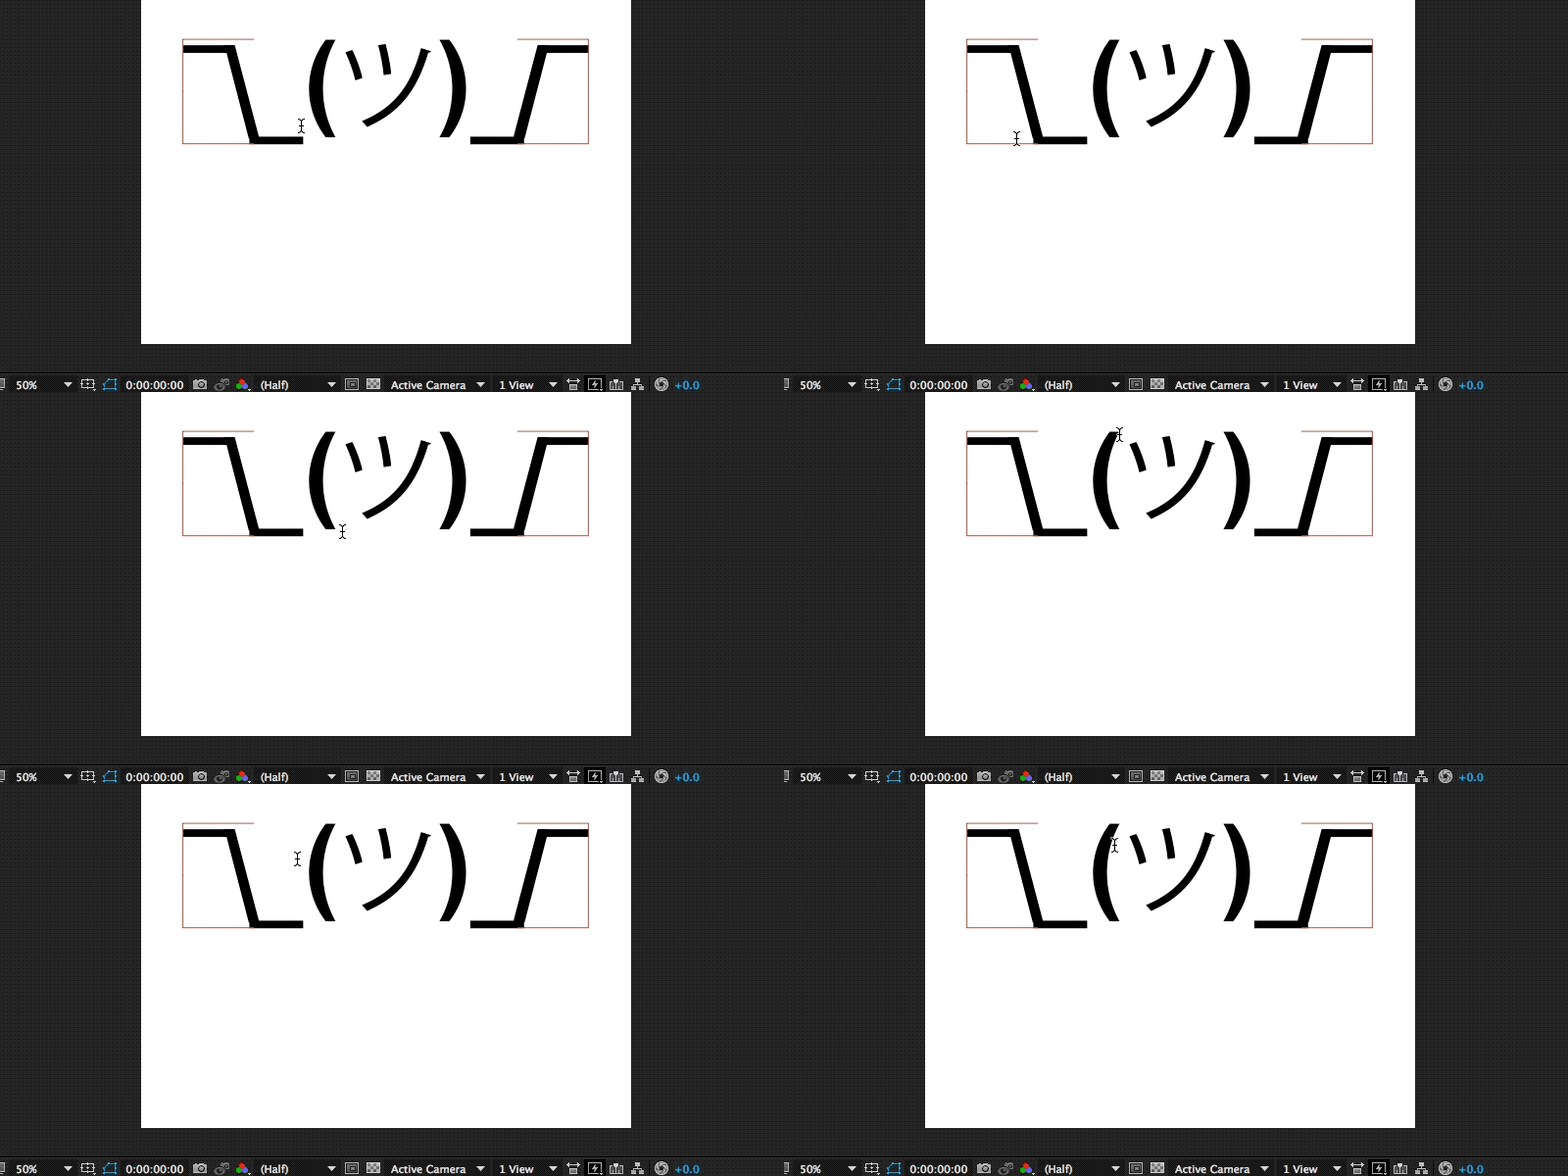
After Effects align
Unaligned Shruggy, can we fix it? (Large preview)

Let’s further align this sorry looking Shruggie.

That’s what rulers are for.

3. Working With Rulers

To conjure up rulers we’re going to use another keyboard shortcut:

Display Rulers

? + R

This gives you the ruler view, from which you can practically drag rulers as visual cues into your canvas.
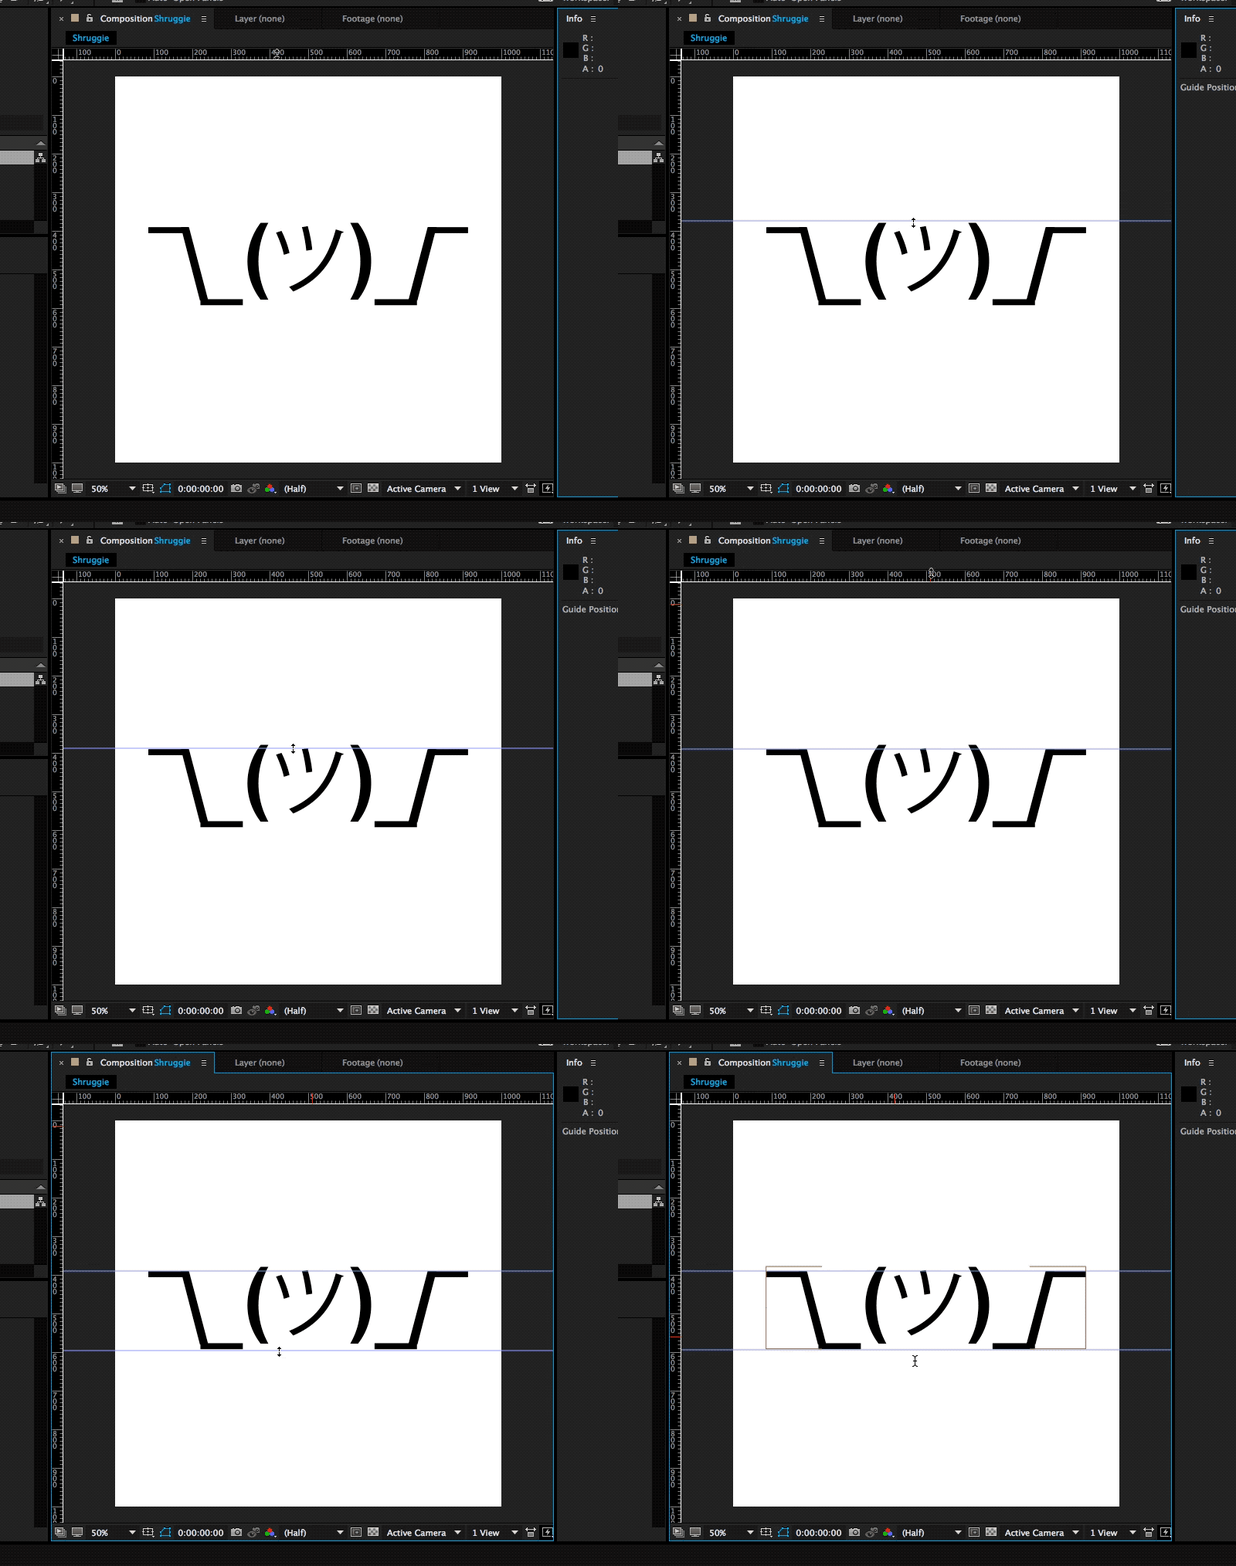
After Effects set up rulers
Setting up rulers. (Large preview)

The next steps are a repetition of what we’ve done before: we’re selecting the middle part and moving it down vertically to align with Shruggie’s arms, shoulders, and hands. It looks pretty good, but let’s double-check on that first impression by zooming in!

Zoom in

You can zoom in by pressing ? + +, and also by pressing on the , + . keys. In our case, we found we need to change it to properly align Shruggie’s face with his arms, which is another repetition of the above resizing and realigning skills.

Guess what? We’re now ready to animate! ???????
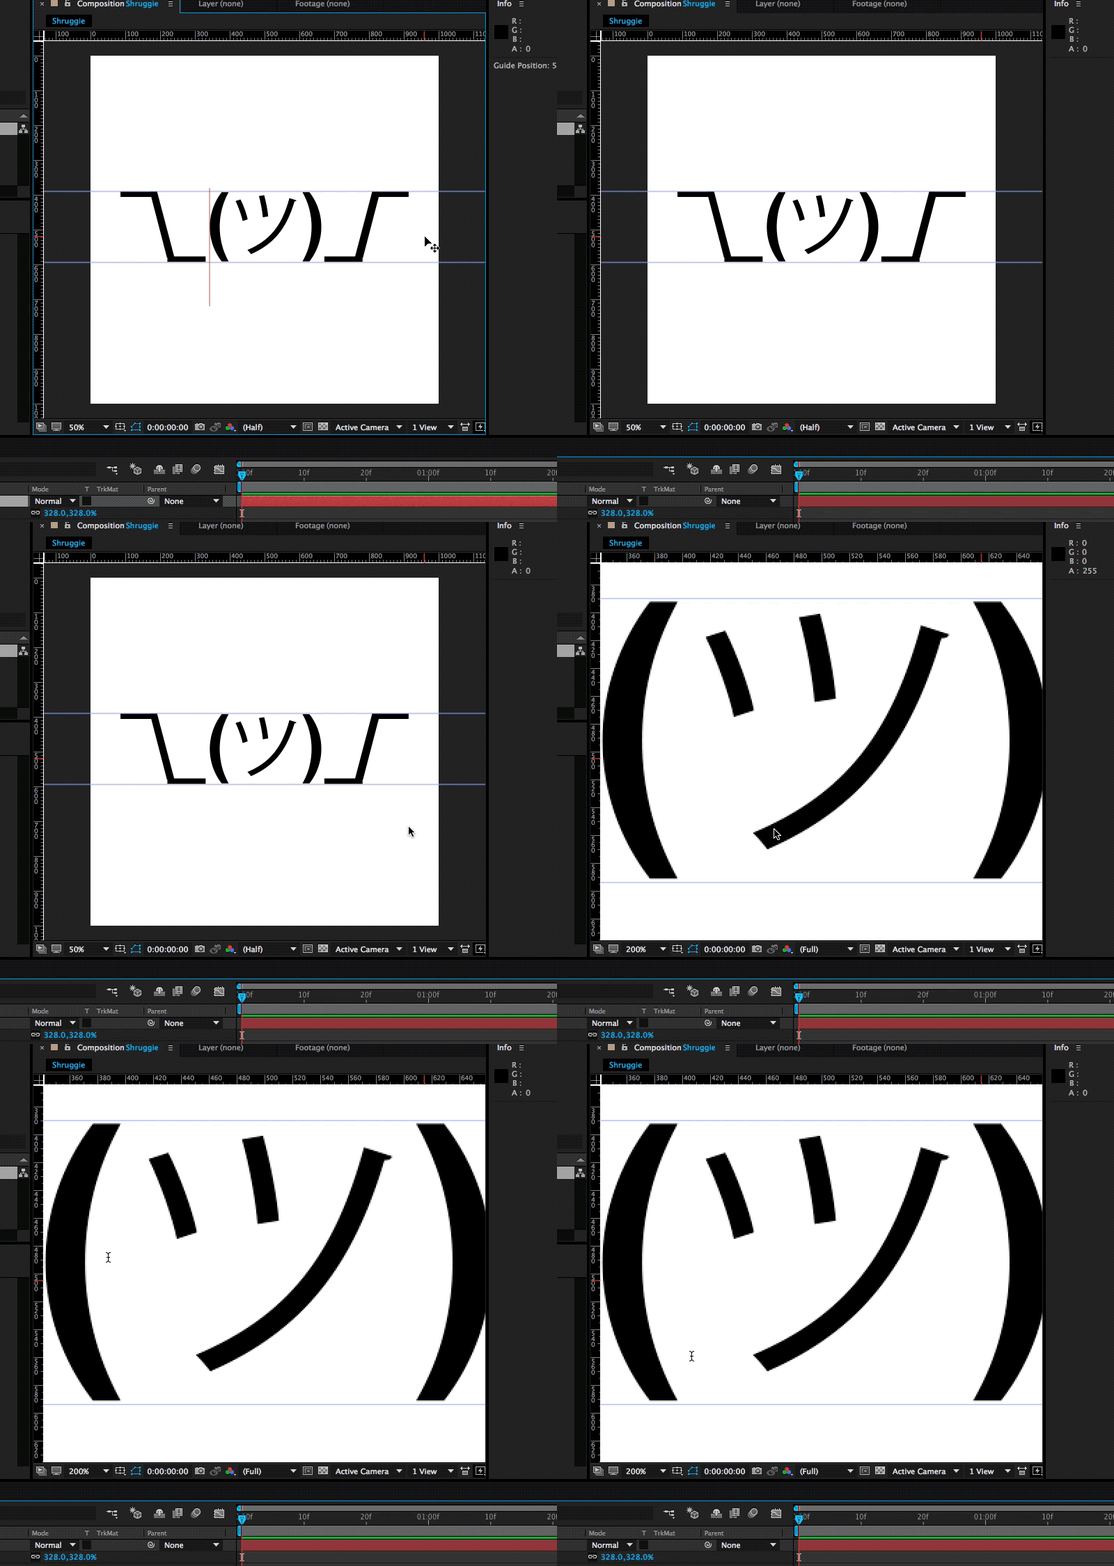
After Effects zoom
Zooming into Shruggie. (Large preview)

4. Understanding The Puppet Pin Tool

In order to animate our base Shruggie, we’re going to use the Puppet Pin Tool. Essentially it lets us work on any vector elements within After Effects, which includes our text assets. Let’s start:

The Puppet Pin Tool

Now what we’ll want to do is put pins where we want the joints to be: hands, elbows, shoulders, and so on. Press on ? + P to do the trick:
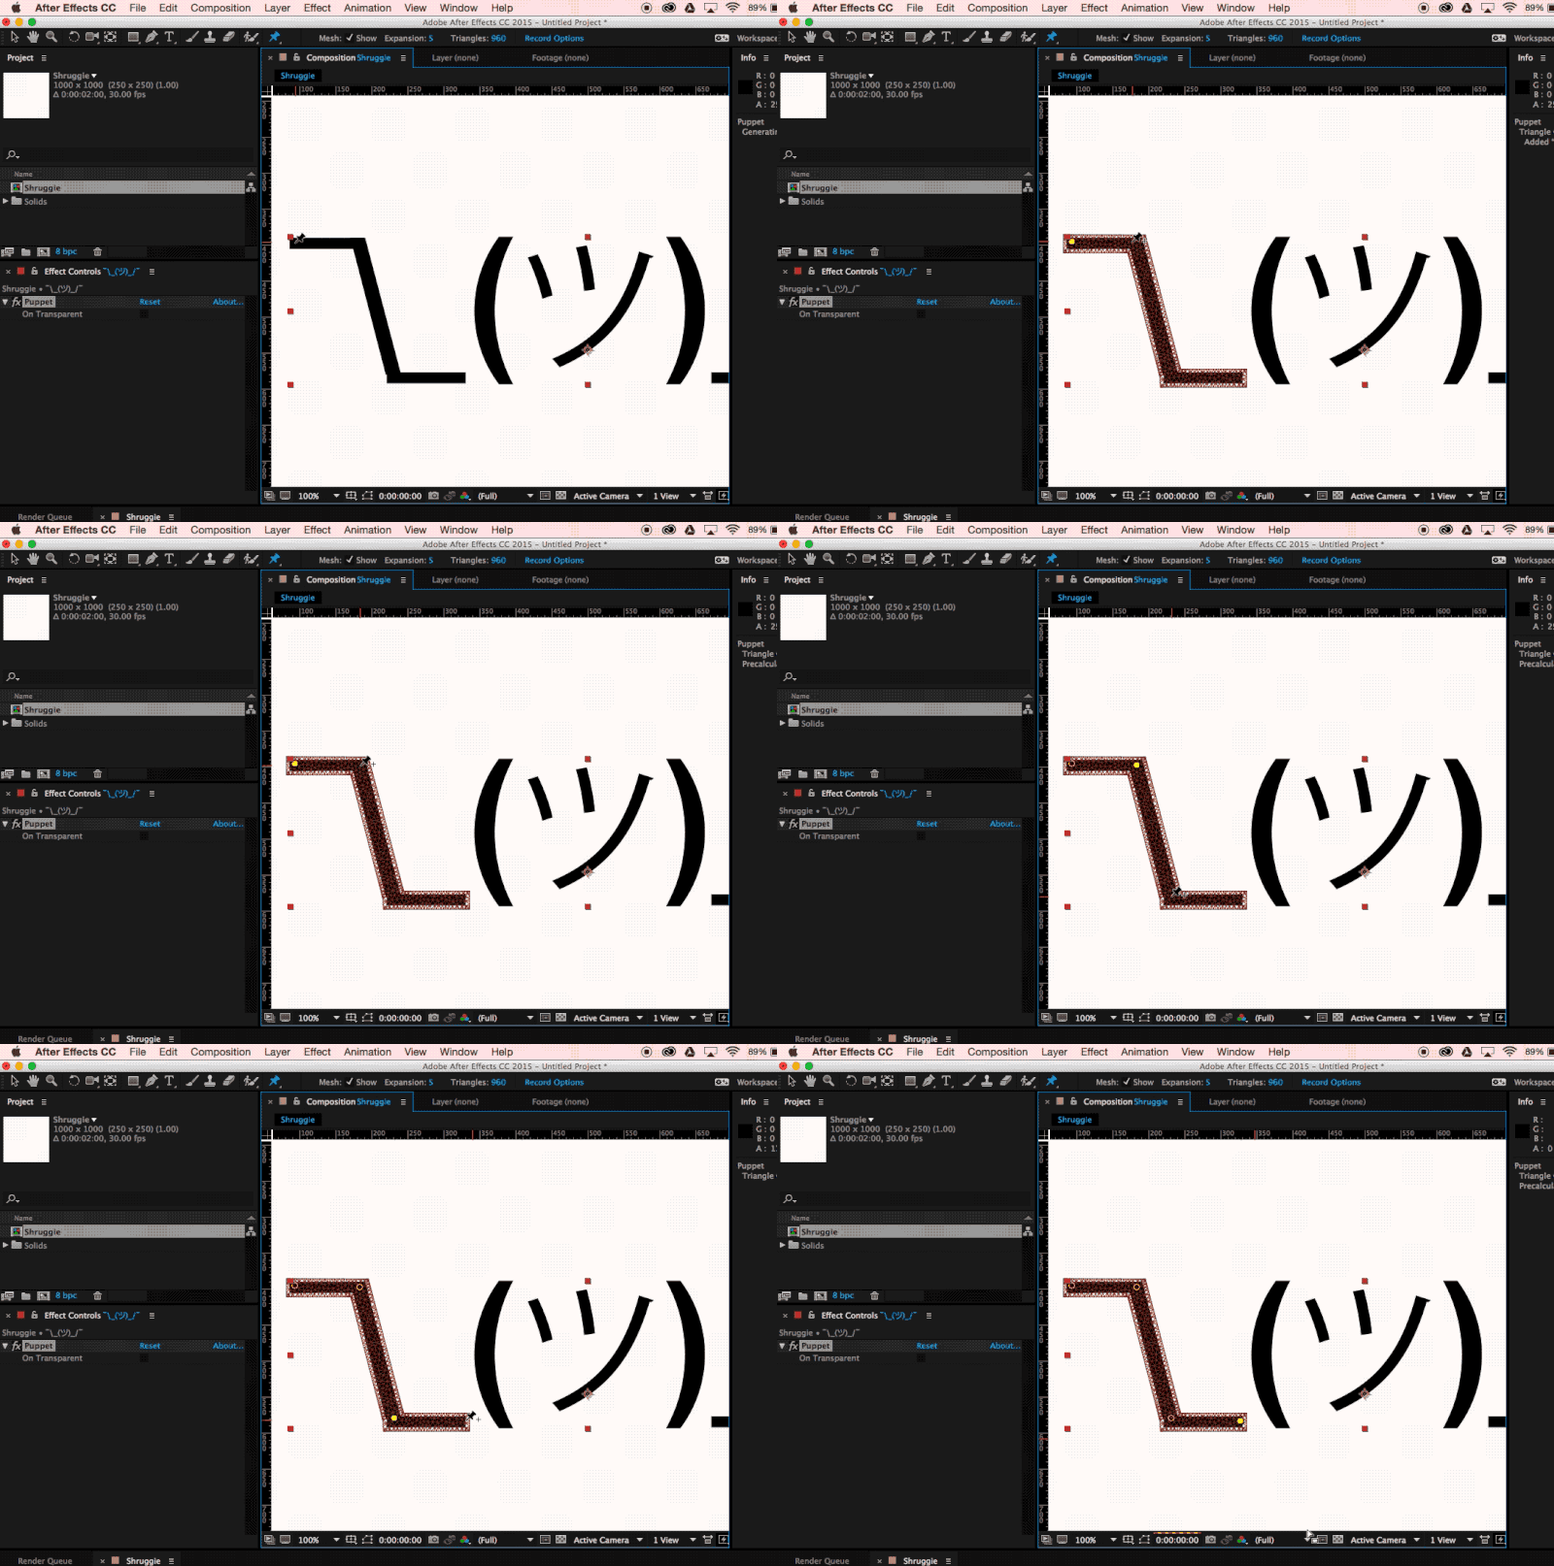
After Effects puppet pinning
Puppet pinning. (Large preview)

Keep adding joints until we have him fully pinned up and gotten a fully functional human torso:
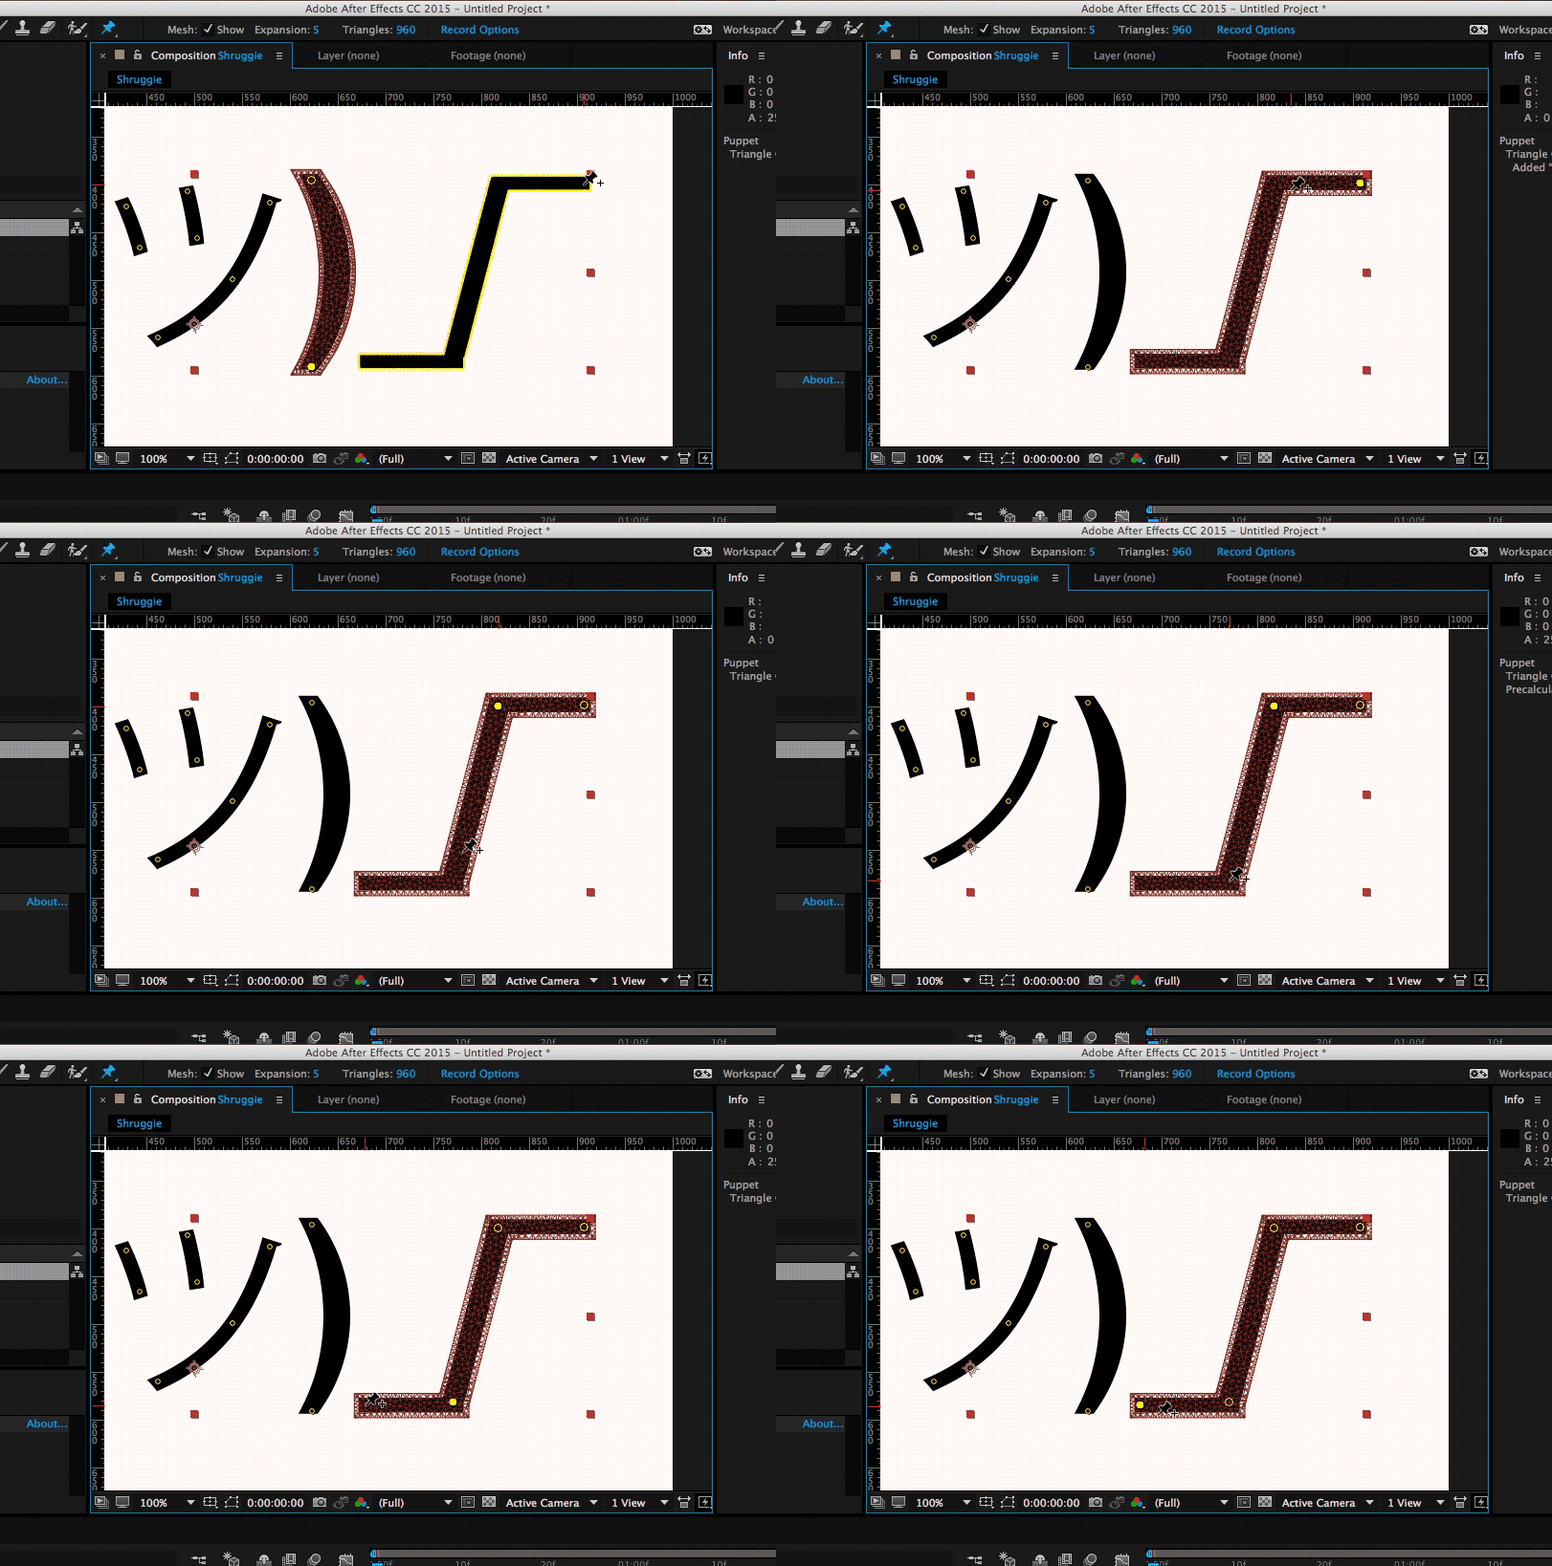
After Effects pins
Finalized pins view. (Large preview)

When you get a yellow highlight, that means that everything has been well done and After Effects recognizes the element as a vector and therefore you can place your pins. One thing that’s worth looking out for is to make sure that your pins/keyframes are at time 0 in your timeline at this stage:
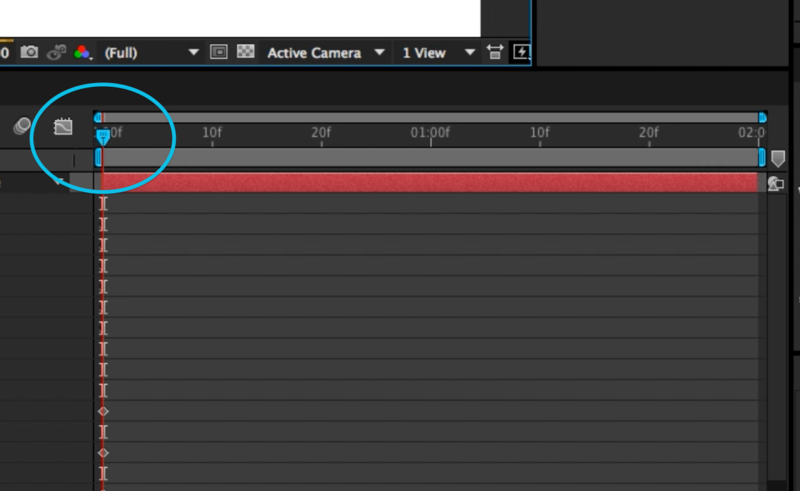
After Effects timeline
After Effects timeline. (Large preview)

5. Animation And Timeline

The key to doing this effectively is to start with your main poses. We’re going to start with our start and end poses in place. We can do that by copying the keyframes that have been set up by our puppet pins in the beginning to our end state. The reason for this is simple: this is the start and our default pose, that’s the pose we want to return to in order to get a coherent animation.

Set Up Start And End Point

Select the layout and press U, then copy-paste to the end state.
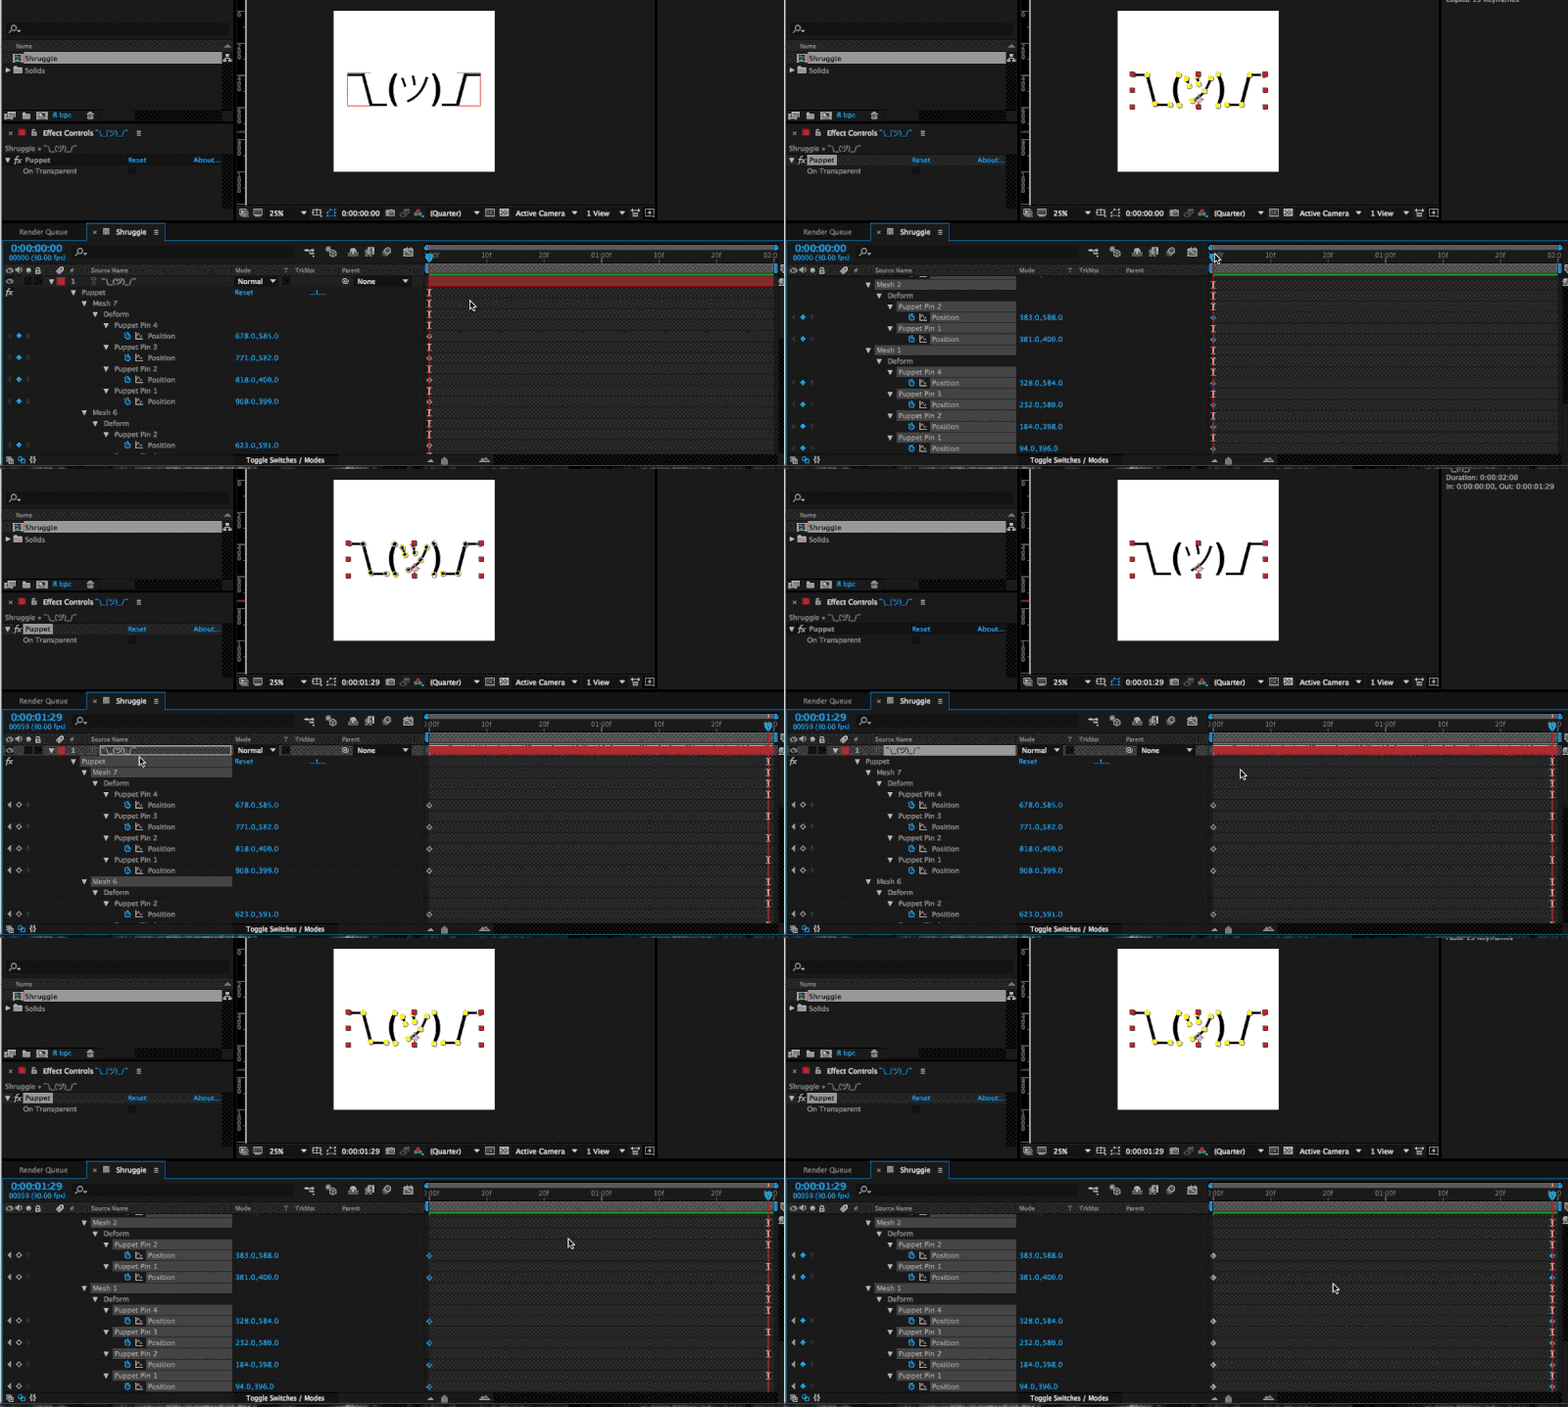
After Effects copy keyframes
Copying keyframes from start state and end state. (Large preview)

As you can see it in in the gif above selecting the layout and pressing U returns every property of a layer that has keyframes as little diamonds. These little ? now also constitute your end state.

Setting the Middle Stage

In order to have a stage that we want to animate to and from, we’ll put that right in the middle:
After Effects select timeline
Select the timeline in the middle (1 sec in our example). (Large preview)

Now that we’re in the middle of our animation we’re going to make changes to our default state in such a way that we want to constitute our middle state:

This means we’re going to raise the shoulder puppet pin, get the elbow and arms a little closer to your body and give the hand a proper “shrug” movement. This will automatically create those keyframes at that point in time, which will then animate our two default stages between each other.

Here’s the demonstration of the animation we get when we manually move the timeline with our cursor:
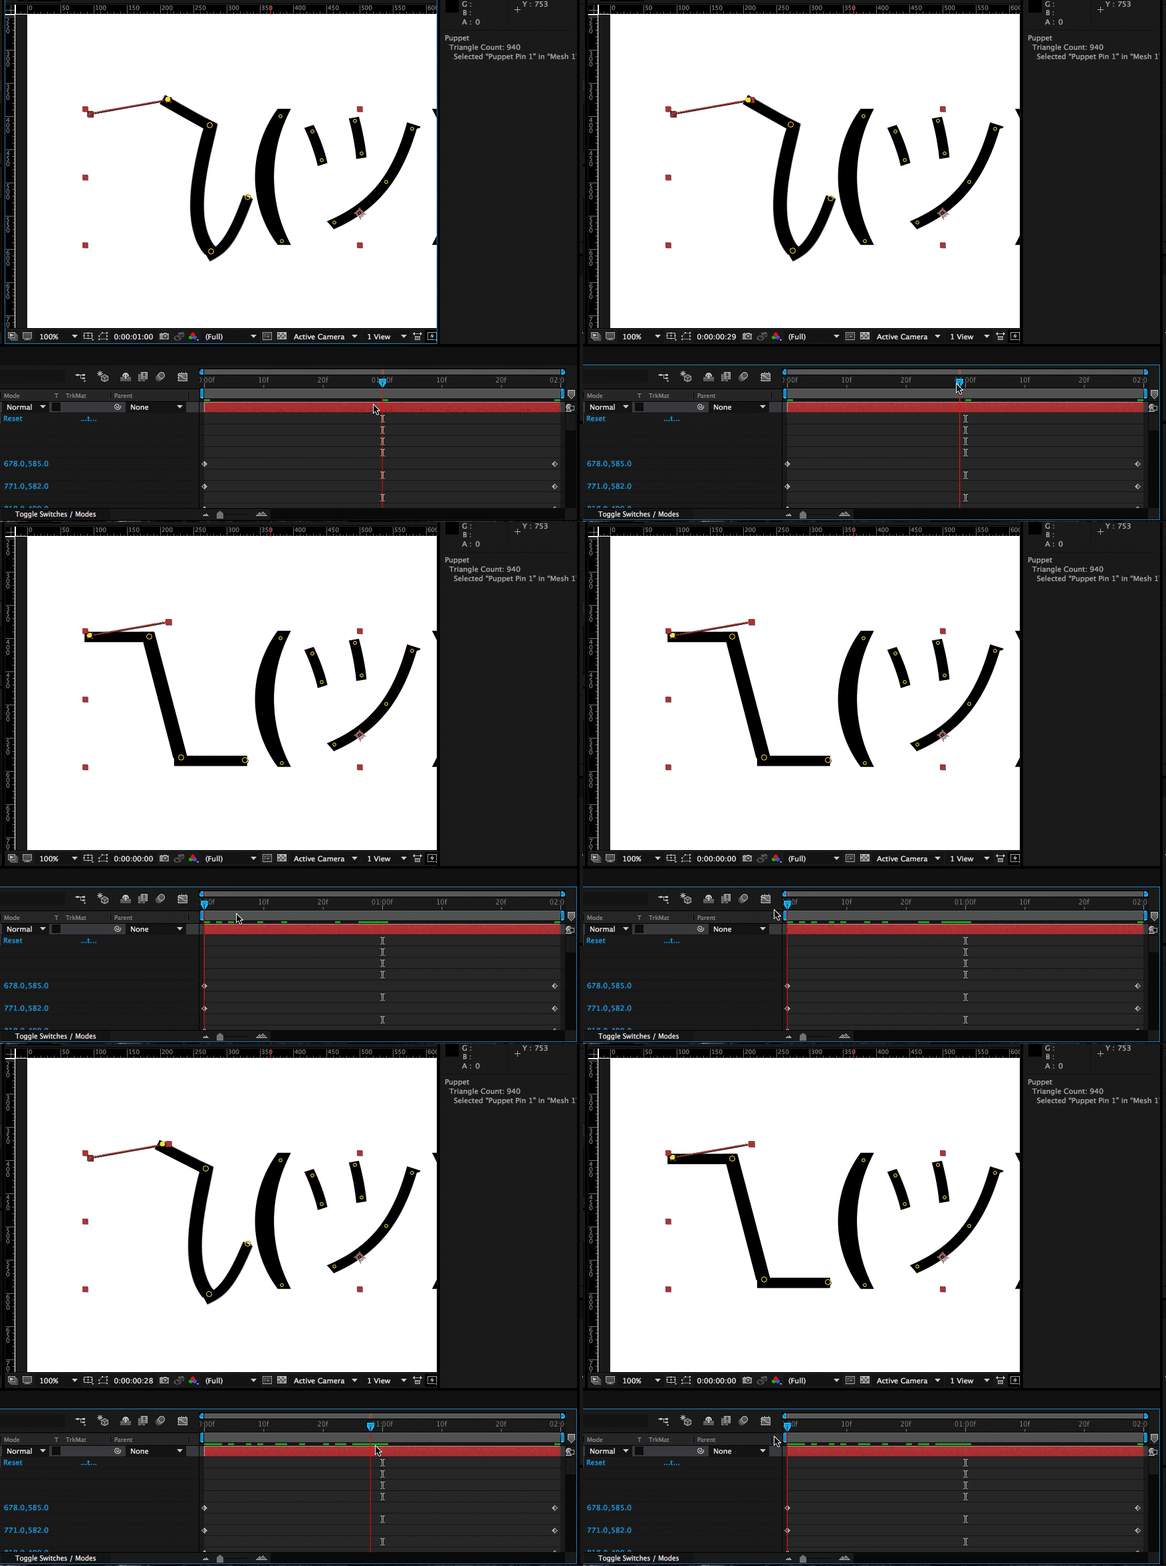
After Effects time ruler
Shoulders on the time ruler. (Large preview)

We’re following the exact same process for the right part of Shruggie’s shoulder and then add a bit of movement to Shruggies face which gives him a distinct look smirking over his shoulders and giving us the impression of: “Meh, you know, nothing to do about that”.

Space Bar To Play

Select layer + Space. When you hit the Space key you can get a first impression of our animation:
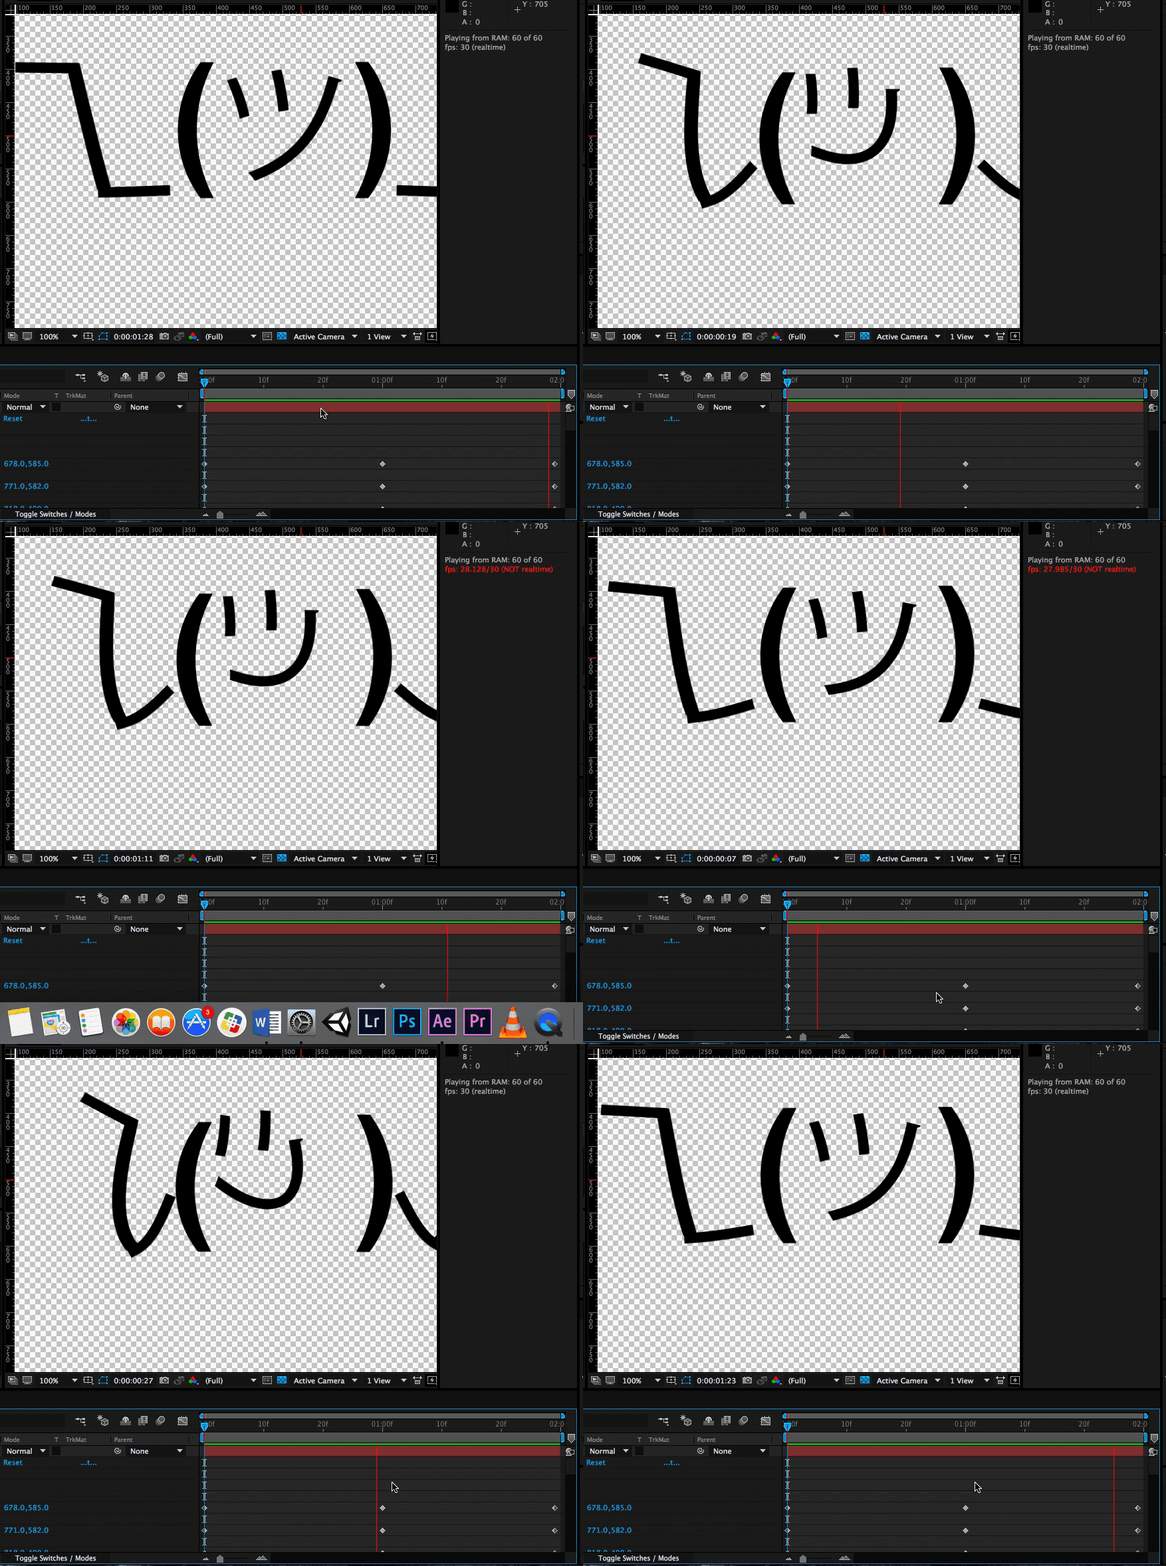
After Effects animation test
First animation test. (Large preview)

What you’ll notice immediately is that the character seems to miss character. That is mostly due to the fact that our animation plays at the same speed for the entire two seconds. That is the hallmark of mostly dodgy animation?— you’ll want it to not just evenly move between two points.

The easiest way to fix it up and give Shruggie a bit more realism, believability is to use a technique called ease-in and ease-out (or cushioning or a number of other ways). It’s basically speeding up the animation and then speeding it down again before reaching the end of the animation timeline.

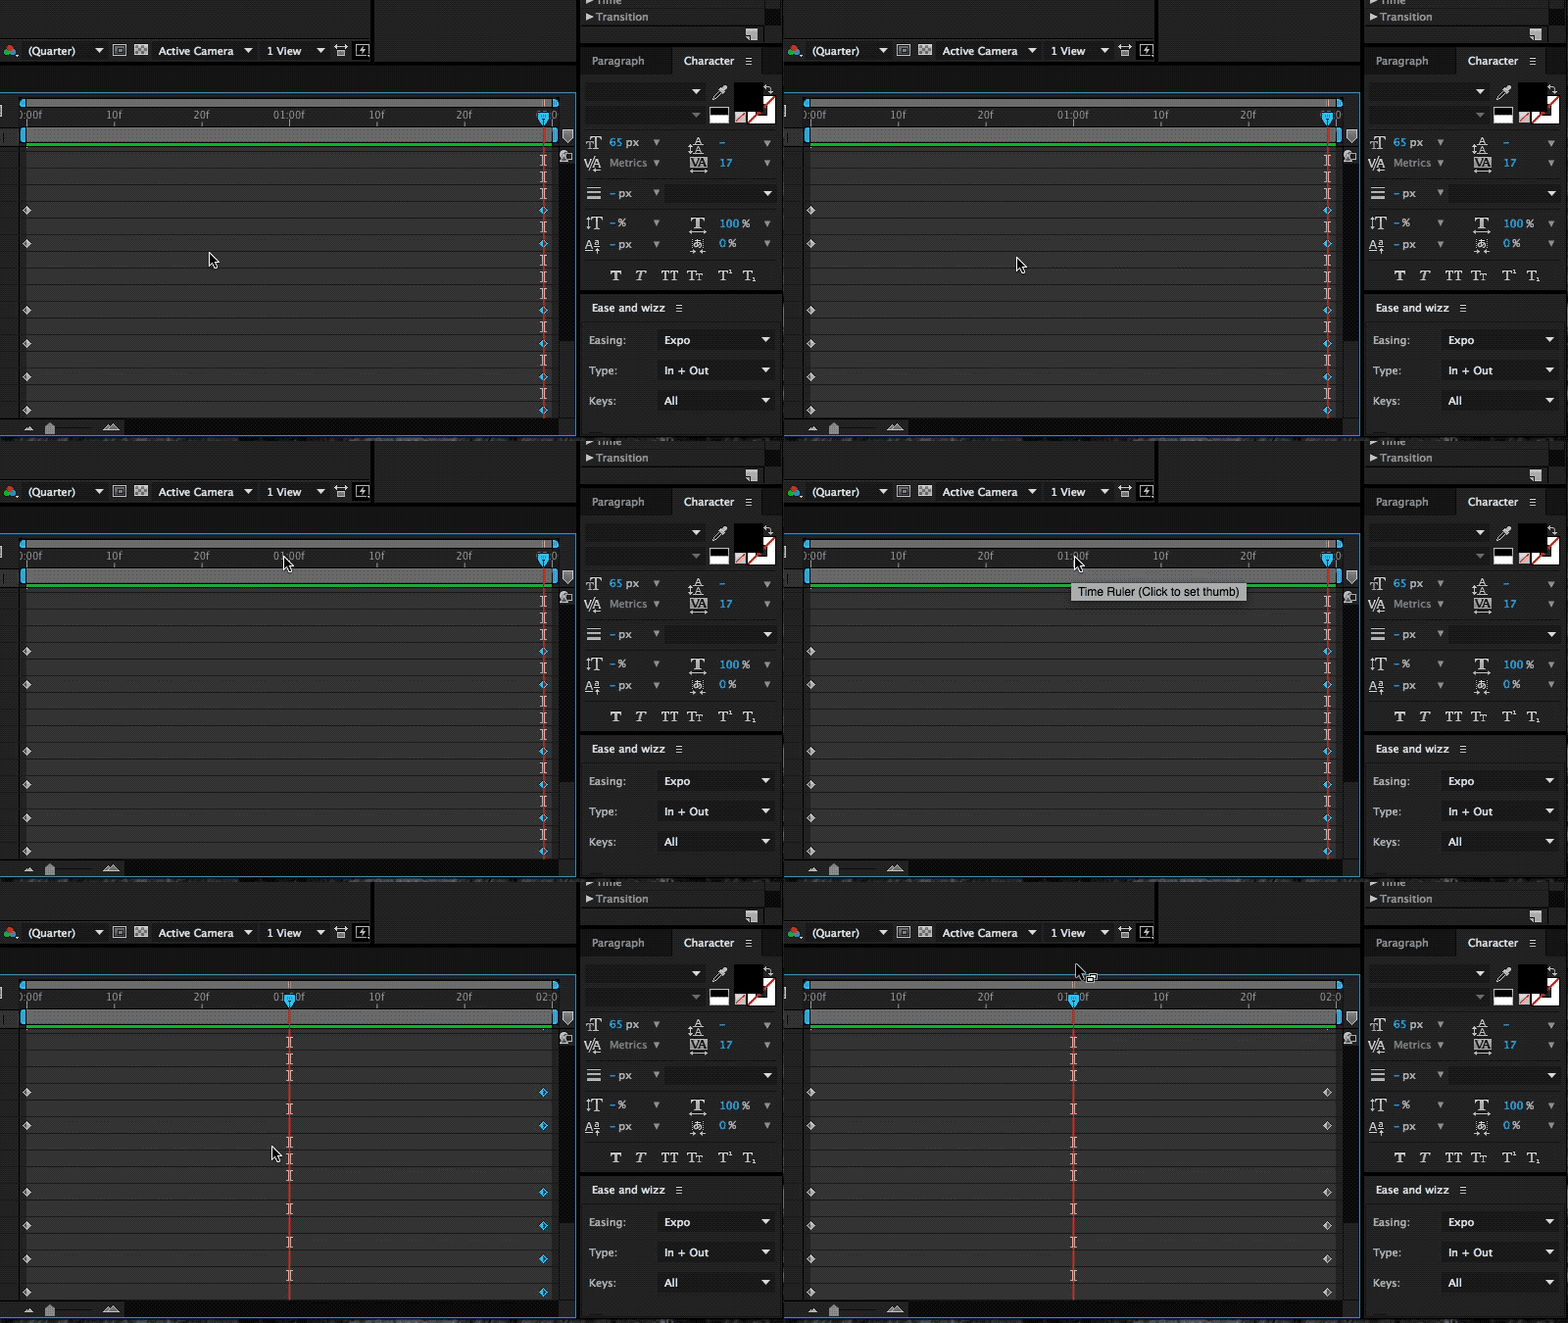
It’s a cheap way of breathing some more life into our Shruggie. To do that we’re using a great little After Effects plugin called Ease and wiz that lets us apply some easing without much work:

Select all keyframes and then apply Ease and wizz with the options most suitable for your animation.
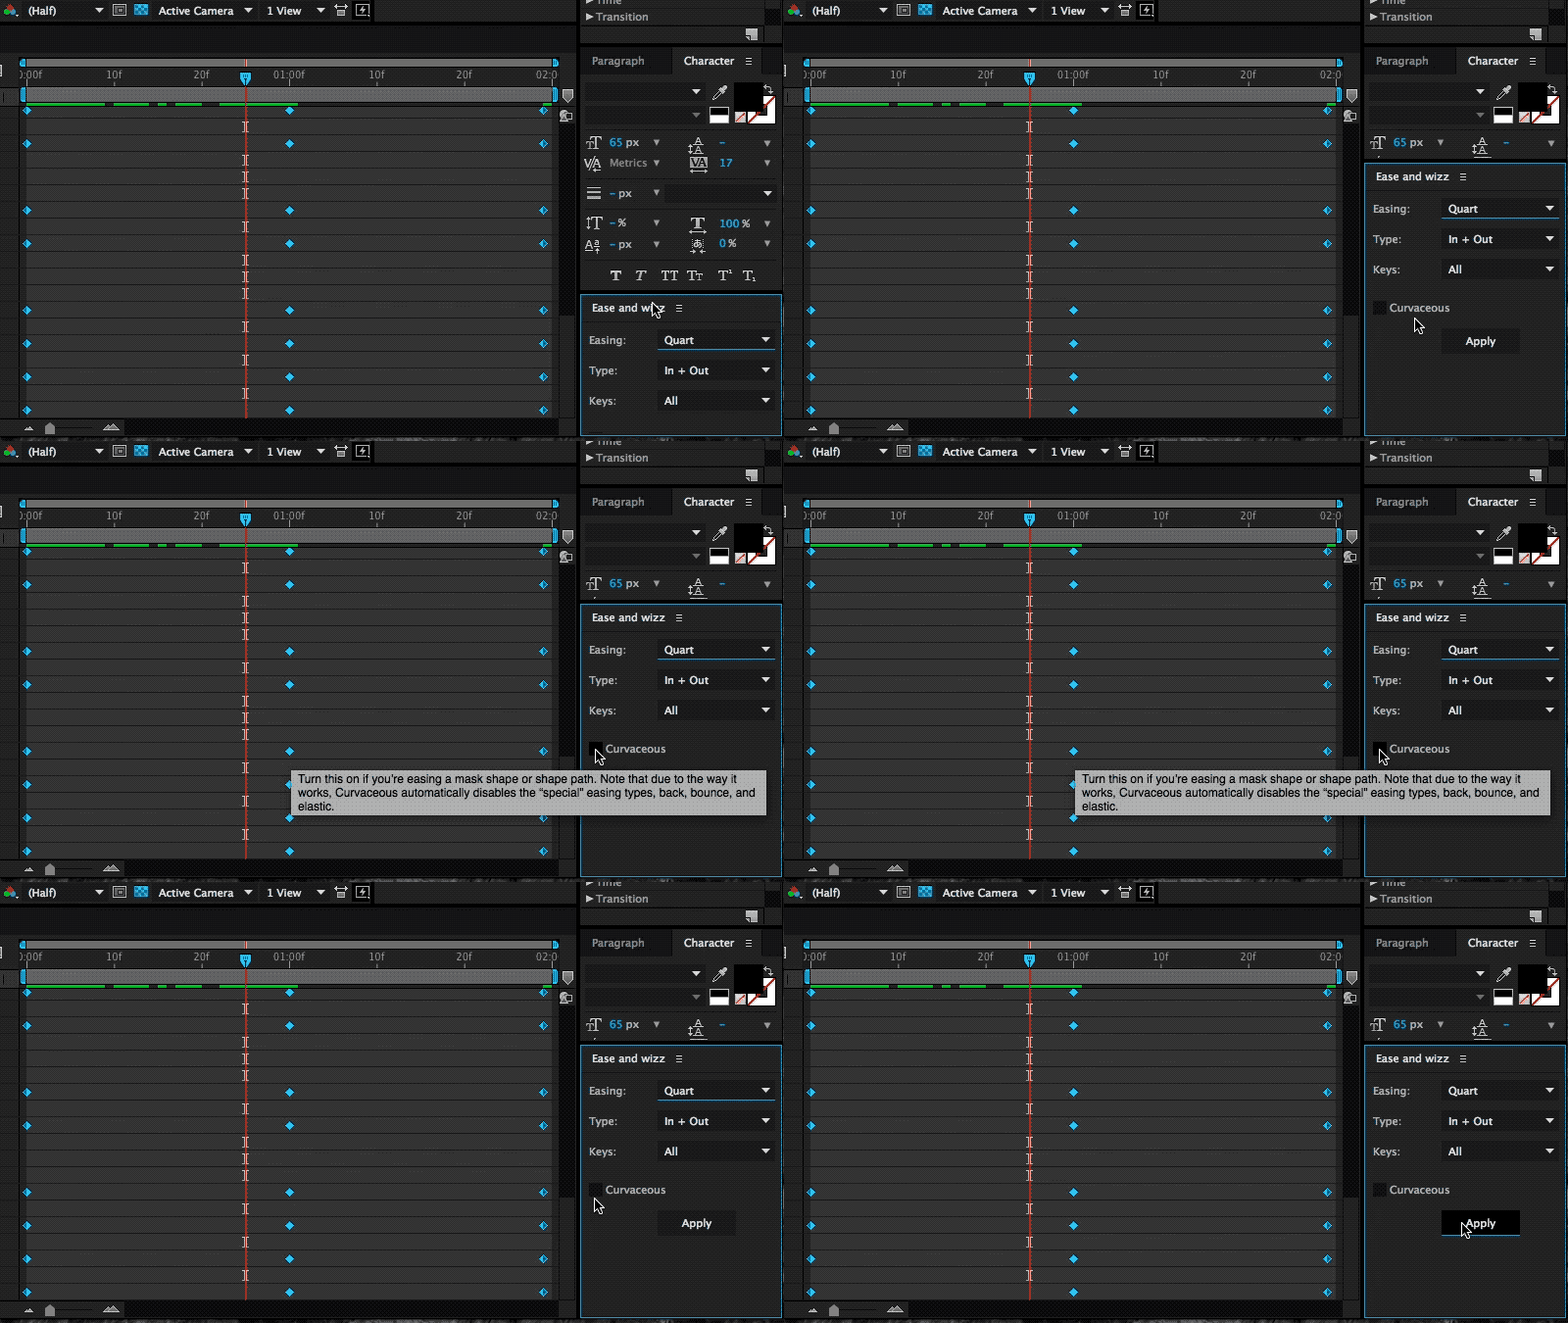
After Effects ease and wizz
Applying Ease and wizz and some options. (Large preview)

In our case we’ve chosen to go with the following settings:

  • Easing: Quart
  • Type: In and Out
  • Keys: All
  • Curvaceous: no

If we now run our animation again with the space bar, you’ll notice you’ll get something very close to the animation embedded at the beginning of this post. This means that we’re done, and we can be very proud of our work.

6. Further Reading About The Motion Basics

The tutorial you’ve just read introduces only the very basics of animation by way of making Shruggie move. In order to progress in animation, you’ll need to dig in further into the basics of motion. Further reading on some of those basics will help you improve further.

Below you’ll find an article describing the basics of motion and then some that relate to motion/animation with UX and software to come back full circle on the web:

7. Bonus Reading: Life On The App Store For iMessage

The above tactics were applied to a whole bunch of kaomoji for the already mentioned as stated in the introduction.

I’ve launched the sticker app to some early support on Product Hunt, however, the app itself failed to be picked up by Apple or any audience on the App Store at large. I’d like to point out two realities on the App Store that anyone trying to make a sticker app needs to face:

  • Competition by big brands;
  • The wrath of users who don’t get the concept of stickers.

Problem: Prevalence Of Brands

If you want a shot at being consistently in the top 50 of the top paid iMessage stickers, then it helps to be a big brand or a notoriously known character. I’m not going to attach much meaning to this, just state it as a fact and provide the evidence below of screenshots collected in April 2018 (when I first wrote the draft on this article) on the Swiss App Store for iMessage.

Of the top 40 (that’s the top paid category), around 18 are likely to be well known characters turning that fact into downloads:
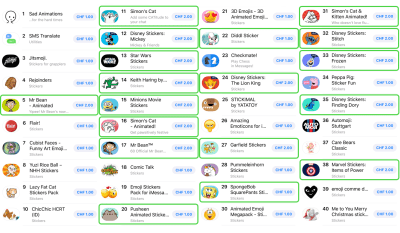

iMessage Store top paid sticker apps
Top paid sticker apps. (Large preview)
Top Paid Sticker Apps

The subtitle of this section is somewhat provocatively chosen, as there is no intrinsic problem with this as these characters are uniquely suited for stickers, though it’s an issue as this is just what you’re up against. Of course, the economic reality also shows around curation:
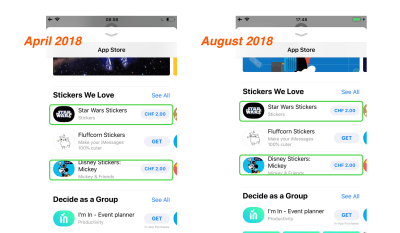

iMessage Store sticker app curation
Sticker app curation. (Large preview)

The left shows a screenshot of the first batch of curated stickers (66% big brand) in April of 2018, the right shows a screenshot of late August of 2018, where I encountered the exact same setup.

Again, this is not to pass judgment at Apple as I think they’ve become much better at curation in the App Store in general. As a summary of this situation, I think it is fair to say that other sticker ecosystems such as LINE’s have allowed more creativity to flourish and that the sticker ecosystem on the App Store is hard to advance into successfully.

Users still don’t get (or do not want?) stickers and the next point is a testament to this:

Problem: Facing The Wrath Of Users

The most annoying problem with the App Store for iMessage is still the fact that users do not know how to use them (i.e. stickers). That results in an abundance of one-star reviews.

In the case of Korea, Kaomotion got 80 one-star reviews in a matter of a few days by users complaining about the app not being there on their phone.


App Store negative review
“?? ?????? ???..???? ???? ?? ?????” translates to “I don’t know how to use it.” (Large preview)

This can then look like the next screenshot fast, and Apple doesn’t seem to care to help clean out the mess, even after trying to address the users in Korean:


App Store 1 star reviews
What an abundance of 1 star reviews in Korean looks like. (Large preview)

They’re essentially all saying the same: “The App isn’t on our phone.” Any one-star reviews are essentially also going to stay forever as no-one seems to care about what you have to say.

Solutions to the discoverability problem of stickers in the interface

I’m not the first one or the only one to write about this problem, however I’d like to offer some possible remedies below.

18 months after the introduction of the App Store for iMessage users still don’t know how to send and receive stickers (though I must say that Apple tried to stitch the interface up within iMessage).

In this regard, you can only try to fix these problems by attacking the problem head-on and giving as much information as possible to users.

  • Writing guides on the App Store page
    Use the (text) screen real estate Apple gives you to write a step to step guide about how stickers are sent.
  • Writing more in-depth guides elsewhere
    Do a blog post or something similar about the same topic with screenshots, gifs, or a video (I’ve made one here for Kaomotion).
  • Use a screenshot or app preview
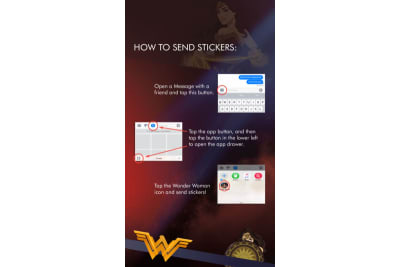
    Finally, you may want to be explicit even on your screenshots about how your app is used. Even Wonder Woman seems to have been experiencing the same problem and used a screenshot to offer remedy:
Wonder Woman stickers
Wonder Woman: “How to send stickers”. (Large preview)

You will likely still get users complaining, this way you’ll have an easy way to describe to them what needs to be done in order to use your stickers.

Were I to go back to the launch of the sticker store, I probably wouldn’t go through the hardship of creating Kaomotion once again, however, I’m glad I got to write about animation basics for After Effects!

I hope this tutorial gave you an interesting glimpse at both After Effects and the iMessage App Store. If you’re into this, you might want to go hang out at this new animation community called Keyframes.

?( ? )?

Smashing Editorial(ra, yk, il)

Categories: Others Tags:

What’s New for Designers, September 2018

September 10th, 2018 No comments

This month’s collection of new tools and elements for designers has a common theme – productivity. There are so many things here to help you do work better and more efficiently. But there’s fun too…make sure to look for some of the hidden design gems deep in this article. They’ll bring a smile to your face for sure.

If we’ve missed something that you think should have been on the list, let us know in the comments. And if you know of a new app or resource that should be featured next month, tweet it to @carriecousins to be considered!

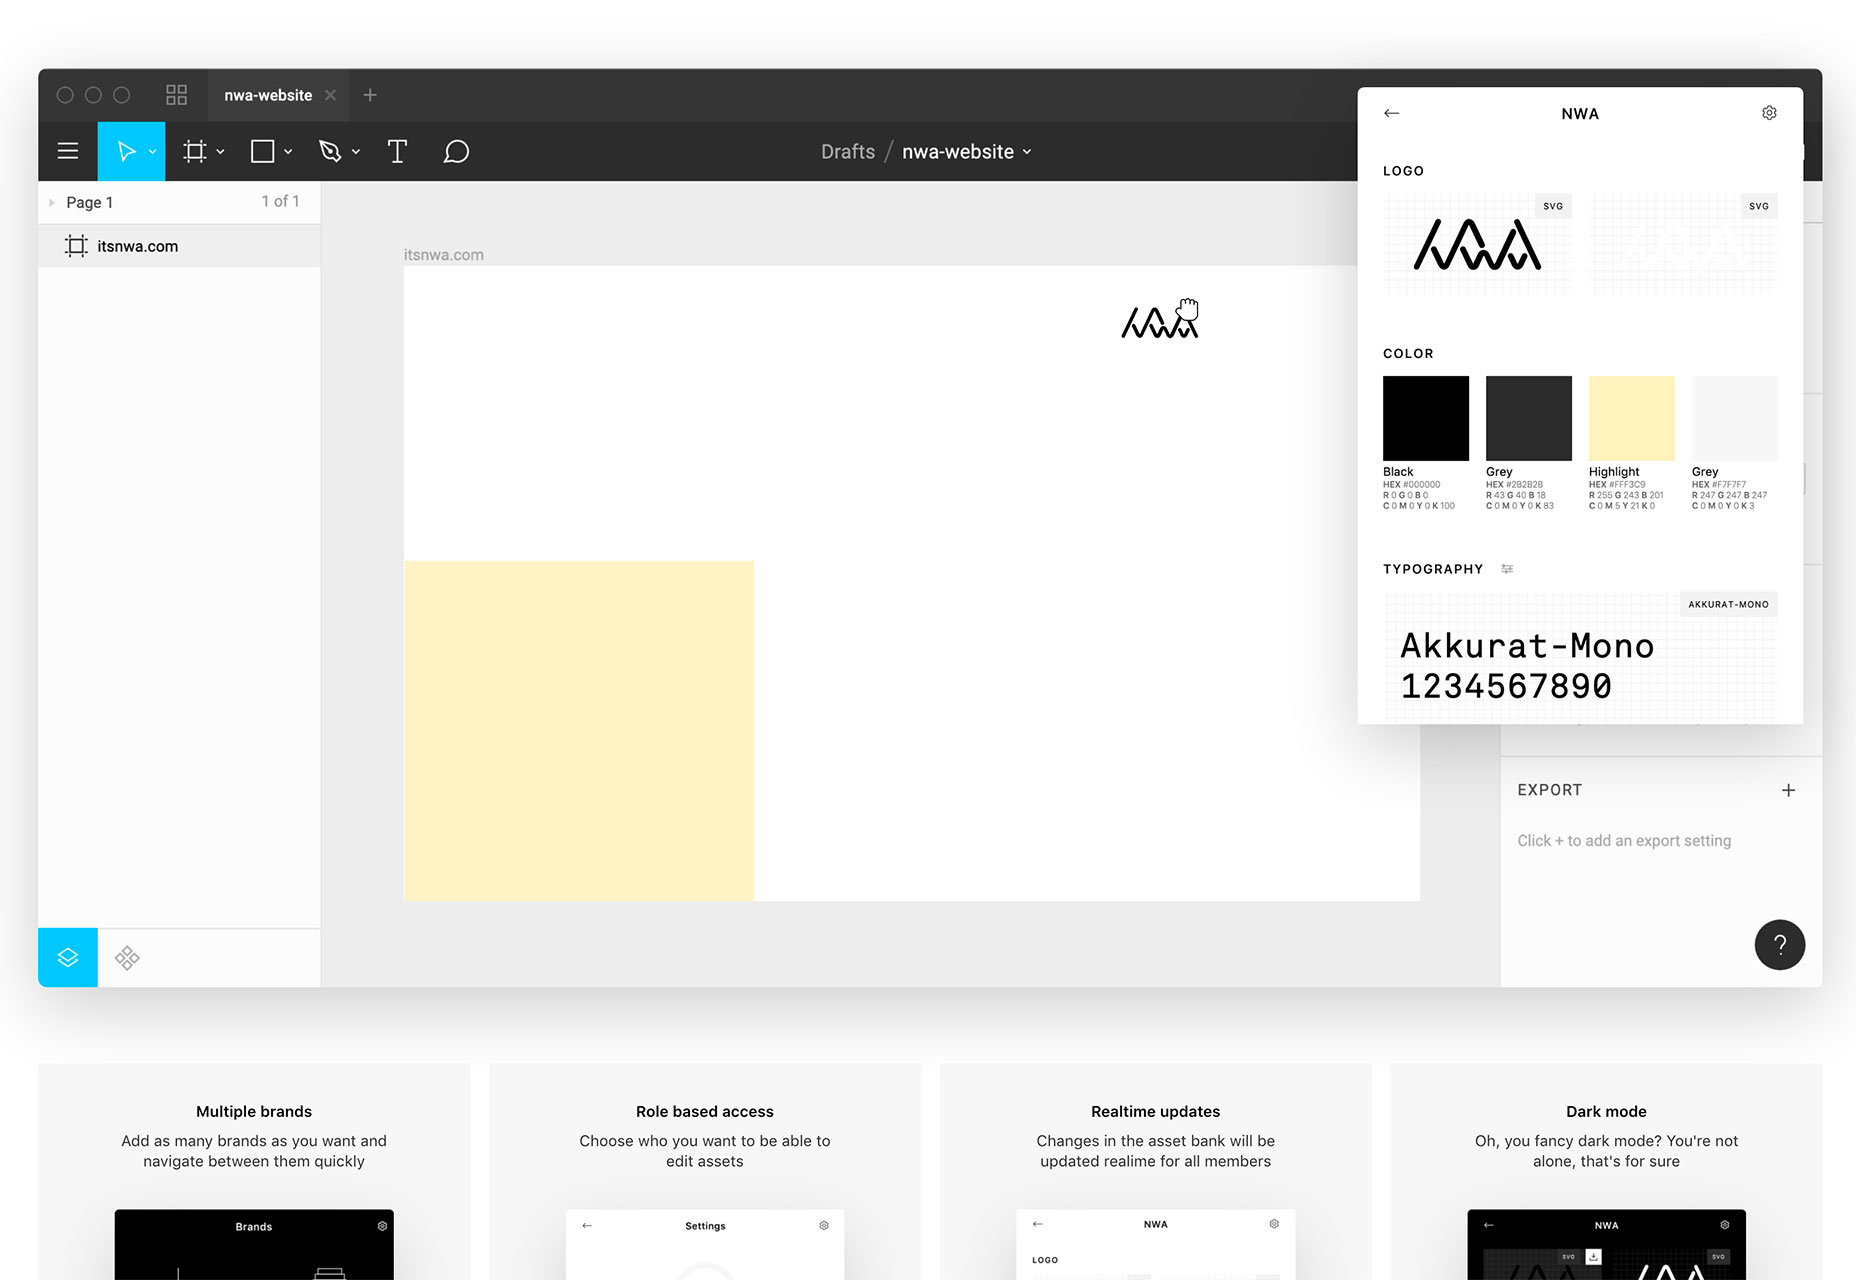
Brandy

Brandy is a brand asset management tool for macOS. Use it to keep up with colors, logos, gradient patterns and fonts by project. Everything works in real-time and one account can contain as many brand projects as you like. Plus, it works using drag and drop so assets are always at your fingertips.

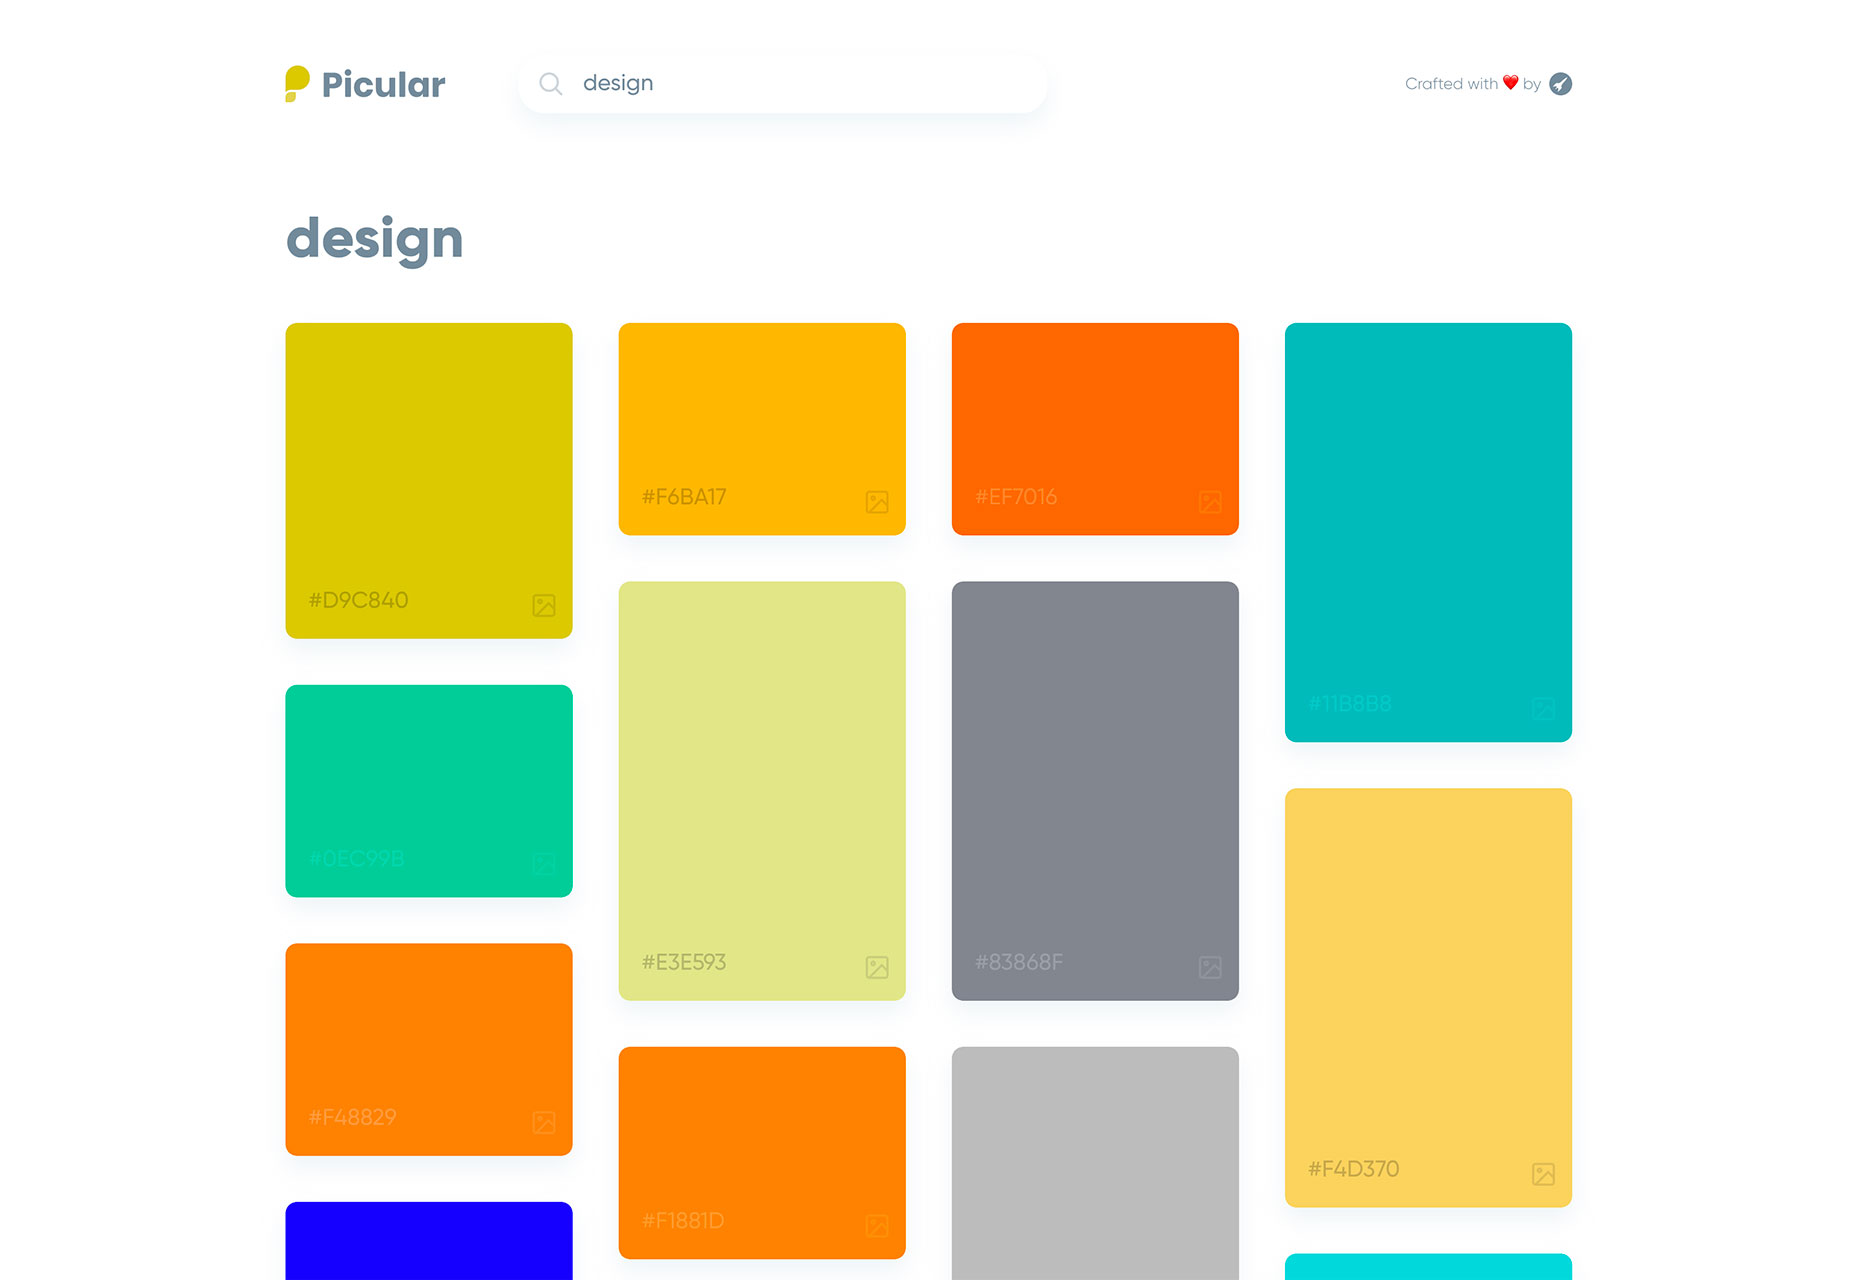
Picular

What if you could Google a color? That’s what Picular does. The tool allows you to put in a word or phrase and returns color results – by hex code – that represent that word. It works by pulling images of that word and boiling them down to a single hue. (Hover over colors to see the source image.)

Drawser

Drawser is a vector graphics tool that works in-browser so that you can draw and edit on the screen. It includes interactive features so you can collaborate on vector-based projects online. Drawser includes a social component and community as well with the ability to publish projects and allow other users to refine them in the open source platform.

RSSHub

RSSHub is a lightweight RSS aggregator that can grab a feed from pretty much anything. (It does everything you wish some of the old RSS options of the past did.) The documentation is straightforward and implementation is quite seamless with plenty of options to get just the feed you want.

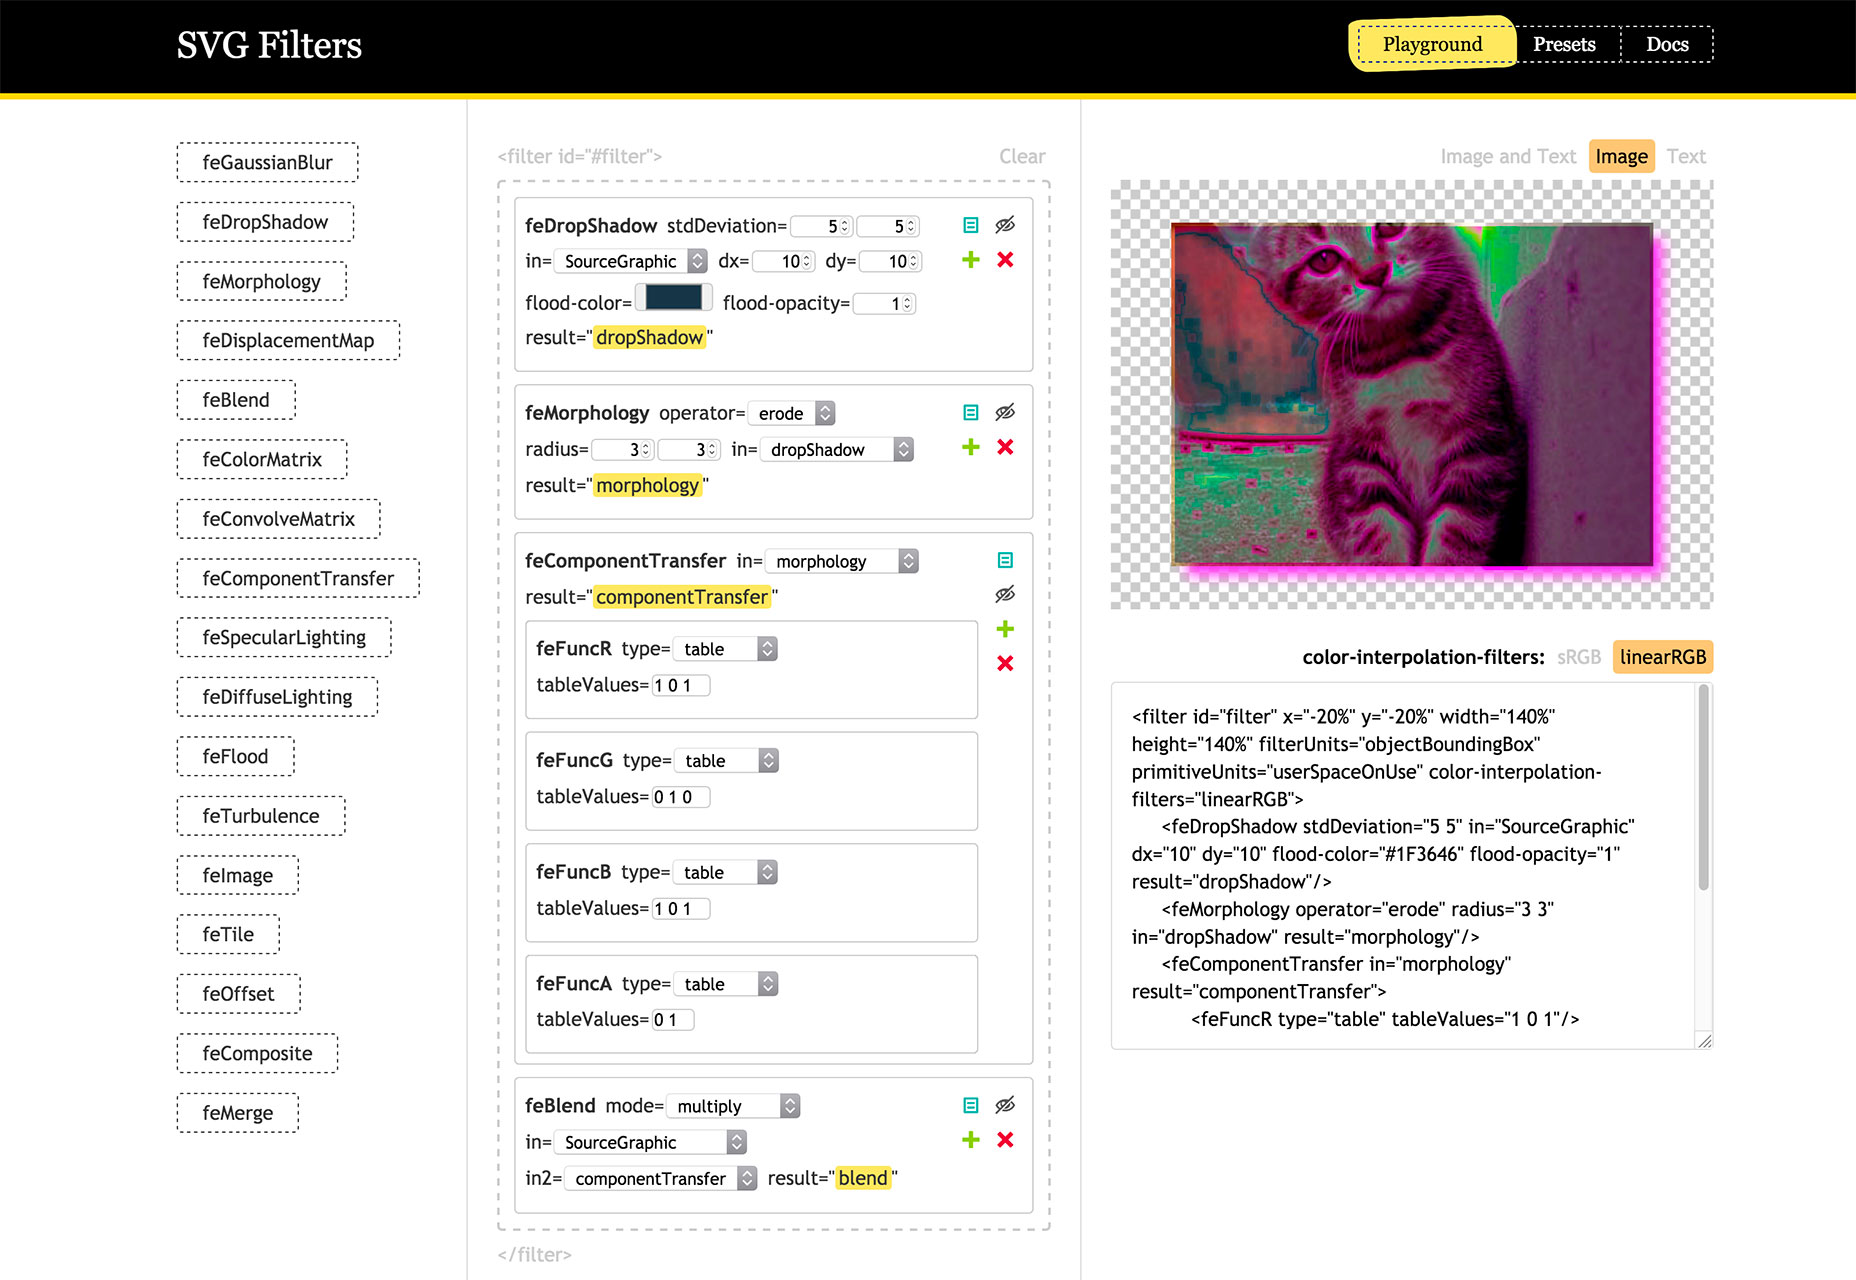
SVG Filters

SVG Filters is a fun playground where you can add different effects to SVG-based images and text with just a click. Use the toggle settings for each filter and watch the image change on the screen. Copy the provided code and your filtered image is ready to go.

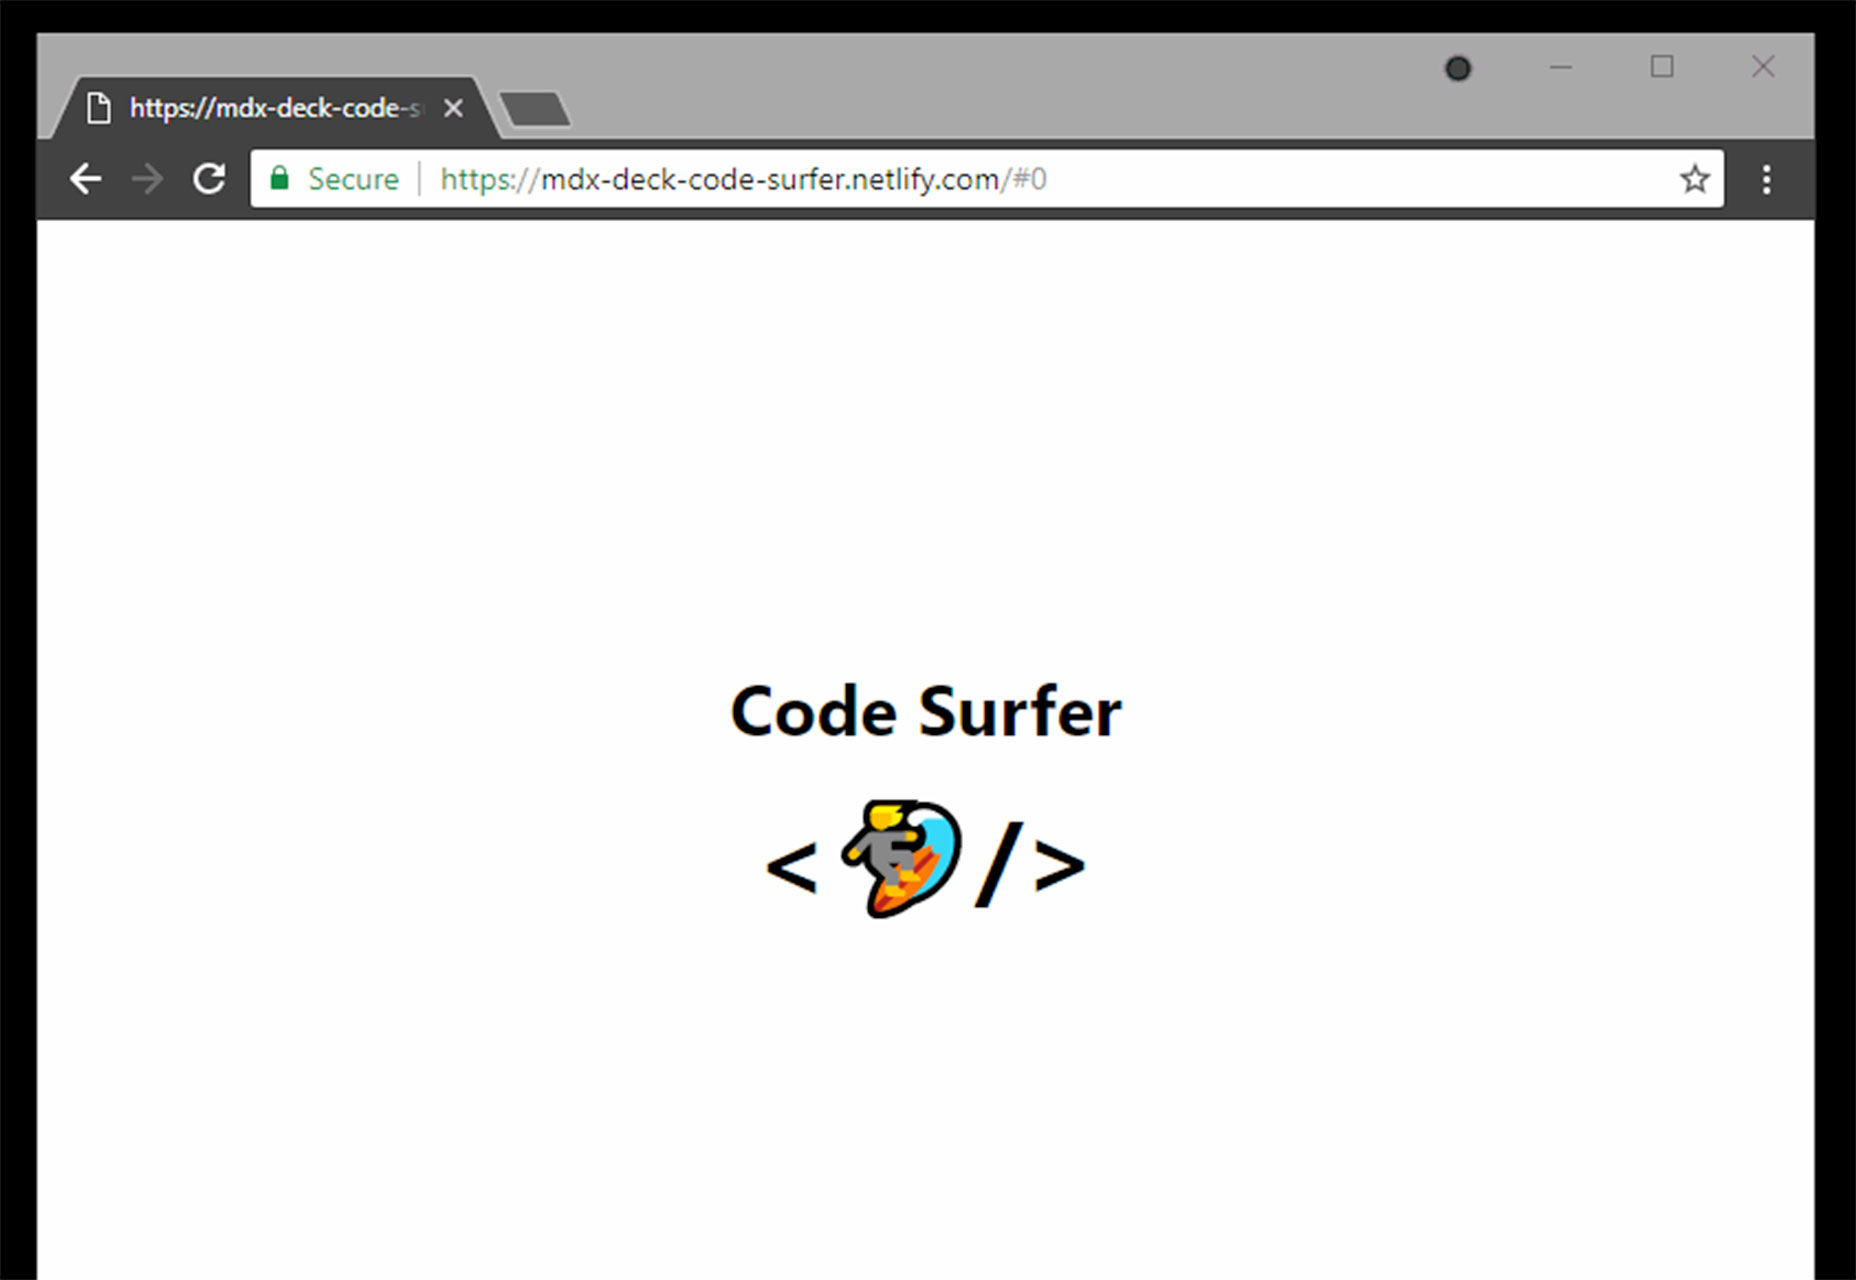
Code Surfer

Code Surfer is a React component for scrolling, zooming and highlighting code. You can highlight single or multiple lines of code, scale long snippets and more.

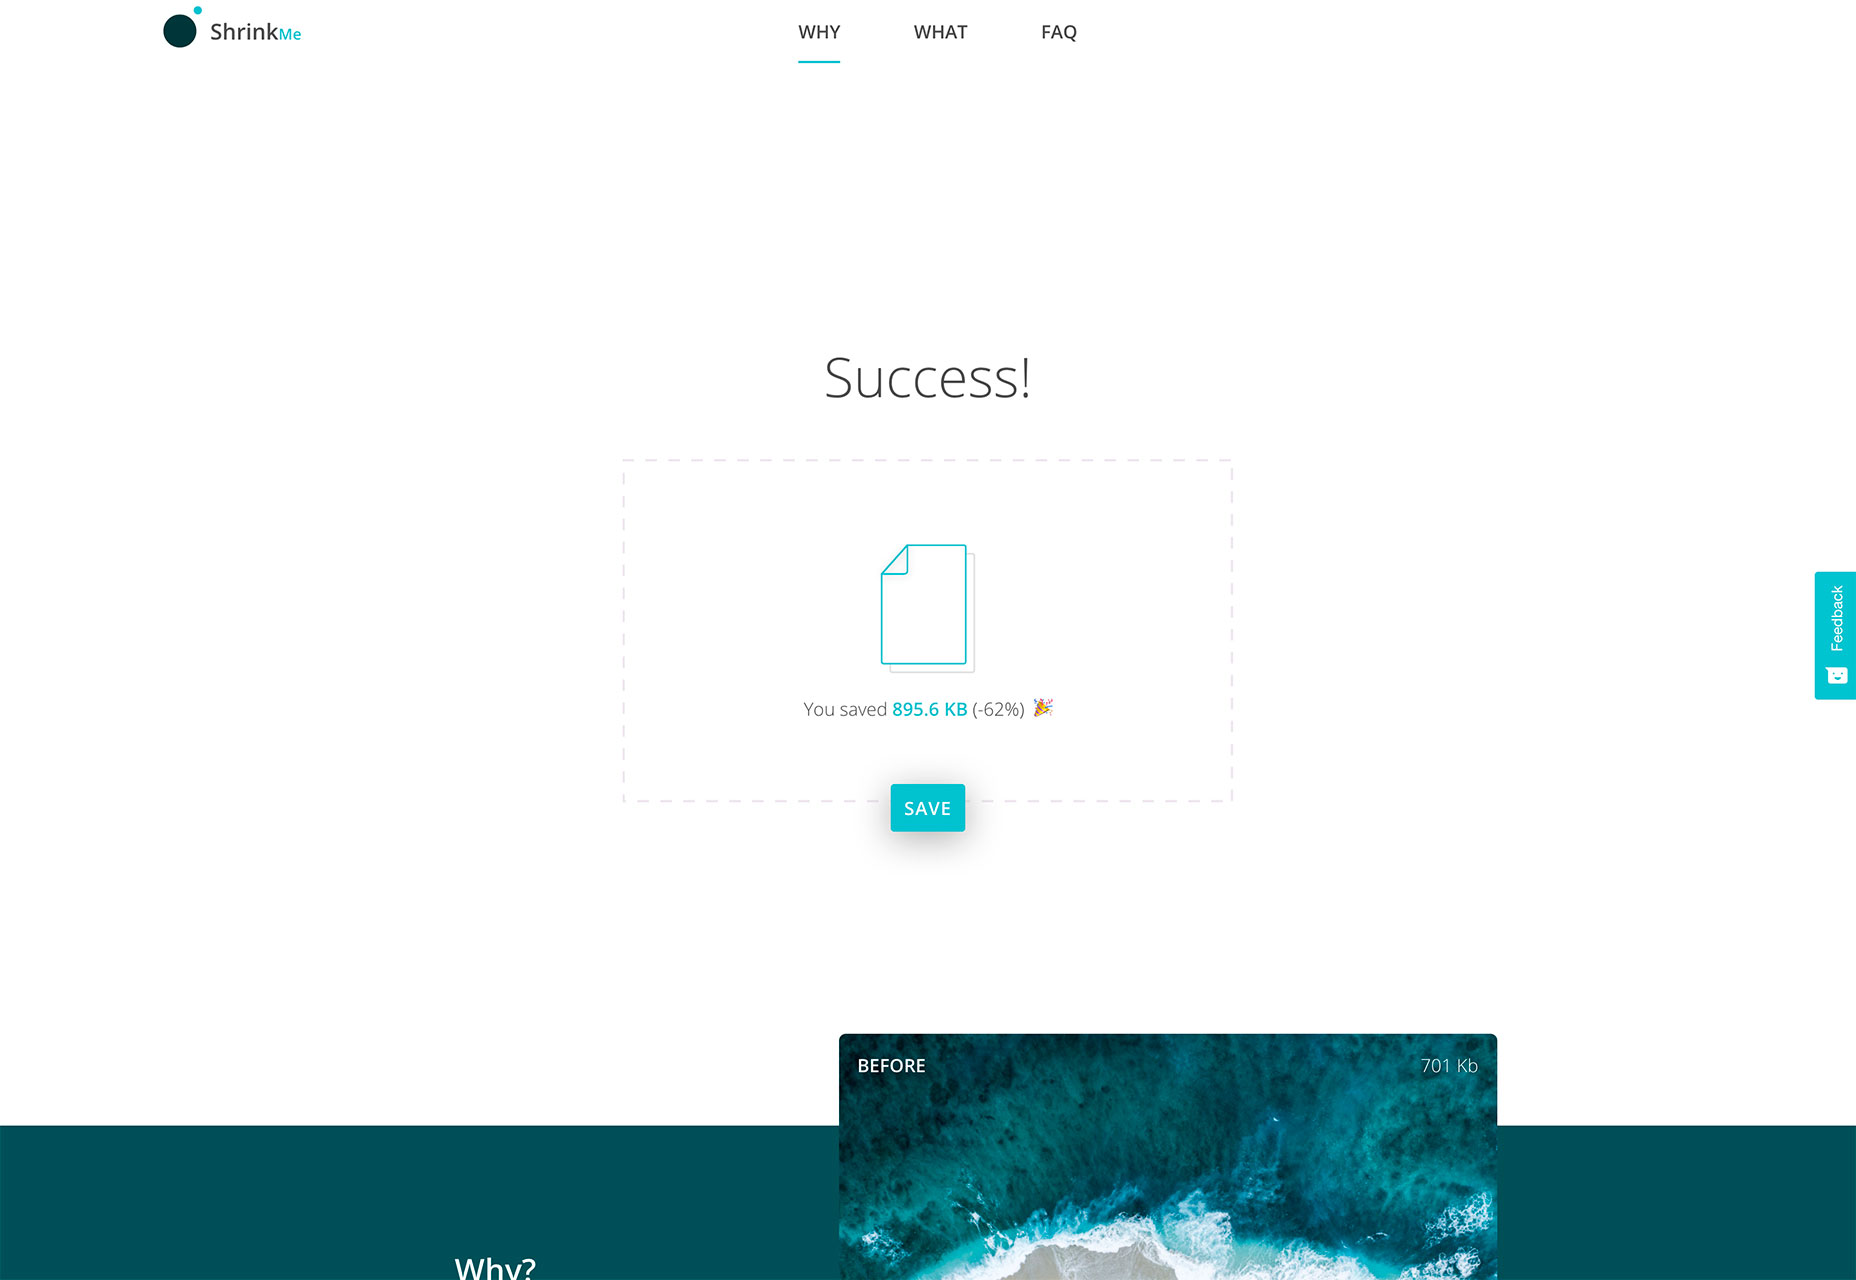
ShrinkMe

ShrinkMe is an image compression app that works in seconds. Drag and drop you photo into the window and get a downloadable file that’s significantly smaller. (My sample image shrunk by 62 percent without image quality loss.) Plus, this tool works offline and you can shrink multiple files at once.

Fake 3D Effect

Can’t make it? Then fake it. This pen by Robin Delaporte features a fake 3D effect with a depth map. It’s definitely an interesting way to use a three-dimensional effect with an image and no fancy equipment.

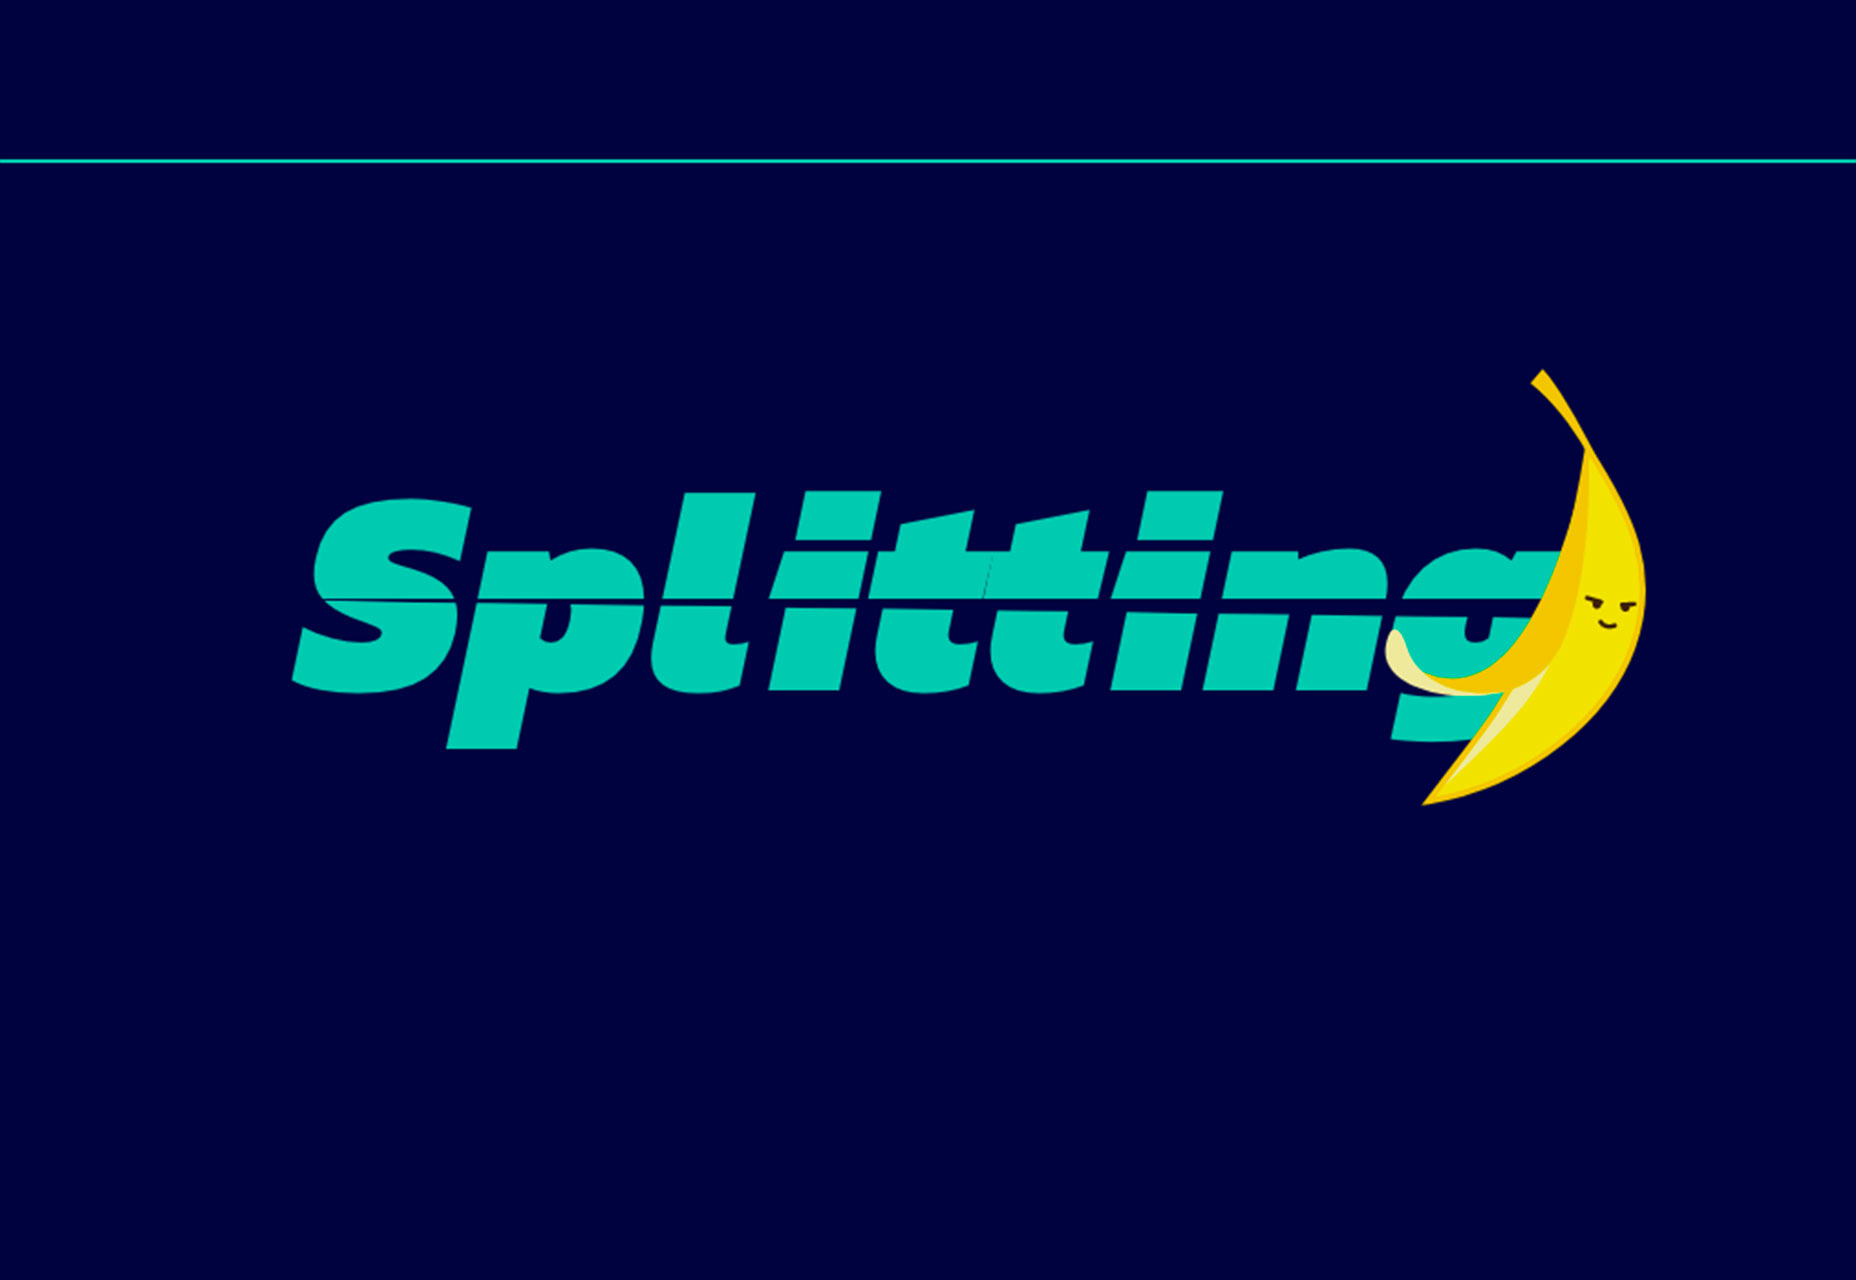
Splitting

Splitting helps you create a trendy split text effect with CSS. The tool creates elements and adds CSS variables for animating text, grids, and more. It’s lightweight and easy to use with plenty of documentation to guide you through set up.

Tutorial: Advanced Effects with CSS Background Blend Modes

Bennett Feely takes on how to work with a few different CSS properties to create blended background objects. The tutorial primarily focuses on background-blend-mode and how to create impressive patterns.

Food & Drinks Icon Set

The Food & Drinks Icon Set is a collection of 60 icons featuring plenty of edibles. Each icon comes in a cull color style as well as line icon style. Download the vector shapes and customize for projects.

Gradient Icons

Gradient Icons is a pack of 100 icons of varying types with trendy gradient coloring in a flat style. The collection expands to 1,000 icons in the full paid set.

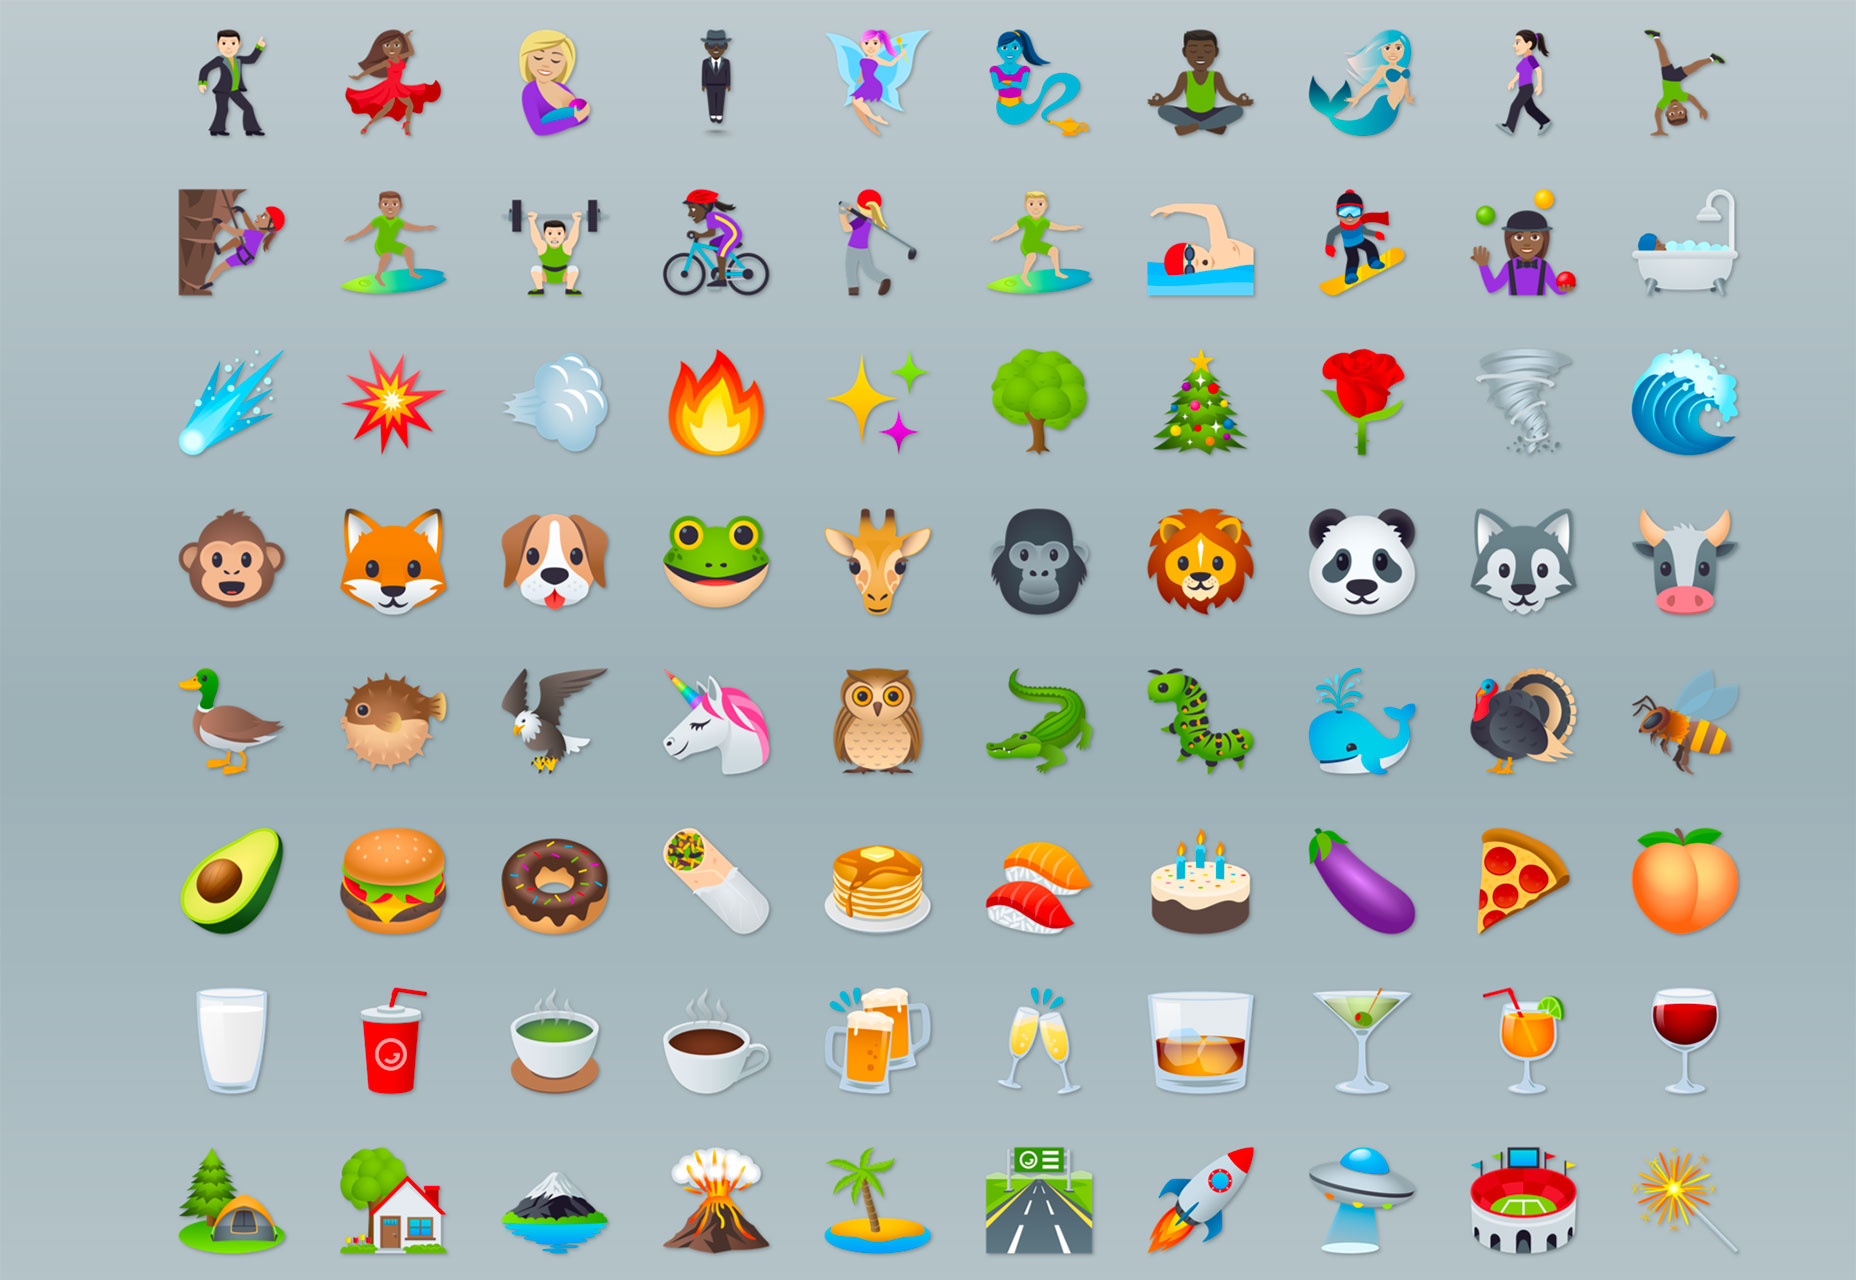
EmojiOne 4.0

EmojiOne 4.0 is a premium collection of emojis restyled for 2018. Each design has been tweaked to reflect current design trends with subtle gradients and a clean finish.

Best Animated Logos

Best Animated Logos is a collection of logos you know with awesome animations attached. From Google to Tumblr to Skype to Reddit, these animations will inspire you for sure.

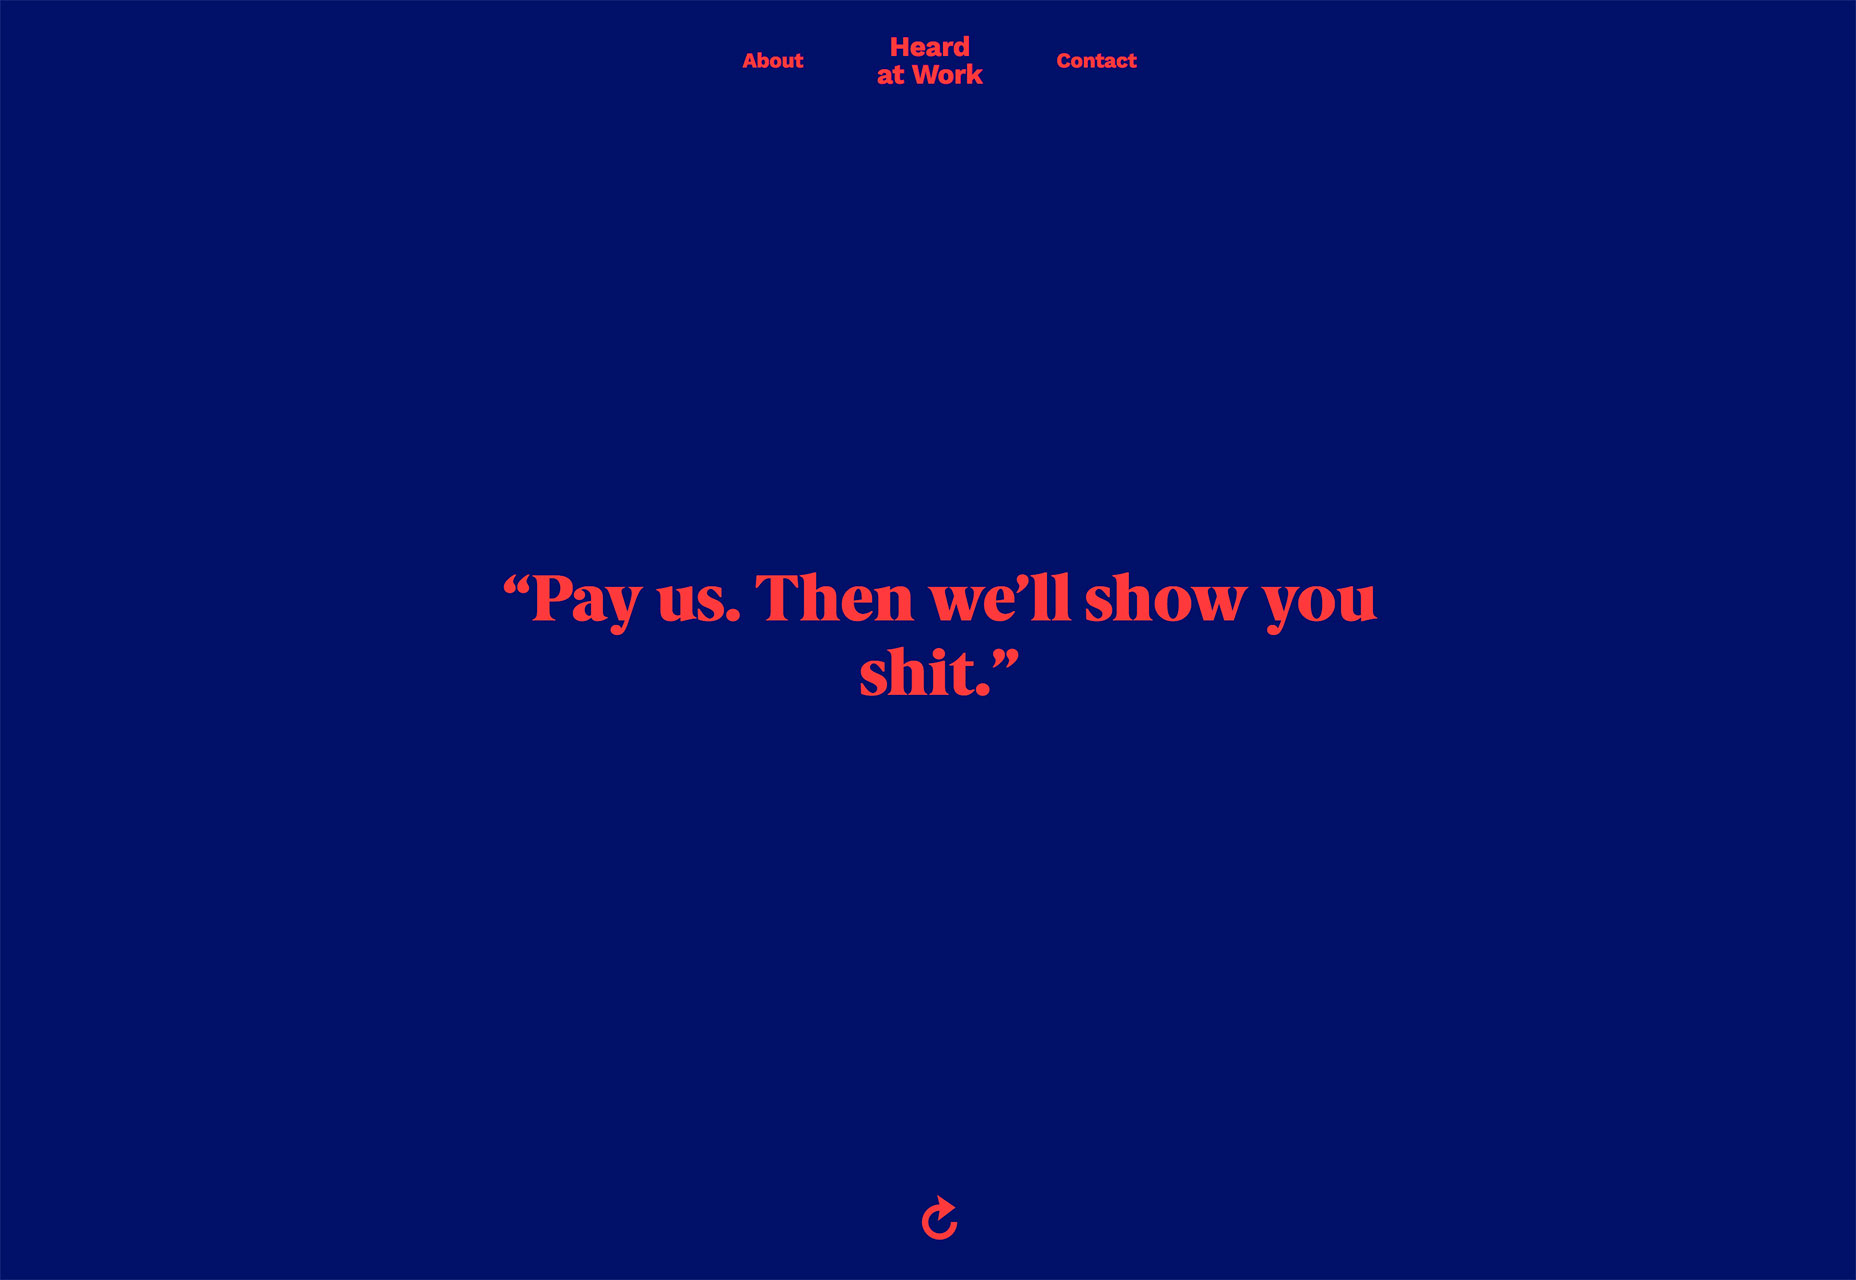
Heard at Work

Heard at Work is a collection of overheard exclamations that aims to capture what it’s like to work in a New York design studio. It’s fun, honest and maybe a little bit silly. The project was created by Justine Braisted.

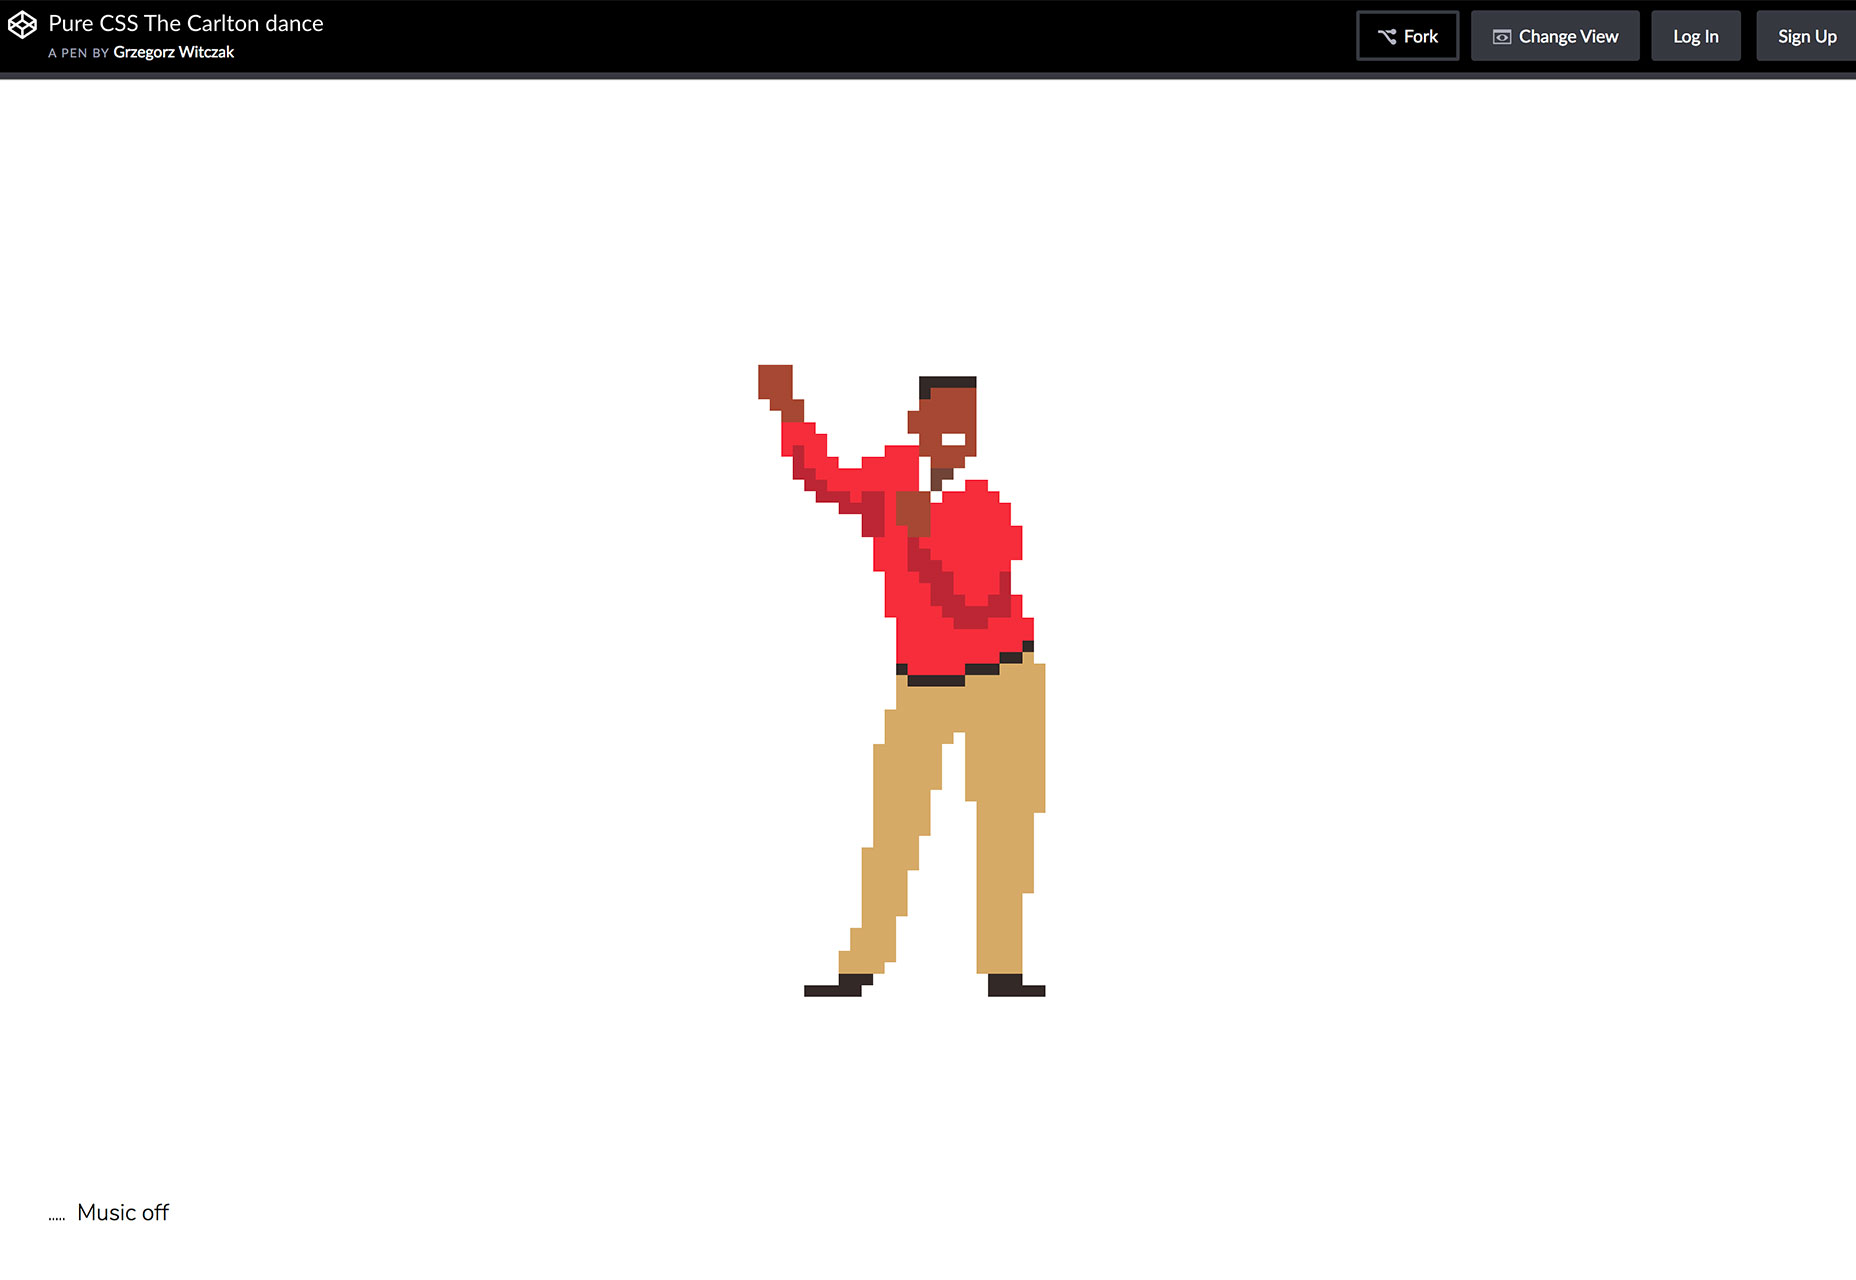
The Carlton Dance

The Carlton Dance pen just makes me smile. A favorite move from the beloved Carlton character from the Fresh Prince of Bel-Air (a 90s sitcom) has morphed from a meme to a pure CSS character.

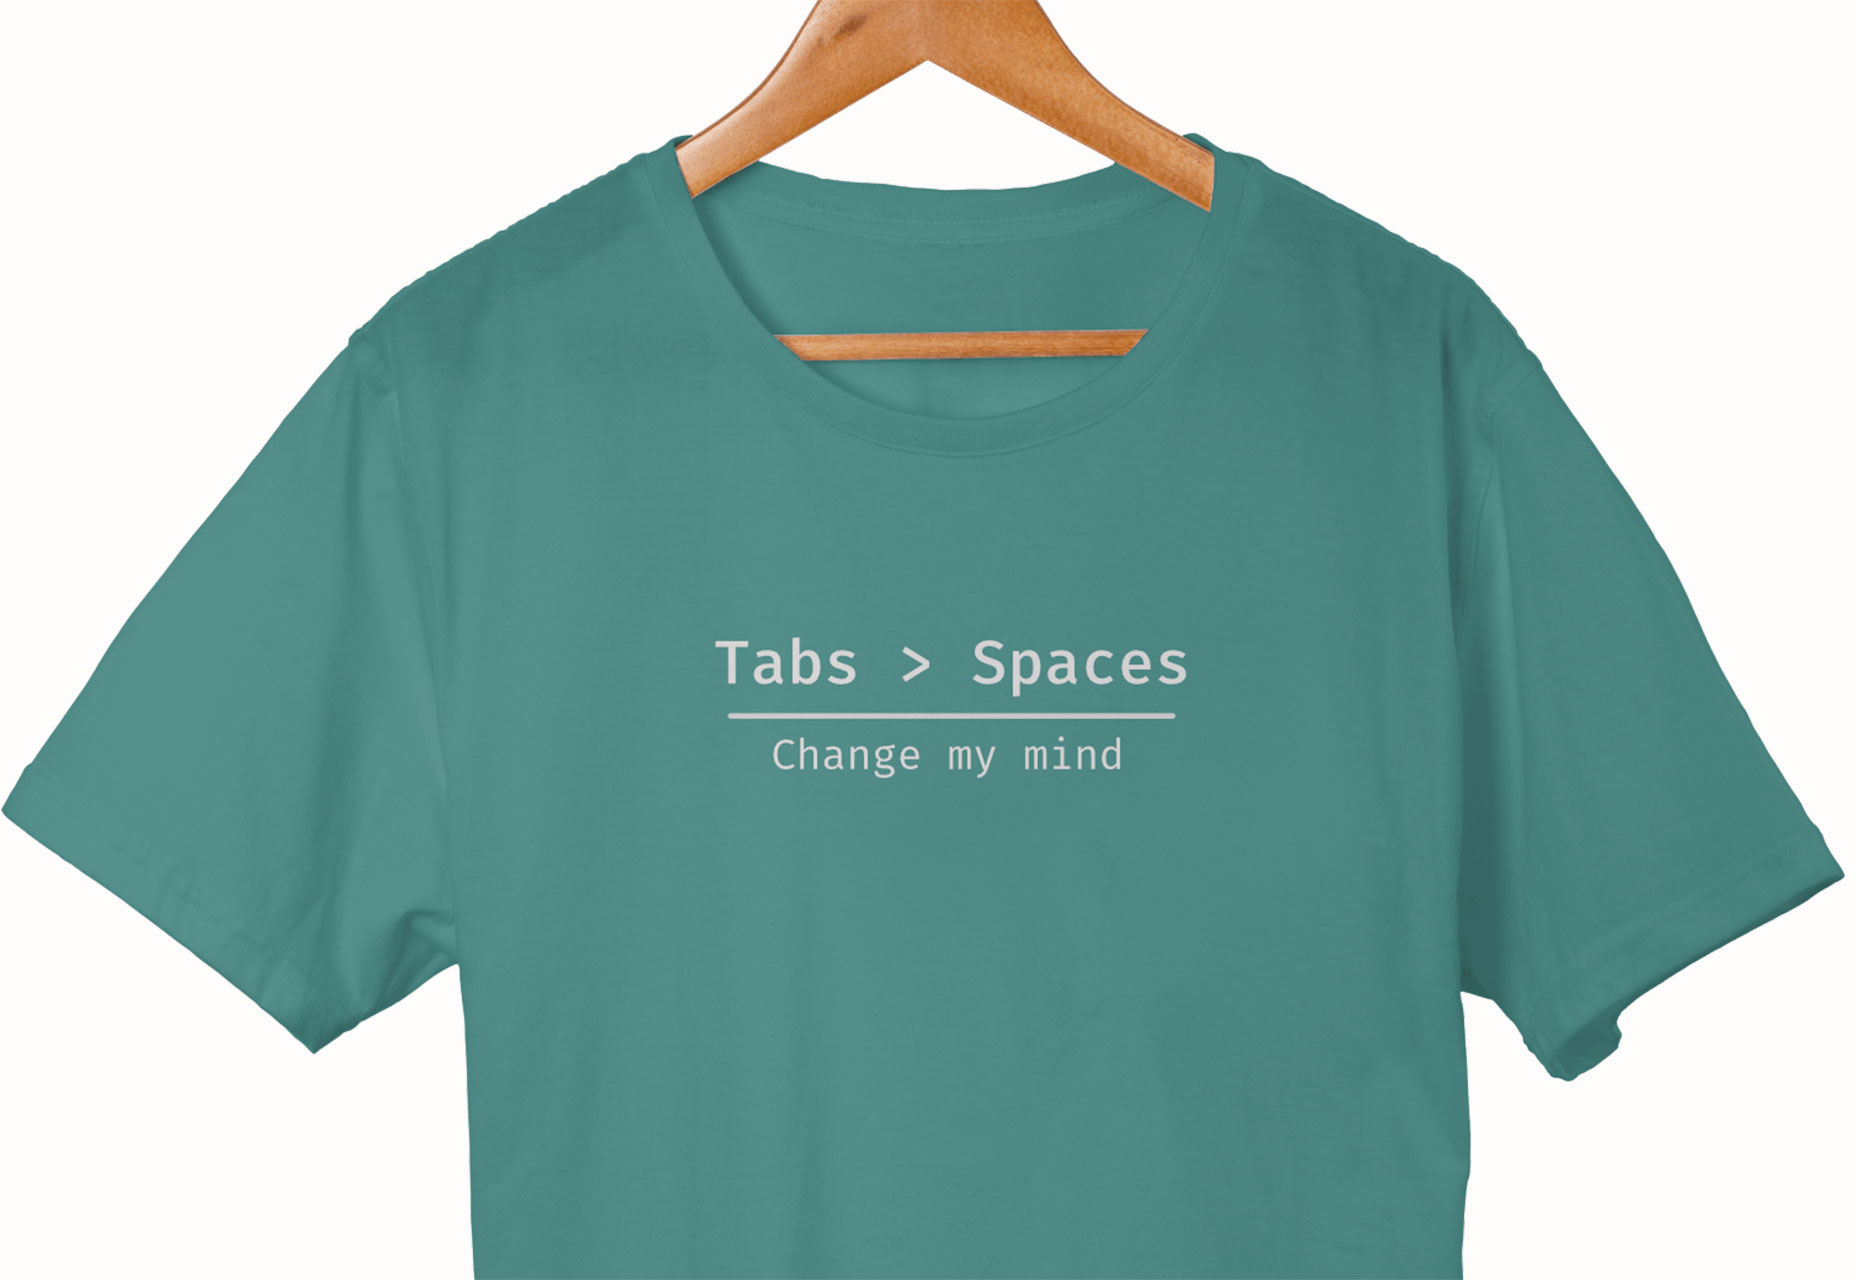
NerdRobe

NerdRobe makes totally cool—albeit geeky—shirts for designers. There’s a new design every other week and shirts are just $10 plus shipping (based on your location). So you’ll want to keep checking back for the design that fits your sensibilities.

Abhaya Libre

Abhaya Libre is a unicode compliant, complete libre version of the widely used Sinhala typeface FM Abhaya and includes Sinhala and Latin support. It includes five weights and is also available as a Google Font.

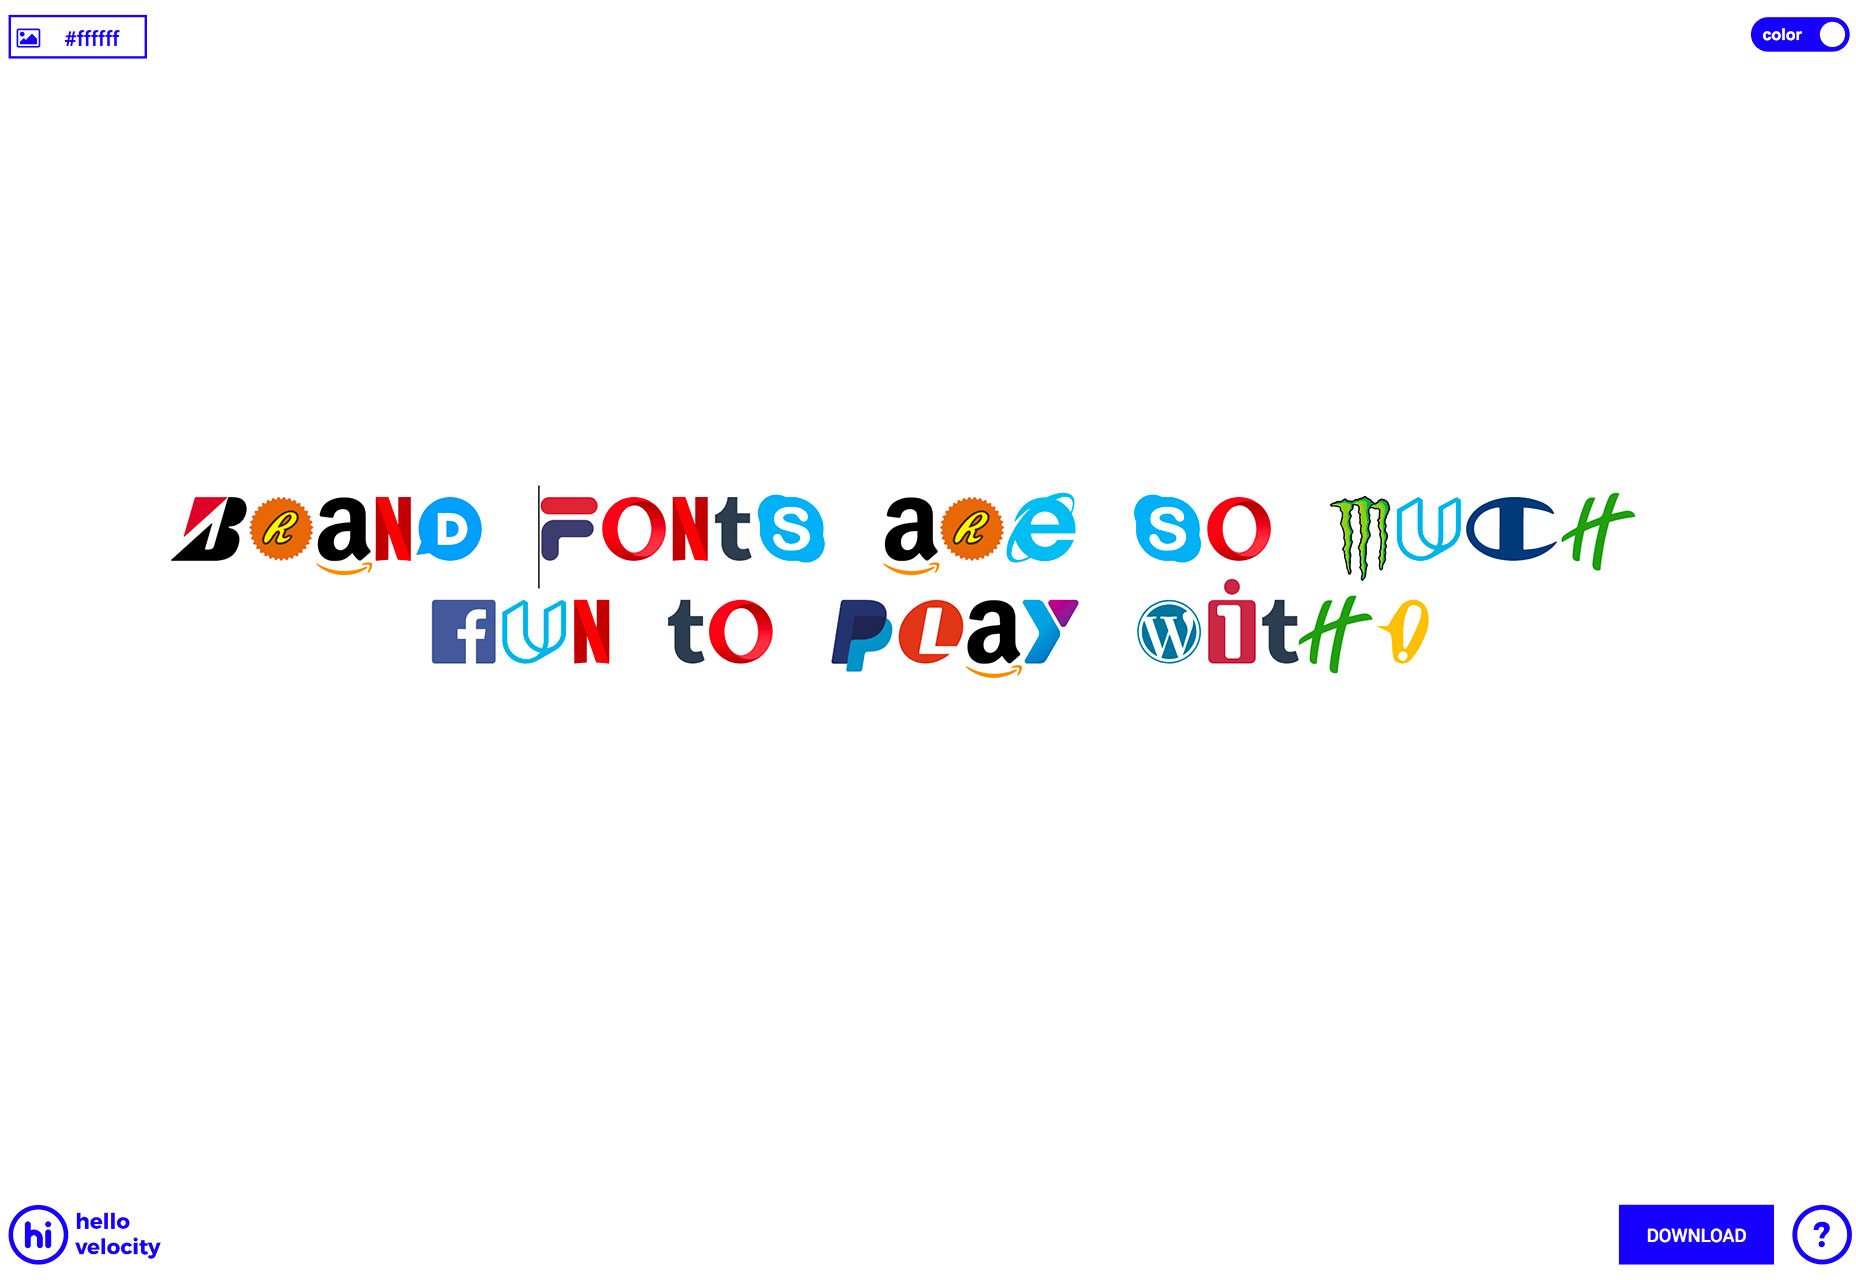
Brand New Roman

Brand New Roman is a typeface generator that uses brand icons and marks to create a font. The end result can look a little like a ransom note, but it can be fun to play with. Put in your words and download.

Jomhuria

Jomhuria is a stencil style typeface that’s highly readable. It’s designed for large sizes and might not work as well in smaller applications. The full set includes more than 800 characters.

Library 3 AM

Library 3 AM is a somewhat round inline typeface with two styles. It’s great for display or poster designs and is free for all uses.

Space Grotesk

Space Grotesk is a sans serif typeface with five styles available with the open font license. It features a full character site with emphasis on circular elements.

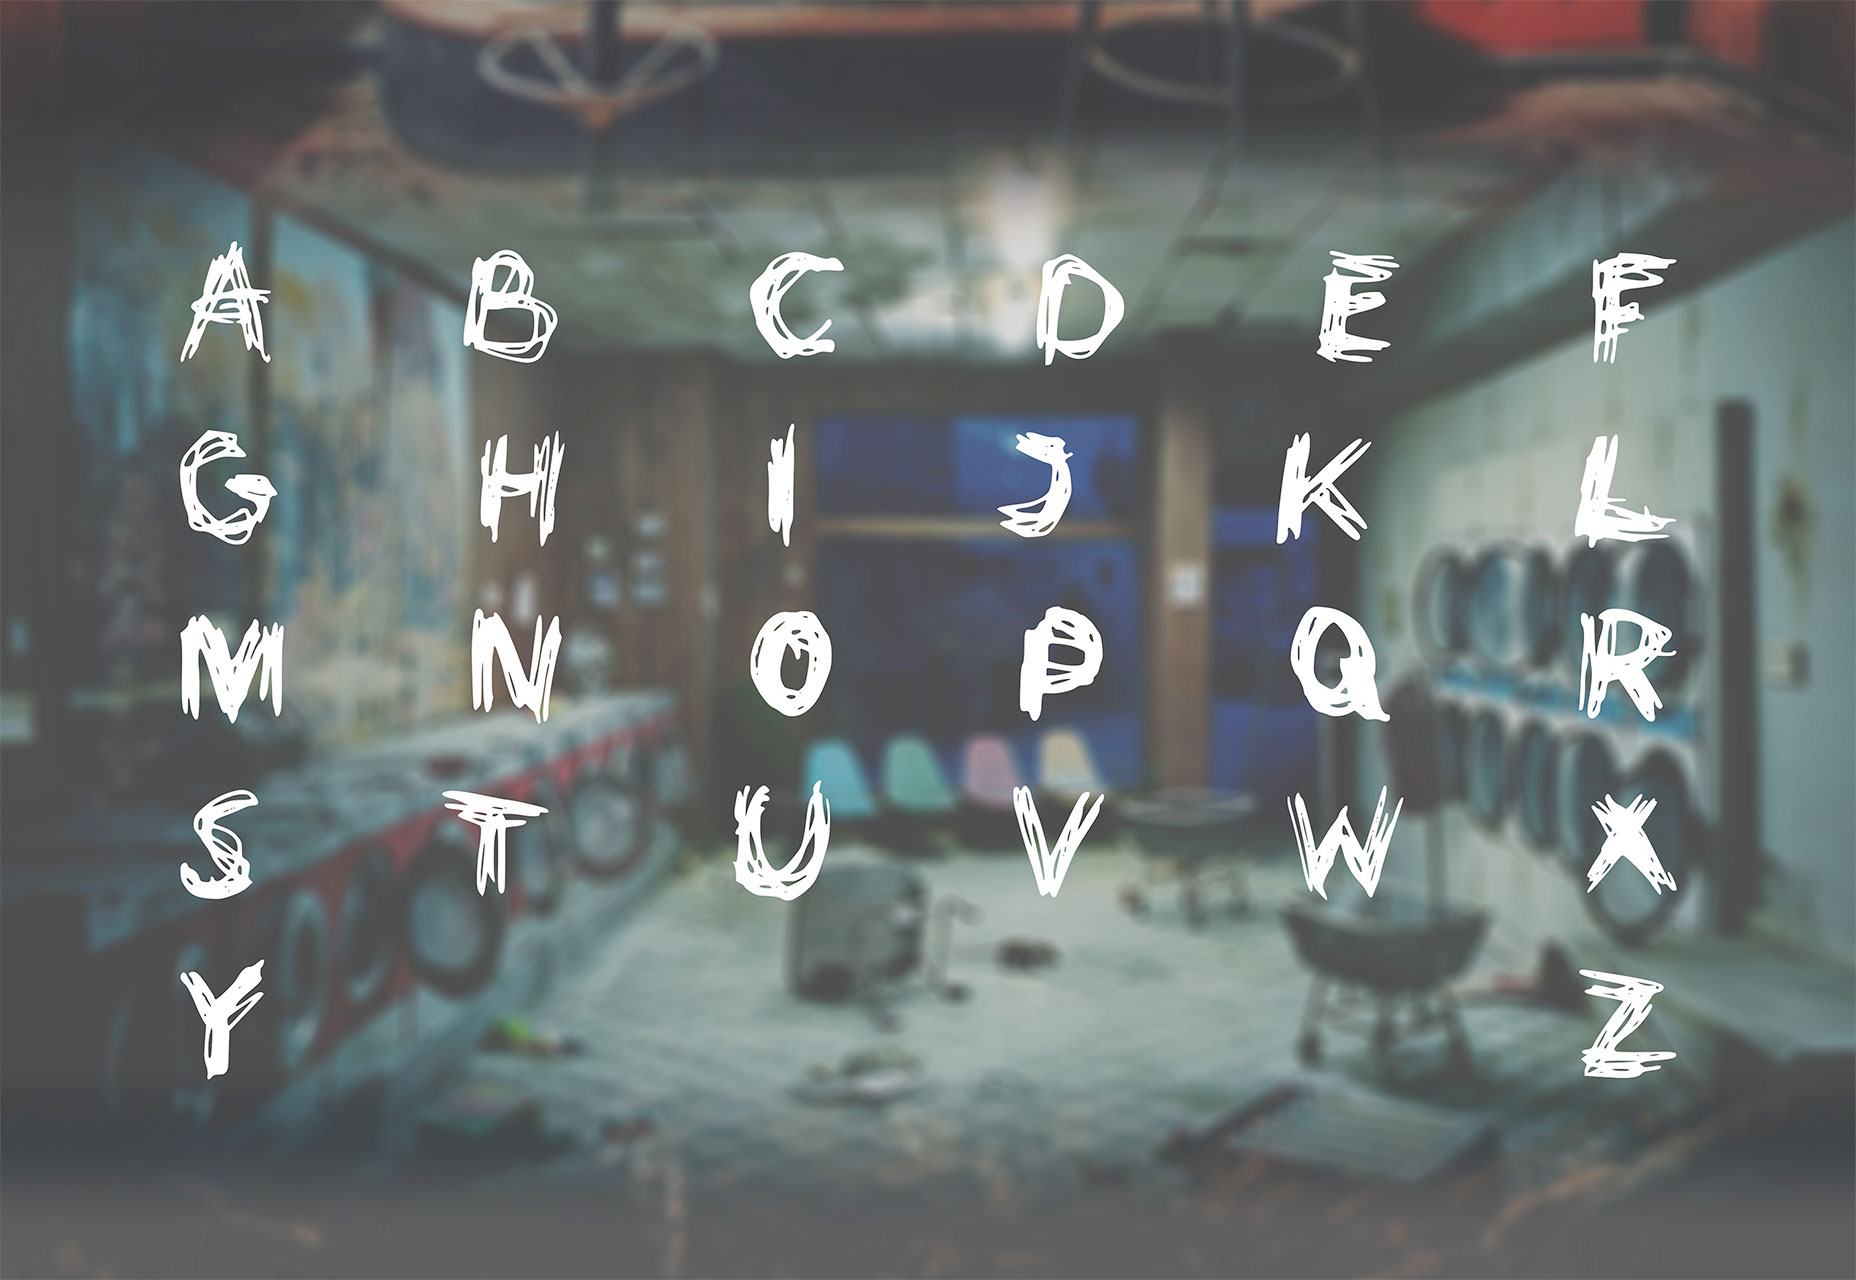
UStroke

UStroke is a handwriting-style decorative typeface with a grunge feel. It includes all uppercase characters with a few alternates and numerals. Although application is limited, it’s an interesting option.

Add Realistic Chalk and Sketch Lettering Effects with Sketch’it – only $5!

Source

Categories: Designing, Others Tags:

Popular Design News of the Week: September 3, 2018 – September 9, 2018

September 9th, 2018 No comments

Every week users submit a lot of interesting stuff on our sister site Webdesigner News, highlighting great content from around the web that can be of interest to web designers.

The best way to keep track of all the great stories and news being posted is simply to check out the Webdesigner News site, however, in case you missed some here’s a quick and useful compilation of the most popular designer news that we curated from the past week.

Note that this is only a very small selection of the links that were posted, so don’t miss out and subscribe to our newsletter and follow the site daily for all the news.

Fix for WordPress Gutenberg 3.7.0 ‘Unexpected Error’ that Broke the Editor

The Typographic Details Behind Typewolf’s Favorite Sites of August 2018

If You Haven’t Already Switched to Firefox, do it Now

Google AMP Can Go to Hell

This is not a Test: Google Optimize Now Free – For Everyone

Helping Prevent Suicide Through Design – And More UX Links this Week

Free Vector Software: Best Editor and Drawing Tools

A Modern Take on Patterned Backgrounds in Web Design

15 CSS Book Effects

Web Design Museum

Moving Letters – An Open-source Project

Google Analytics is Lying to You (massively)

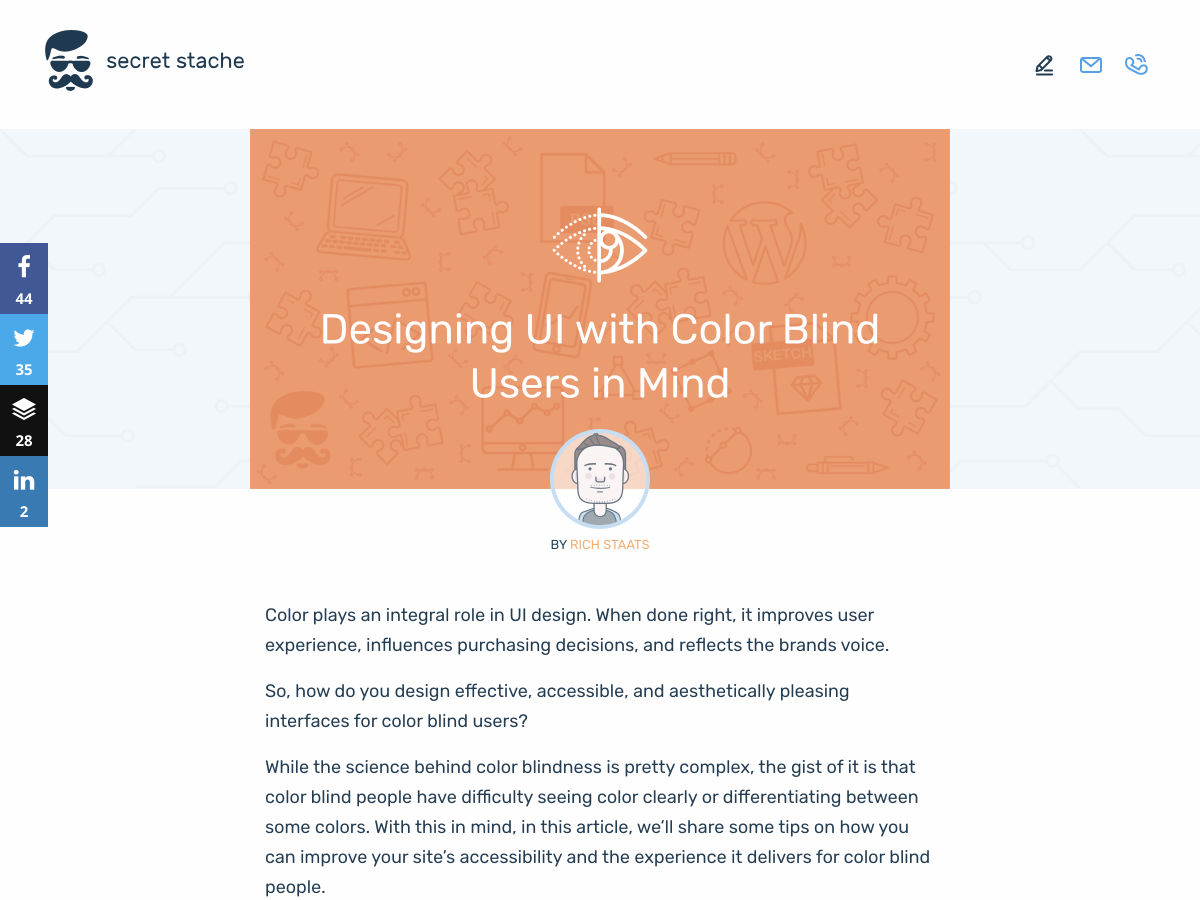
Designing UI with Color Blind Users in Mind

The Ultimate Guide to Proper Use of Animation in UX

Pure CSS the Carlton Dance

What Makes a Good Frontend Developer?

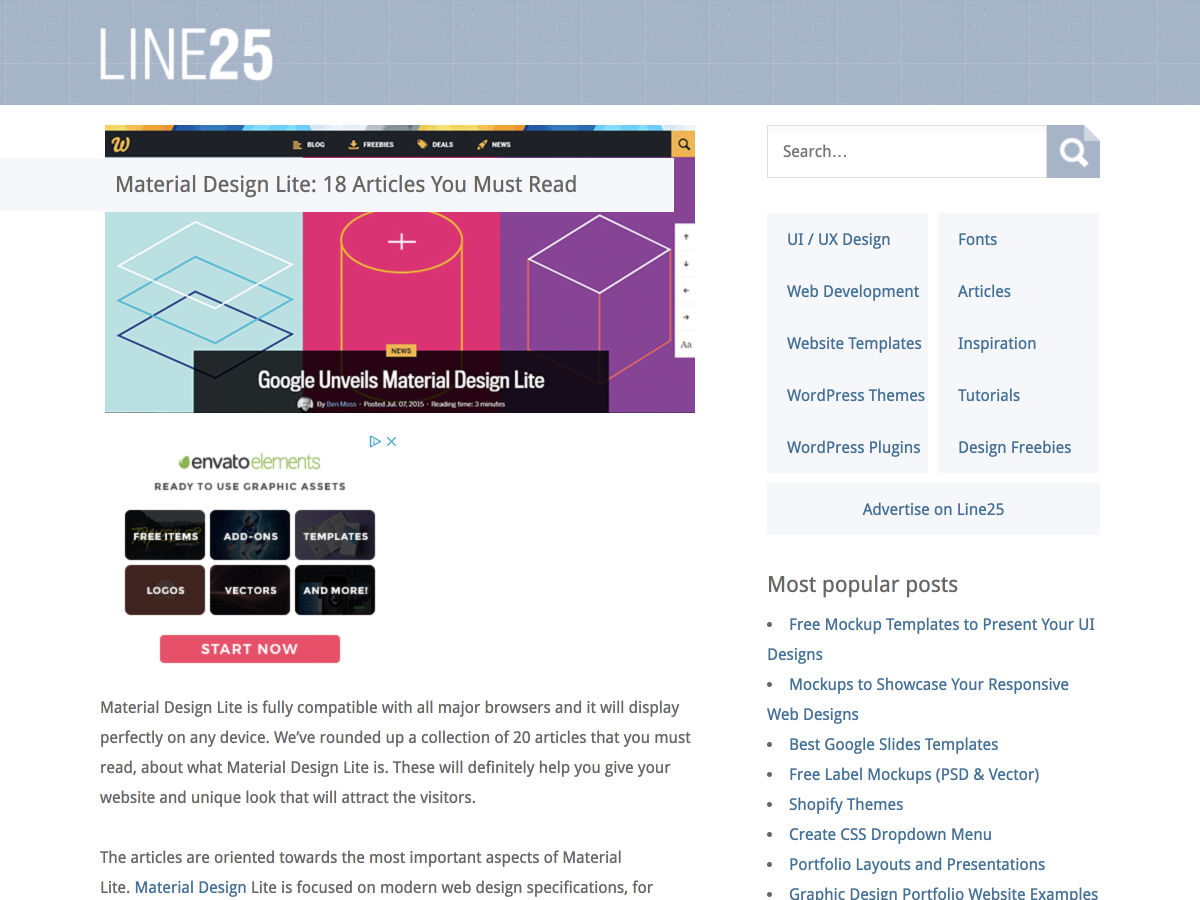
Material Design Lite: 18 Articles You Must Read

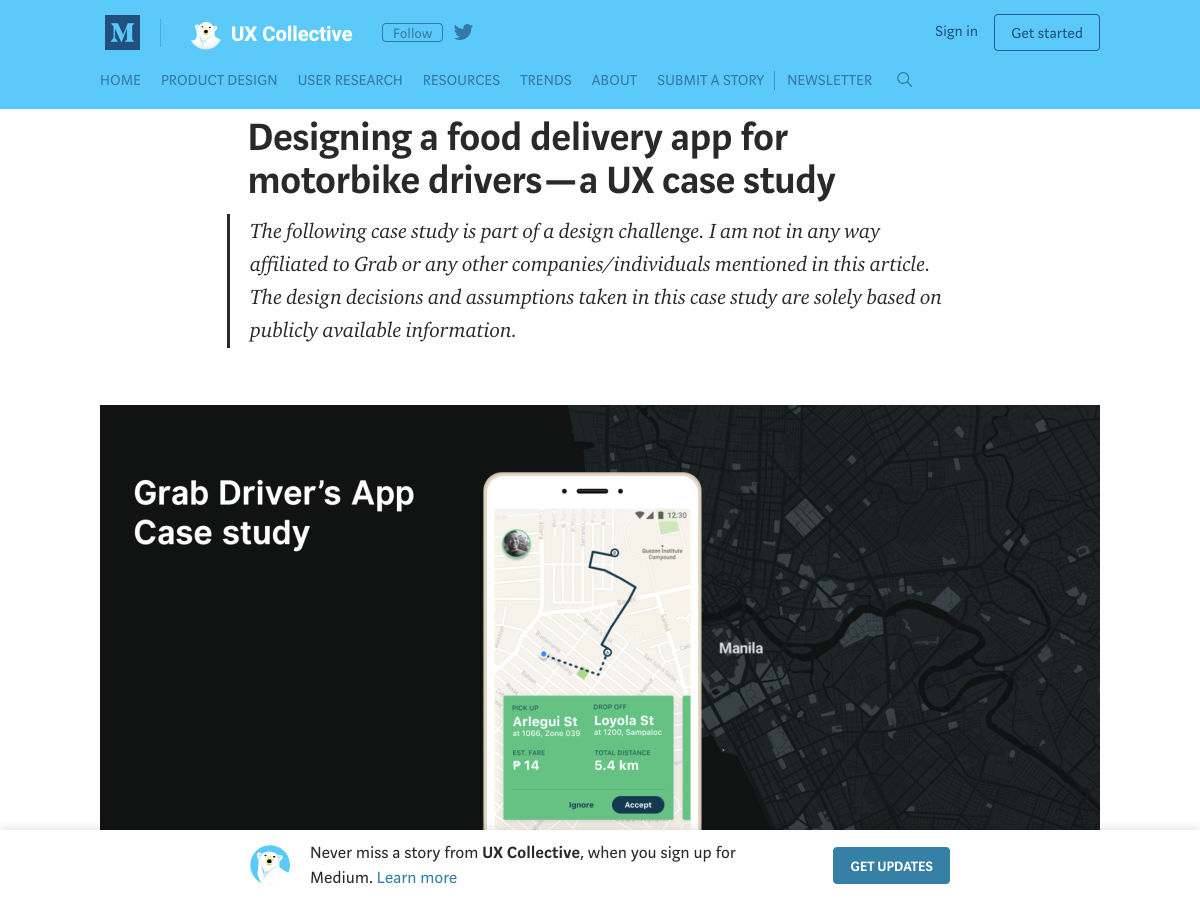
Designing a Food Delivery App for Motorbike Drivers – A UX Case Study

How to Optimize your Website for Voice Search

Site Design: SERIOUS.BUSINESS

Google Chrome Gets a Big Redesign and New Features for its 10th Birthday

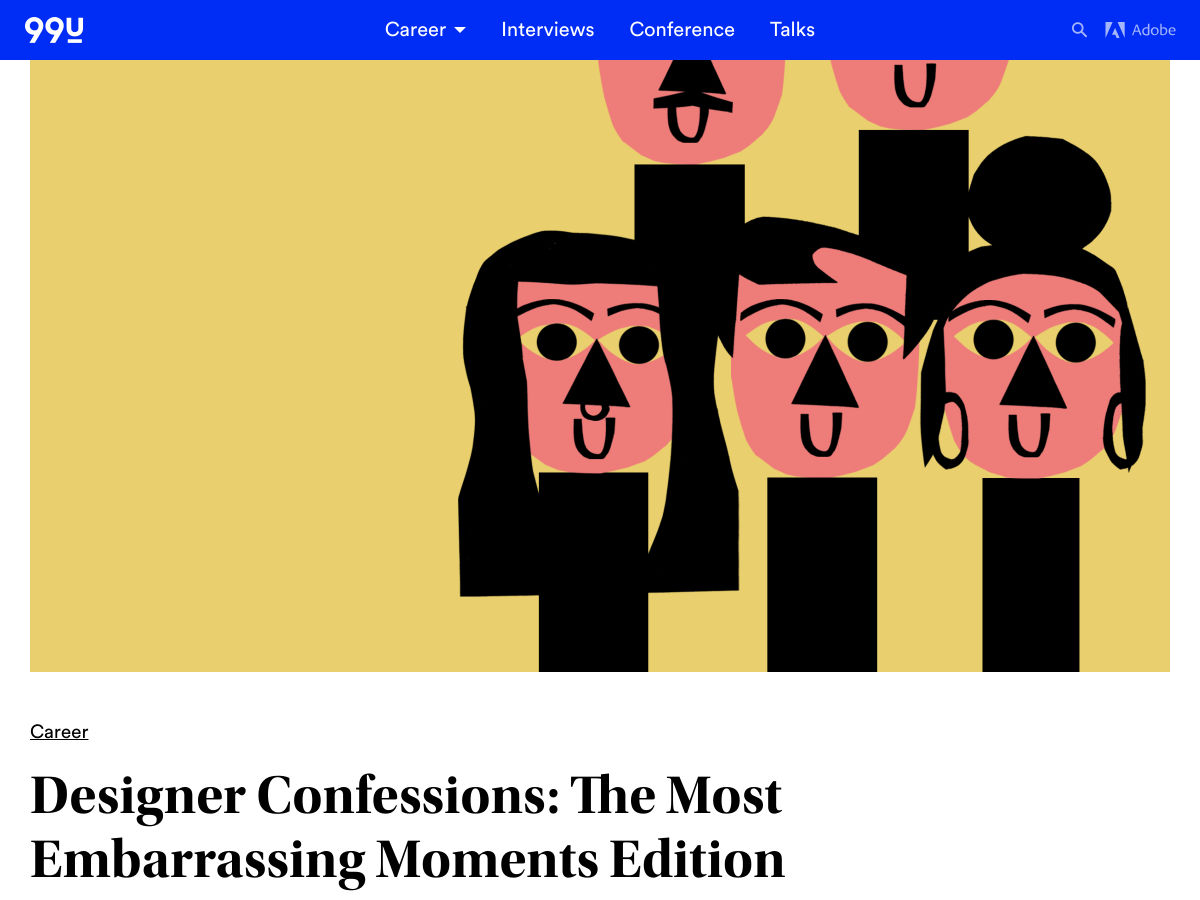
Designer Confessions: The Most Embarrassing Moments Edition

The World’s Newest, Most Gloriously Designed Maps

The Ultimate Guide to Personal Branding

Site Design: Skinfinity

Want more? No problem! Keep track of top design news from around the web with Webdesigner News.

Add Realistic Chalk and Sketch Lettering Effects with Sketch’it – only $5!

Source

Categories: Designing, Others Tags:

“Killing the URL”

September 7th, 2018 No comments

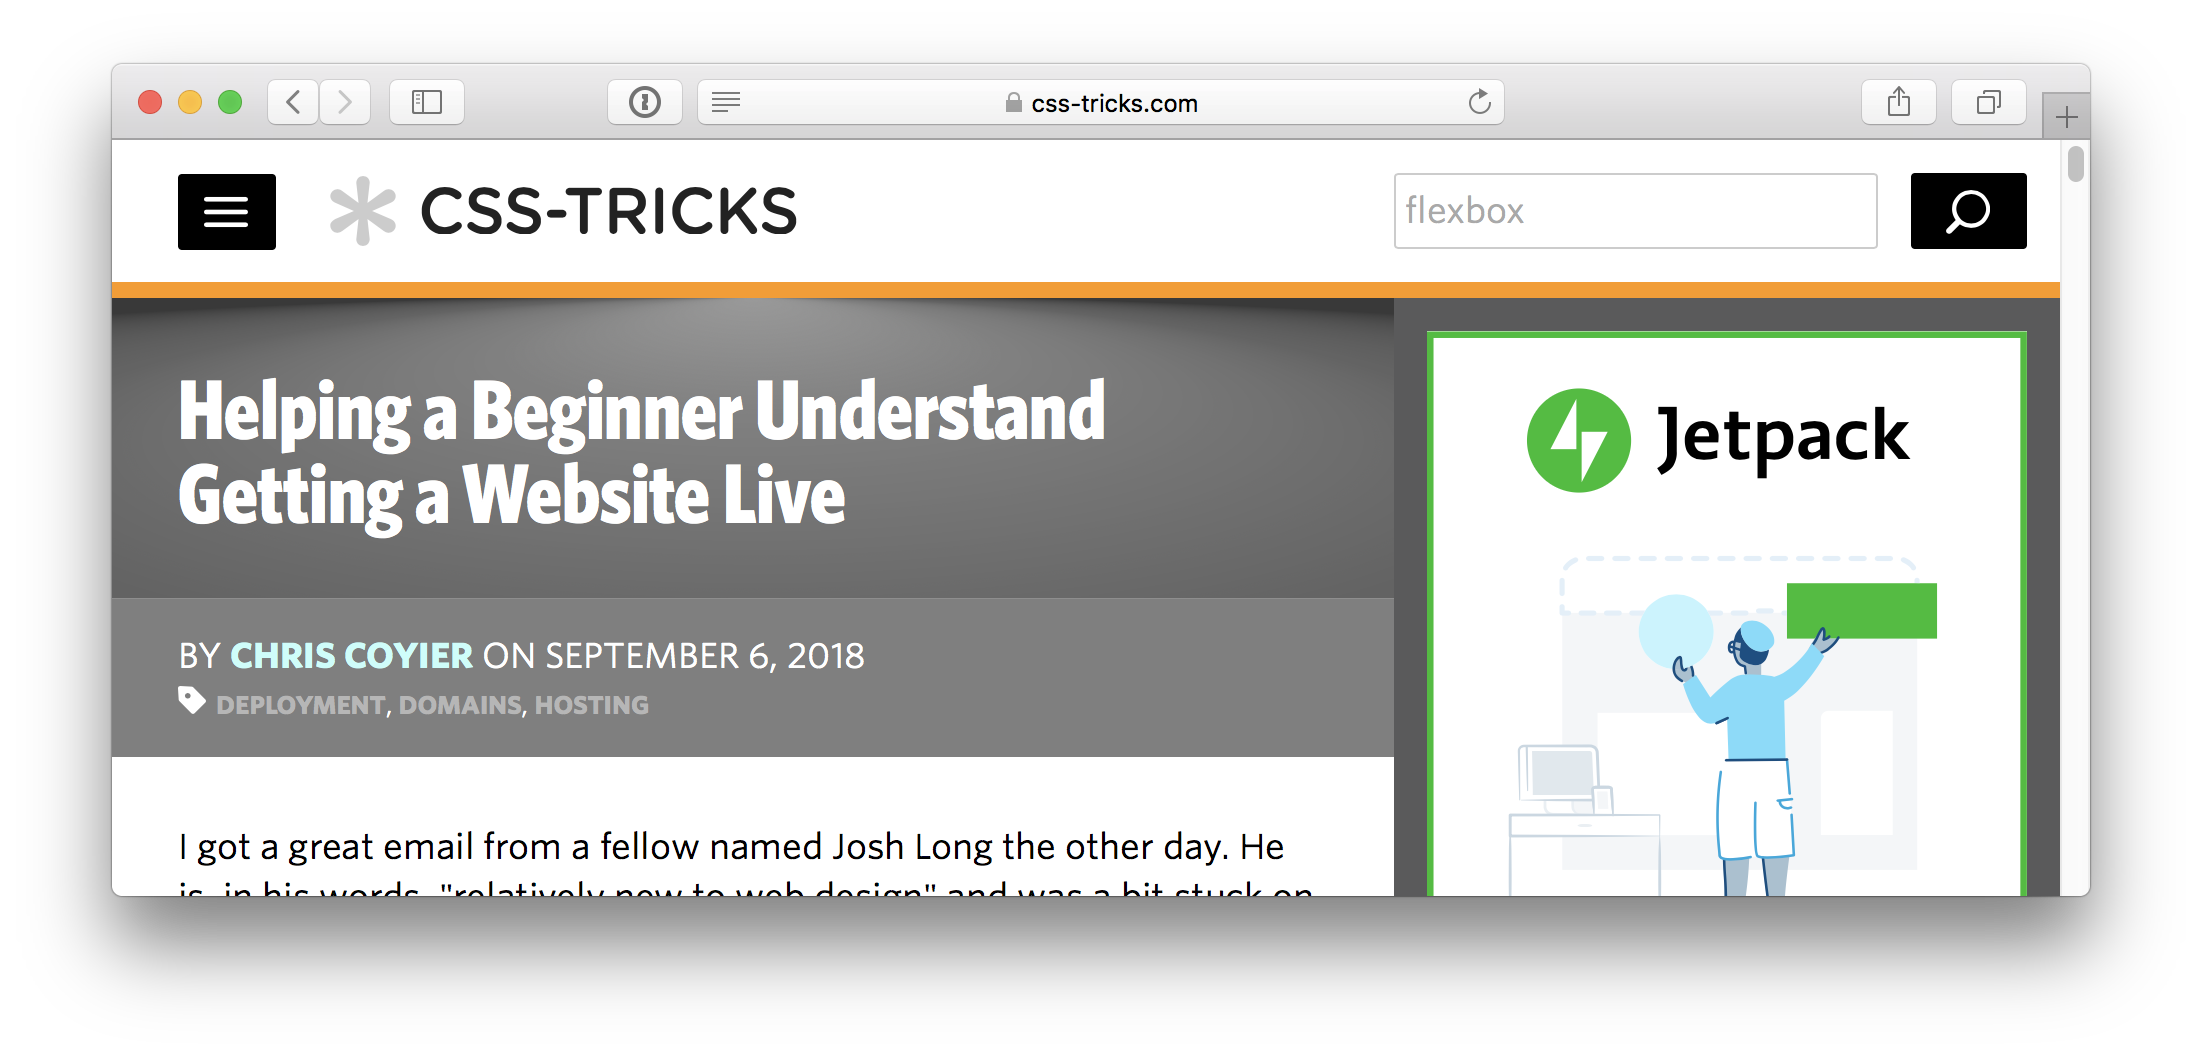
It was Safari who first started hiding the complete URL. Here’s what CSS-Tricks looks like even when you’re on an article page by default in Safari:

The full URL path is hidden.

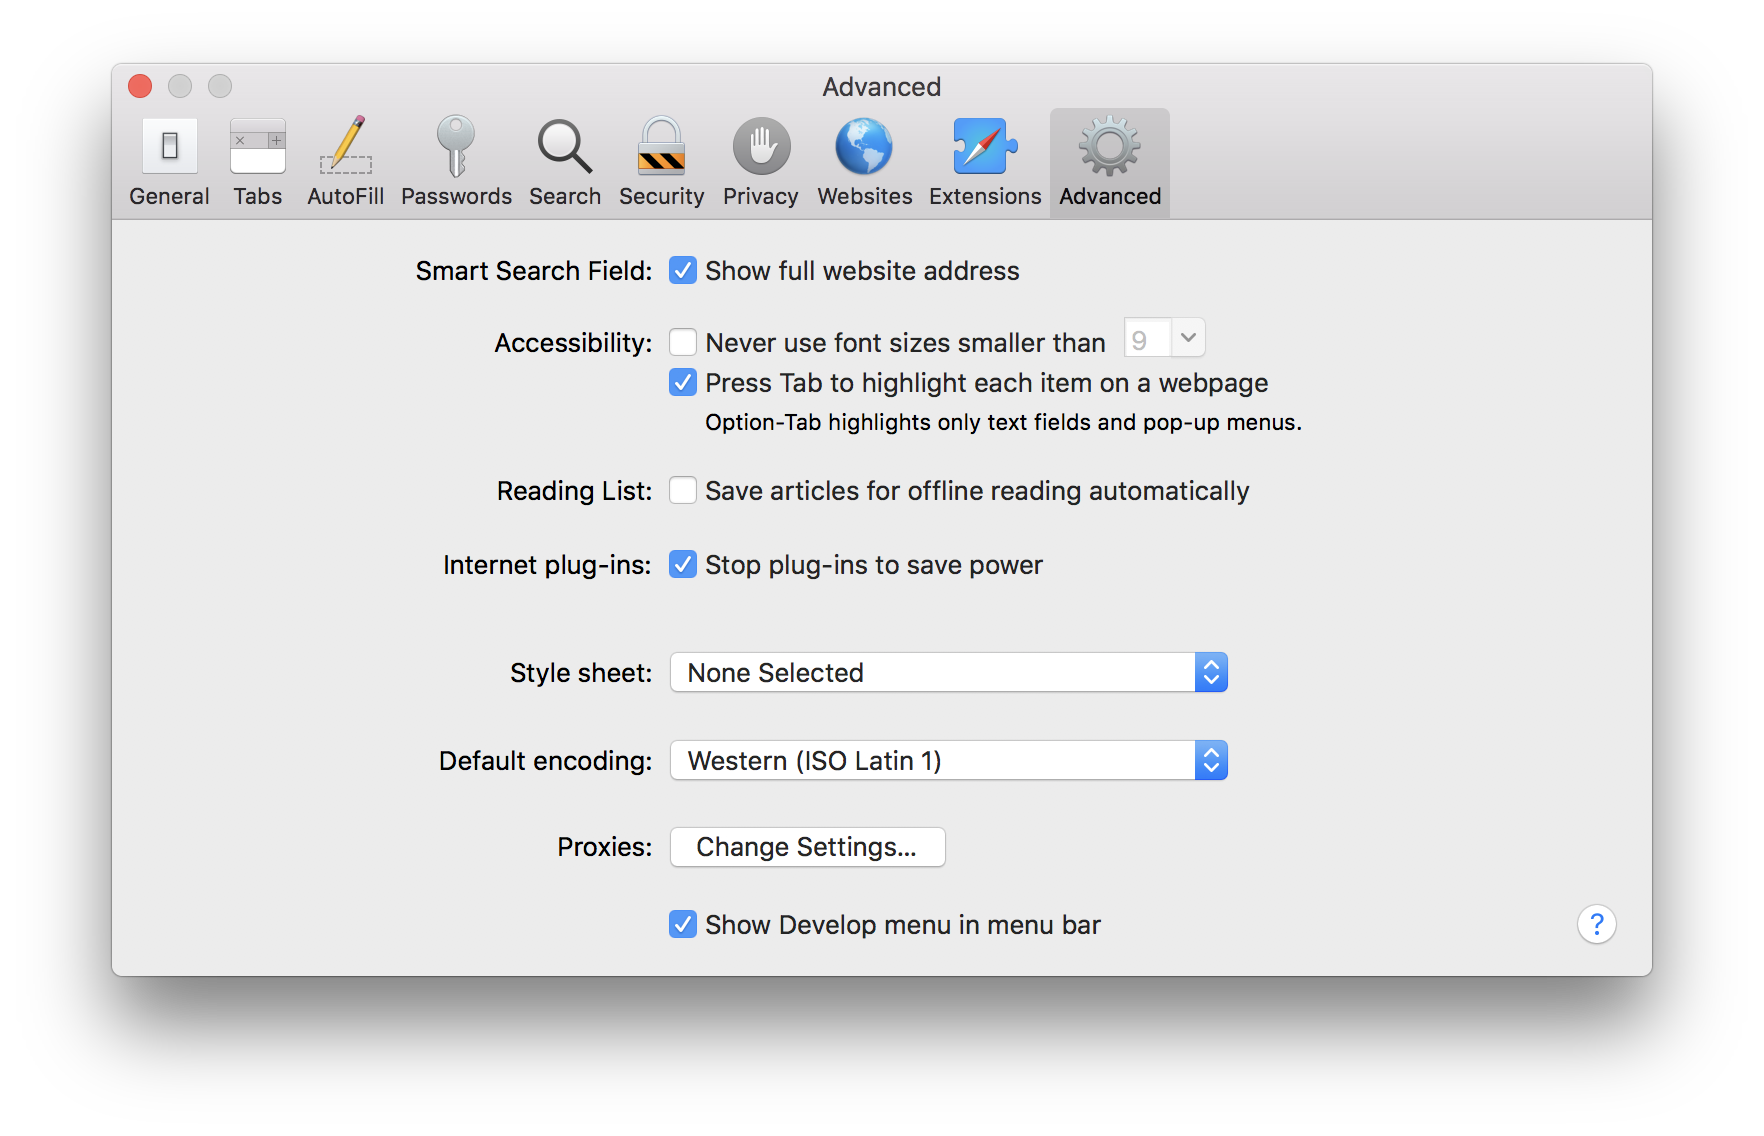
You can only fix it (YES, FIX IT) by checking “Show full website address” in settings.

Preferences > Advanced

We’ve already damaged the sanctity of URLs in a way with URL shorteners. Thankfully, those are used less and less with social networks, like Twitter, not counting the URL toward the total tweet character count anymore.

Now, Lily Hay Newman reports Chrome sees problems as well:

“People have a really hard time understanding URLs,” says Adrienne Porter Felt, Chrome’s engineering manager. “They’re hard to read, it’s hard to know which part of them is supposed to be trusted, and in general I don’t think URLs are working as a good way to convey site identity. So we want to move toward a place where web identity is understandable by everyone—they know who they’re talking to when they’re using a website and they can reason about whether they can trust them. But this will mean big changes in how and when Chrome displays URLs. We want to challenge how URLs should be displayed and question it as we’re figuring out the right way to convey identity.”

I’m not seeing the same research they are. Anecdotally, I’m not sure I’ve met anyone who doesn’t understand a URL. I wonder if there is something else weird afoot here. URLs are the single greatest feature of the web. I know nobody is arguing about removing them (just visually hiding them by default), but it doesn’t feel like a step in the right direction. It also seems slightly at odds with the celebration of the web in Chrome’s 10-year anniversary post by Paul Kinlan:

We can thank all the browser vendors for their continued work to create and iterate on specs, using streamlined processes like those defined by the WICG and based on the principles in the Extensible Web Manifesto. We’ll continue our commitment to work with browser vendors and the developer ecosystem to prioritize features that users need, and to ensure that those capabilities arrive in a “webby” way.

I’d say seeing URL’s is pretty “webby.”

The post “Killing the URL” appeared first on CSS-Tricks.

Categories: Designing, Others Tags:

Shadow DOM in Ionic

September 7th, 2018 No comments

Mike Hartington glows about how good and useful the Shadow DOM is:

[Shadow DOM is] actually built on two simple ideas, isolation and location. Need to create a bit of DOM that is isolated from the global scope? Shadow DOM is here to help. Need to specify the exact location of a piece of DOM? Shadow DOMs scope API is what you need!

It can be helpful to think of components that use Shadow DOM as modules for HTML. Markup and styles are isolated to their own DOM tree, and removed from the global context.

Last time we talked about it around here, I showed how Twitter is using it for embedded tweets — which is a pretty awesome use case — and how it can fall back to an iframe. Mike says they polyfill it in unsupported situations.

I suspect isolated styles is the primary selling point for any of the CSS-in-JS approaches, and having wide support for a native implementation of that will eventually take over. But… you have to make use of web components to use this, which means your framework-created components need to be web components. That’s totally possible; I just don’t see it that often.

Direct Link to ArticlePermalink

The post Shadow DOM in Ionic appeared first on CSS-Tricks.

Categories: Designing, Others Tags:

Inspirational Wallpapers Perfect for Fall 2018

September 7th, 2018 No comments
inspirational wallpapers

The weather is cooling, the leaves are changing, and the smell of roasted marshmallows are just a bonfire away. This time of the year is perfect for outdoor activities, but unfortunately some of us have to work inside all day. It would be an absolute shame to miss the beauty that makes these next few months so wonderful, wouldn’t it? Luckily, we don’t have to. For those of us that work online, you can chose a festive wallpaper to get you into the Fall spirit.

Fall inspired wallpapers are often filled with bright and beautiful colors. Honestly, they would be great to look at any time of the year. You have such a wide variety of contrasting colors that turn any normal view into a spectacle for the eyes.

While some people might be caught up in mourning the passing summer, many of us are running to the closet and grabbing out sweaters and scarfs. Something about the Fall season really gets people into a festive mood. Perhaps it’s all of the holidays we get to celebrate, or maybe it’s something in the air. Regardless, it’s time to celebrate!

I can smell the crackling fire already. Let’s not waste anymore time. Since we aren’t able to be outside every second of the Fall season, let’s show our spirit in any way we can. Here’s a list of a few inspirational wallpapers for Fall 2018 that’ll really make you crave some pumpkin spice:

September Cacti

inspirational wallpapersI

Designed by Lívia Lénárt from Hungary.

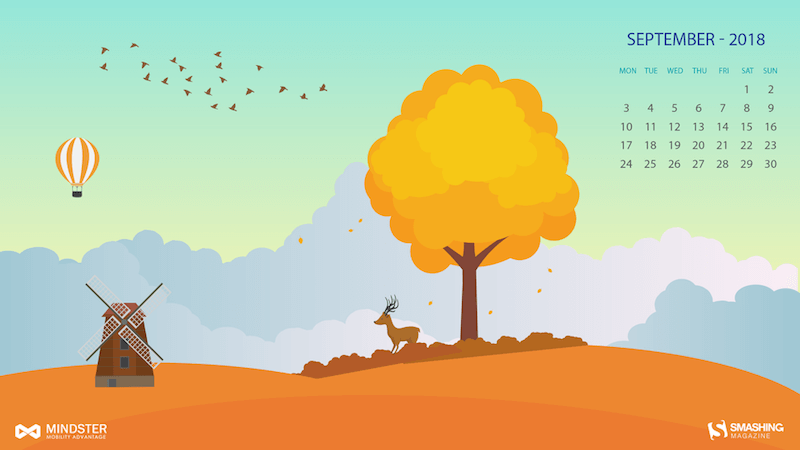
Warm September

inspirational wallpaper

Designed by Mindster from India

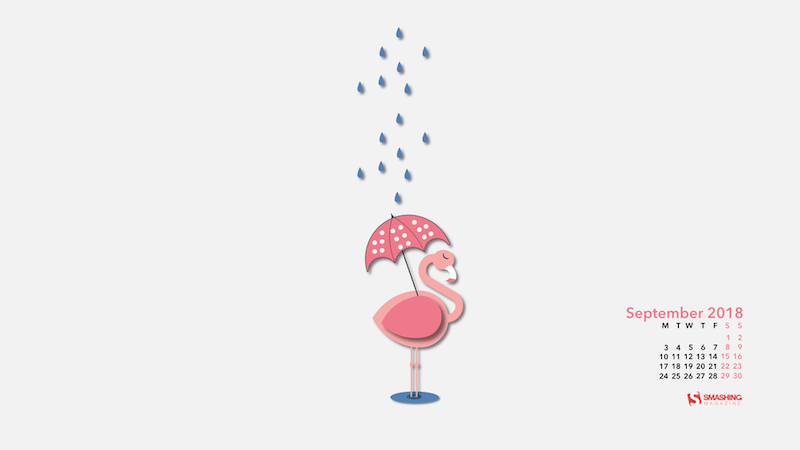
Rainy Autumn

inspirational wallpapers

Designed by Marina Bošnjak from Croatia

Back to School

inspirational wallpapers

Designed by Melissa Bogemans from Belgium

Leaving for warmer places

inspirational wallpapers

Designed by Bootstrap Dashboards from India.

Inspirational Wallpapers for Melancholics

inspirational wallpapers

Designed by PopArt Studio from Serbia.

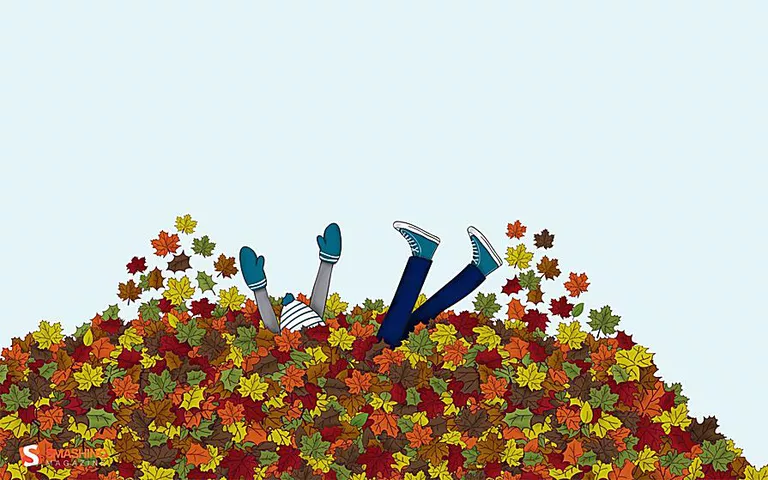
Jump Into Fall

inspirational wallpapers

Designed by Wallpaper Stock

Colorful Forest

inspirational wallpapers

Designed by Wallpaper Stock

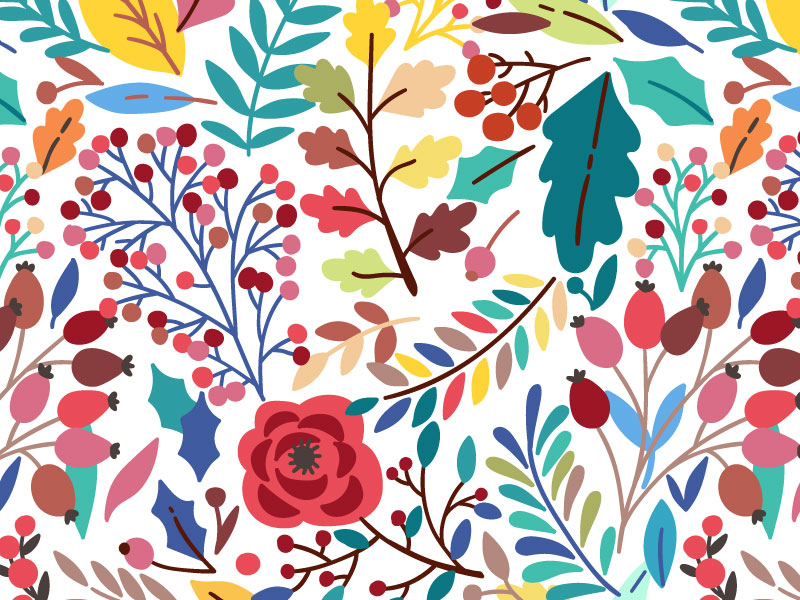
Autumn flowers and berries

inspirational wallpapers

Designed by Maria Galybina

Sep Calendar Desktop Wallpaper

inspirational wallpapers

Designed by Alaina Robert

Circle Wallpaper

inspirational wallpapers

Desgined by Mark Grambau

Those Autumnal Vibes

inspiration wallpapers

Designed by Laura Bohill

We hope you enjoyed these amazing wallpapers. We know it can be hard to stay inside and work when you have all these amazing views just outside your window, but try and stay focused. Feel free to grab one or two of these images and use them for yourself.

If you like these wallpapers, and want to see more things like them, be sure to stay up to date with the design world and follow Webdesignledger.

Read More at Inspirational Wallpapers Perfect for Fall 2018

Categories: Designing, Others Tags:

Working With Events in React

September 7th, 2018 No comments

Most of the behavior in an application revolves around events. User enters a value in the registration form? Event. User hits the submit button? Another event. Events are triggered a number of ways and we build applications to listen for them in order to do something else in response.

You may already be super comfortable working with events based on your existing JavaScript experience. However, React has a distinct way of handling them. Rather than directly targeting DOM events, React wraps them in their own event wrapper. But we’ll get into that.

Let’s go over how to create, add and listen for events in React.

Creating Events

We’ll start by creating a form that has an input and a button. An event will be triggered when a value is entered. The button is used to call a function which will reverse that value.

Here’s how it’ll work:

  • An empty input field allows the user to enter text.
  • An onChange event is triggered when values are entered in the input. This calls a function — handleChange() — that is used to set a new state for the input.
  • When the “Reverse Text” button is clicked, another event is triggered. This calls a function — handleReverse() — to set a new state for reversedText.

Here’s that translated into code:

class App extends React.Component {
  state = {
    /*  Initial State */
    input: "",
    reversedText: ""
  };

  /* handleChange() function to set a new state for input */
  handleChange = event => {
    const value = event.target.value;
    this.setState({
      input: value
    });
  };

  /* handleReverse() function to reverse the input and set that as new state for reversedText */
  handleReverse = event => {
    event.preventDefault();
    const text = this.state.input;
    this.setState({
      reversedText: text
        .split("")
        .reverse()
        .join("")
    });
  };

  render() {
    return (
      <React.Fragment>
        { /* handleReverse() is called when the form is submitted */ }
        <form onSubmit={this.handleReverse}>
          <div>
            { /* Render input entered */}
            <label>Text: {this.state.input}</label>
          </div>
          <div>
           { /* handleChange() is triggered when text is entered */ }
            <input
              type="text"
              value={this.state.input}
              onChange={this.handleChange}
              placeholder="Enter a text"
            />
          </div>
          <div>
            <button>Reverse Text</button>
          </div>
        </form>
        { /* Render reversed text */}
        <p>Reversed Text: {this.state.reversedText}</p>
      </React.Fragment>
    );
  }
}}

See the Pen React Event Pen – form by Kingsley Silas Chijioke (@kinsomicrote) on CodePen.

Listening to component events

Let’s say you have a component like this;

class IncrementButton extends React.Component{
  render() {
    return (
      <React.Fragment>
        <button>+</button>
      </React.Fragment>
    )
  }
}

Will including it in your App component like this work?

class App extends React.Component{
  state = {
    count: 0
  }

  handleIncrement = (event) => {
    this.setState({ count: this.state.count + 1})
  }

  render() {
    return(
      <React.Fragment>
        <h1>{this.state.count}</h1>
        <IncrementButton onClick={this.handleIncrement} />
      </React.Fragment>
    )
  }
}

No, it won’t because you can only listen to events on DOM elements. We touched on this at the beginning of the post, but React components are wrappers for DOM elements. That means we essentially have a layer that we need to pass through to listen for the event.

The way around this is to pass the event handler as a prop to the child component. Then the prop is passed down to the click event as an attribute like so:

class IncrementButton extends React.Component{
  render() {
    return (
      <React.Fragment>
        <button onClick={this.props.increaseButton}>+</button>
      </React.Fragment>
    )
  }
}

class App extends React.Component{
  state = {
    count: 0
  }

  handleIncrement = (event) => {
    this.setState({ count: this.state.count + 1})
  }

  render() {
    return(
      <React.Fragment>
        <h1>{this.state.count}</h1>
        <IncrementButton increaseButton={this.handleIncrement} />
      </React.Fragment>
    )
  }
}

See the Pen React Event Pen – Component Events by Kingsley Silas Chijioke (@kinsomicrote) on CodePen.

You could make use of a stateless functional component instead:

const IncrementButton = (props) => {
  return (
    <React.Fragment>
      <button onClick={props.increaseButton}>+</button>
    </React.Fragment>
  )
}

Adding event listeners

There may be times when you want to make use of certain DOM events that are triggered when the component is mounted. Let’s see this using the resize event — we want to see the width of the window whenever it is resized.

class App extends React.Component{
  state = {
    windowWith: window.innerWidth
  }

  handleResize = (event) => {
    this.setState({ windowWith: window.innerWidth })
  }

  render() {
    return(
      <React.Fragment>
        <h1>Window Width</h1>
        <h1>{this.state.windowWith}</h1>
      </React.Fragment>
    )
  }
}

If we create a component and try it out like we have below, then the event will not be triggered. We’ll need to add the event listener (handleResize() in this case) and the event type like we have here:

class App extends React.Component{
  state = {
    windowWith: window.innerWidth
  }

  handleResize = (event) => {
    this.setState({ windowWith: window.innerWidth })
  }
  
  componentDidMount() {
    window.addEventListener('resize', this.handleResize)
  }

  componentDidUnmount() {
    window.addEventListener('resize', this.handleResize)
  }

  render() {
    return(
      <React.Fragment>
        <h1>Window Width</h1>
        <h1>{this.state.windowWith}</h1>
      </React.Fragment>
    )
  }
}

See the Pen React Event Pen – addEventListener by Kingsley Silas Chijioke (@kinsomicrote) on CodePen.

Now, the event listener will be added when the component mounts. That means our component is actively listening to the browser window and will display its width when it updates.

In summary

OK, so we covered quite a bit of ground in a very small amount of space. We learned that React does not connect directly to a DOM event, but rather Synthetic Events that are wrappers for DOM events. We dug into the process for creating event listeners so that they attach to Synthetic Events and, from there, made sure that a component will update when those events are triggered.

Additional resources

The post Working With Events in React appeared first on CSS-Tricks.

Categories: Designing, Others Tags:

Getting Started With Machine Learning

September 7th, 2018 No comments

Getting Started With Machine Learning

Getting Started With Machine Learning

Alvin Wan

2018-09-07T14:00:26+02:002018-09-08T10:37:59+00:00

The goal of machine learning is to find patterns in data and use those patterns to make predictions. It can also give us a framework to discuss machine learning problems and solutions — as you’ll see in this article.

First, we will start with definitions and applications for machine learning. Then, we will discuss abstractions in machine learning and use that to frame our discussion: data, models, optimization models, and optimization algorithms. Later on in the article, we will discuss fundamental topics that underlie all machine learning methods and conclude with practical guidance for getting started with using machine learning. By the end, you should have an understanding of how to advance your practice and study of machine learning.

Let’s begin.

So, What Exactly Is Machine Learning?

Machine learning is generically a set of techniques to find patterns in data. Applications range from self-driving cars to personal AI assistants, from translating between French and Taiwanese to translating between voice and text. There are a few common applications of machine learning that already or could potentially permeate your day-to-day.

  1. Detecting anomalies
    Recognize spikes in website traffic or highlight abnormal bank activity.
  2. Recommend similar content
    Find products you may be looking for or even Smashing Magazine articles that are relevant.
  3. Predict the future
    Plan the path of neighboring vehicles or identify and extrapolate market trends for stocks.

The above are few of many applications of machine learning, but most applications tie back to learning the underlying distribution of data. A distribution specifies events and probability of each event. For example:

  • With 50% probability, you buy an item $5 or less.
  • With 25% probability, you buy an item $5-$10.
  • With 24% probability, you buy an item $10-100.
  • With 1% probability, you buy an item > $100.

Using this distribution, we can accomplish all of our tasks above:

  1. Detecting anomalies
    With a $100 purchase, we can confidently call this an anomaly.
  2. Recommend similar content
    A purchase of $3 means we should recommend more items $5 or less.
  3. Predict the future
    Without any prior information, we can predict that the next purchase will be $5 or less.

With a distribution of data, we can accomplish a myriad of tasks. In sum, one goal in machine learning is to learn this distribution.

Even more generically, our goal is to learn a specific function with particular inputs and outputs. We call this function our model. Our input is denoted x. Say our model, which accepts input x, is

f(x) = ax

Here, a is a parameter of our model. Each parameter corresponds to a different instance of our model. In other words, the model where a=2 is different from the model where a=3. In machine learning, our goal is to learn this parameter, changing it until we do “well.” How do we determine which values of a do “well”?

We need to define a way to evaluate our model, for each parameter a. To start, the output of f(x) is our prediction. We will refer to y as our label, meaning the true and desired output. With our predictions and our labels, we can define a loss function. One such loss function is simply the difference between our prediction and our label, |f(x) - y|. Using this loss function, we can then evaluate different parameters for our model. Picking the best parameter for our model is known as training. If we have a few possible parameters, we can simply try each parameter and pick the one with the smallest loss!

However, most problems are not as simple. What happens if there are an infinite number of different parameters? Let’s say all decimal values between 0 and 1? Between 0 and infinity? This brings us to our next topic: abstractions in machine learning. We will discuss different facets of machine learning, to compartmentalize your knowledge into data, models, objectives, and methods of solving objectives. Beyond learning the right parameter, there are plenty of other challenges: how do we break down a problem as complex as controlling a robot? How do we control a self-driving car? What does it mean to train a model that identifies faces? The section below will help you organize answers to these questions.

Abstractions

There are countless topics in machine learning — at various levels of specificity. To better understand where each piece fits in the larger picture, consider the following abstractions for machine learning. These abstractions compartmentalize our discussion of machine learning topics, and knowing them will make it easier for you to frame topics. The following classifications are taken from Professor Jonathan Shewchuck at UC Berkeley:

  1. Application and Data
    Consider the possible inputs and the desired output for the problem.

    Questions: What is your goal? How is your data structured? Are there labels? Is it reasonable for us to extract output from the provided inputs?

    Example: The goal is to classify pictures of handwritten digits. The input is an image of a handwritten number. The output is a number.

  2. Model
    Determine the class of functions under consideration.

    Questions: Are linear functions sufficient? Quadratic functions? Polynomials? What types of patterns are we interested in? Are neural networks appropriate? Logistic regression?

    Example: Linear regression

  3. Optimization Problem
    Formulate a concrete objective in mathematics.

    Questions: How do we define loss? How do we define success? Should we apply additionally penalties to bias our algorithm? Are there imbalances in the data our objective needs to consider?

    Example: Find `x` that minimizes |Ax-b|^2

  4. Optimization Algorithm
    Determine how you will solve the optimization problem.

    Questions: Can we compute a solution by hand? Do we need an iterative algorithm? Can we convert this problem to an equivalent but easier-to-solve objective, and solve that one?

    Example: Take derivative of the function. Set it to zero. Solve for our optimal parameter.

Abstraction 1: Data

In practice, collecting, managing, and packaging data is 90% of the battle. The data contains samples in which each sample is a specific realization of our input. For example, our input may generically be images of dogs. The first sample is specifically a picture of Maxie, my Bernese Mountain dog-chow chow mix at home. The second sample is specifically a picture of Charlie, a young corgi.

While training your model, it is important to handle your data properly. This means separating our data accordingly and not peeking prematurely at any set of data. In general, our data is split into three portions:

  1. Training set
    This is the dataset you train your model on. The model may see this set hundreds of times.
  2. Validation set
    This is the dataset you evaluate your model on, to assess accuracy and tune your model or method accordingly.
  3. Test set
    This is the dataset you evaluate on to assess accuracy, once at the very end. Running on the test set prematurely could mean your model overfits to the test set as well, so run only once. We will discuss the notion of “overfitting” in more detail below.

Abstraction 2: Models

Machine learning methods are split into the following two:

Supervised Learning

In supervised learning, our algorithm has access to labeled data. Still, we explore the following two classes of problems:

  • Classification
    Determine which of k classes {C_1, C_2, ... C_k} to which each sample belongs, e.g. “Which breed of dog is this?” The dog could be one of {"corgi", "bernese mountain dog", "chow chow"...}
  • Regression
    Determine a real-valued output (which are often probabilities), e.g. “What is the probability this patient has neuroblastoma (eye cancer)?”
Unsupervised Learning

In unsupervised learning, our algorithm does not have access to labels, and we explore the following classes of problems:

  • Clustering
    Cluster samples into k clusters. We do not have a label for the resulting clusters. “Which DNA sequences are most similar?”
  • Dimensionality reduction
    Reduce the number of “unique” (linearly independent) features we consider. “What are common features of faces?”

Abstraction 3: Optimization Objective

Before discussing optimization objectives and algorithms, we’ll need an example to discuss. Least squares are the canonical example. We will restrict our attention to a specific form of least squares: Let us return to our grade-school problem of fitting a line to some points.

Let’s recall the equation of a line:

y = m * x + b

Assume we have such a line. This is the true underlying model.


 true model
True model. The line that generates our data. (Large preview)

Now, sample points from this line.


true data
True data. Data that is sampled from the true model. (Large preview)

For each point, jiggle it a little bit. In other words, add noise, which is random perturbations. This noise is due to real-world processes.


noise
Noise. Real-world perturbations that affect our data. This may be due to imprecision in measurements, lossy compression, and so on. (Large preview)

This gives us our observed data. We will call these points (x_1, y_1), (x_2, y_2), (x_3, y_3).... This is the training data we are given to train a model on. We do not have access to the underlying line that generated this data (the original green line).


observations
Observations. Our true data with noise and ultimately what we will use to train a model. (Large preview)

Say we have an estimate for the parameters of a line. In this case, the parameters are m and b. This gives us a predicted line, drawn in blue below.


proposed model
Proposed model. The result of training a model on our observations. (Large preview)

We wish to evaluate our blue line, to see how accurate it is. To start, we use m and b to estimate y. We compute a set of ? values.

ŷ_i = m * x_i + b

The error for a single predicted ?_i and true y_i is simply

(ŷ_i−y_i)^2

Our total error is then the sum of squared differences, across all samples. This yields our loss.

∑(ŷ_i−y_i)^2

Presented visually, this is the vertical distance between our observed points and our predicted line.


observed error
Observed error. The distance between our observed data and our proposed model. (Large preview)

Plugging in ?_i from above, we then have the total error in terms of m and b.

∑(m * x_i + b − y_i)^2

Finally, we want to minimize this quantity. This yields our objective function, abstraction 3 from our list of abstractions above.

min_{m, b} ∑(m * x_i + b−y_i)^2

The above states in mathematics that the goal is to minimize the loss by changing values of m and b. The purpose of this section was to motivate fitting a line of best of fit, a special case of least squares. Additionally, we showed examined the least squares objective. Next, we need to solve this objective.

Abstraction 4: Optimization Algorithm

How do we minimize this? We take the derivative with respect to m`, set to 0 and solve. After solving, we obtain the analytical solution. Solving for an analytical solution was our optimization algorithm, the fourth and final abstraction in our list of abstractions.

Note: The important portion of this section is to inform you that least squares have a closed form solution, meaning that the optimal solution for our problem can be computed, explicitly. To understand why this is significant, we need to examine a problem without a closed-form solution. For example, we could never solve x=logx for a standard base-10 logarithm. Try graphing these two lines, and we see that they never intersect. In which case, we have no closed-form solution. On the other hand, ordinary least squares have a closed-form — which is good news. For any problem reduced to least squares, we can then compute the optimal solution, given our data and assumptions.

Fundamental Topics

Before studying more methods, it is necessary to understand the undercurrents of machine learning. These will govern the initial study of machine learning:

Bias-Variance Tradeoffs

One of machine learning’s most dreaded evils is overfitting in which a model is too closely tailored to the training data. In the limit, the most overfit model will memorize the data. This might mean that if one does well on exam A, one repeats every detail for exam B — down to the duration of an inter-exam restroom trip and whether or not one used the urinal.

A related but less common evil is underfitting, where the model is not sufficiently expressive to capture important information in the data. This could mean that one looks only at homework scores to predict exam scores, ignoring the effects of reading notes, completing practice exams, and more. Our goal is to build a model that generalizes to new examples while making the appropriate distinctions.

Given these two evils, there are a variety of approaches to fighting both. One is modifying your optimization objective to include a term that penalizes model complexity. Another is tuning hyperparameters that govern either your objective or your algorithm, which may correspond to notions such as “training speed” or “momentum.” The bias-variance tradeoff gives us a precise way of defining and handling both overfitting and underfitting.

Maximum Likelihood Estimation (MLE) + Maximum A Posteriori (MAP)

Say we have ice cream flavors A, B, and C. We observe different recipes. Our goal is to predict which flavor each recipe produces.

One way to predict flavors based on recipes is to first estimate the following probability:

P(flavor|recipe)

Given this probability and a new recipe, how can we predict the flavor? Given a recipe, simply consider the probability of each of the flavors A, B, C.

P(flavor=A|recipe) = 0.4
P(flavor=B|recipe) = 0.5
P(flavor=C|recipe) = 0.1

Then, pick the flavor that has the highest probability. Above, flavor B has the highest probability, given our recipe. Thus, we predict flavor B. Restating the above rule in mathematics, we have:

argmax_{flavor} P(flavor|recipe)  # argmax means take the flavor that corresponds to the max value

However, the only information at our disposal is the reverse: the probability of some recipe given the flavor.

P(recipe|flavor)

For Maximum Likelihood Estimates, we make assumptions and find that the two values are proportional.

P(recipe|flavor) ~ P(flavor|recipe)

Since we’re only interested in the class with maximum probability P(flavor|recipe), we can simply find the class with maximum probability, for a proportional value P(recipe|flavor).

argmax_{flavor} P(recipe|flavor)

MLE offers the above objective as one way to predict, using the probability of data given the labels.

However, allow me to convince you that it’s reasonable to assume we have (x|y). We can estimate this from observed, real-world data. For example, say we wish to estimate the number of marbles each student in your class carries, based on the number of rubber ducks the student carries.

Each student’s number of rubber ducks is the data x, and the number of marbles she or he has is y. We will use this sample data below.

| x | y |
|---|---|
| 1 | 2 |
| 1 | 1 |
| 1 | 2 |
| 2 | 1 |
| 2 | 2 |
| 1 | 2 |

For every y, we can compute the number of x, given us P(x|y). For the first one, P(x=1|y=1), consider all of the rows where y=1. There are 2, and only one of them has x=1. Therefore, P(x=1|y=1) = 1?2. We can repeat this for all values of x and y.

P(x=1|y=1) = 1/2
P(x=2|y=1) = 1/2
P(x=1|y=2) = 3/4
P(x=2|y=2) = 1/4

Featurizations, Regularization

Least squares draw lines of best fit for us. Note that least squares can fit the model anytime the model is linear in its inputs x and outputs y.

Say m=1. We have the following equation:

y = x + b

However, what if we had data that doesn’t generally follow a line? Specifically, consider a set of data sampled along a circle. Recall that the equation for a circle is:

x^2 + y^2 = r^2

Can least squares fit this well? As it stands, no. The model is not linear in its inputs x and outputs y. Instead, the model above is quadratic in x and y. However, it turns out that we can use still use least squares, just with a modification. To accomplish this, we featurize our samples.

Consider the following: what if the input to our model was x_ = x^2 and y_ = y^2? Then, our model is trying to learn the following model.

x_ + y_ = r^2

Is this linear in the model’s input x_ and output y_? Yes. Note the subtlety. The current model is still quadratic in x,y but it is linear in x_,y_. This means that least squares can fit the data if we square x^2 and y^2 before training least squares.

More generally, we can take any non-linear featurization to apply least squares to labels that are non-linear in the features. This is a fairly powerful tool, known as featurization.

However, featurizations lead to more complex models. Regularization allows us to penalize model complexity, ensuring that we do not overfit the training data.

Conclusion

In this article, you’ve touched on major topics in the fundamentals of machine learning. Using the abstractions above, you now have a framework to discuss machine learning problems and solutions. Using the fundamental topics above, you now also have quintessential concepts to learn more about, giving you the necessary tools to evaluate risk and other concerns in a machine learning application.

Further Reading

We will continue to explore these topics in depth, both the undercurrents of machine learning and specific methods. In the interim, here are resources to further your study and exploration of machine learning:

Smashing Editorial(ra, il)
Categories: Others Tags:

4 Best Practices for Designing Mega-Footers

September 7th, 2018 No comments

Have you ever visited a website, looked around for a bit, and then headed straight to the footer to find the information you were looking for?

You’re not the only one.

Footers are unique pieces of screen real estate that offer a number of benefits. They house important information (like contact details and copyright statements) and navigation options that make it easier for users to find what they’re looking for.
In this article, we’ll talk about the importance of website footers and how you can use them to help your website’s visitors easily find what they’re looking for. We’ll also walk through some of the best practices you should keep in mind when designing mega-footers—the footer equivalent of the mega-menu.

Why Footers Are Important

We’re inclined to put a lot of effort into designing everything that’s above the fold thinking that it’ll be seen by everyone who lands on the website. So much so that we forget that footers are also highly visible.

In fact, a study that looked at 25 million websites found that visitors scrolled down thousands of pixels all the time. And many of the visitors were found to have started scrolling before the page had fully loaded.

What we can take from this is that your website’s footer is just as important as its header. It’s highly visible and getting its design right could benefit you in a number of different ways. It’s all about deciding what you want to include in the limited space the footer has to offer with the purpose of facilitating your site’s visitors while making sure your goals are met.

Depending on what type of website you’re creating and what your goals are, you might consider including any of the following elements in your site’s footer:

  • Sitemap;
  • Copyright statement;
  • A link to the Terms of Use page;
  • Privacy policy statement;
  • Contact information;
  • A map or address;
  • Social icons;
  • Social media widgets;
  • Email signup;
  • A search bar;
  • Your mission statement;
  • Tags and categories;
  • Awards and certifications;
  • Association memberships;
  • Testimonials;
  • Latest articles;
  • Upcoming events;
  • An explainer video;
  • Audio;
  • Call to action.

There are so many important elements you can add to your website’s footer and each one serves a unique purpose. If you wanted to get your visitors to stay on your website longer and check out your blog, you might add a Popular Posts widget to your site’s footer. And if your goal was to increase conversions, you could include a call to action and email signup form in it.

The problem is that traditionally footers are small, with a bare minimum of content (probably copyright and social media icons). Like giant site mega-menus, that offer users more navigation options, the solution to the footer conundrum is mega-footers.

4 Best Practices for Designing Big Website Footers

The possibilities are seemingly endless when you decide to go with a mega-footer on your website. You can add branding elements to reinforce your brand in your visitors’ minds. You can add navigation links to all of your important pages which visitors might miss otherwise. You can even add a contact form in your footer!

With this in mind, let’s step through some best practices for designing mega-footers that don’t just look good but are also incredibly functional.

1. Include Branding Elements

Your site’s footer is often an overlooked opportunity to reinforce your brand image in the visitor’s mind. You can use this space to communicate brand value.

Using images, graphics, icons, or logos in your footer is a great way to remind visitors what website they’re on and give them something to remember it by. Alternatively, you can use colors, patterns, or icons that you have already used in your website’s design to achieve the same result.

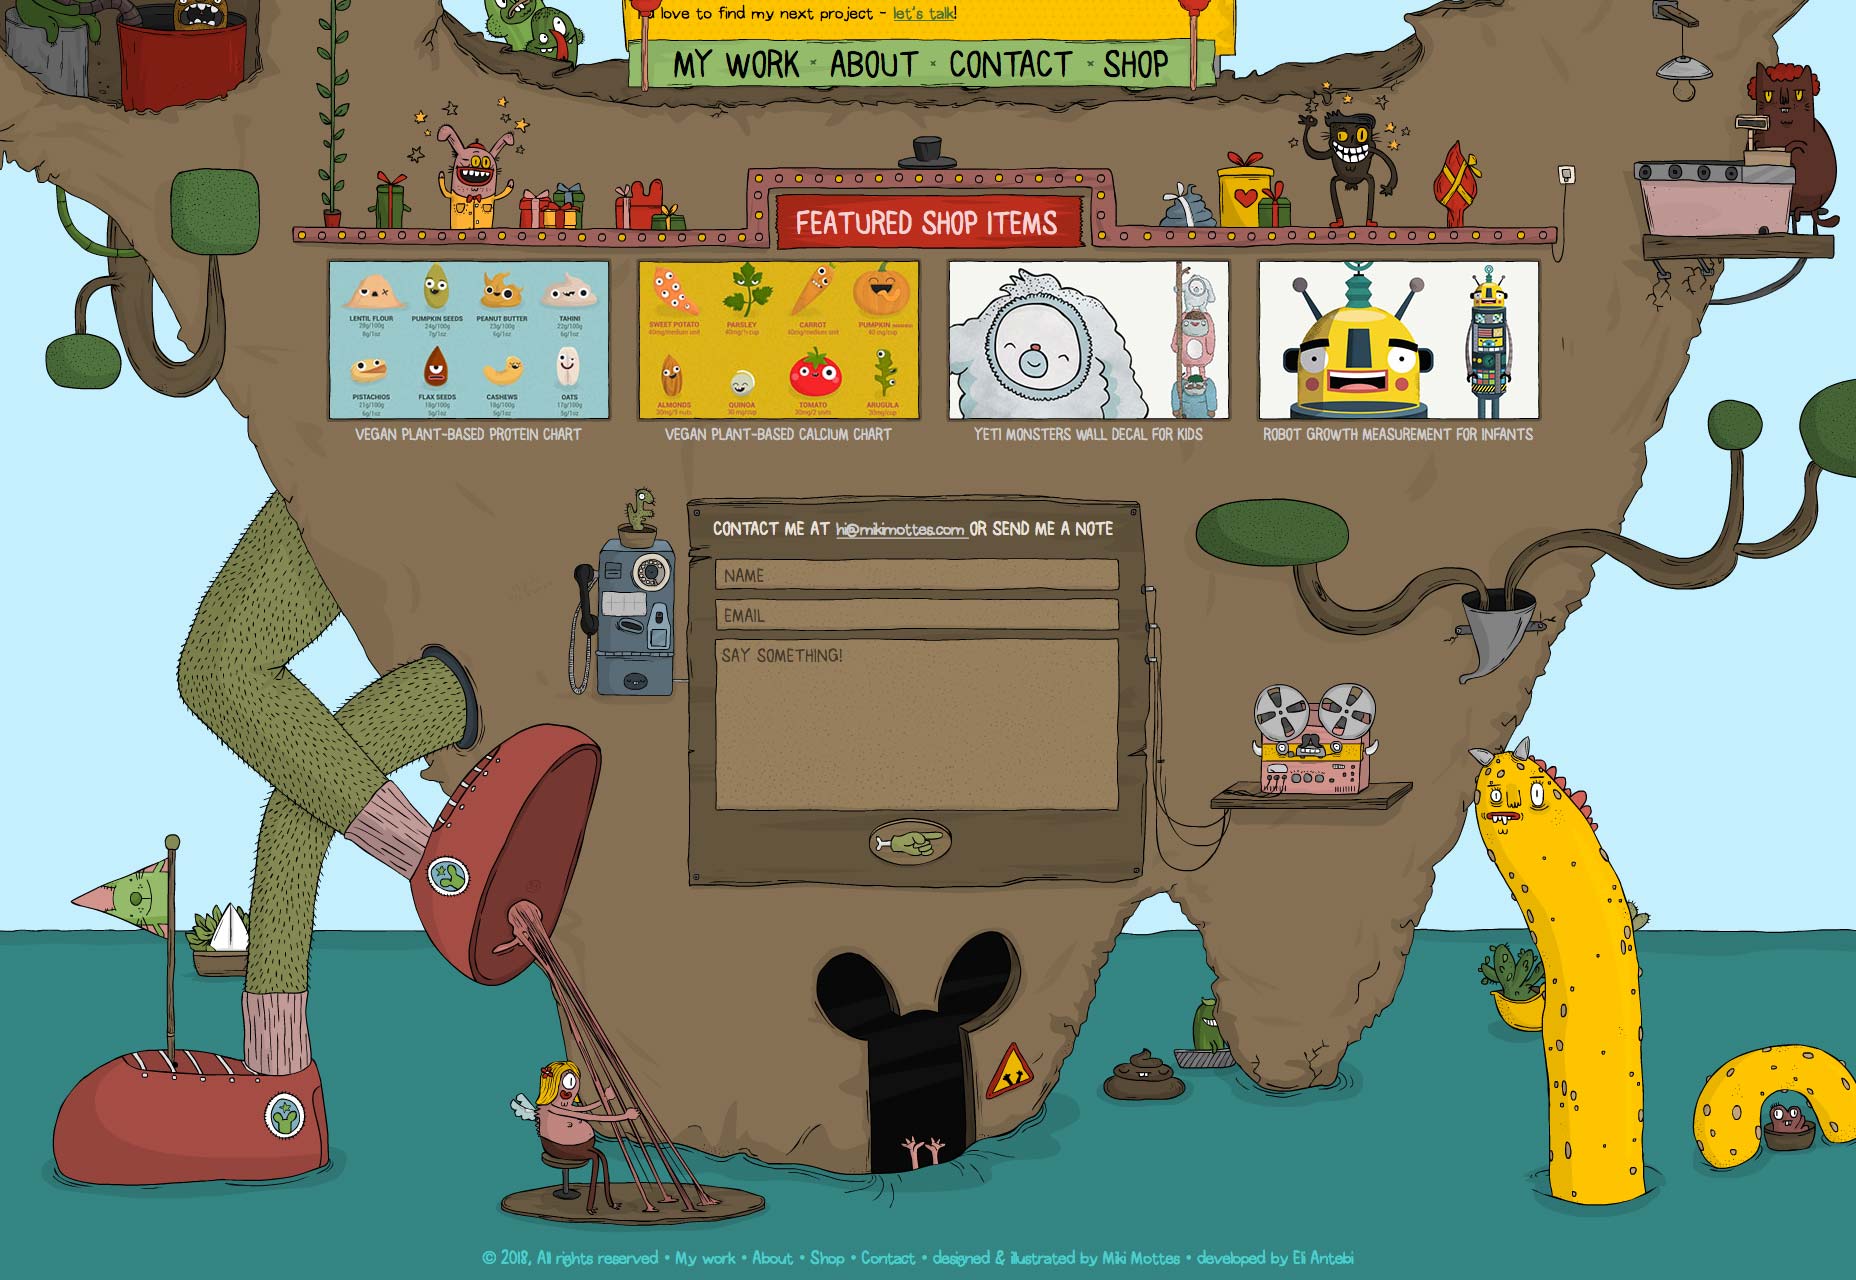
Miki Mottes‘ mega-footer is a work of art. It uses graphics and animation incorporating a lot of visual elements. You will notice that it also uses a different version of its site’s logo in the footer to reinforce their brand. It’s a not-so-subtle reminder for visitors that Miki Mottes is an illustrator, animator, and designer.

Hustle Panda is the perfect example of how you can keep things simple by using the same color palette and playing around with different logo sizes. The repeated use of their panda mascot reminds visitors about their brand message.

2. Gather Leads

Building an email list can be pretty difficult especially when you’re just starting out. From a design perspective, a lot of it has to do with how well your signup form fits in with the rest of the website’s design. Your website’s mega-footer is the perfect place to gather leads for your business. It gives you one last chance of getting your call to action across and then serving up a signup form.

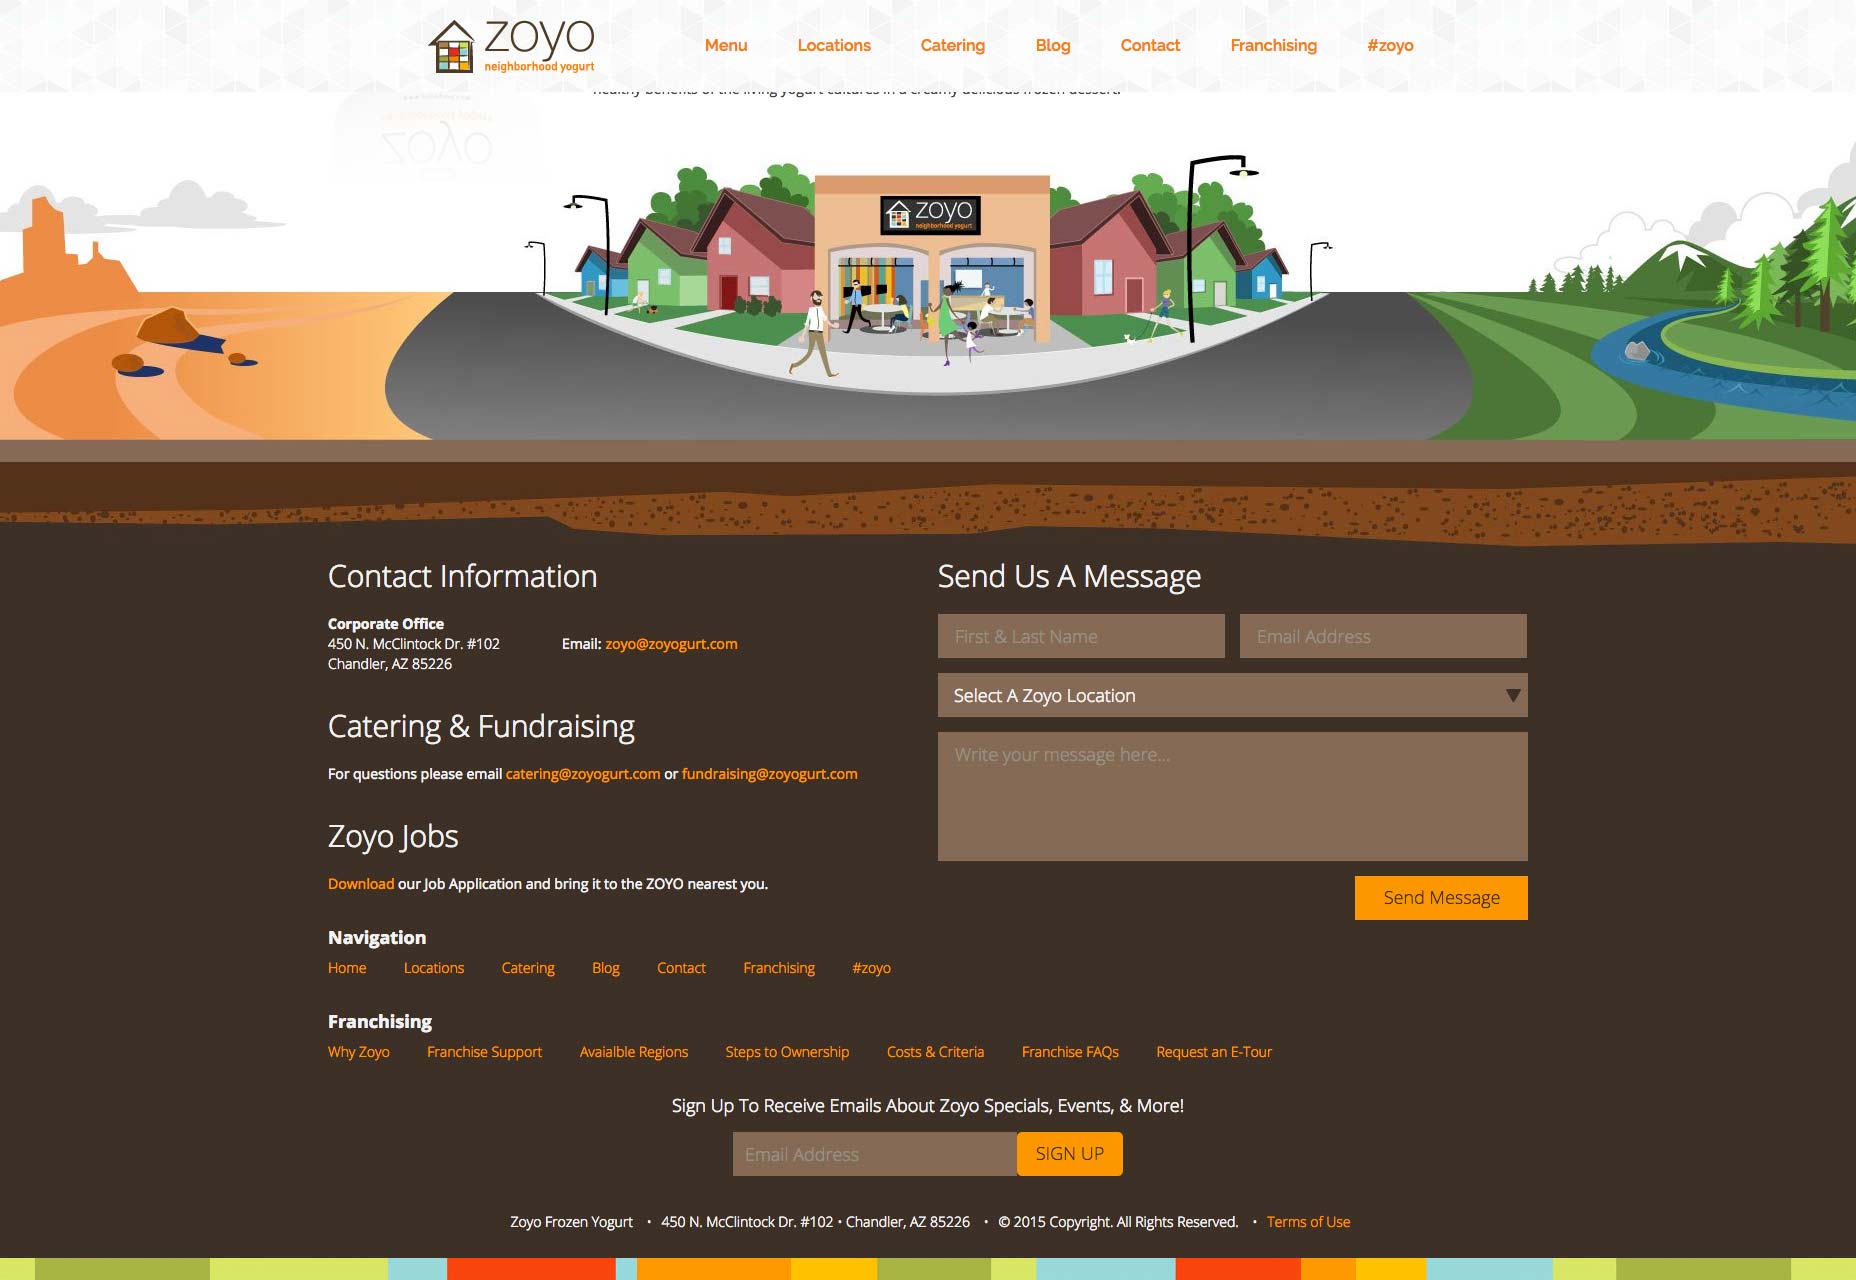
Zoyo Yogurt displays a large signup form that blends in with the rest of the footer’s design. It gives visitors an opportunity to take in everything they have to offer and then signup to receive emails about events and special offers.

3. Add Social Media Buttons

Studies indicate that nearly 75% of marketing websites include social media icons in their site’s footer instead of the header. Why? As website owners, our goal is to keep visitors on our website instead of heading over to a social media page. Because once they land on a social media platform, it’s pretty difficult to get them to come back.

For this reason, it’s better to place your social media buttons in your site’s footer instead of its header. This way, you can rest assured that your site’s visitors will have (at least) reached the bottom of your homepage before heading over to Facebook or Twitter.

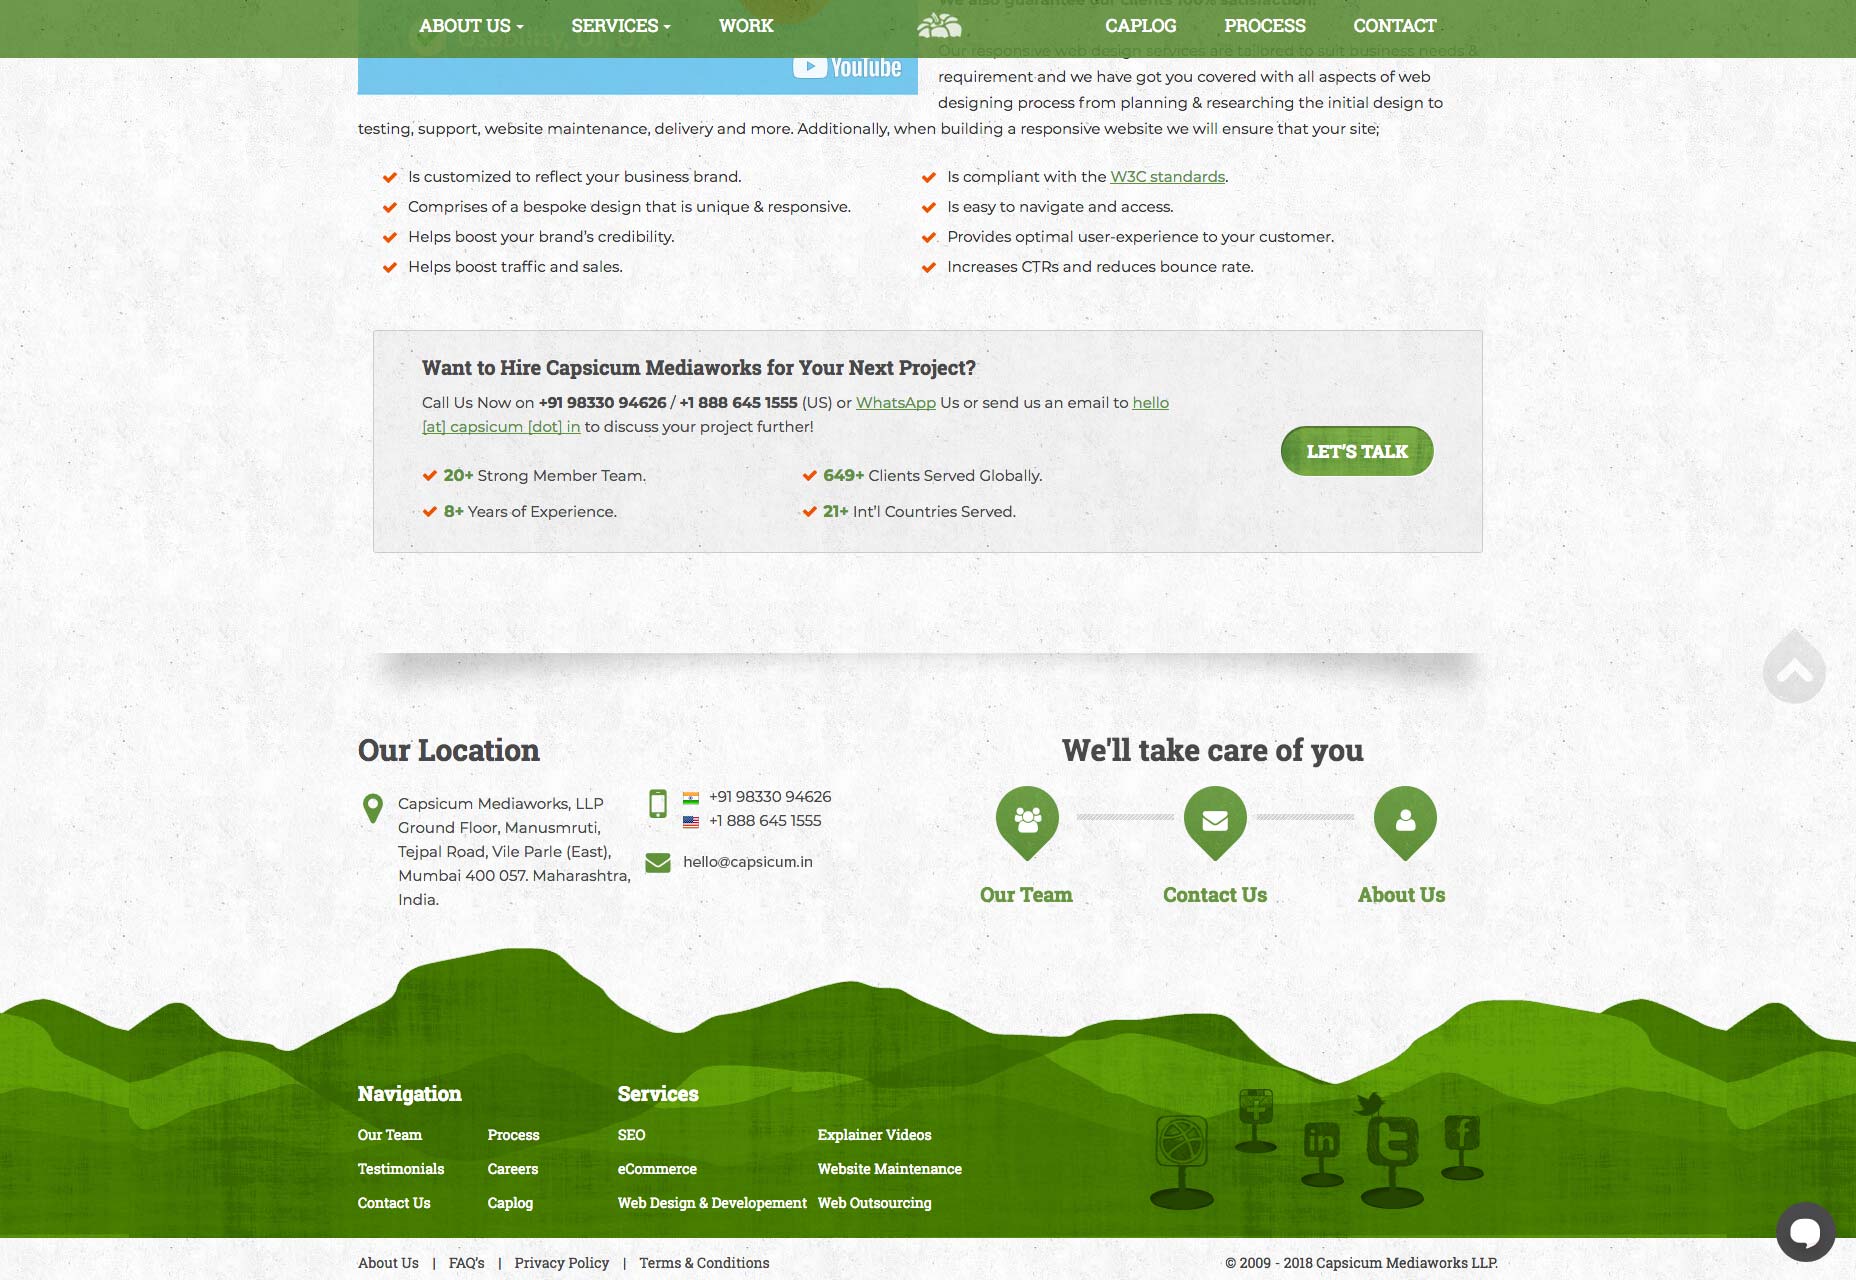
Capsicum Mediaworks neatly embeds its social media buttons into its site’s design. They blend in with the color palette and immediately captivate your attention. It’s an excellent example of mega-footers getting branding and social media icons right.

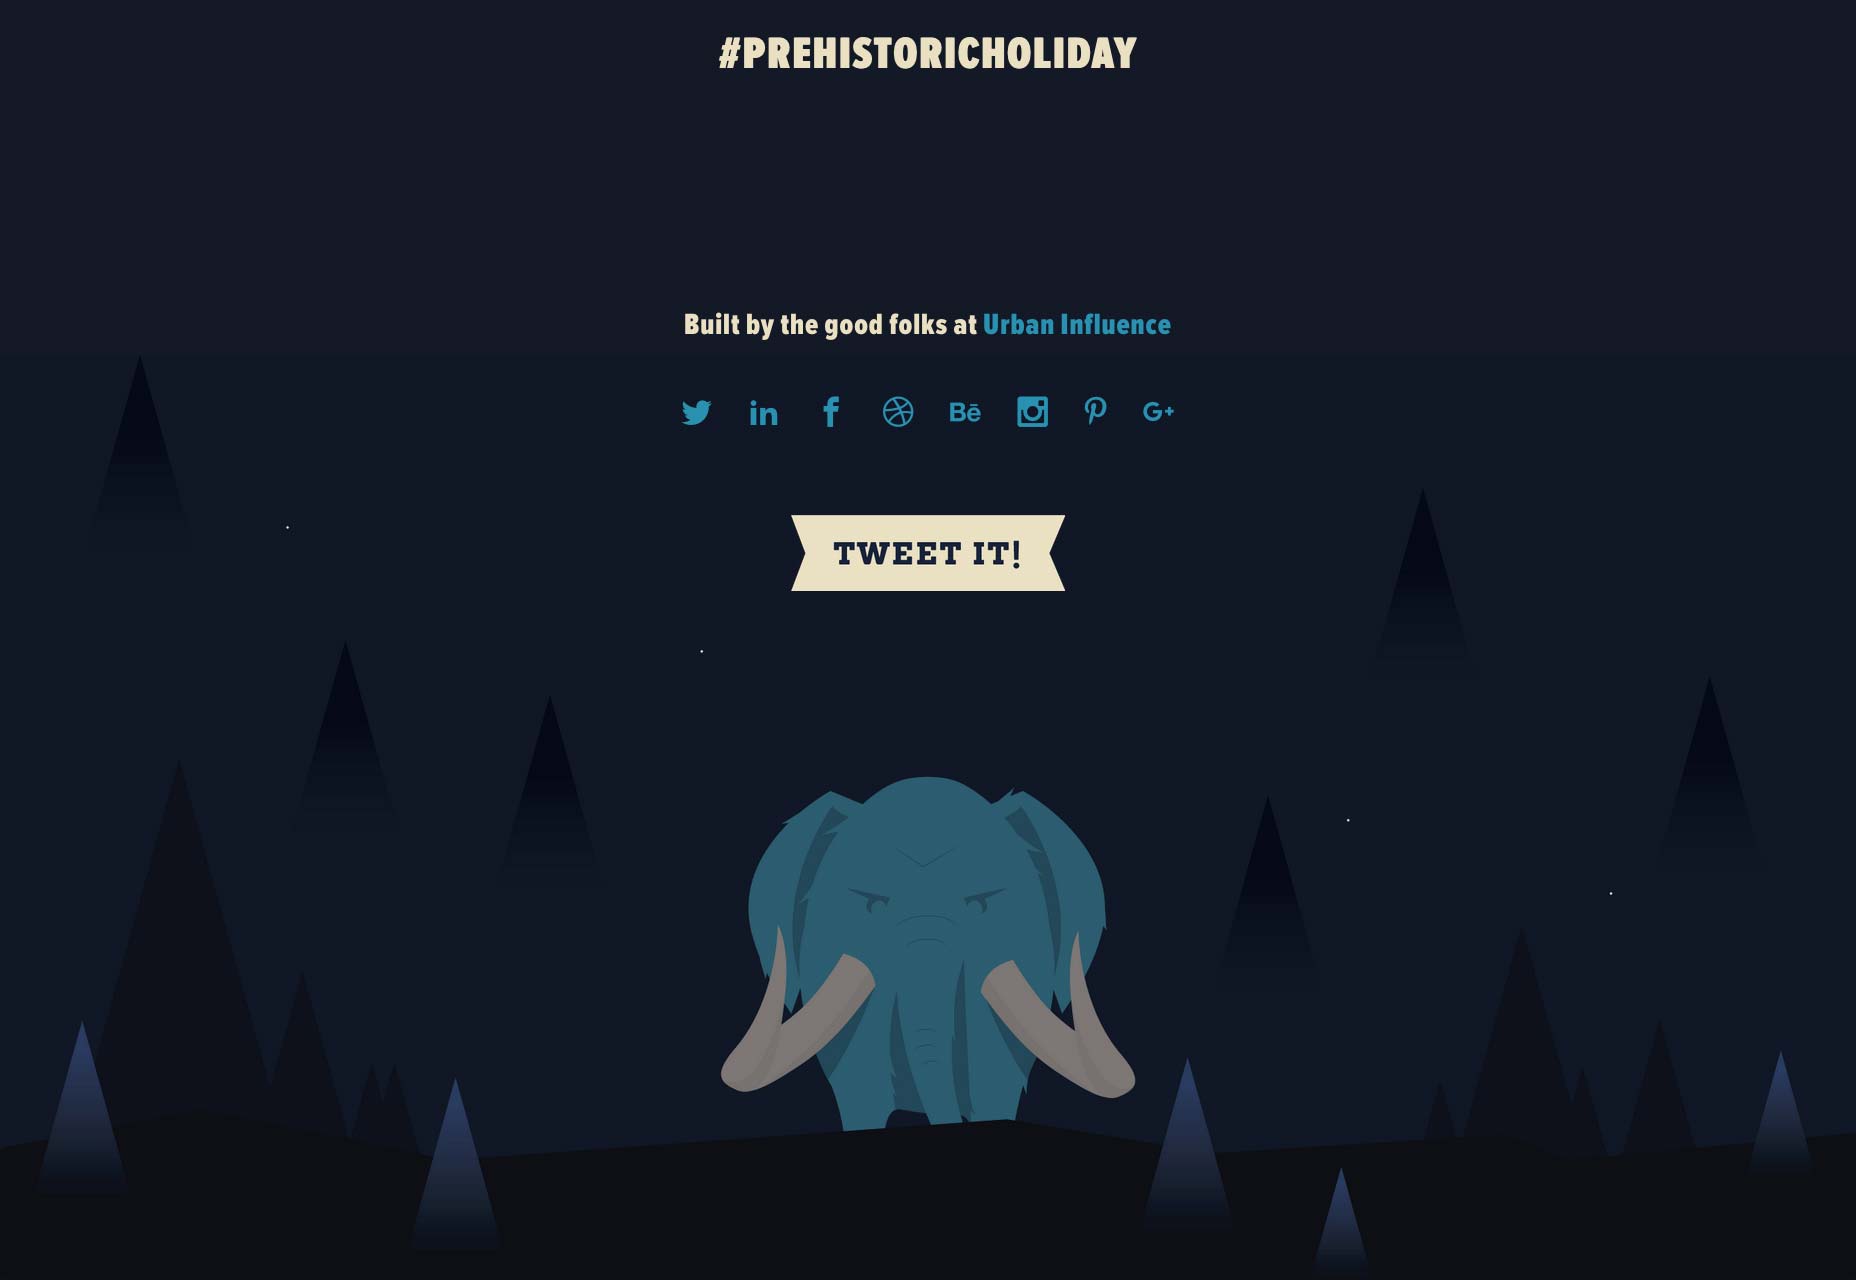
Holiday Harold takes a minimal approach in its footer with simple links to its social media pages placed directly above the graphics.

4. Create Navigation Hierarchies

One of the best things you can do with mega-footers is including links to your site’s most popular content.

For starters, you can organize links to your site’s most popular pages or categories into columns. Bonus points for categorizing them under appropriate headings and titles.

Keep in mind that sometimes your visitors find themselves at the bottom of your page because they weren’t able to find what they were looking for up until that point. So, before they bounce off, you have one last chance to give them a few more options. And your footer makes this possible.

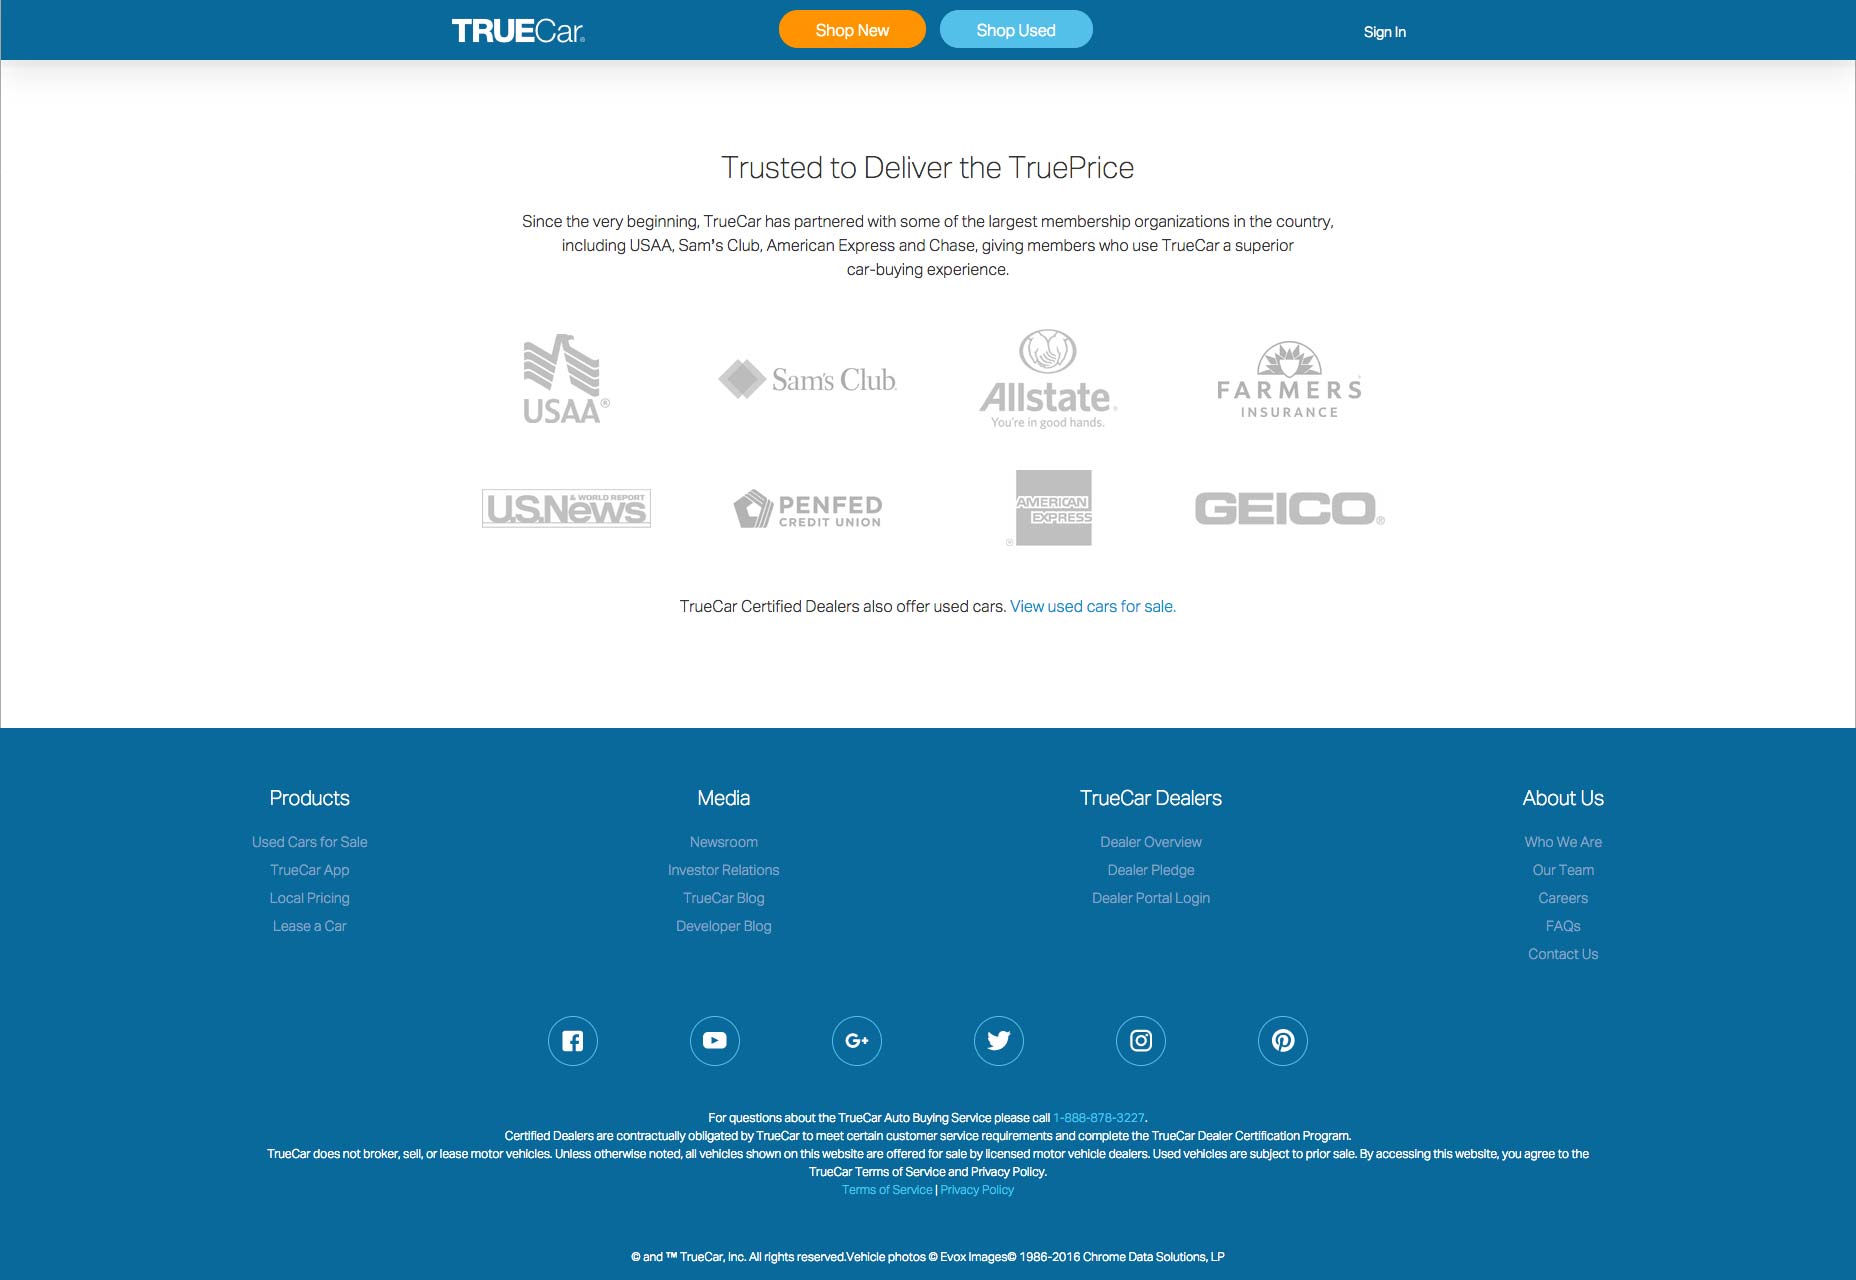
TrueCar‘s footer is organized into four columns – each column with a category title. This makes it easy to quickly scan for what you’re looking for. You will also notice that the headings of each column are more prominent which makes them easily noticeable.

GitHub does the same thing by organizing their most important pages into columns. And by giving each column an appropriate title, they make it easy for visitors to find the page they were looking for.

Conclusion

Even though the footer is located at the very bottom of the page, it’s one of the most visible elements of your website.

We listed out some of the different elements you can include in your site’s footer and shared some best practices to give you a good starting point. It’s a good idea to identify your goals and objectives and then add the right elements to your big website footer that help you achieve those goals.

Add Realistic Chalk and Sketch Lettering Effects with Sketch’it – only $5!

Source

Categories: Designing, Others Tags:

What Happens When Designers Photoshop Superheros Into Product Models

September 6th, 2018 No comments
Photoshop Design

We as designers like to have a little fun every once in a while, am I right? Design Crowd has challenged designers all over the world to Photoshop their favorite superheroes and villains endorsing household products. The result? Absolutely hilarious! Check them out below.
Design Crowd is well known for their contests where they help designers earn an extra buck. The topic of one of their most viewed and the one with the biggest participation was, as mentioned, Superheroes and Villains Endorsing Famous Products. Whether you are a very experienced designer or a beginner, this contest couldn’t be more fun. There’s nothing to lose, only to gain… a few dollars. This particular contest won by tapstudio, brought the designer $280 with the genius Paco Rabanne’s One Million Cologne endorsement. All you need is… Photoshop!

Superheroes and Villains from Iron Man, Hulk, Spider-man, to Joker, Darth Vader, and Dr. Evil, are all reinvented as promoters of household products. We had a great laugh going through all the creations and we hope that you will, too. With no further ado and in no particular order:

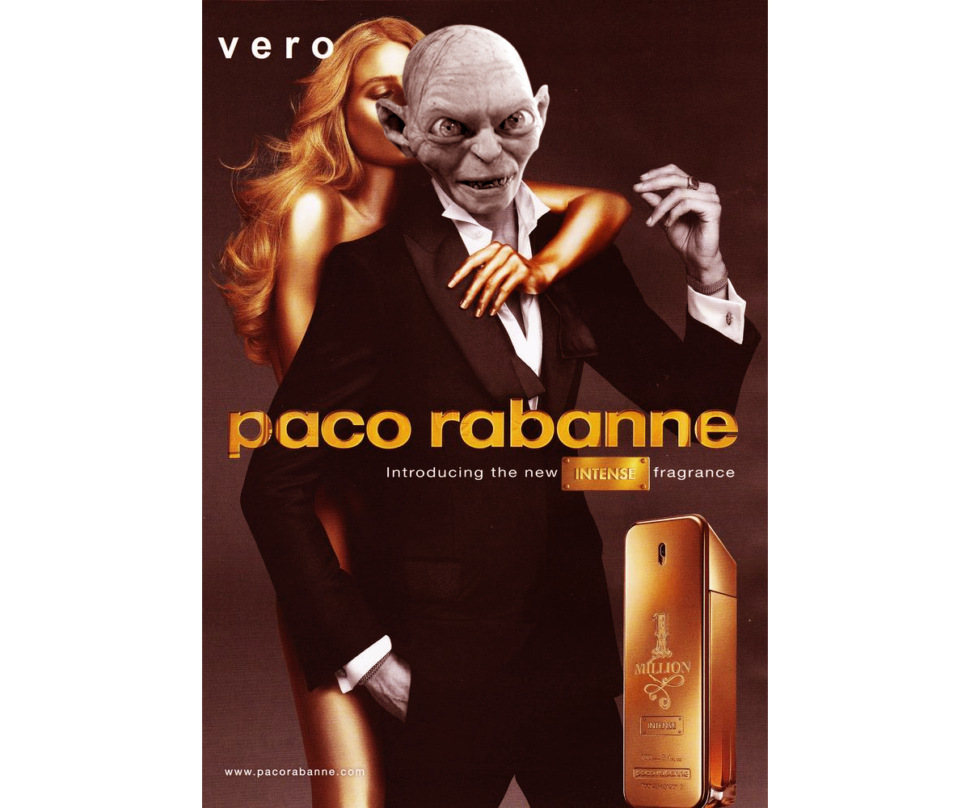
1. Gollum & Paco Rabanne, by tapstudio

Photoshop Design

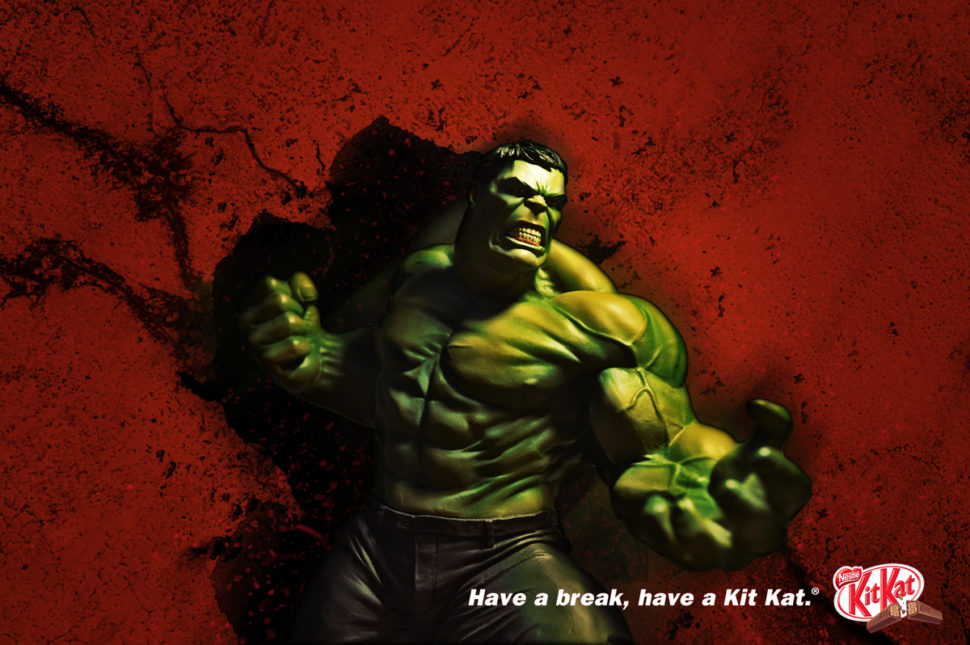
2. Hulk & KitKat, by Epka Design

Photoshop Design Contests

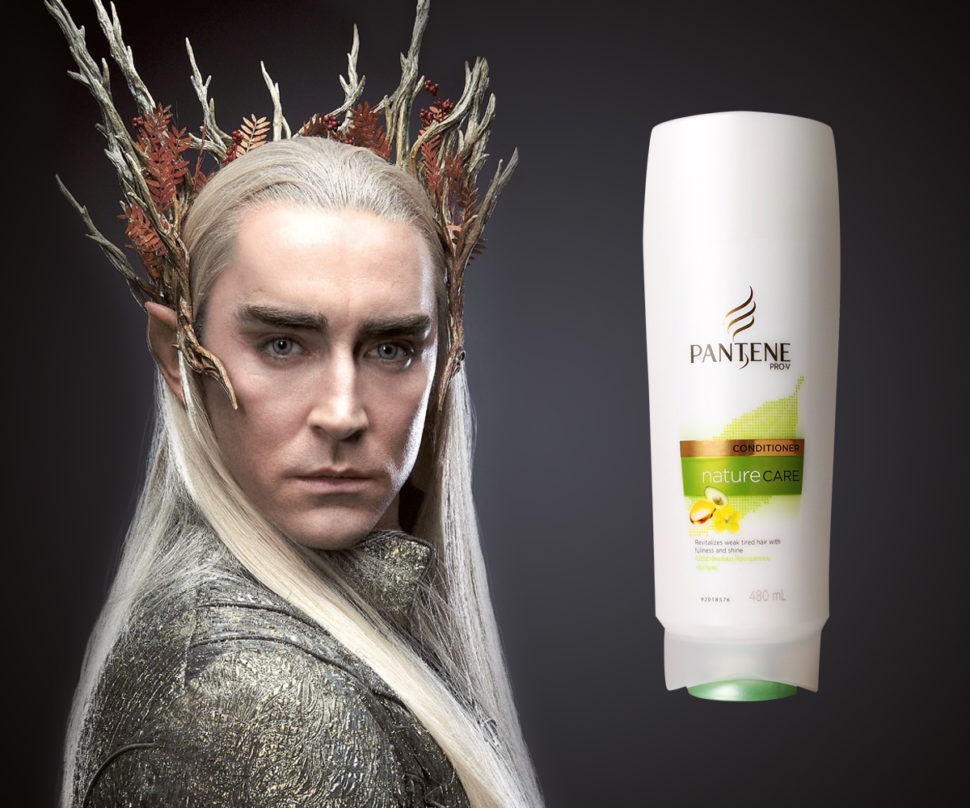
3. The Elvenking & Pantene, by Pi

Photoshop Design Contests

4. Luke Skywalker & Goodwill, by JDZYN

Photoshop Design

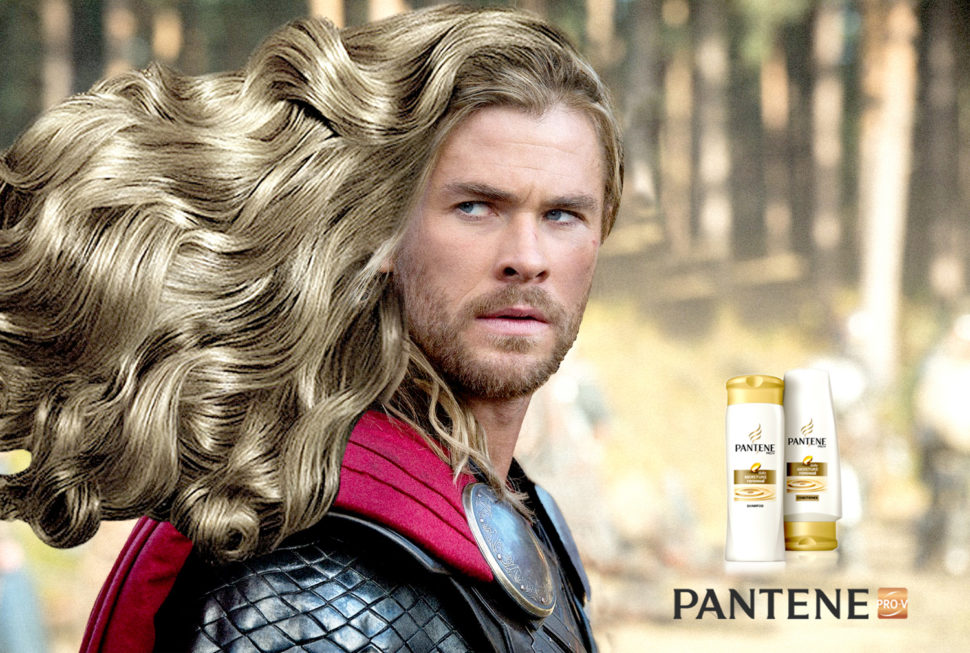
5. Thor & Pantene, by waytfung

Photoshop Design

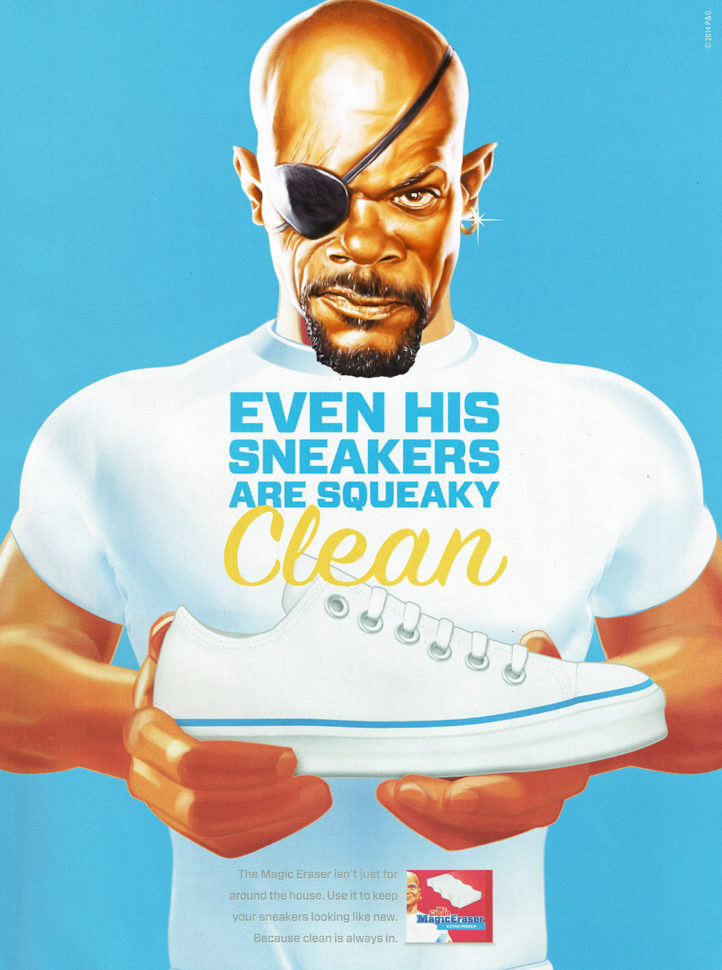
5. Nick Fury & Mr. Clean, by waytfung

Photoshop Design

6. Wolverine & Lay’s, by Bling Connect Ink Production

Photoshop Design

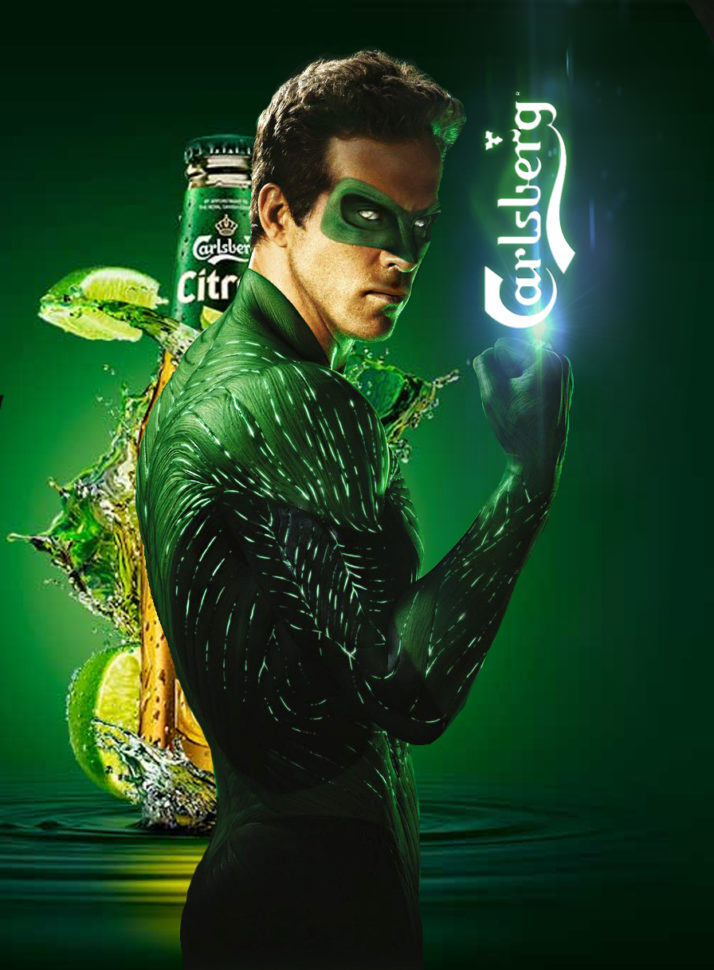
7. Green Lantern & Calrsberg, Bling Connect Ink Production

Photoshop Design

8. The Thing & Vaseline, by Bling Connect Ink Production

Photoshop Design

9. Joker & Colgate, by BJY

Photoshop Design

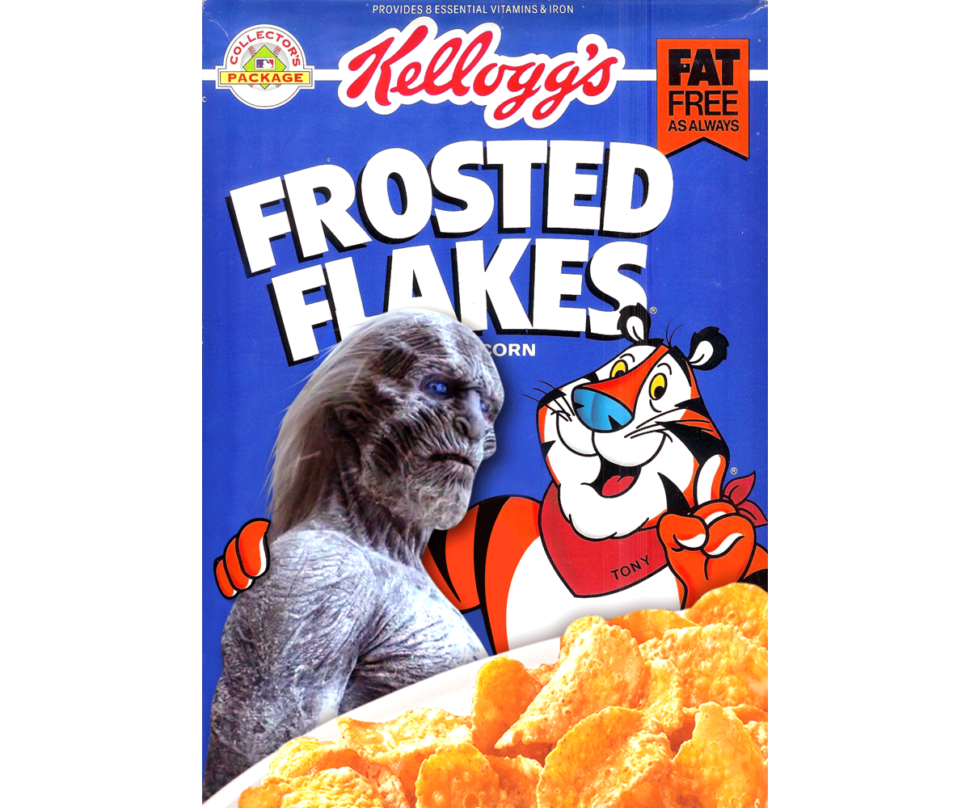
10. White Walker King & Frosted Flakes, by tapstudio

Photoshop Design

11. Superman & DHL, by Creative Shots Studio

Photoshop Design

12. The Stepmother-Which & Apple, by Bluemedia

Photoshop Design

13. Iron Man & Gillette, by Hendrik

Photoshop Design

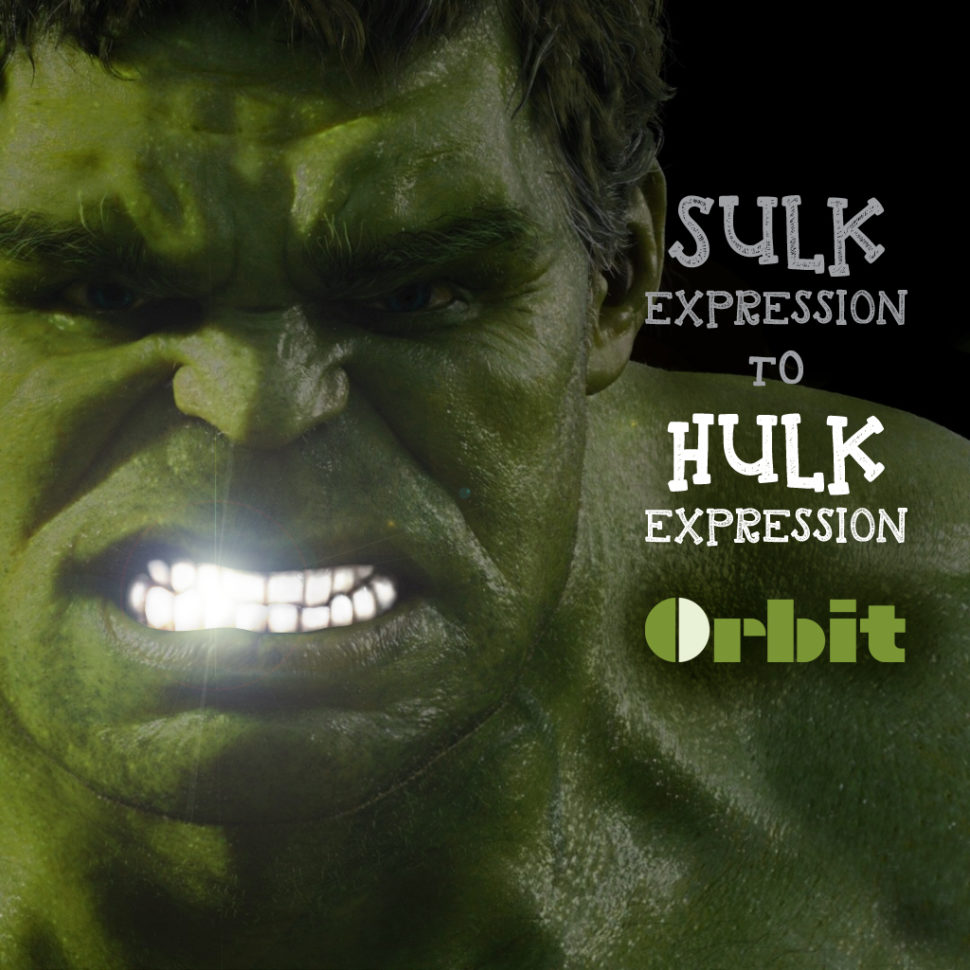
13. Hulk & Orbit, by Neil

Photoshop Design

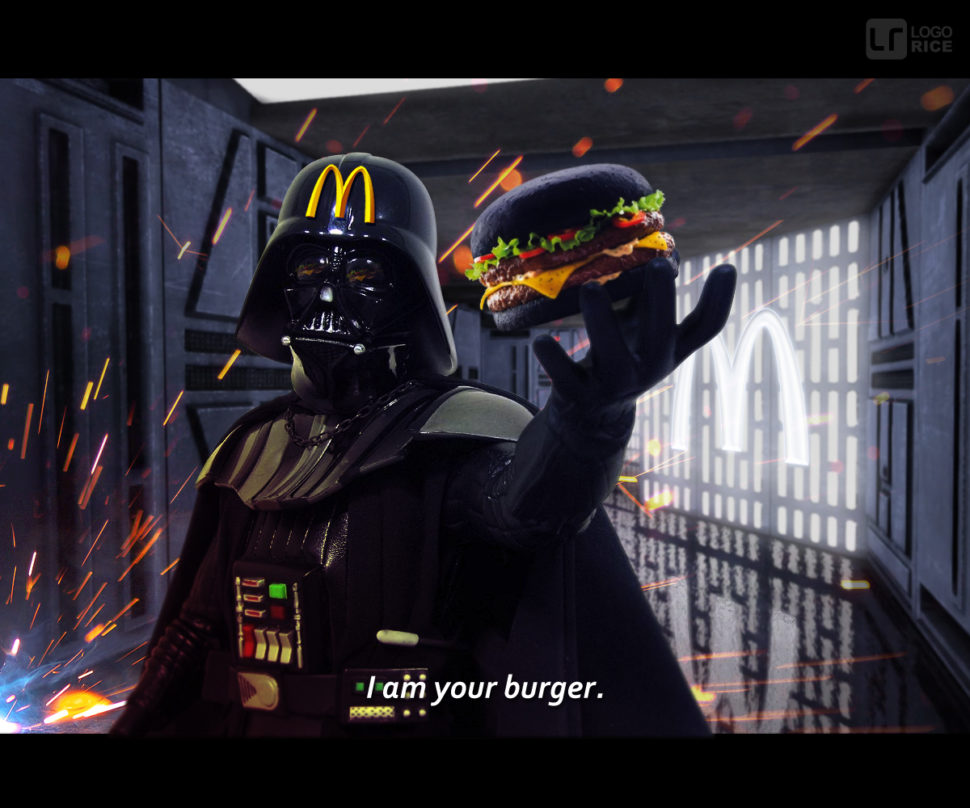
14. Darth Wader & McDonald’s, by logorice

Photoshop Design

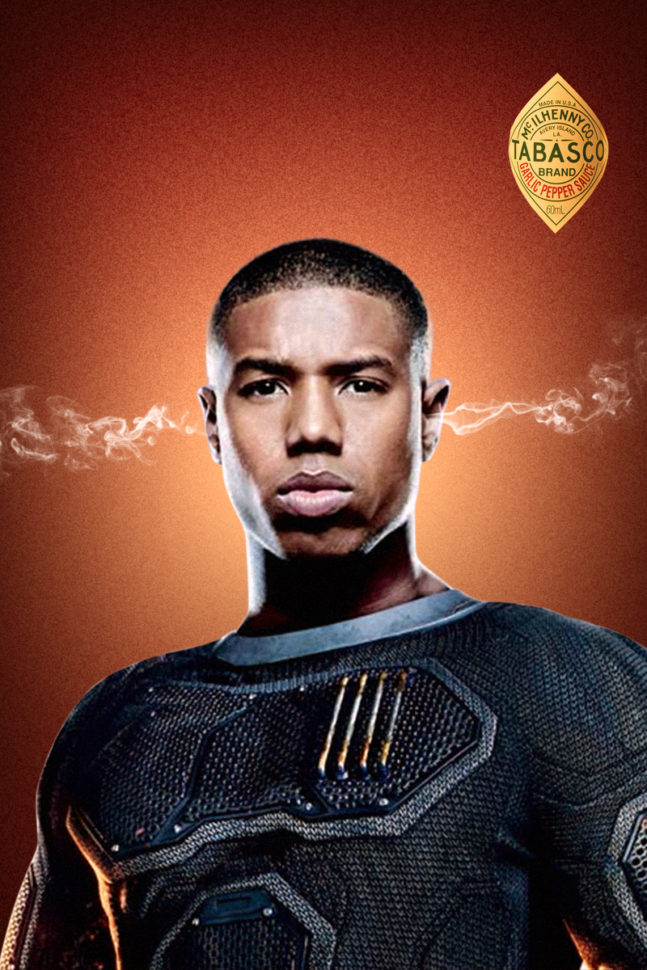
15. The Human Torch & McIlhenny, by senja

Photoshop Design

16. Walter White & KFC, by Spektron Designs

Photoshop Design

17. Joker & Revlon, by kenjie0476

Photoshop Design

18. Captain America & Oreo, by Fatboy Design

19. Thor & L’OREAL Paris, by Matthew Fawcett

20. Dr. Evil & AXE, by jkrebs04

21. Thor & Black and Decker, by harri

22. Wolverine & Heinz Ketchup, by harri

23. Gandalf & Glaser, senjaPhotoshop Design

We hope this article made your day today. Trying to bring the best information, news, and resources, the designers at Webdesignledger unite their brains and forces and come up with innovative content daily. At the same time, we try to shed some light on the agencies and designers out there that impressed us with their work. So if you are a designer yourself and would like to have your work featured on our blog, make sure you drop us an email at webdesignledger.blog@gmail.com and we will tell you all you have to do. We’ll be waiting for your email!

Read More at What Happens When Designers Photoshop Superheros Into Product Models

Categories: Designing, Others Tags: