Draggin’ and Droppin’ in React
The React ecosystem offers us a lot of libraries that all are focused on the interaction of drag and drop. We have react-dnd, react-beautiful-dnd, react-drag-n-drop and many more, but some of them require quite a lot of work to build even a simple drag and drop demo, and some do not provide you with more complex functionality (e.g. multiple drag and drop instances), and if they do, it becomes very complex.
This is where react-sortable-hoc comes into play.
? This tutorial requires basic knowledge of React library and React hooks.
This library has “HOC” in its name for a good reason. It provides higher-order components that extends a component with drag and drop functionality.
Let’s walk through an implementation of its functionalities.
Spinning up a project
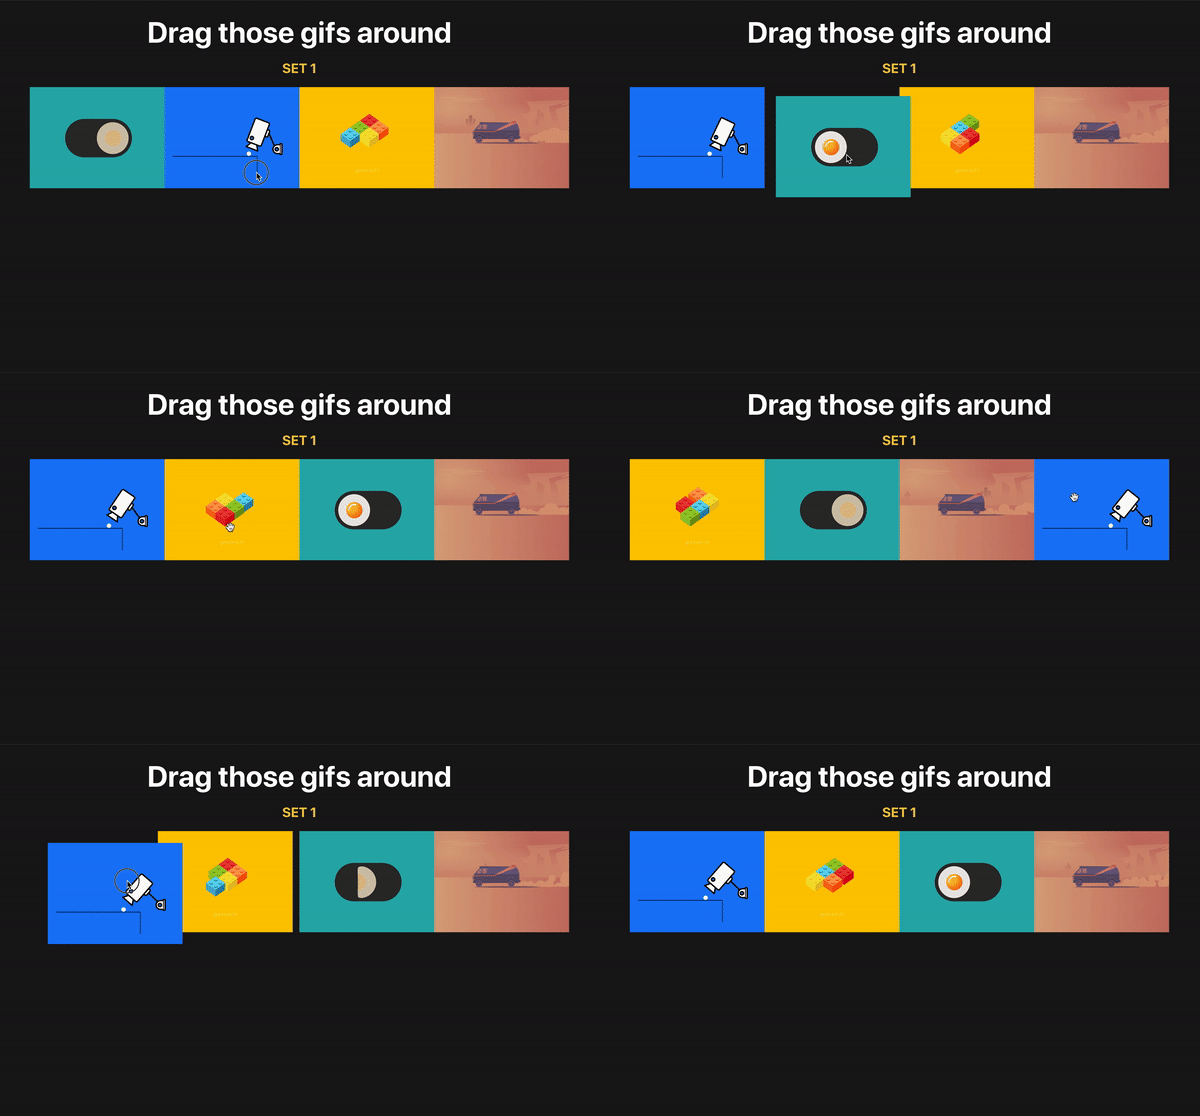
For this tutorial we are going to build an app with funny GIFs that can be dragged around the viewport.
Let’s create a simple app and add drag-n-drop functionality to it. We’re going to use create-react-app to spin up a new React project:
npx create-react-app your-project-nameNow let’s change to the project directory and install react-sorting-hoc and array-move. The latter is needed to move items in an array to different positions.
cd your-project-name
yarn add react-sortable-hoc array-move
Adding styles, data and GIF component
For simplicity’s sake, we are going to write all styles in our App.css file. You can overwrite styles you have there with the following ones:
.App {
  background: #1a1919;
  color: #fff;
  min-height: 100vh;
  padding: 25px;
  text-align: center;
}

.App h1 {
  font-size: 52px;
  margin: 0;
}

.App h2 {
  color: #f6c945;
  text-transform: uppercase;
}

.App img {
  cursor: grab;
  height: 180px;
  width: 240px;
}
Let’s create our state with GIFs. For this purpose we gonna use React’s built-in useState hook:
import React, { useState } from 'react';Now add following before the return statement:
const [gifs, setGifs] = useState([
  'https://media.giphy.com/media/3ohhwoWSCtJzznXbuo/giphy.gif',
  'https://media.giphy.com/media/l46CbZ7KWEhN1oci4/giphy.gif',
  'https://media.giphy.com/media/3ohzgD1wRxpvpkDCSI/giphy.gif',
  'https://media.giphy.com/media/xT1XGYy9NPhWRPp4pq/giphy.gif',
]);
It’s time to create our simple GIF component. Create a Gif.js file in the src directory and pass in the following code:
import React from 'react';
import PropTypes from 'prop-types';

const Gif = ({ gif }) => (<img src={gif} alt="gif" />)

Gif.propTypes = {
  gif: PropTypes.string.isRequired,
};

export default Gif;
We always try to follow the best practices while writing code; thus we also import PropTypes for type checking.
Import the Gif component and add it to the main App component. With a bit of clean up, it looks like this:
import React, { useState } from 'react';
import './App.css';

import Gif from './Gif';

const App = () => {
  const [gifs, setGifs] = useState([
    'https://media.giphy.com/media/3ohhwoWSCtJzznXbuo/giphy.gif',
    'https://media.giphy.com/media/l46CbZ7KWEhN1oci4/giphy.gif',
    'https://media.giphy.com/media/3ohzgD1wRxpvpkDCSI/giphy.gif',
    'https://media.giphy.com/media/xT1XGYy9NPhWRPp4pq/giphy.gif',
  ]);


  return (
    <div className="App">
      <h1>Drag those GIFs around</h1>
      <h2>Set 1</h2>
        {gifs.map((gif,  i) => <Gif key={gif} gif={gif} />)}
    </div>
  );
}

export default App;
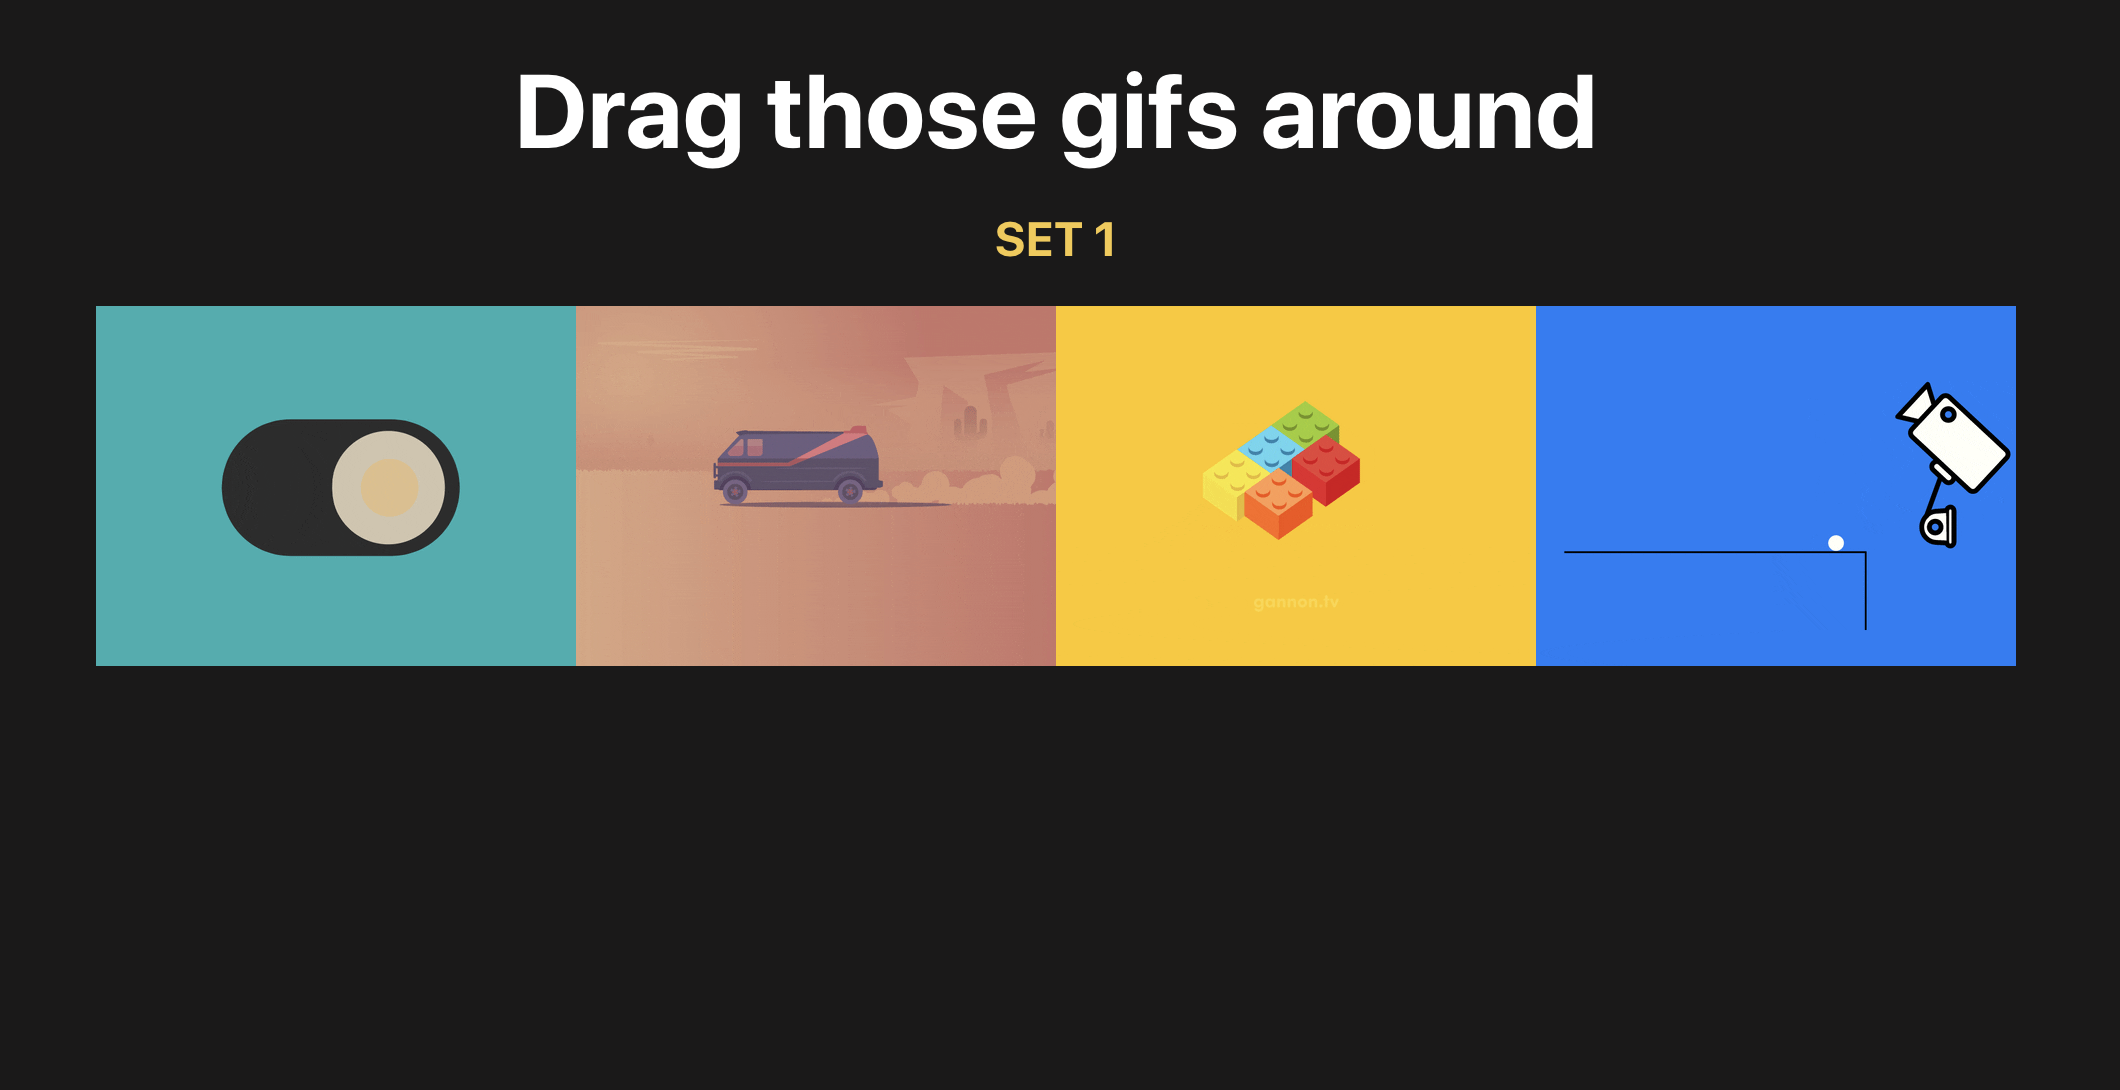
Go to http://localhost:3000/ to see what the app looks like now:
Onto the drag-n-drop stuff
Alright, it’s time make our GIFs draggable! And droppable.
To start, we need two HOCs from react-sortable-hoc, and the >arrayMove method from the array-move library to modify our new array after dragging happens. We want our GIFs to stay on their new positions, right? Well, that’s what this is going to allow us to do.
Let’s import them:
import { sortableContainer, sortableElement } from 'react-sortable-hoc';
import arrayMove from 'array-move';
As you might have guessed, those components will be wrappers which will expose functionality needed for us.
sortableContaineris a container for our sortable elements.sortableElementis a container for each single element we are rendering.
Let’s do the following after all our imports:
const SortableGifsContainer = sortableContainer(({ children }) => <div className="gifs">{children}</div>);

const SortableGif = sortableElement(({ gif }) => <Gif key={gif} gif={gif} />);
We’ve just created a container for our children elements that would be passed inside our SortableGifsContainer and also created wrapper for a single Gif component.
If it’s a bit unclear to you, no worries — you will understand right after we implement it.
?Note: You need to wrap your children in a div or any other valid HTML element.
It’s time to wrap our GIFs into the SortableGifsContainer and replace the Gif component with our newly created SortableGif:
<SortableGifsContainer axis="x" onSortEnd={onSortEnd}>
  {gifs.map((gif, i) =>
    <SortableGif
    // don't forget to pass index prop with item index
      index={i}
      key={gif}
      gif={gif}
    />
  )}
</SortableGifsContainer>
It’s important to note that you need to pass the index prop to your sortable element so the library can differentiate items. It’s similar to adding keys to the lists in React).
We add axis because our items are positioned horizontally and we want to drag them horizontally, while default is vertical dragging. In other words, we’re limiting dragging along the horizontal x-axis. As you can see we also add an onSortEnd function, which triggers every time we drag or sort our items around. There are, of course, a lot more events but you can find more info in the documentation which already does an excellent job of covering them.
Time to implement it! Add the following line above the return statement:
const onSortEnd = ({ oldIndex, newIndex }) => setGifs(arrayMove(gifs, oldIndex, newIndex));I want to explain one more thing: our function received an old and new index of the item which was dragged and, of course, each time after we move items around we modify our initial array with the help of arrayMove.
Tada! Now you know how to implement drag-n-drop in your project. Now go and do it! ? ? ?

What if we have multiple lists of items?
As you can see, the previous example was relatively simple. You basically wrap each of the items in a sortable HOC and wrap it around with sortableContainer and, bingo, you’ve got basic drag and drop.
But how will we do it with multiple lists? The good news is that react-sortable-hoc provides us with a collection prop so we can differentiate between lists.
First, we should add second array of GIFs:
const [newGifs, setNewGifs] = useState([
  'https://media.giphy.com/media/xiOgHgY2ceKhm46cAj/giphy.gif',
  'https://media.giphy.com/media/3oKIPuMqYfRsyJTWfu/giphy.gif',
  'https://media.giphy.com/media/4ZgLPakqTajjVFOVqw/giphy.gif',
  'https://media.giphy.com/media/3o7btXIelzs8nBnznG/giphy.gif',
]);
If you want to see them before we move next, add the following lines after the SortableGifsContainer closing tag:
{newGifs.map(gif => <Gif key={gif} gif={gif} />)}Alright, time to replace it with a draggable version.
Implementation is the same as in first example besides one thing — we have added a collection prop to our SortableGif. Of course, you can come up with any name for the collection, just remember, we’re gonna need it in for our onSortEnd function.
<h2>Set 2</h2>

<SortableGifsContainer axis="x" onSortEnd={onSortEnd}>
  {newGifs.map((gif,  i) => <SortableGif index={i} key={gif} gif={gif} collection="newGifs" />)}
</SortableGifsContainer>
Next we need to add the collection prop to our first list. I’ve chosen the name GIFs for the first list of items, but it’s up to you!
Now we need to to change our onSortEnd function. Our function received old and new indexes, but we can also destructure a collection from it. Right, exactly the one we’ve added to our SortableGif.
So all we have to do now is write a JavaScript switch statement to check for the collection name and to modify the right array of GIFs on drag.
const onSortEnd = ({ oldIndex, newIndex, collection }) => {
  switch(collection) {
    case 'gifs':
      setGifs(arrayMove(gifs, oldIndex, newIndex))
      break;
    case 'newGifs':
      setNewGifs(arrayMove(newGifs, oldIndex, newIndex))
      break;
    default:
      break;
  }
}
Time to check it out!

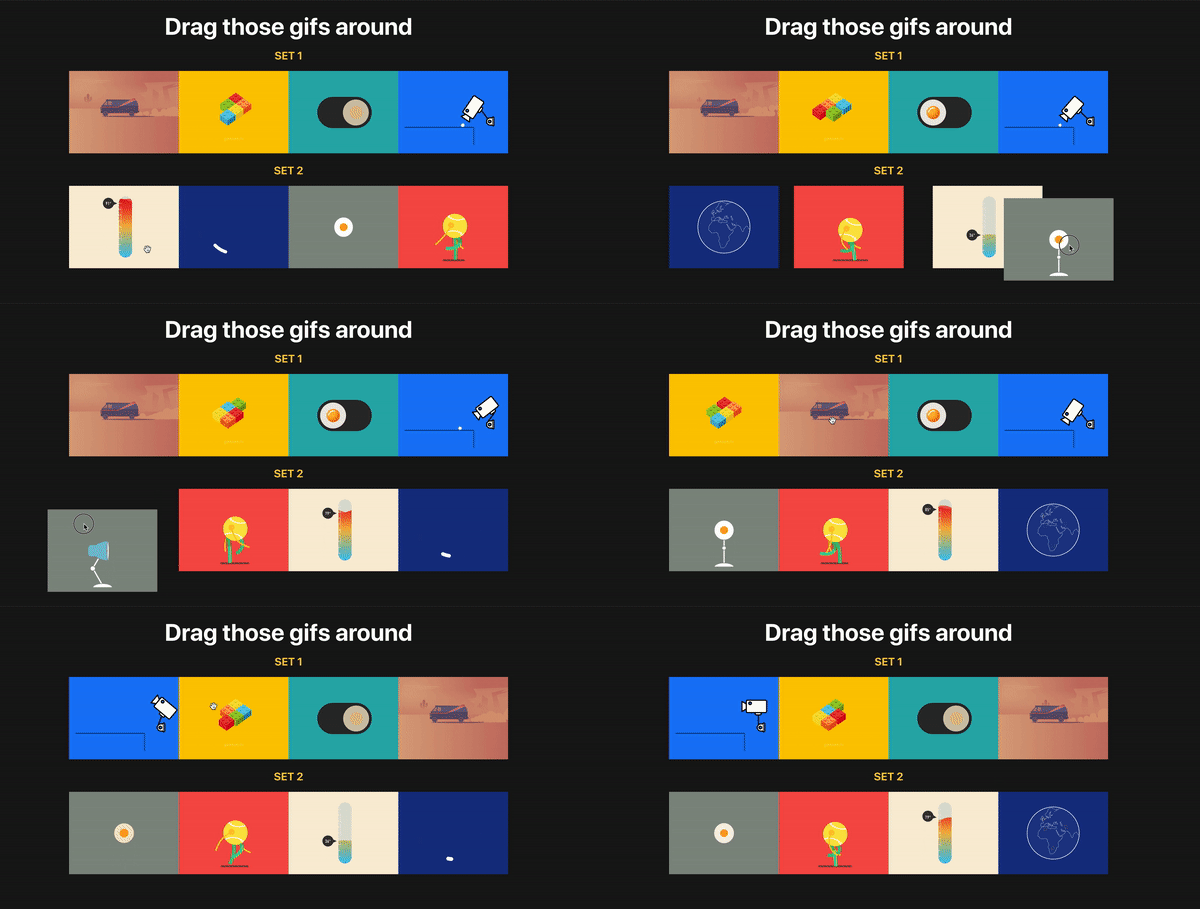
As you can see, we now have two separate lists of GIFs and we can drag and sort. Moreover, they are independent meaning items from different lists won’t be mixed up.
Exactly what we wanted to do! Now you know how to create and handle drag and drop with multiple lists of items. Congratulations ?
Hope you’ve enjoyed it as much as I did writing it! If you’d like to reference the complete code, it’s all up on GitHub here. If you have any questions, feel free to contact me via email.
The post Draggin’ and Droppin’ in React appeared first on CSS-Tricks.
