Archive

Archive for January, 2020

Recreating The Arduino Pushbutton Using SVG And

January 20th, 2020 No comments
The LED and the Pushbutton elements in action

Recreating The Arduino Pushbutton Using SVG And <lit-element>

Recreating The Arduino Pushbutton Using SVG And <lit-element>

Uri Shaked

2020-01-20T11:30:00+00:002020-01-20T22:49:33+00:00

Today, I am going to take you through the journey of creating an HTML component that mimics a momentary pushbutton component that is commonly used with Arduino and in electronic projects. We will use technologies such as SVG, Web Components and lit-element, and learn how to make the button accessible through some JavaScript-CSS trickery.

Let’s start!

From Arduino To HTML: The Need For A Pushbutton Component

Before we embark on the journey, let’s explore what we are going to create, and more importantly, why. I’m creating an open-source Arduino simulator in JavaScript called avr8js. This simulator is able to execute Arduino code and I will be using it in a series of tutorials and courses that teach makers how to program for Arduino.

The simulator itself only takes care of the program execution — it runs the code instruction by instruction and updates its internal state and a memory buffer according to the program logic. In order to interact with the Arduino program, you need to create some virtual electronic components that can send input to the simulator or react to its outputs.

Running the simulator alone is very much like running JavaScript in isolation. You can’t really interact with the user unless you also create some HTML elements, and hook them to the JavaScript code through the DOM.

Thus, in addition to the simulator of the processor, I’m also working on a library of HTML components that mimic physical hardware, starting with the first two components that you will find in almost any electronics project: an LED and a pushbutton.

The LED and the Pushbutton elements in action

The LED is relatively simple, as it only has two output states: on and off. Behind the scenes, it uses an SVG filter to create the lighting effect.

The pushbutton is more interesting. It also has two states, but it has to react to user input and update its state accordingly, and this is where the challenge comes from, as we will shortly see. But first, let’s nail down the requirements from our component we are going to create.

Defining The Requirements For The Pushbutton

Our component will resemble a 12mm pushbutton. These buttons are very common in electronics starter kits, and come with caps in multiple colors, as you can see in the photo below:

Simon Game with Yellow, Red, Blue and Green pushbuttons

Simon Game with Yellow, Red, Blue and Green pushbuttons (Large preview)

In terms of behavior, the pushbutton should have two states: pressed and released. These are similar to the mousedown/mouseup HTML events, but we must make sure that the pushbuttons can also be used from mobile devices, and are accessible for users without a mouse.

As we will be using the state of the pushbutton as input for Arduino, there is no need to support “click” or “double click” events. It is up to the Arduino program running in the simulation to decide how to act upon the state of the button, and physical buttons do not generate click events.

If you’d like to learn more, check out a talk I held with Benjamin Gruenbaum at SmashingConf Freiburg in 2019: “Anatomy of a Click”.

To summarize our requirements, our pushbutton needs to:

  1. look similar to the physical 12mm pushbutton;
  2. have two distinct states: pressed, and released, and they should be visually discernible;
  3. support mouse interaction, mobile devices and be accessible to keyboard users;
  4. support different cap colors (at least red, green, blue, yellow, white and black).

Now that we have defined the requirements, we can start working on the implementation.

SVG For The Win

Most web components are implemented using a combination of CSS and HTML. When we need more complex graphics, we usually use raster images, in either JPG or PNG format (or GIF if you feel nostalgic).

In our case, however, we will use another approach: SVG graphics. SVG lends itself to complex graphics much more easily than CSS (yeah, I know, you can create fascinating things with CSS, but it doesn’t mean it should). But don’t worry, we are not giving up on CSS entirely. It will help us with styling the pushbuttons, and eventually even with making them accessible.

SVG has another big advantage, in comparison with raster graphics images: it is very easy to manipulate from JavaScript and can be styled through CSS. This means that we can provide a single image for the button and use JavaScript to customize the color cap, and CSS styles to indicate the state of the button. Neat, isn’t it?

Finally, SVG is just an XML document, which can be edited with text editors, and embedded directly into HTML, making it a perfect solution for creating reusable HTML components. Are you ready to draw our pushbutton?

Drawing The Pushbutton With Inkscape

Inkscape is my favorite tool for creating SVG vector graphics. It’s free and packed with powerful features, such as a large collection of built-in filter presets, bitmap tracing, and path binary operations. I started using Inkscape for creating PCB art, but in the past two years, I started using it for most of my graphic editing tasks.

Drawing the pushbutton in Inkscape is pretty straightforward. We are going to draw a top-view illustration of the button and its four metal leads that connect it to other parts, as follows:

  1. 12×12mm dark gray rectangle for the plastic case, with slightly rounded corners to make it softer.
  2. Smaller, 10.5×10.5 light gray rectangle for the metal cover.
  3. Four darker circles, one in each corner for the pins that hold the button together.
  4. A large circle in the middle, that is the contour of the button cap.
  5. A smaller circle in the middle for the top of the button cap.
  6. Four light-gray rectangles in a “T” shape for the metal leads of the button.

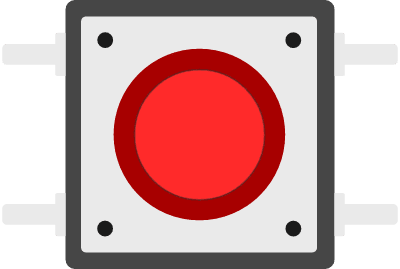
And the result, slightly enlarged:

Our hand-drawn Pushbutton Sketch

Our hand-drawn Pushbutton Sketch (Large preview)

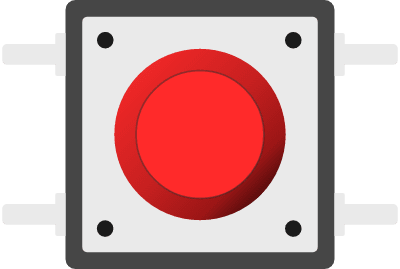
As a final touch, we’ll add some SVG gradient magic to the contour of the button, to give it a 3D feel:

Adding a gradient fill for creating 3D-feel

Adding a gradient fill for creating 3D-feel (Large preview)

There we go! We have the visuals, now we need to get it to the web.

From Inkscape to Web SVG

As I mentioned above, SVGs are pretty straightforward to embed into HTML — you can just paste the content of the SVG file into your HTML document, open it in a browser, and it will be rendered on your screen. You can see it in action in the following CodePen example:

See the Pen SVG Pushbutton in HTML by @Uri Shaked

See the Pen SVG Pushbutton in HTML by @Uri Shaked

However, SVG files saved from Inkscape contain a lot of unnecessary baggage such as the Inkscape version and the window position when you last saved the file. In many cases, there are also empty elements, unused gradients and filters, and they all bloat the file size, and make it harder to work with it inside HTML.

Luckily, Inkscape can clean most of the mess for us. Here is how you do it:

  1. Go to the File menu and click on Clean up document. (This will remove unused definitions from your document.)
  2. Go again to File and click on Save as…. When saving, select Optimized SVG (*.svg) in the Save as type dropdown.
  3. You will see an “Optimized SVG Output” dialog with three tabs. Check all the options, except for “Keep editor data”, “Keep unreferenced definitions” and “Preserve manually created IDs…”.
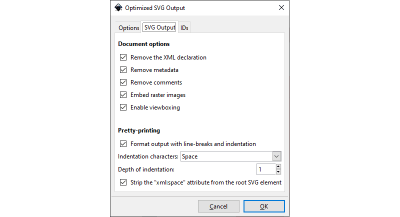
(Large preview)

Removing all these things will create a smaller SVG file that is easier to work with. In my case, the file went from 4593 bytes down to just 2080 bytes, less than half the size. For more complex SVG files, this can be a huge saving of bandwidth and can make a notable difference in the loading time of your webpage.

The optimized SVG is also much easier to read and understand. In the following excerpt, you should be able to easily spot the two rectangles that make the body of the pushbutton:

<rect width="12" height="12" rx=".44" ry=".44" fill="#464646" stroke-width="1.0003"/>
<rect x=".75" y=".75" width="10.5" height="10.5" rx=".211" ry=".211" fill="#eaeaea"/>
<g fill="#1b1b1b">
  <circle cx="1.767" cy="1.7916" r=".37"/>
  <circle cx="10.161" cy="1.7916" r=".37"/>
  <circle cx="10.161" cy="10.197" r=".37"/>
  <circle cx="1.767" cy="10.197" r=".37"/>
</g>
<circle cx="6" cy="6" r="3.822" fill="url(#a)"/>
<circle cx="6" cy="6" r="2.9" fill="#ff2a2a" stroke="#2f2f2f" stroke-opacity=".47" stroke-width=".08"/>

You can even further shorten the code, for instance, by changing the stroke width of the first rectangle from 1.0003 to just 1. It doesn’t make a significant difference in the file size, but it makes the code easier to read.

In general, a manual pass over the generated SVG file is always useful. In many cases, you can remove empty groups or apply matrix transforms, as well as simplify gradient coordinates by mapping them from “user space on use” (global coordinates) to “object bounding box” (relative to the object). These optimizations are optional, but you get code that is easier to understand and maintain.

From this point on, we’ll put Inkscape away and work with the text representation of the SVG image.

Creating A Reusable Web Component

So far, we got the graphics for our pushbutton, ready to be inserted into our simulator. We can easily customize the color of the button by changing the fill attribute of the smaller circle, and the start color of the gradient of the larger circle.

Our next goal is to turn our pushbutton into a reusable Web Component which can be customized by passing a color attribute and reacts to user interaction (press/release events). We will use lit-element, a small library that simplifies the creation of Web Components.

lit-element excels in creating small, stand-alone component libraries. It’s built on top of the Web Components standard, which allows these components to be consumed by any web application, regardless of the framework used: Angular, React, Vue or Vanilla JS would all be able to use our component.

Creating components in lit-element is done using a class-based syntax, with a render() method that returns the HTML code for the element. A bit similar to React, if you are familiar with it. However, unlike react, lit-element uses standard Javascript tagged template literals for defining the content of the component.

Here is how you would create a simple hello-world component:

import { customElement, html, LitElement } from 'lit-element';

@customElement('hello-world')
export class HelloWorldElement extends LitElement {
  render() {
    return html`
      <h1>
        Hello, World!
      </h1>
    `;
  }
}

This component can then be used anywhere in your HTML code simply by writing .

Note: Actually, our pushbutton requires just a bit more code: we need to declare an input property for the color, using the @property() decoractor (and with a default value of red), and paste the SVG code into our render() method, replacing the color of the button cap with the value of the color property (see example). The important bits are in line 5, where we define the color property: @property() color = 'red'; Also, in line 35 (where we use this property to define the fill color for the circle that makes the cap of the button), using the JavaScript template literal syntax, written as ${color}:

<circle cx="6" cy="6" r="2.9" fill="${color}" stroke="#2f2f2f" stroke-opacity=".47" stroke-width=".08" />

Making It Interactive

The last piece of the puzzle would be to make the button interactive. There are two aspects we need to consider: the visual response to the interaction as well as the programmatic response to the interaction.

For the visual part, we can simply inverse the gradient fill of the button contour, which will create the illusion the button has been pressed:

Inverting the button's contour gradient

Inverting the button’s contour gradient (Large preview)

The gradient for the button contour is defined by the following SVG code, where ${color} is replaced with the color of the button by lit-element, as explained above:

<linearGradient id="grad-up" x1="0" x2="1" y1="0" y2="1">
  <stop stop-color="#ffffff" offset="0" />
  <stop stop-color="${color}" offset="0.3" />
  <stop stop-color="${color}" offset="0.5" />
  <stop offset="1" />
</linearGradient>

One approach for the pressed button look would be to define a second gradient, invert the order of colors, and use it as the fill of the circle whenever the button is pressed. However, there is a nice trick that allows us to reuse the same gradient: we can rotate the svg element by 180 degrees using a SVG transform:

<circle cx="6" cy="6" r="3.822" fill="url(#a)" transform="rotate(180 6 6)" />

The transformattribute tells SVG that we want to rotate the circle by 180 degrees, and that the rotation should happen about the point (6, 6) that is the center of the circle (defined by cx and cy). SVG transforms also affect the fill of the shape, and so our gradient will be rotated as well.

We only want to invert the gradient when the button is pressed, so instead of adding the transformattribute directly on the element, as we did above, we are actually going to set a CSS class for this element, and then take advantage of the fact that SVG attributes can be set through CSS, albeit using a slightly different syntax:

transform: rotate(180deg);
transform-origin: 6px 6px;

These two CSS rules do exactly the same as the transformwe had above — rotate the circle 180 degrees around its center at (6, 6). We want these rules to be applied only when the button is pressed, so we’ll add a CSS class name to our circle:

<circle class="button-contour" cx="6" cy="6" r="3.822" fill="url(#a)" />

And now we can use the :active CSS pseudo-class to apply a transform to the button-contour whenever the SVG element is clicked:

svg:active .button-contour {
  transform: rotate(180deg);
  transform-origin: 6px 6px;
}

lit-element allows us to attach a stylesheet to our component by declaring it in a static getter inside our component class, using a tagged template literal:

static get styles() {
  return css`
    svg:active .button-contour {
      transform: rotate(180deg);
      transform-origin: 6px 6px;
    }
  `;
}

Just like the HTML template, this syntax allows us to inject custom values to our CSS code, even though we don’t need it here. lit-element also takes care of creating Shadow DOM for our component, so that the CSS only affects the elements within our component and does not bleed to other parts of the application.

Now, what about the programmatic behavior of the button when pressed? We want to fire an event so that the users of our component could figure out whenever the state of the button changes. One way to do this is to listen to mousedown and mouseup events on the SVG element, and fire “button-press”/“button-release” events correspondingly. This is what it looks like with lit-element syntax:

render() {
  const { color } = this;
  return html`
    <svg
      @mousedown=${() => this.dispatchEvent(new Event('button-press'))}
      @mouseup=${() => this.dispatchEvent(new Event('button-release'))}
      ...
    </svg>
  `;
}

However, this is not the best solution, as we’ll shortly see. But first, take a quick look at the code we got so far:

import { customElement, css, html, LitElement, property } from 'lit-element';

@customElement('wokwi-pushbutton')
export class PushbuttonElement extends LitElement {
  @property() color = 'red';

  static get styles() {
    return css`
      svg:active .button-contour {
        transform: rotate(180deg);
        transform-origin: 6px 6px;
      }
    `;
  }

  render() {
    const { color } = this;
    return html` 
      <svg 
        @mousedown=${() => this.dispatchEvent(new Event('button-press'))}
        @mouseup=${() => this.dispatchEvent(new Event('button-release'))}
        width="18mm" 
        height="12mm" 
        version="1.1" 
        viewBox="-3 0 18 12"     
        xmlns="http://www.w3.org/2000/svg"
      >
        <defs>
          <linearGradient id="a" x1="0" x2="1" y1="0" y2="1">
            <stop stop-color="#ffffff" offset="0" />
            <stop stop-color="${color}" offset="0.3" />
            <stop stop-color="${color}" offset="0.5" />
            <stop offset="1" />
          </linearGradient>
        </defs>
        <rect x="0" y="0" width="12" height="12" rx=".44" ry=".44" fill="#464646" />
        <rect x=".75" y=".75" width="10.5" height="10.5" rx=".211" ry=".211" fill="#eaeaea" />
        <g fill="#1b1b1">
          <circle cx="1.767" cy="1.7916" r=".37" />
          <circle cx="10.161" cy="1.7916" r=".37" />
          <circle cx="10.161" cy="10.197" r=".37" />
          <circle cx="1.767" cy="10.197" r=".37" />
        </g>
        <g fill="#eaeaea">
          <path d="m-0.3538 1.4672c-0.058299 0-0.10523 0.0469-0.10523 0.10522v0.38698h-2.1504c-0.1166 0-0.21045 0.0938-0.21045 0.21045v0.50721c0 0.1166 0.093855 0.21045 0.21045 0.21045h2.1504v0.40101c0 0.0583 0.046928 0.10528 0.10523 0.10528h0.35723v-1.9266z" /> 
          <path d="m-0.35376 8.6067c-0.058299 0-0.10523 0.0469-0.10523 0.10523v0.38697h-2.1504c-0.1166 0-0.21045 0.0939-0.21045 0.21045v0.50721c0 0.1166 0.093855 0.21046 0.21045 0.21046h2.1504v0.401c0 0.0583 0.046928 0.10528 0.10523 0.10528h0.35723v-1.9266z" />
          <path d="m12.354 1.4672c0.0583 0 0.10522 0.0469 0.10523 0.10522v0.38698h2.1504c0.1166 0 0.21045 0.0938 0.21045 0.21045v0.50721c0 0.1166-0.09385 0.21045-0.21045 0.21045h-2.1504v0.40101c0 0.0583-0.04693 0.10528-0.10523 0.10528h-0.35723v-1.9266z" />
          <path d="m12.354 8.6067c0.0583 0 0.10523 0.0469 0.10523 0.10522v0.38698h2.1504c0.1166 0 0.21045 0.0938 0.21045 0.21045v0.50721c0 0.1166-0.09386 0.21045-0.21045 0.21045h-2.1504v0.40101c0 0.0583-0.04693 0.10528-0.10523 0.10528h-0.35723v-1.9266z" />
        </g>
        <g>
          <circle class="button-contour" cx="6" cy="6" r="3.822" fill="url(#a)" />
          <circle cx="6" cy="6" r="2.9" fill="${color}" stroke="#2f2f2f" stroke-opacity=".47" stroke-width=".08" />
        </g>
      </svg>
    `;
  }
}

You can click each of the buttons and see how they react. The red one even has some event listeners (defined in index.html), so when you click on it you should see some messages written to the console. But wait, what if you want to use the keyboard instead?

Making The Component Accessible And Mobile-Friendly

Hooray! We created a reusable pushbutton component with SVG and lit-element!

Before we sign off on our work, there are a few issues we should look at. First, the button is not accessible to people who use the keyboard. In addition, the behavior on mobile is inconsistent — the buttons do appear pressed when you hold your finger on them, but the JavaScript events are not fired if you hold your finger for more than one second.

Let’s start by tackling the keyboard issue. We could make the button keyboard-accessible by adding a tabindex attribute to the svg element, making it focusable. A better alternative, in my opinion, is just to wrap the button with a standard

Categories: Others Tags:

12 Tips for Getting More Likes on Instagram

January 20th, 2020 No comments
Tips for Getting More Likes on Instagram

Social media is the most productive and result oriented form of digital marketing. Initially, Facebook was the only platform being used but with the passage of time, other alternatives are being exercised as well.

Instagram is one of the most powerful social media channel to get in touch with buyers and create brand awareness. The logic is simple and you have to share photos to get likes. As the number of likes would increase, the popularity level of the brand would rise as well. However, this is not as easy as it seems. Only brands that execute the correct methodologies are able to attract a large count to their Instagram accounts. A number of brands even have to close off the presence because they do not get the needed popularity.

Tips to increase Instagram Likes

Here are the top 12 tips which brand owners and marketers should use to improve Instagram presence.

1. Be selective about the shared snapshots

Having an Instagram account does not mean that it should be stuffed with pictures and Instagram messages those are not related. If you have an account for an online flower shop, no one would be interested in pictures of famous gardens. Be original and share product pictures that are specific to your brand. On the best exclusive pictures get likes. An image that has been downloaded from the internet and uploaded on an Instagram account would surely be overlooked.

2. Hiring a professional company for increasing likes

It is commonly said, “Let the experts do the job”. Here are some quality professional options you can consider.

  • Fluidbuzz

Fluidbuzz is a top-rated company that helps in increasing Instagram likes without consuming lengthy time slots. This company has a very large number of likes and followers. Account owners do not have to make any effort to increase the number of likes. As soon as you sign up for one of the packages, the likes on your account would start increasing on immediate basis. There is no need to research and work for getting each like. When you create a new post, be rest assured that it would automatically get a large number of likes. In other words, you would get the needed popularity without working hard for hours and hours.

  • LightningLikes

This website is quite reliable when it comes to getting a large number of likes on Instagram. There are multiple packages which you can consider according to your requirements. The likes are added instantly as soon as the user registers for one of the packages.

  • BuyBetterSocial

A lot of hard work and planning is needed to get a good number of likes on the Instagram. This is one company that can do it for you. There are multiple packages you can sign up for. Once you are done with the process, the likes would be added to your post instantly. The prices are quite affordable and users do not have to wait for things. Whenever you add a post, it would get likes automatically through this platform.

3. Make your Hashtag Popular

People access something that they know enough about. If someone does not know about your Instagram account, do not expect people to Google it. Include it in different areas including visiting cards and product banners. It should act as important as a conventional contact detail. This is a strong strategy to get more Instagram likes.

4. The images should form a story

Instagram is a powerful and effective form to get followers through visual methods. However, if you have included a bunch of images that do not connect with each other, people would get confused. To start with, the images should share a connection with each other and form a story. Before uploading an image must use an image search tool to make sure that the photo is unique, and it’s is not used before. If you share pictures of each stage, a connection will be formed. In this way, interest will be developed in the minds of people who view the Instagram account. Unelated individual images do not create a positive impact.

5. Over usage of hashtags in the caption should be avoided

Hashtags are the base component of Instagram posts but there is a methodology to use them in an effective way. If you are stuffing the caption with hashtags, it would be hard to remember for the users. Keep the title simple and use spaces between hashtags. It becomes easy to remember a caption if there is a word of text phrase between two consecutive hashtags.

6. Regularly update content

Visitors prefer Instagram accounts that are updated regularly. It is good to create an interesting post but viewers would not take interest in it for ever. You should refresh the Instagram account with new posts every now and then so that the interest of the audience is retained. Thus, keep adding new interesting posts so that readers get fresh information every time they visit the Instagram account. In this way, they would not get bored.

7. Generate queries with your captions

When a post is created in the form of a question, people mostly stop to check what the content is about. This is a smart strategy for Instagram posts as well. For instance, the caption below is an example.

# what is your meal preference

This is an interesting caption and people would definitely want to check it out. As it has an inquisitive feel, people would want to check the content. Hence, the caption matters a lot. People decide about viewing or not viewing an Instagram post after getting a glance of the title.

8. Emojis are a good move

An emotion is worth a thousand words. The use of Emojis is quite effective. People take more interest in them as compared to standard written text. Thus, when you are using them in the Instagram posts, there is every chance of getting more likes. Again, there is a difference between using something and using it unnecessarily. Just like hashtags, Emojis should be used only when they make sense. They should not be included in the post titles unnecessarily.

9. The use of Instagram stories helps

It is always good to have continuity in the Instagram photos shared. This is a helpful factor in developing the interest of the viewer. The story can include combination photos and videos. If there is a connection between, the reader would go through the post with interest instead of skipping things. In a nutshell, this is a good tip to increase the number of likes.

10. Likes as a method of conducting competitions

Users get attracted to Instagram posts when they are offered incentives in one form or the other. Starting a competition with an announced price would attracts several visitors. In addition to that, liking the post can be a method to enter the competition. Here, the content and quality of the post would matter a lot. Some competitions do not get noticed at all because the content presentation is not appealing. Make sure that the tone is not overly promotional. Lastly, choose the finest snapshots instead of stuffing pictures randomly.

11. Creating awareness for upcoming offers

It is a good strategy to get the customers anxious about upcoming offers. This is when they actively start following a brand. If are promoting your brand through Instagram, use pictures of upcoming offers and sales. People are always waiting for upcoming discounted offers. You can also offer an additional 2 to 5% discount on people who like the Instagram post.

At times, discounts promoted on Instagram include a bunch of hashtags. This strategy does not work well. People tend to ignore such posts because they have clarity problems. Hence use hashtags in promotional offers wherever there is a need to do so.

12. Promotion on other social media platforms

The number of likes would increase when more people notice an Instagram account. This task can be accomplished by promoting an Instagram post on Facebook, Twitter, YouTube and other channels. In this way, the people visiting those channels would be redirected to the Instagram account.

Categories: Others Tags:

The Latest Research for Web Designers, January 2020

January 20th, 2020 No comments

One of the most powerful tools we have in web design is consumer and industry data. It’s like a gauge that tells us whether we’re still heading in the right direction or it’s time to change course and adopt a new strategy or approach.

Unless you’re combing the web for the latest news and reports in the areas of design, marketing, and SEO, it’s easy to miss this pertinent data. So, in this roundup, I’m going to take care of that for you.

Below you’ll find a recap of 5 recent news stories and reports that need to be on your radar.

Comscore Reports on the State of Mobile

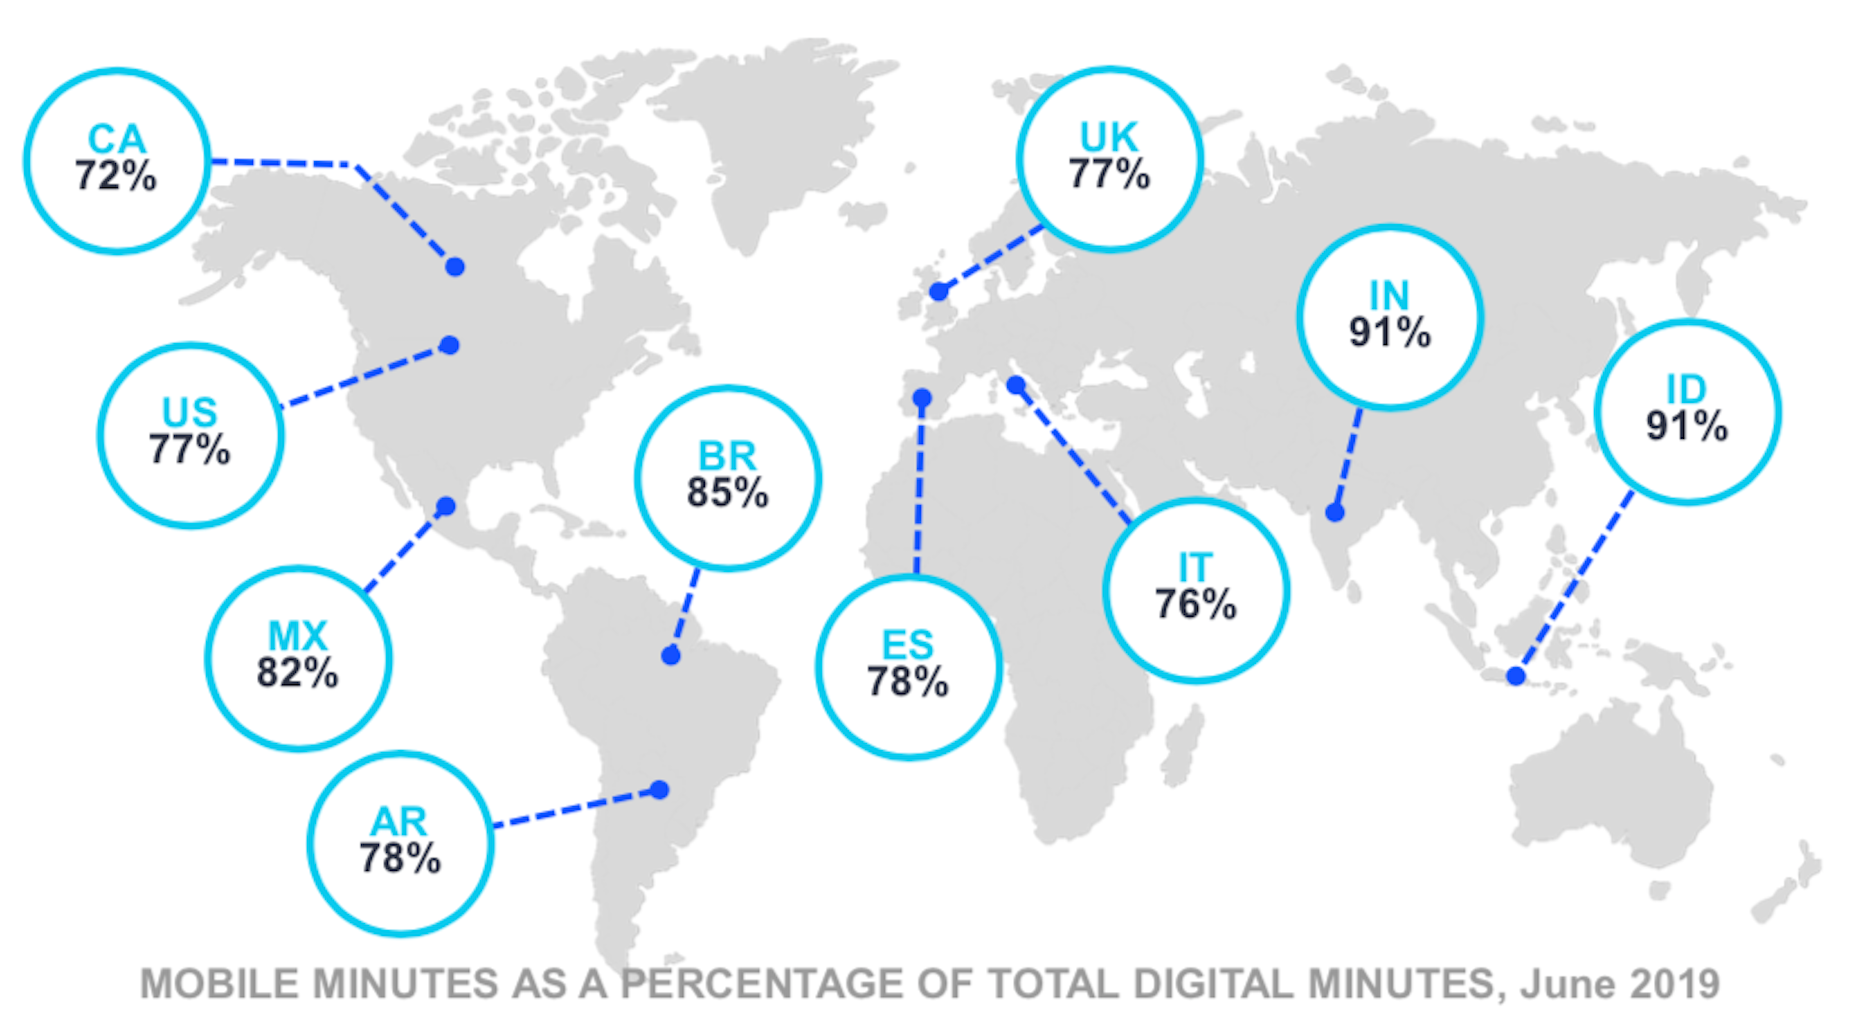
Comscore’s annual State of Mobile report focuses on the growing usage of mobile devices to explore the web.

According to the report, users around the globe spend roughly three-quarters or more of their digital time on mobile devices:

Even if mobile apps are a key driver of this activity (which they are for certain business types like gaming and social), we know that consumers are glued to their phones more so than they are to their desktop computers.

If you haven’t yet made mobile-first design a priority—especially by bridging the gap between the mobile web and mobile app with PWAs—2020 is the year to do it. Your users already have their smartphones nearby, so why not make your website a must-visit destination there, too?

UX Tools Survey Gives Us a Look at the Software Designers Love

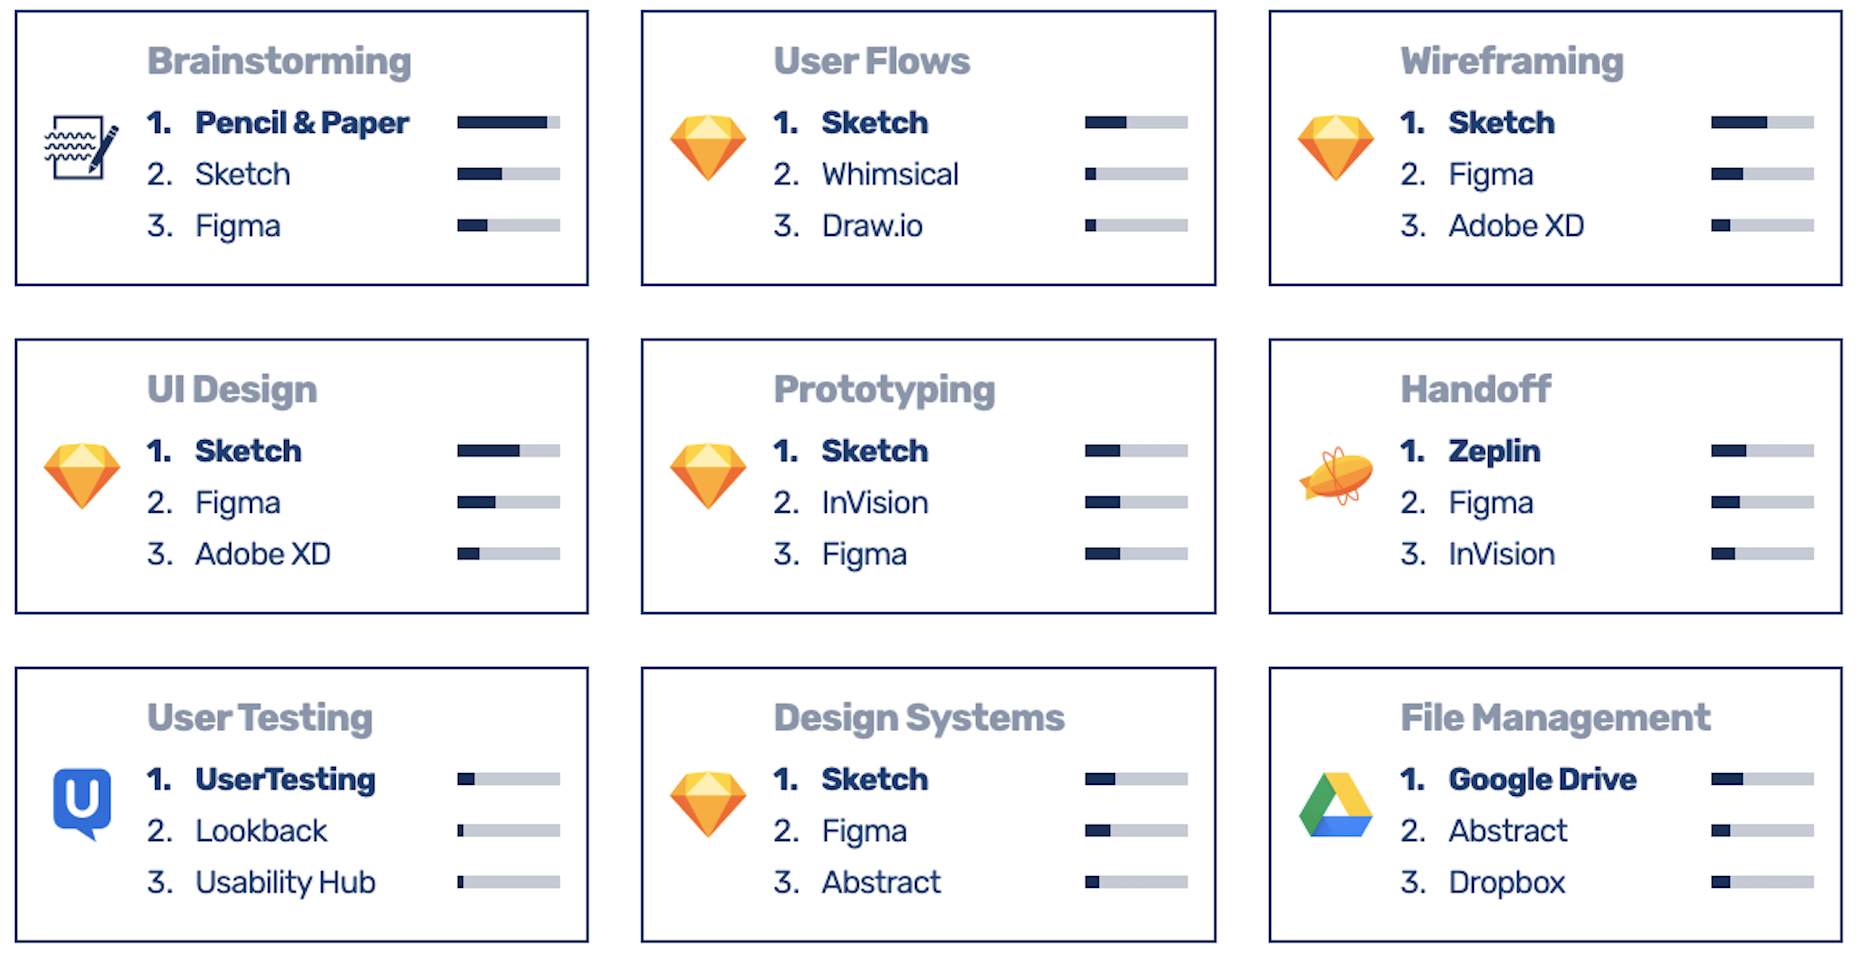
UX Tools’ 2019 survey of web designers found an interesting trend when it comes to the toolboxes they use to build websites:

Sketch is the clear frontrunner when it comes to tasks like:

  • User flows;
  • Wireframing;
  • UI design;
  • Prototyping;
  • Design systems.

But Figma isn’t too far behind in all these categories. The surveyed web designers also named it the tool they’re most excited to try and use in 2020.

If you’ve been looking to experiment with new tools for your business, give this short survey a read as there is some really interesting software on the list (that’s not all owned by Sketch, Adobe, or InVision either).

MDN Asks Web Developers to Express Their Top Frustrations

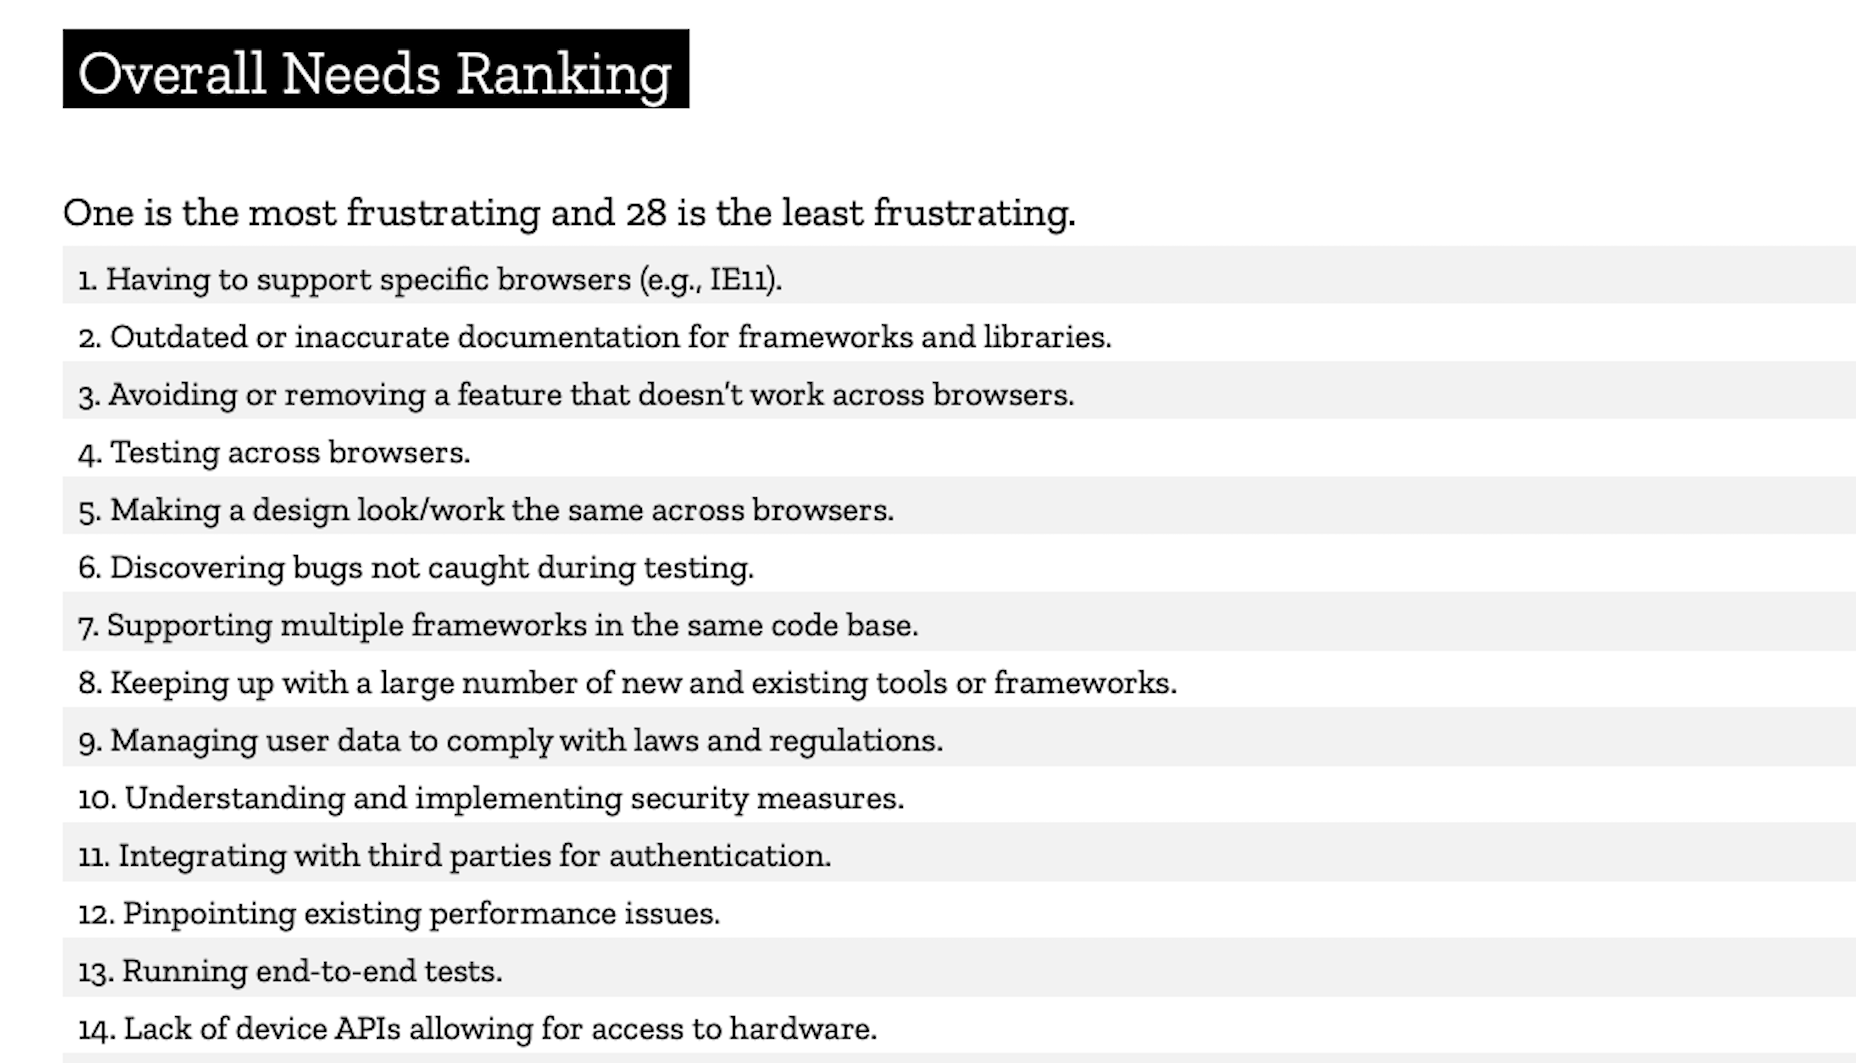
The MDN Web DNA Report 2019 is a long read. Since most of it is geared towards web developers (who were surveyed for it), I’m going to zero in on the bit I think web designers may find relevant:

When asked to rank what were the most frustrating “needs” of the web, web developers expressed a lot of anguish over cross-browser design and testing. Bug resolution, privacy and security compliance, as well as tool overload were top concerns as well.

Even if you’re not contending with the problems that go along with coding, these frustrations are really relatable. As for what you can do with them? While I don’t believe we can eliminate these frustrations altogether, I do believe that a greater awareness of what’s happening on the web and more open discussions with our peers will lessen the associated pains.

Salesforce Recaps 2019 Black Friday/Cyber Monday Results

For those of you who build websites for retailers and ecommerce companies, the annual data on Black Friday and Cyber Monday performance is one you can’t afford to miss. I realize it might only seem relevant for one month of the year, but you can actually learn a lot about where consumer trends are heading based on how sales performed over the holidays.

Here are some of the more pertinent bits from Salesforce’s summary of Black Friday and Cyber Monday:

  • Black Friday sales reached $7.2 billion in the U.S. (up 14%);
  • Cyber Monday sales reached $8 billion (up 11%).

A lot of this growth can be attributed to consumers’ growing trust in mobile shopping what with 73% of all digital traffic on Black Friday originating on mobile devices and 56% of all purchases made on mobile devices.

So, if you haven’t yet made the switch to mobile-first design or optimizing for mobile checkout, now is the time to do that.

Jason Dorsey Suggests Millennial $$$ Woes May Soon Be Over

Jason Dorsey, the president of the Center for Generational Kinetics, has predicted a positive change in the state of millennial finances in the next decade.

Why does he believe that this debt-plagued generation will finally see a turnaround? There are five indicators he references:

  1. As millennials move further away from college, they’ll have a better handle on managing their debt (if they haven’t wiped it out completely);
  2. Many millennials are about to hit peak earnings in their careers;
  3. “The Great Wealth Transfer” is anticipated (i.e. older generations passing on inheritances to millennials);
  4. As the job market strengthens and debt shrinks, millennials may finally feel confident enough to buy homes for themselves;
  5. The same goes for those who delayed marriage during uncertain times.

With more money to spend and confidence to spend it with, millennials are going to be a huge driving force in the coming years. And this will most definitely affect web designers.

You may encounter more millennial business owners with cash to spend. And you’re definitely going to be designing web experiences to cater to the millennial consumer base. So, understanding how they think, what they value, and how much money they have to spend is going to be critical for your future success.

Wrap-Up

That’s it for this month’s look at the latest digital news and research.

If you’re interested in staying on top of information that’s going to impact your work, be sure to tune into WebDesigner Depot every month for more data and report roundups.

Featured image via Unsplash.

Source

Categories: Designing, Others Tags:

Popular Design News of the Week: January 13, 2020 – January 19, 2020

January 19th, 2020 No comments

Every week users submit a lot of interesting stuff on our sister site Webdesigner News, highlighting great content from around the web that can be of interest to web designers.

The best way to keep track of all the great stories and news being posted is simply to check out the Webdesigner News site, however, in case you missed some here’s a quick and useful compilation of the most popular designer news that we curated from the past week.

Note that this is only a very small selection of the links that were posted, so don’t miss out and subscribe to our newsletter and follow the site daily for all the news.

Why I Quit Using Google

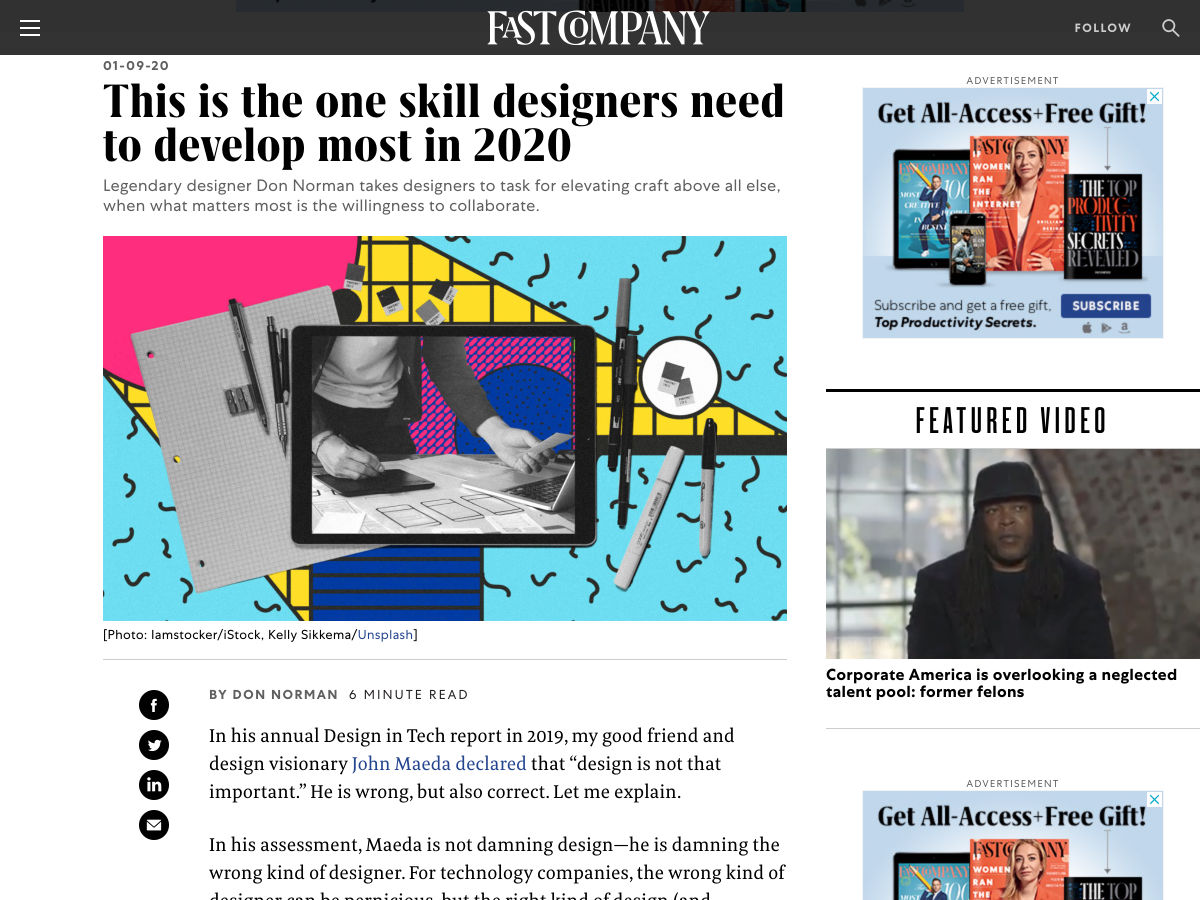
This is the One Skill Designers Need to Develop Most in 2020

The Definitive Guide to Landing Pages

Goodbye, Clean Code

Netflix Rejects their New Layout in this A/B Test

UX Design Trends Retrospective 2019

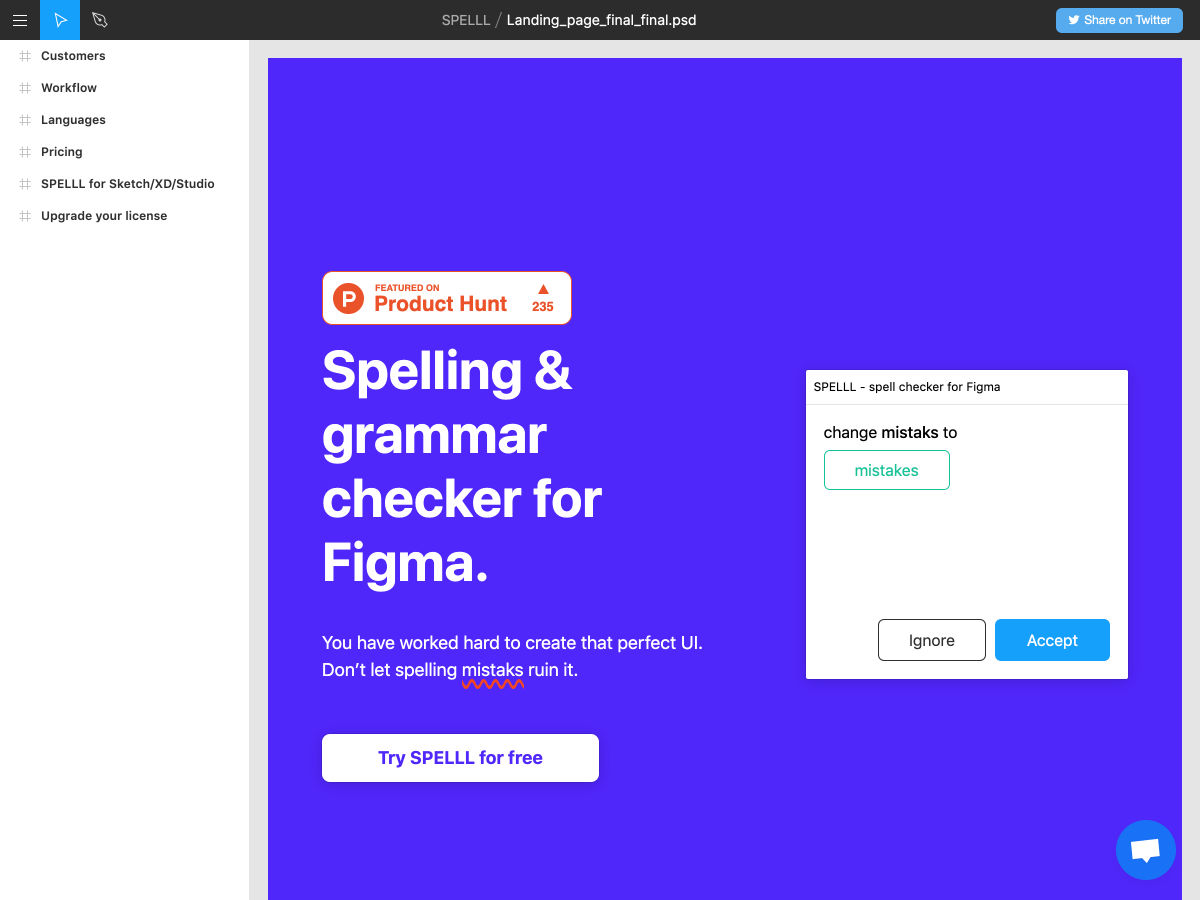
SPELLL

Design System Checklist

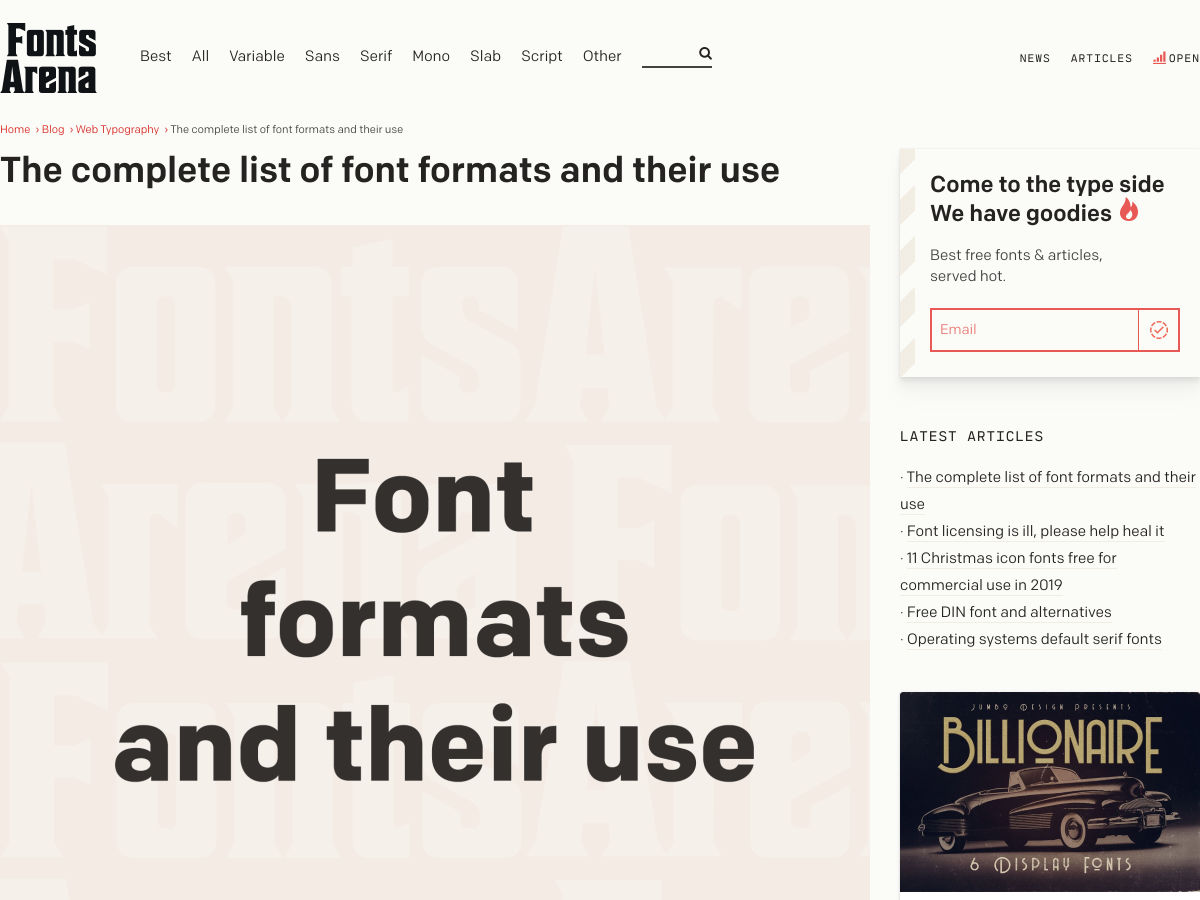
The Complete List of Font Formats and their Use

Hand-Picked List of the Best WordPress Themes in Every Niche for 2020

HTML Attributes to Improve your Users’ Two Factor Authentication Experience

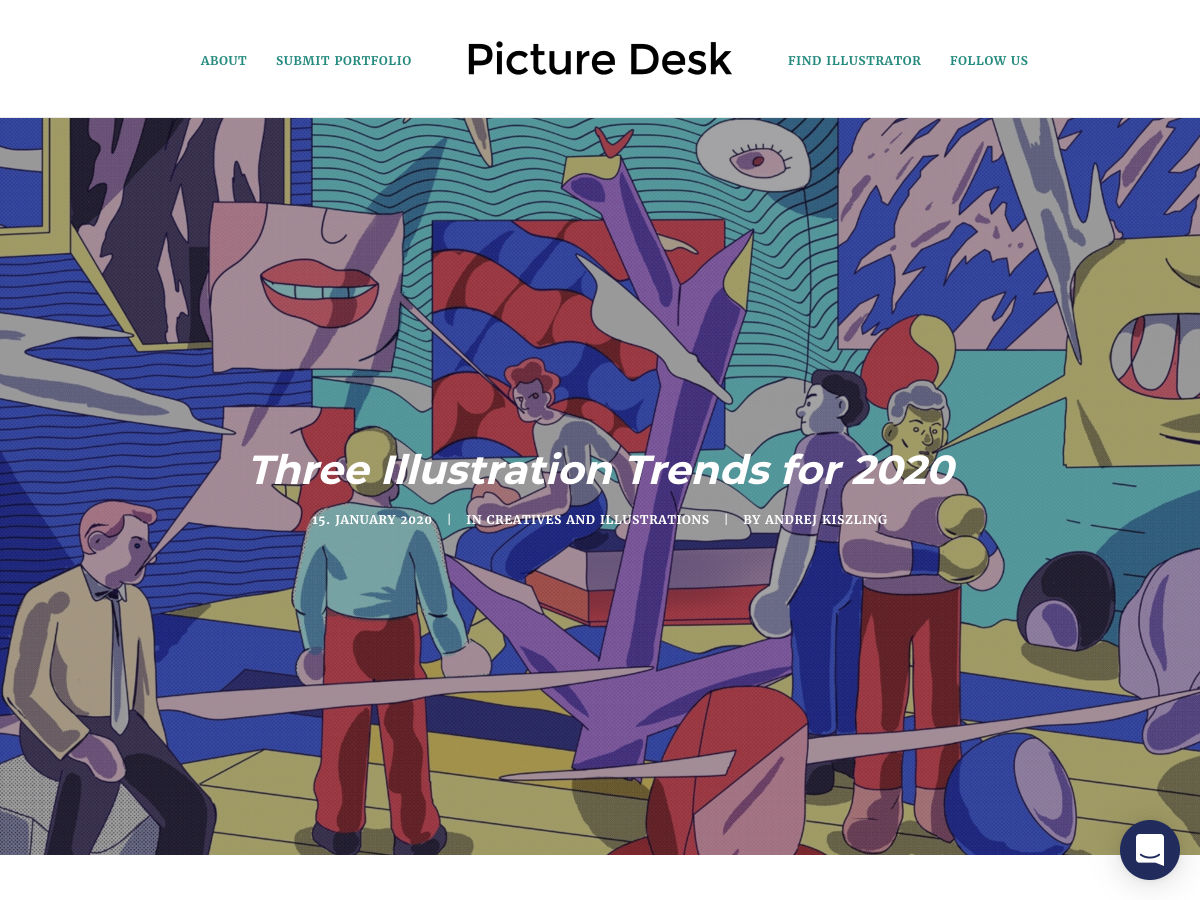
3 Illustration Trends that will Be Big in 2020

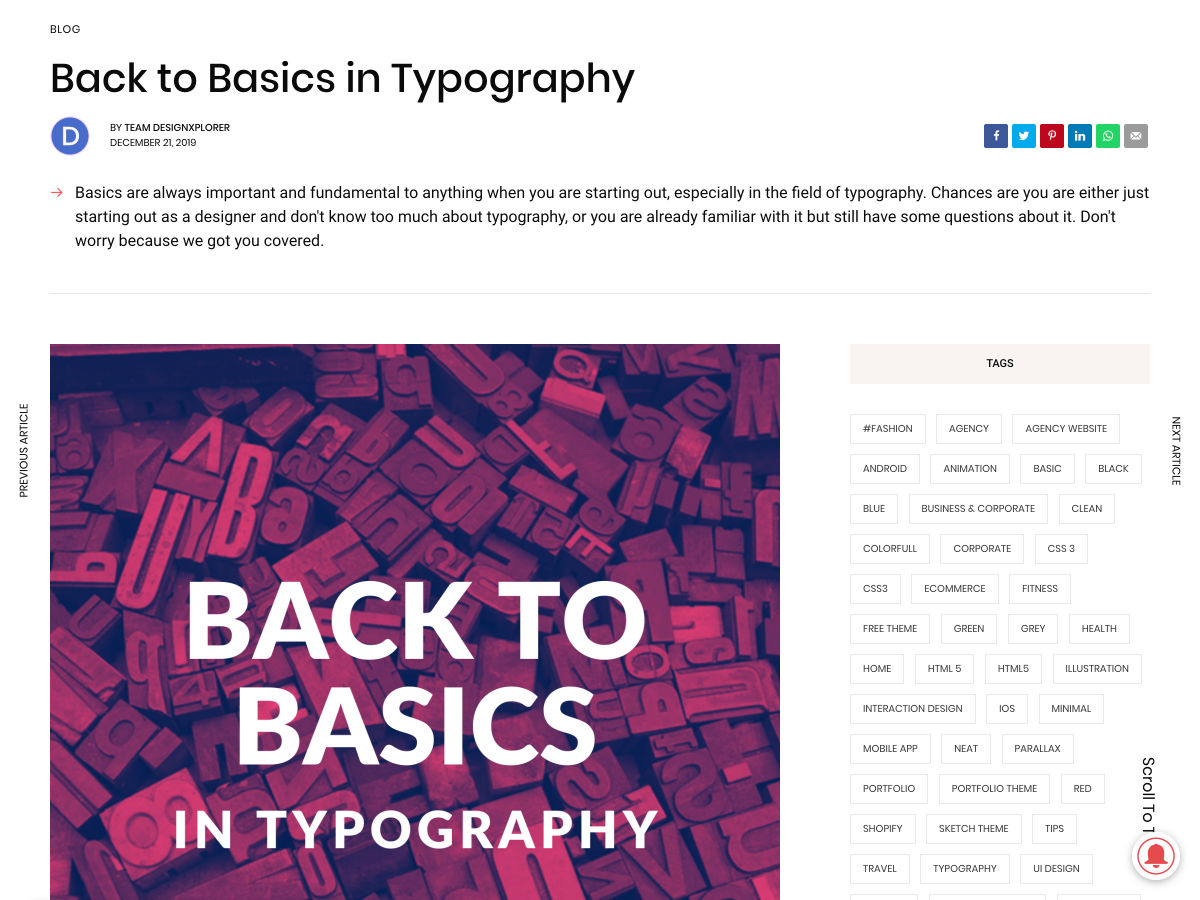
Back to Basics in Typography

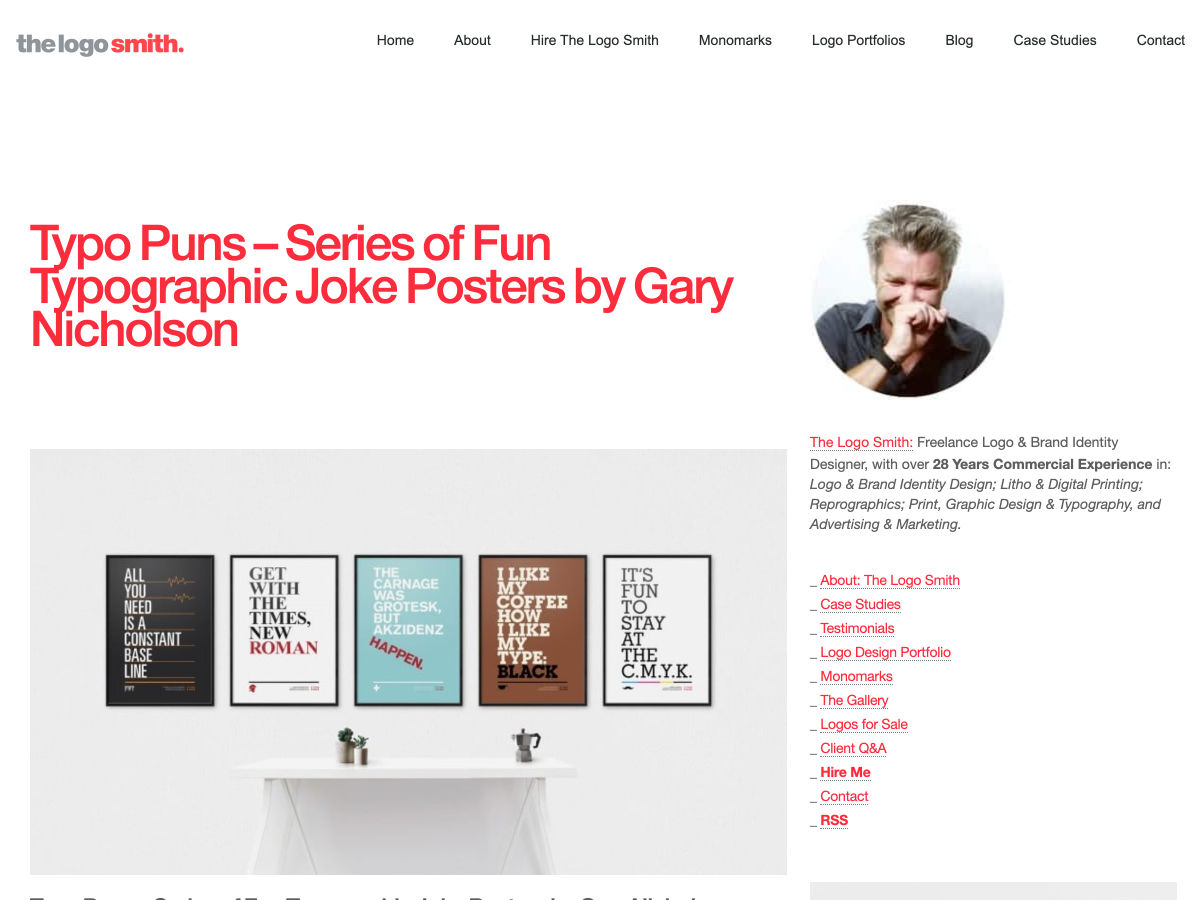
Typo Puns – Series of Fun Typographic Joke Posters

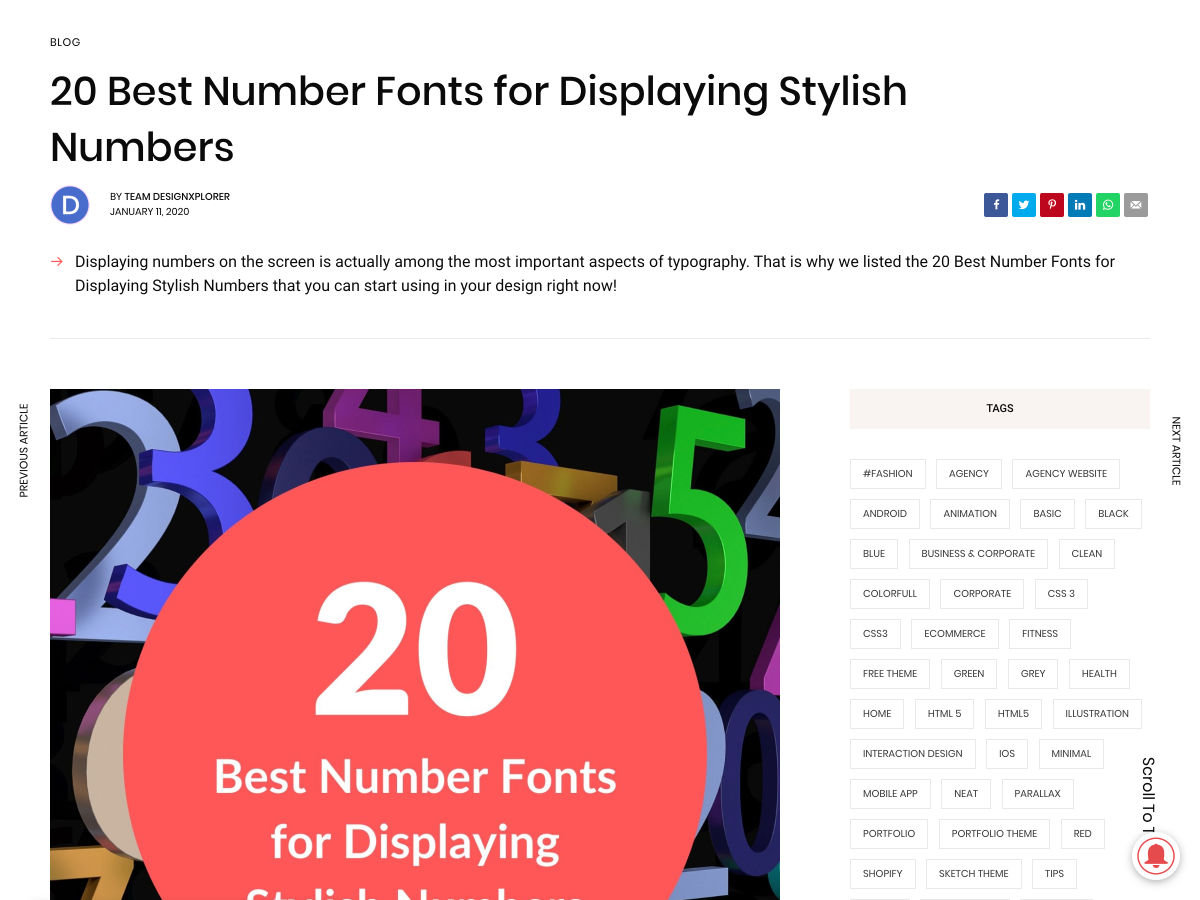
20 Best Number Fonts for Displaying Stylish Numbers

How to Make Money as a Product Designer

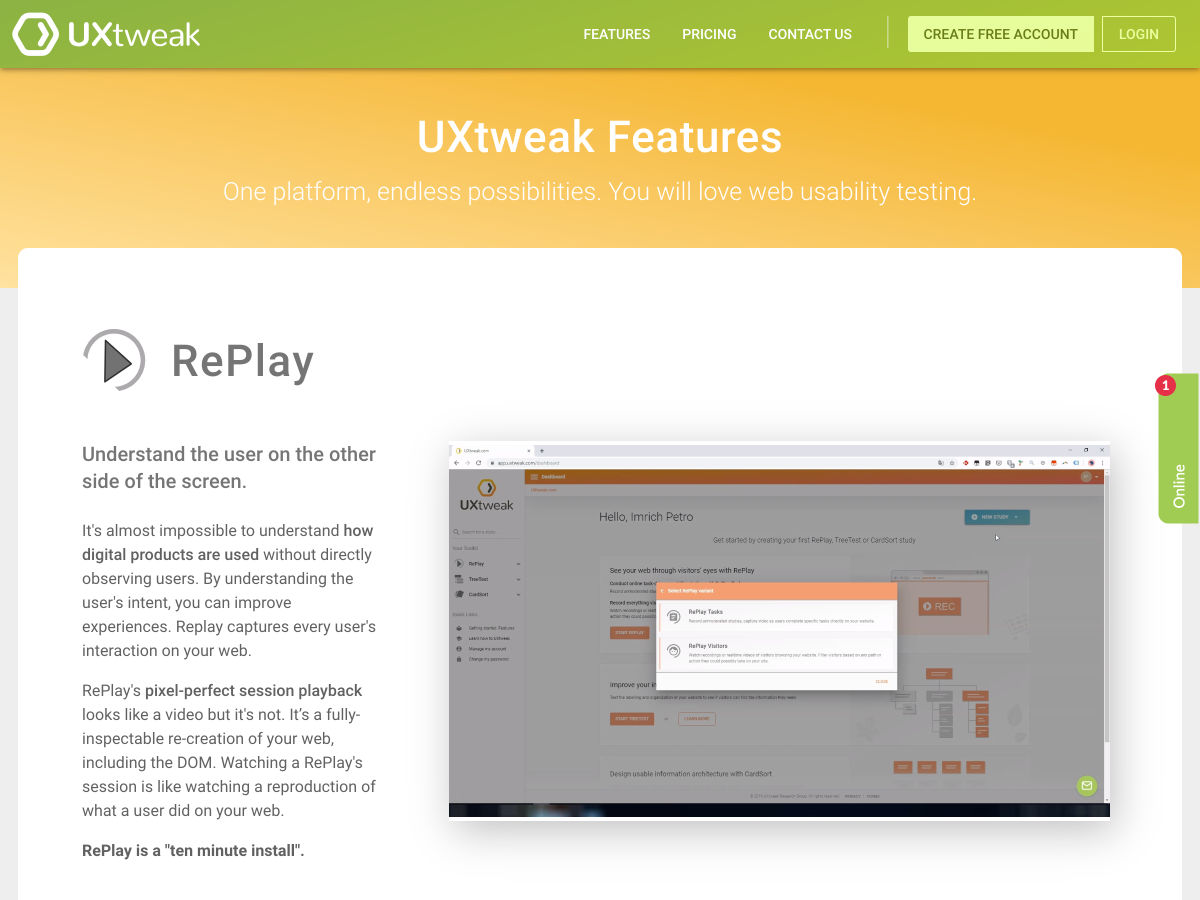
UXTweak: Platform for UX Researchers and Designers

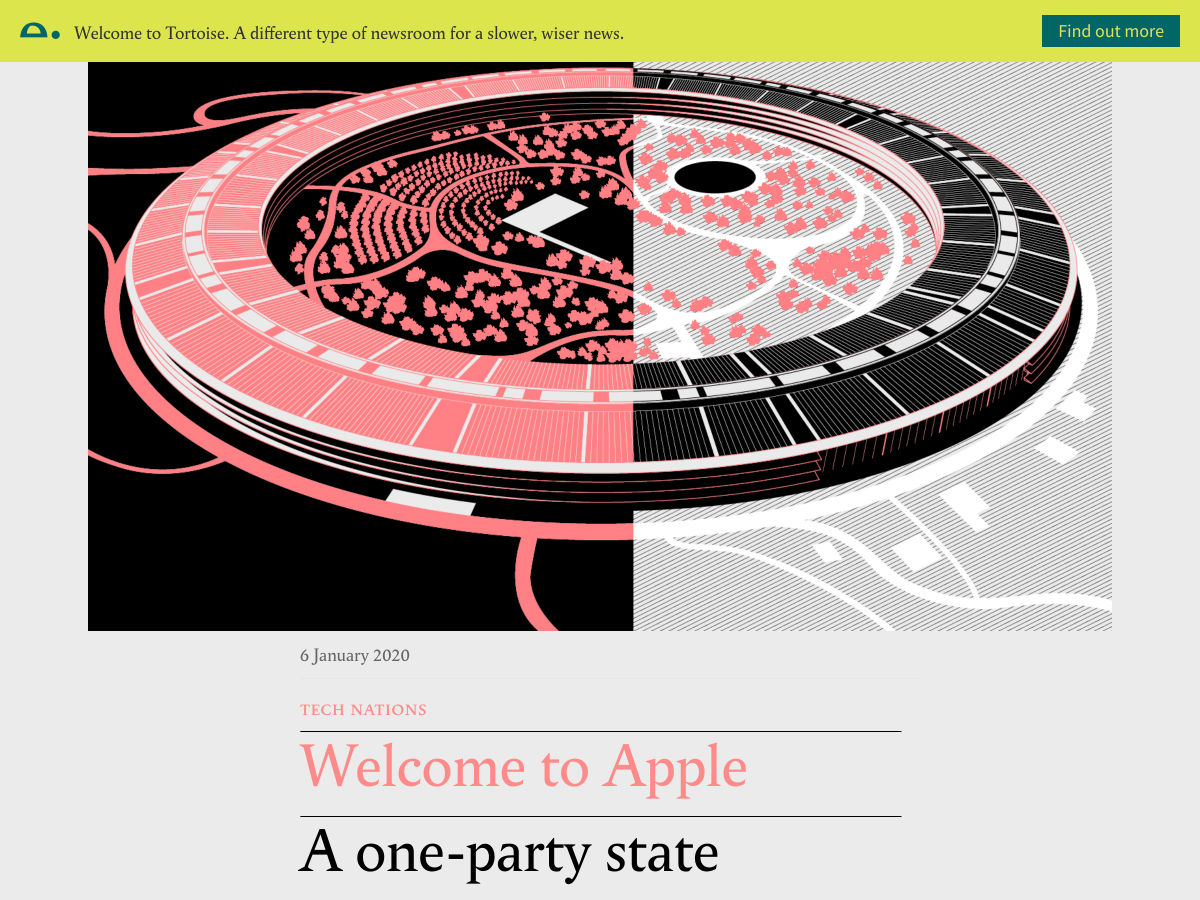
Welcome to Apple: A One-party State

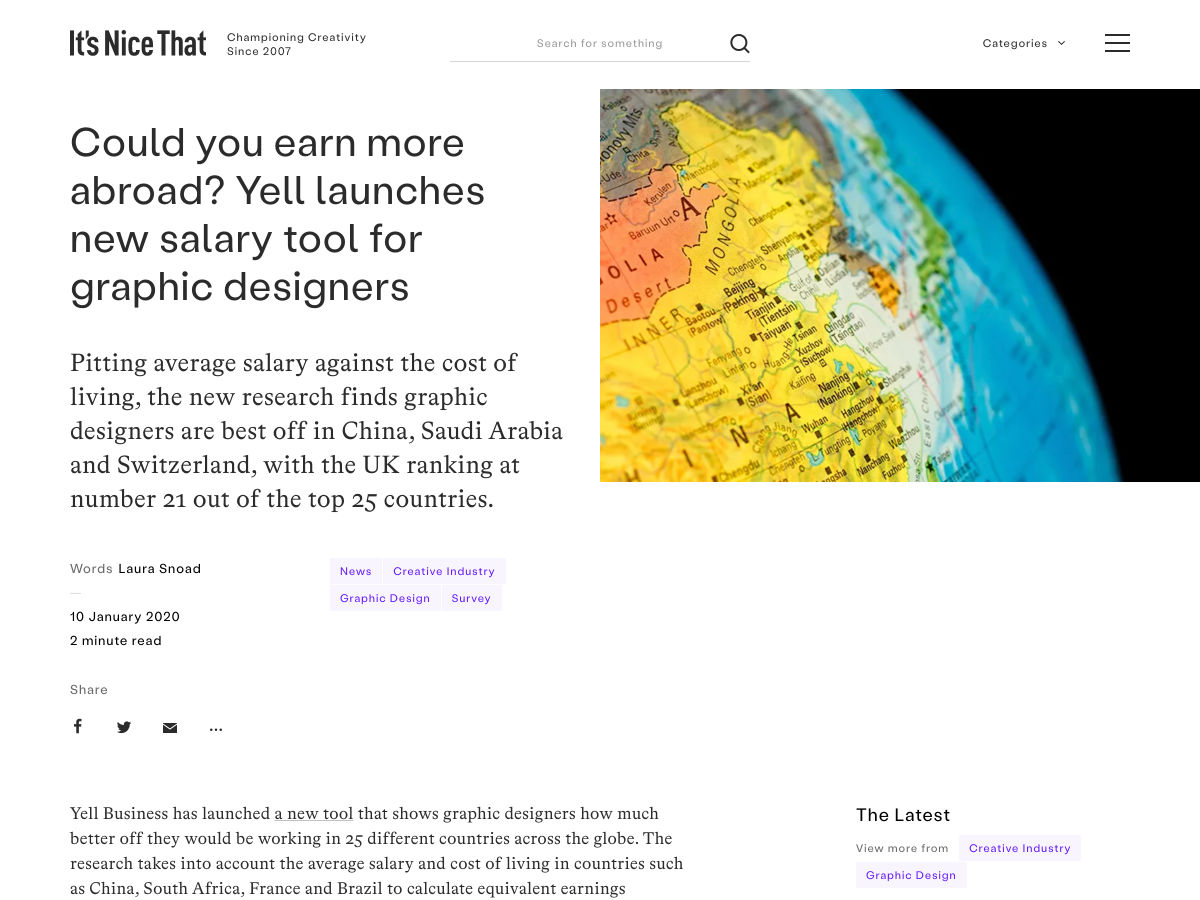
Yell Launches New Salary Tool for Graphic Designers

17 Trends in Illustration and Graphic Design to Meet 2020

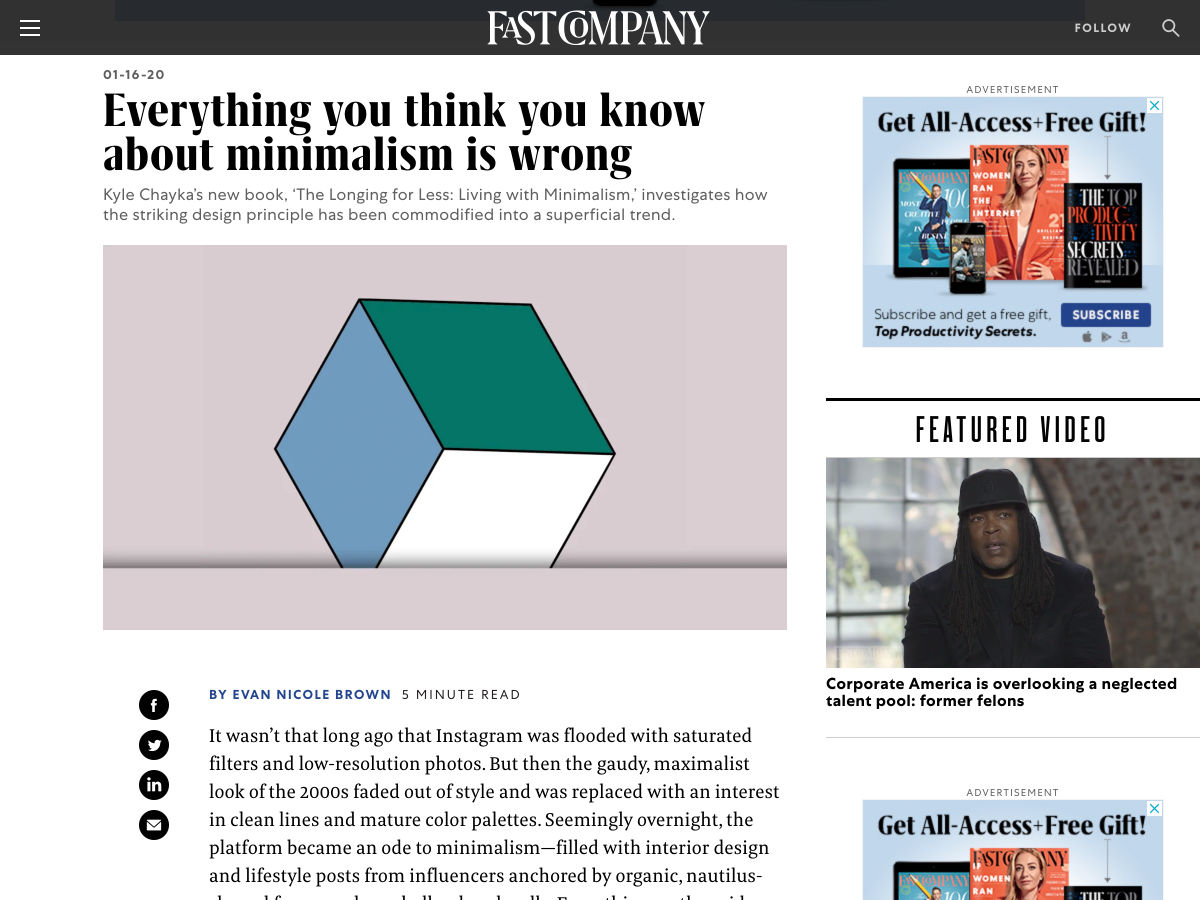
Everything You Think You Know About Minimalism is Wrong

KPI is an Imperative Tool for UX Designers

Calculate Colors, Share Palettes

Being a Solo Founder: Pros, Cons, Tips and Tricks

How to Write your CTAs to Fit your Campaign

Want more? No problem! Keep track of top design news from around the web with Webdesigner News.

Source

Categories: Designing, Others Tags:

Timeless Web Dev Articles

January 18th, 2020 No comments

Pavithra Kodmad asked people for recommendations on what they thought were some of the most timeless articles about web development that have changed their perspective in some way. Fun! I’m gonna scour the thread and link up my favorites (that are actually articles, although not all of them are super directly related to web dev).

The post Timeless Web Dev Articles appeared first on CSS-Tricks.

Categories: Designing, Others Tags:

Eleventy Love

January 17th, 2020 No comments

Been seeing a lot of Eleventy action lately. It’s a smaller player in the world of static site generators, but I think it’s got huge potential because of how simple it is, yet does about anything you’d need it to do. It’s Just JavaScript™.

  • Jason Lengstorf and Zach Leatherman did a Learn with Jason episode on it.
  • Reginald Hunt has a big ol’ guide on it.
  • Phil Hawksworth has all these starters for it, like EleventyOne and ElevenTail.
  • Andy Bell has Hylia, another starter that’s preconfigured with Netlify CMS and a bunch of other goodies.

The post Eleventy Love appeared first on CSS-Tricks.

Categories: Designing, Others Tags:

Autumn (macOS window manager)

January 17th, 2020 No comments

I love how nerdy this is. Autumn allows you to write JavaScript to control your windows. Get this window, move it over here. Nudge this window over. There are all sorts of APIs, like keyboard command helpers and doing things on events, like waking up from sleep.

I love that it exists, but for the moment, my window management mostly consists of: grab this window and chuck it on the left half of the screen, and grab this window and chuck it on the right half of the screen. That and just a handful of other simple things are handled really nicely by Moom.

Doing life tasks with JavaScript is only gonna get bigger and bigger. I love controlling and querying Spotify with GraphQL.

Direct Link to ArticlePermalink

The post Autumn (macOS window manager) appeared first on CSS-Tricks.

Categories: Designing, Others Tags:

All Things Smashing: Monthly Update

January 17th, 2020 No comments
The cover of the upcoming Smashing Book named “Ethical Design Handbook”

All Things Smashing: Monthly Update

All Things Smashing: Monthly Update

Iris Lješnjanin

2020-01-17T11:30:00+00:002020-01-19T09:35:31+00:00

We can’t repeat enough how wonderful the web performance community is! There are good folks who help make the web faster, and their efforts matter indeed. With the new year sinking in and everyone’s resolutions still being put to the test, personal goals such as reproducing bugs and fixing issues suddenly become something we all have in common: improving the web for everyone involved.

As various areas of performance become more and more sophisticated and complicated throughout the years, Vitaly refines and updates his front-end performance checklist every year. This guide covers pretty much everything from performance budgets to single-page apps to networking optimizations. It has proved to be quite useful to folks in the past years — anyone can edit it (PDF, MS Word Doc and Apple Pages) and adjust it to their own personal needs or even use it for their organization.

Now, without further ado, let’s see what’s been cooking at Smashing!

Exciting Times: New Smashing Book

Are you ready for the next Smashing book? Well, just like all the printed books we’ve published, each and every is crafted to deliver in-depth knowledge and expertise shared by experts and practitioners from the industry. The Ethical Design Handbook will not be any different. Written by Trine Falbe, Martin Michael Frederiksen and Kim Andersen, the book will be pre-released late January.

As always, there will be a pre-order discount available. We expect to ship printed hardcover copies late February, but in the meantime, feel free to subscribe to the book mailing list so that you can be one of the first folks to get your hands on the book!

Less Speaking, More Time For Questions

Our SmashingConfs are known to be friendly, inclusive events where front-end developers and designers come together to attend live sessions and hands-on workshops. From live designing to live debugging, we want you to ask speakers anything — from naming conventions to debugging strategies. For each talk, we’ll have enough time to go into detail, and show real examples from real work on the big screen.

A photo of Dan Mall standing on stage explaining code shown on the screen behind him

Dan Mall, Brad Frost and Ian Frost coding live on stage at SmashingConf in NYC. (Image credit: Drew McLellan) (Watch video)

If you’re eager not to miss out on one of our SmashingConfs, then early-bird tickets are still available. And if you need a lil’ help convincing your boss to send you to an event, let us know! We’ve got your back. ?

A Taste Of Smashing… Offscreen

We’ve reached our 7th episode of the Smashing Podcast! We’re so proud and thrilled to have our dear friends and colleagues, Drew McLellan and Bethany Andrew, managing the bi-weekly interview show so brilliantly! The feedback has been overwhelmingly positive, and now we’re excited for many more!

Shining The Spotlight On TypeScript

Smashing TVIn less than two weeks (Jan. 29), we’ll be hosting a Smashing TV webinar with Stefan Baumgartner who’ll shed light on what type-checking has in store for folks creating and using the web. TypeScript has been one of the most hyped technologies in 2019 — it’s now time to look beyond the hype!

Mark your calendars and join us at 17:00 London time — we’d love to hear your thoughts and experiences you’ve had in your career.

Trending Topics On SmashingMag

We publish a new article every day on various topics that are current in the web industry. Here are some that our readers seemed to enjoy the most and have recommended further:

  • The Split Personality Of Brutalist Web Development” by Frederick O’Brien
    No frills, or flashing neon frills with sprinklers attached? ‘Brutalist’ websites have flourished in recent years, but their guiding philosophy remains unclear.
  • Why You Should Choose HTML5
    Over

    ” by Bruce Lawson
    In this article, Bruce Lawson explains what use we have of

    and how authors should mark up headings that are hugely important to AT users.
  • Helping Browsers Optimize With The CSS Contain Property” by Rachel Andrew
    The CSS contain property gives you a way to explain your layout to the browser, so performance optimizations can be made. However, it does come with some side effects in terms of your layout.
  • An Introduction To React’s Context API” by Yusuff Faruq
    In this article, you will learn how to use React’s Context API which allows you to manage global application states in your React apps without resorting to props drilling.

Best Picks From Our Newsletter

With the start of a brand-new decade, we decided to start off with topics dedicated to web performance. There are so many talented folks out there working on brilliant projects, and we’d love to spread the word and give them the credit they deserve!

Note: A huge thank you to Cosima Mielke for writing and preparing these posts!

Which Metrics Matter Most?

First Meaningful Paint, Time to Interactive, First Input Delay, SpeedIndex. With so many performance metrics floating around, it’s not easy to strike just the right balance for a project. And most of the time, these metrics alone will be too generic and not precise enough, so we’ll need to complement them with custom ones as well. In small and large companies it’s common to define important pixels in the UI, measure how fast we can start render them, and how quickly we can provide input responsiveness for them.

Every project could benefit from a mix of at least 4 metrics. Time To Interactive (TTI) is the key metrics for understanding how much wait a user has to experience to use the site without a lag. First Input Delay (FID) complements TTI very well as it describes the missing part of the picture: what happens when a user actually interacts with the site.

A graph showing JavaScript fetch, parse, and compile loading phases

JavaScript fetch, parse, and compile loading phases (Image credit)

Total Blocking Time (TBT) helps quantify the severity of how non-interactive a page is prior to it becoming reliably interactive. And Cumulative Layout Shift (CLS) highlights how often users experience unexpected layout shifts (reflows) when accessing the site. All these metrics will appear in Lighthouse v6 as it starts rolling out in 2020.

Additionally, you can look into FrustrationIndex that looks at the gaps between metrics instead of looking at them individually, ad weight impact and Component-Level CPU costs. Note that First Meaningful/Contentful Paint are being replaced with Largest Contentful Paint, and the role of SpeedIndex has decreased with new metrics showing up.

The Impact Of Performance Optimization

It’s no secret that performance has a direct impact on user experience and business metrics and that sometimes, even a seemingly small web performance optimization like shaving off a few milliseconds load time can lead to a better conversion rate. To demonstrate this impact, WPO Stats collects case studies and experiments from products and e-commerce sites — stories of successes and of things that went wrong. Inspiring!

UX Speed Calculator

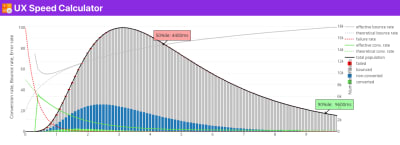
An open-source visualization tool that helps explain the relationship between page speed, conversion and bounce rates. (Image credit)

To support your performance optimizations with some hard figures and help you better grasp their impact, Sergey Chernyshev built the UX Speed Calculator. It lets you see how speed distribution, error rate, bounce rate, and conversion rate intertwine for the values you enter. A handy little helper.

Automatically Compress The Images In Your PRs

Image optimization is probably one of the easiest tasks on your performance optimization checklist. However, if you have a lot of images to optimize, it can also take up quite some time, and in the hurry, some images might even make it into production skipping this step.

Image Actions

“State of the Web: Video Playback Metrics” by Doug Sillars (Image credit)

To change that, the team at Calibre built a GitHub action that automatically compresses all the JPEGs, PNGs, and WebP images in your pull requests. It’s fast, efficient, and, for near-lossless compression, it uses the best image compression algorithms available: mozjpeg and libvips. A real timesaver.

Resources To Stay On Top Of Performance

A lot of people in the web community are committed to performance and to helping spread the word about it. One of them is Tim Kadlec. In his podcast Chasing Waterfalls, he invites people who work to make the web faster for everyone. Three episodes have already been released, with Reefath Rajali sharing insights into PayPal’s performance journey, Malek Kalim exploring how to scale a culture of performance across an organization, and Katie Hempenius talking about performance budgets, third-party challenges, JavaScript, and a lot of other things that impact performance.

Chasing Waterfalls podcast hosted by Tim Kadlec

Conversations with the people working to make the web faster for everyone, hosted by Tim Kadlec. (Image credit)

Another handy resource to keep you on top of web performance comes from Ben Schwarz and Karolina Szczur. Together they curate the Performance Newsletter, delivering web performance tools, talks, and other resources to your inbox twice a month. There’s also an archive of previous newsletter issues for you to catch up on until the next issue will be sent out.

Each and every issue of the Smashing Newsletter is written and edited with love and care. No third-party mailings or hidden advertising — you’ve got our word.

Smashing Newsletter

Upgrade your inbox and get our editors’ picks 2× a month — delivered right into your inbox. Earlier issues.


Useful tips for web designers. Sent 2× a month.
You can unsubscribe any time — obviously.

Smashing Editorial(cm, vf, ra, il)
Categories: Others Tags:

Third-Party Components at Their Best

January 16th, 2020 No comments

I’m a fan of the componentization of the web. I think it’s a very nice way to build a website at just about any scale (except, perhaps, the absolute most basic). There are no shortage of opinions about what makes a good component, but say we scope that to third-party for a moment. That is, components that you just use, rather than components that you build yourself as part of your site’s unique setup.

What makes a third-party component good? My favorite attribute of a third-party component is when it takes something hard and makes it easy. Particularly things that recognize and properly handle nuances, or things that you might not even know enough about to get right.

Perhaps you use some component that does pop-up contextual menus for you. It might perform browser edge detection, such as ensuring the menu never appears cut off or off-screen. That’s a tricky little bit of programming that you might not get right if you did it yourself — or even forget to do.

I think of the component that React Router has or what’s used on Gatsby sites. It automatically injects aria-current="page" for you on the links when you’re on that page. You can and probably should use that for a styling hook! And you probably would have forgotten to program that if you were handling your own links.

In that same vein, Reach UI Tabs have rigorous accessibility baked into them that you probably wouldn’t get right if you hand-rolled them. This React image component does all sorts of stuff that is relatively difficult to pull off with images, like the complex responsive images syntax, lazy loading, placeholders, etc. This is, in a sense, handing you best practices for “free.”

Here’s a table library that doesn’t even touch UI for you, and instead focuses on other needs you’re likely to have with tables, which is another fascinating approach.

Anyway! Here’s what y’all said when I was asking about this. What makes a third-party component awesome? What do the best of them do? (besides the obvious, like good docs and good accessibility)? Some of these might be at-odds. I’m just listing what people said they like.

  • Plug-and-play. It should “just work” with minimal config.
  • Lots of editable demos
  • Highly configurable
  • “White label” styling. Don’t bring too strong of design choices.
  • Styled via regular CSS so you can BYO own styling tools
  • Fast
  • Small
  • Is installable via a package manager
  • Can be manually instantiated
  • Can be given a DOM node where it can go
  • Follows a useful versioning scheme
  • Is manintained, particularly for security
  • Has a public roadmap
  • Is framework-agnostic
  • Doesn’t have other dependencies
  • Uses intuitive naming conventions
  • Supports internationalization
  • Has lots of tests

Anything you’d add to that list?

The post Third-Party Components at Their Best appeared first on CSS-Tricks.

Categories: Designing, Others Tags:

NetNewsWire and Feedbin

January 16th, 2020 No comments

NetNewsWire is one of the classic RSS apps, debuting in 2002. I was pretty stoked when it went 5.0 and was open-sourced in August 2019! You can snag it right here. (Sorry, Mac only.)
It’s super nice, is fast, and looks great. It has just the right features.

But… I thought, at least at first, that really prefer websites for reading RSS content. I have multiple machines. I have mobile devices. I don’t want my RSS to be limited to my laptop, I want an online service.

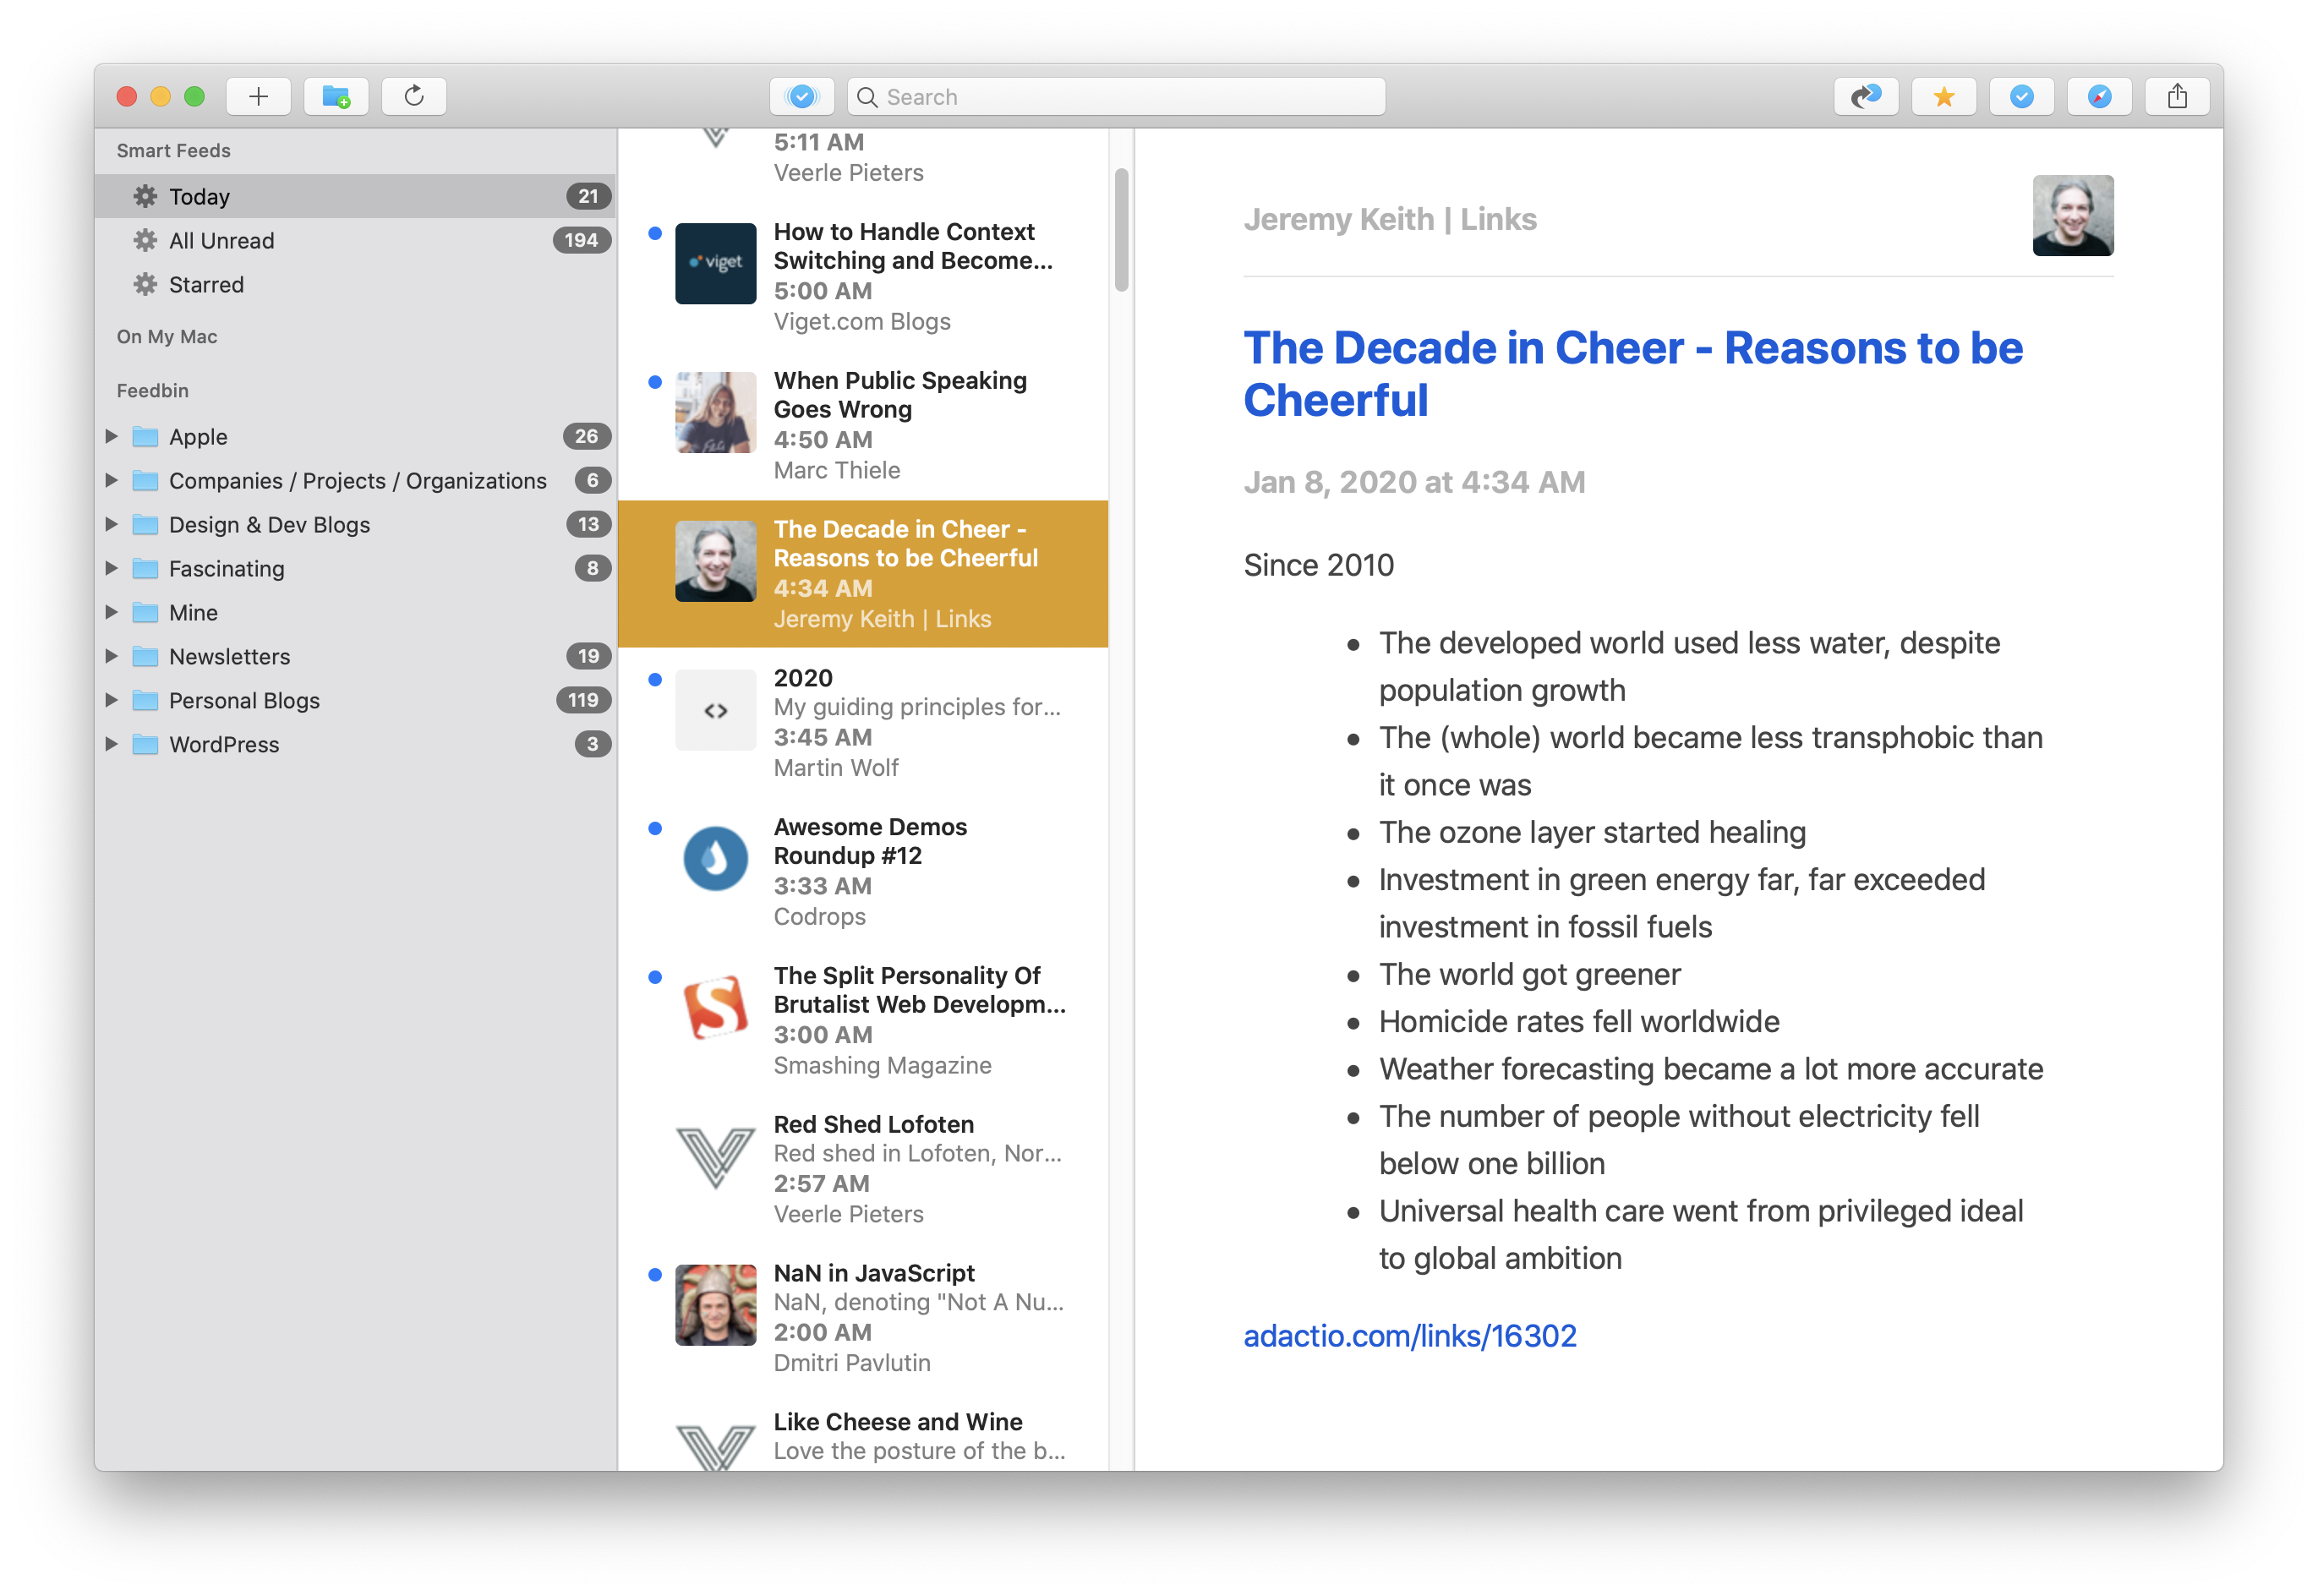
NetNewsWire on my Mac

Well! I found out that NetNewsWire syncs with my favorite website for RSS: Feedbin. The syncing works flawlessly. Both unread items and all the organization. In fact, the UI for organizing feeds is so nice in NetNewsWire that I managed everything there and was pleasantly surprised how it all synced perfectly with Feedbin.

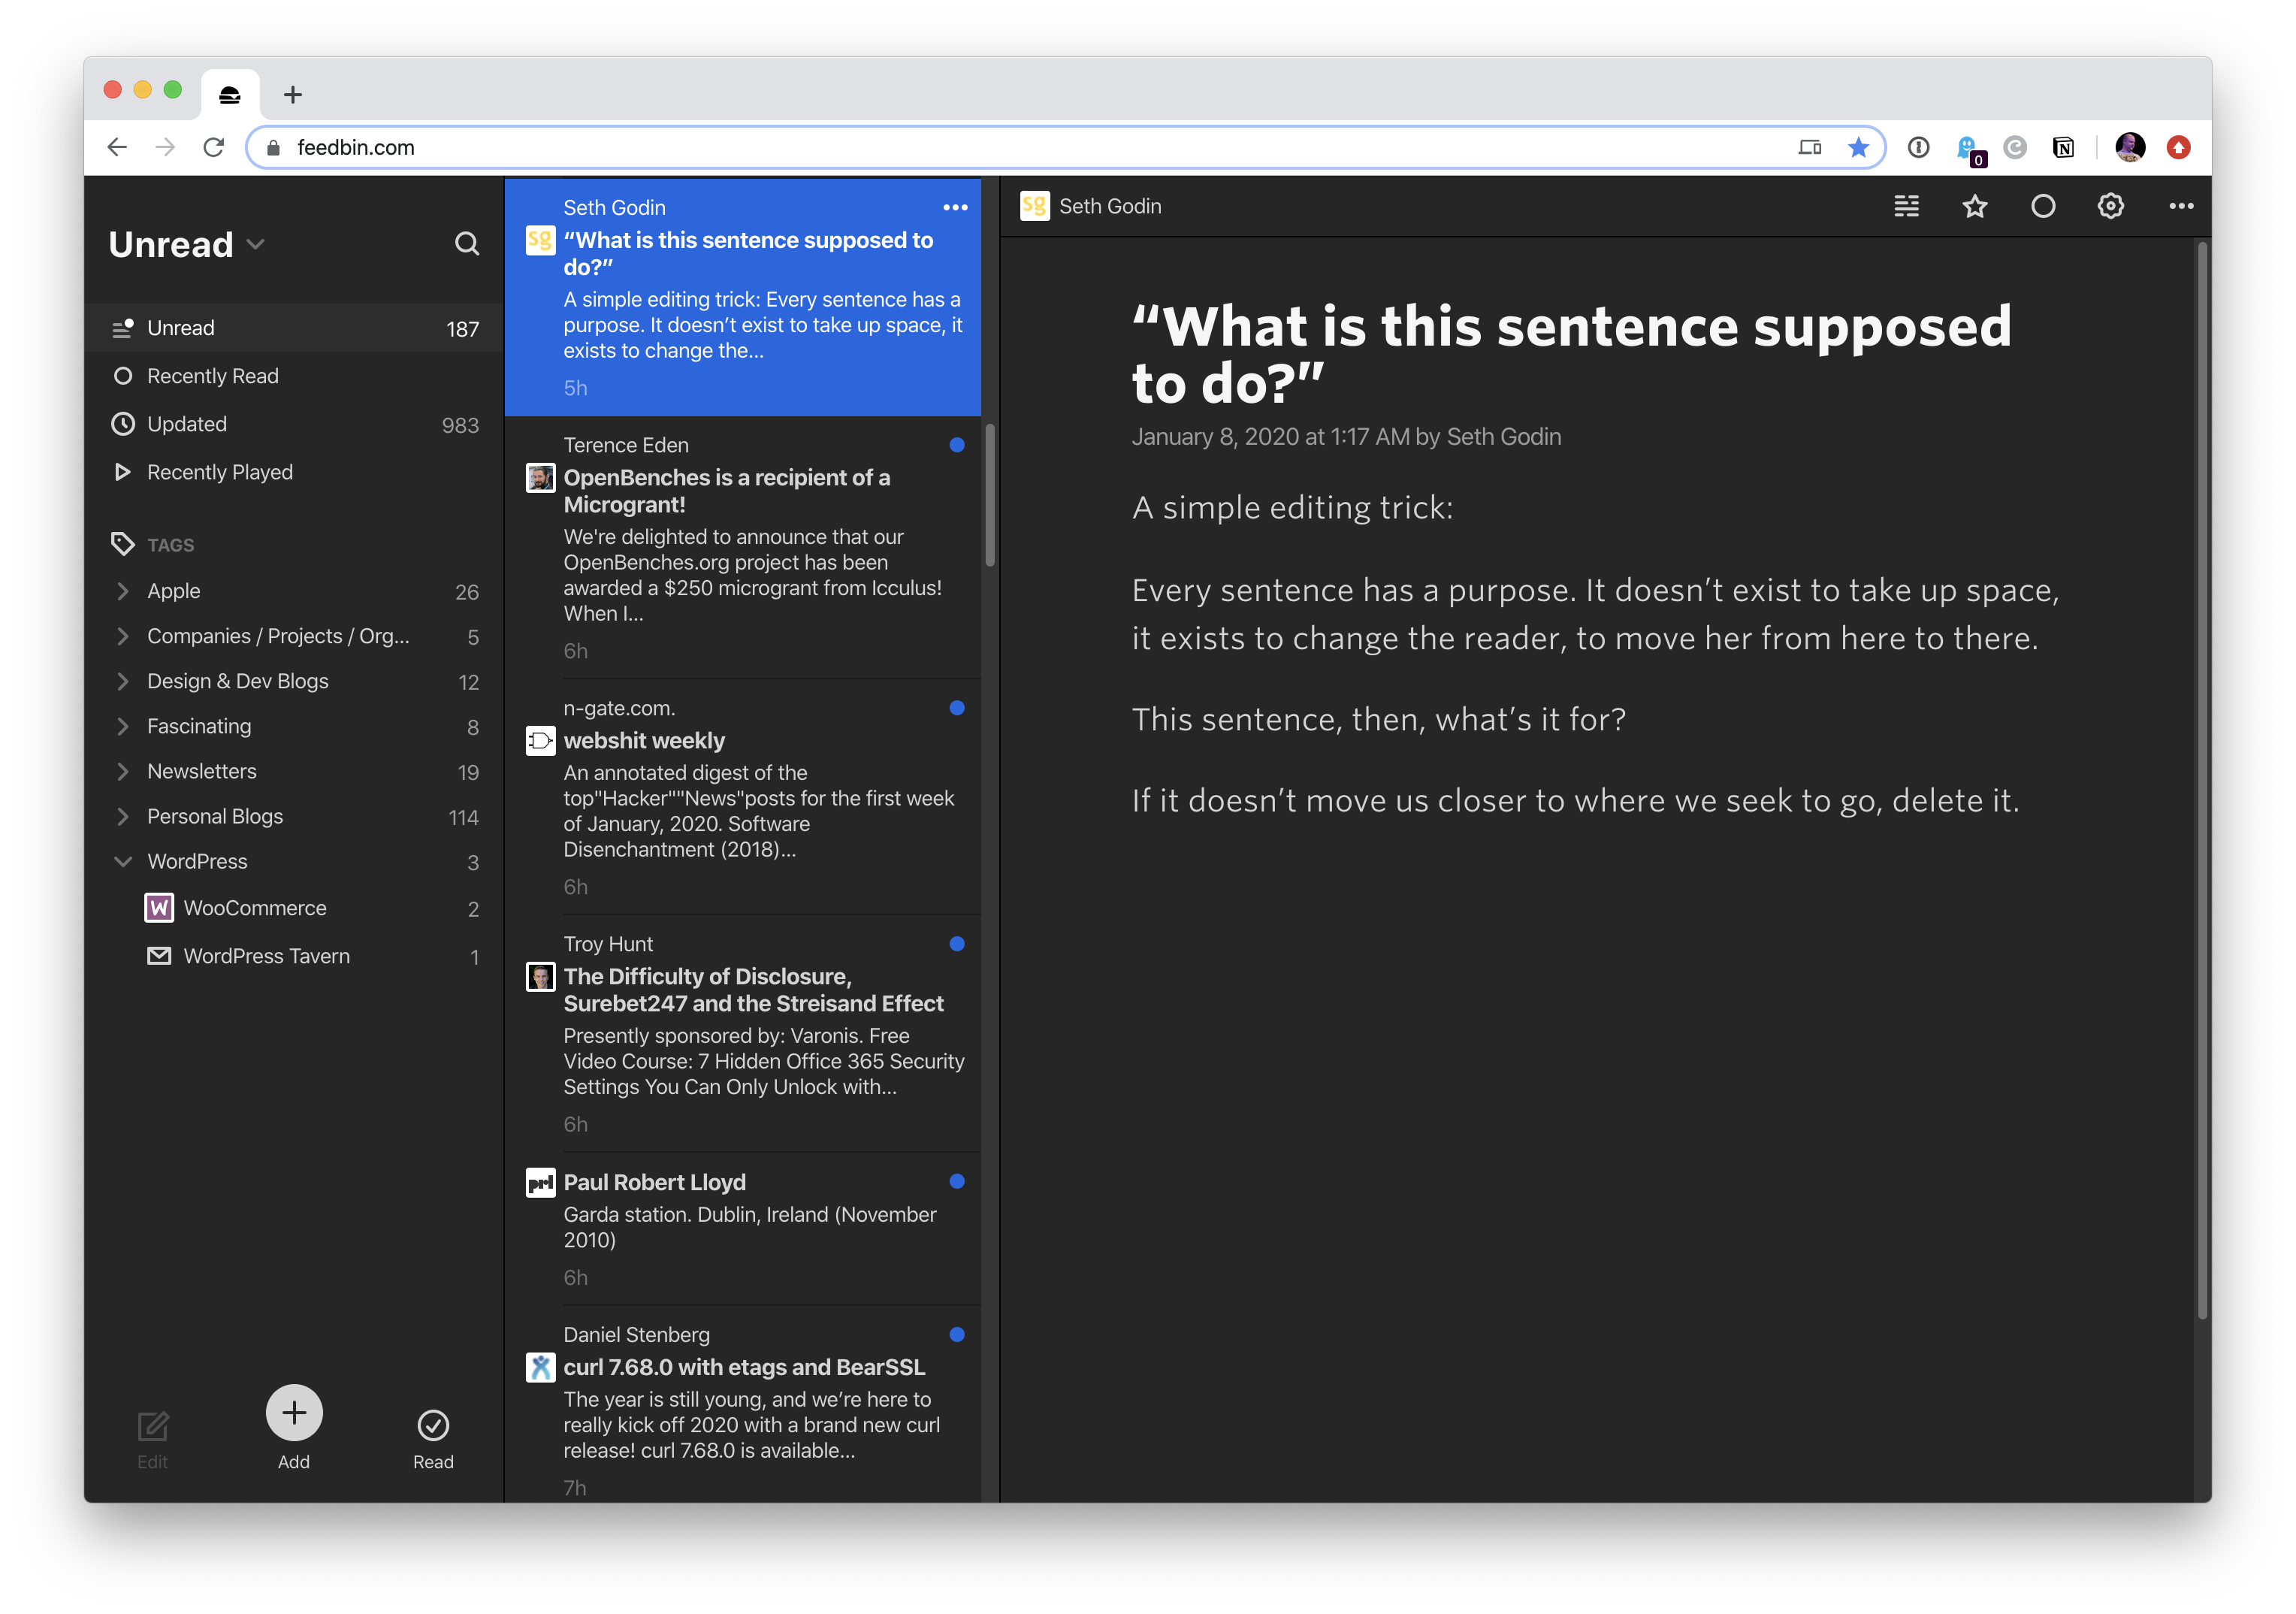
Feedbin on the web

Who’s gonna read your personal blog because it has an RSS feed? I’m gonna read your personal blog because it has an RSS feed. pic.twitter.com/mtcyKhEVet

— Chris Coyier (@chriscoyier) January 7, 2020

I know a lot of people miss Google Reader, but I think we’ve arrived at an even better place after all these years. The Google Reader UI for Google Reader was OK, but the main benefit was that it was the central place where everything synced together. That meant people could experiment by building readers and could use whatever they wanted. Feedbin clearly has APIs that can handle those types of things, so perhaps it could become that central hub service, which would be awesome.

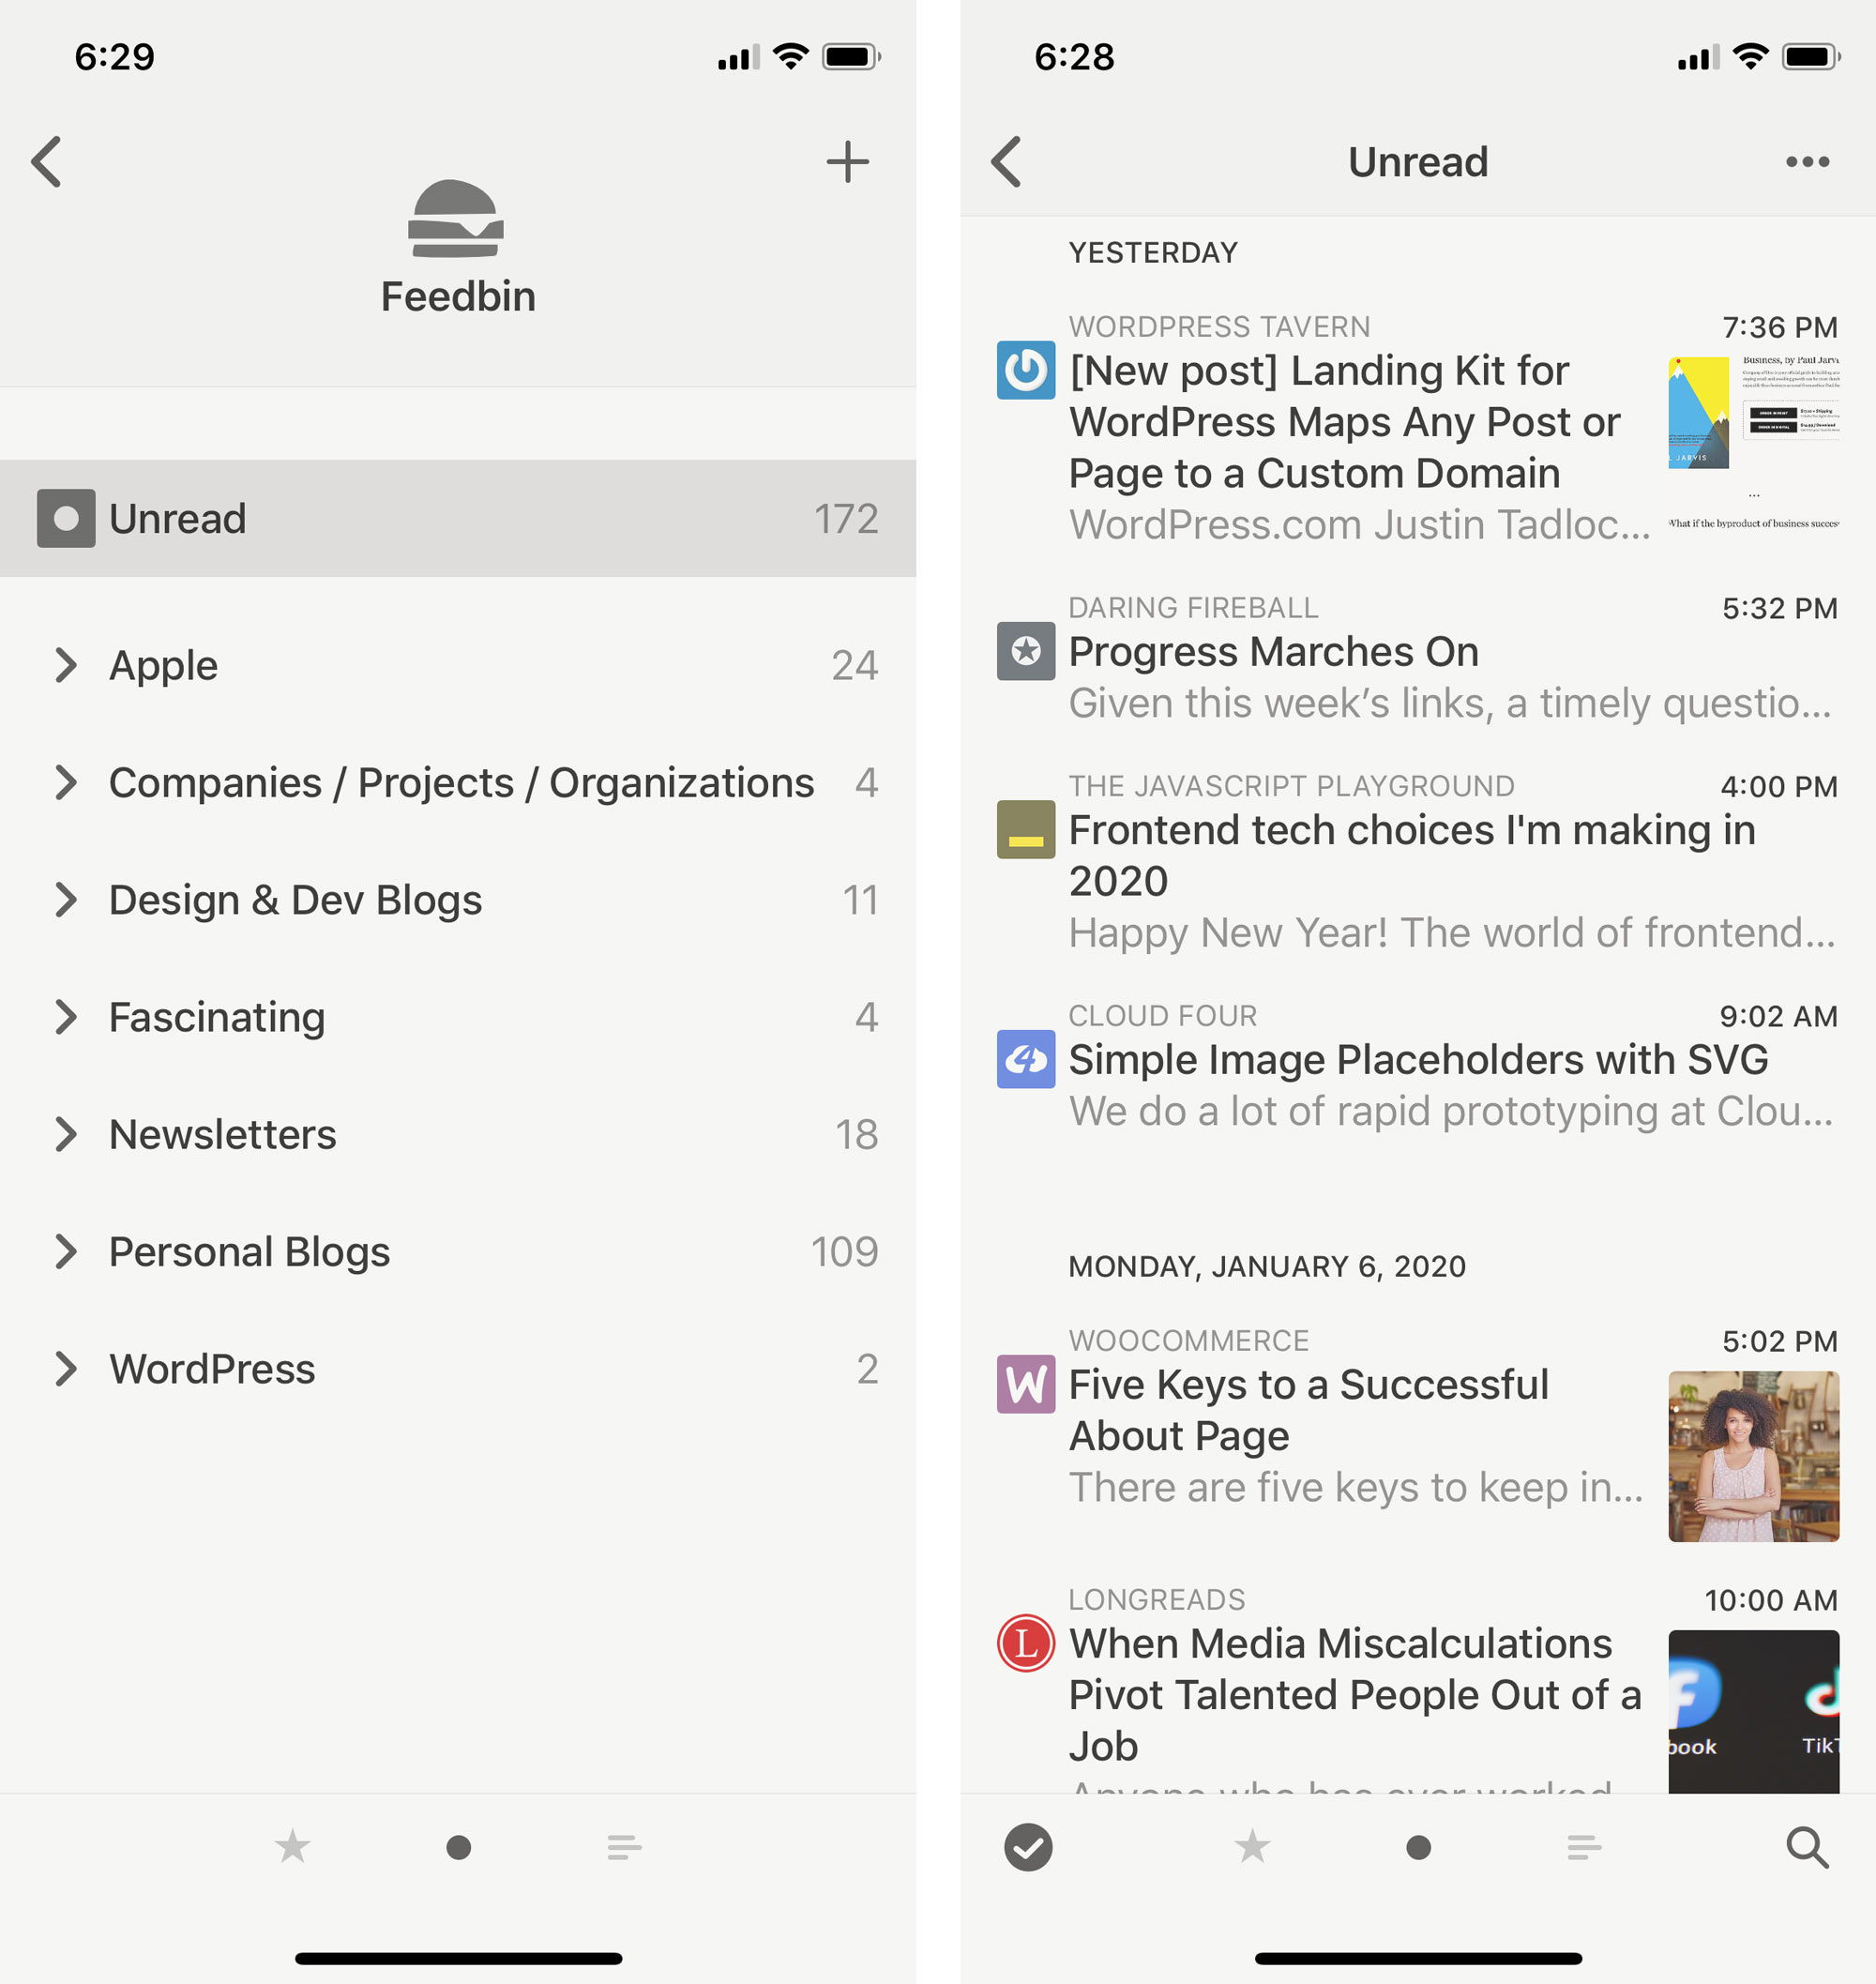
I use Reeder on iOS, which also syncs with Feedbin. The central hub is real.

Reeder on iOS

I know a lot of people love Feedly too, which is also good. I just click with Feedbin better. I particularly like the Feedbin feature where it gives me an email address I can have newsletters sent to, letting me subscribe to a ton of them the same way I do with sites.

The post NetNewsWire and Feedbin appeared first on CSS-Tricks.

Categories: Designing, Others Tags: