Archive

Archive for February, 2020

How To Design Mobile Apps For One-Hand Usage

February 20th, 2020 No comments
Steve Jobs on One-Handed UX

How To Design Mobile Apps For One-Hand Usage

How To Design Mobile Apps For One-Hand Usage

Maitrik Kataria

2020-02-20T11:00:00+00:002020-02-20T15:07:07+00:00

On Friday, January 2007 the world shrank into our palms as three revolutionary products?—?the iPod, a phone, and a breakthrough internet communicator?—?were unified to create the smartphones we know and love today.

Steve Jobs on One-Handed UX

The first iPhone introduced in 2007 marked the fall of Qwerty keypad and stylus. (Large preview)

iPhone was built to be comfortably used for one-handed operation, allowing for a smoother thumb movement across the screen.


Steve Jobs once said that the 3.5-inch screen is the “perfect size for consumers” and that larger screens are foolish.

Smartphone Shipments Worldwide by Screen Size from 2015 to 2021

(Large preview)

But it wasn’t until the turn of the last decade that phablets gained popularity owing to their bigger screens, so much so that less than 1% devices sold today had smaller than 4-inch screens.


90% of the smartphones sold today have bigger than 5-inch displays.

In the meantime, this goldrush for bigger-the-better presented app makers and designers with opportunities to utilize the screen real estate to serve more content and functions.

For instance, the CNN App was among the few who got early access to iPhone 5 introduced in 2012. The developers not only gave it an aesthetic transformation but also designed a reader-friendly, visually-appealing experience that made headlines stand out.

Evolution of Thumb Zone in UX UI Design

Adapted from Phil Schiller’s keynote at Apple’s Special Event 2012. (Large preview)

With Bigger Screens, The Ease Of Access And Reachability Suffer

While bigger screens are great for showing more content, the #1 design consideration of Steve Jobs for making 3.5-inch phones suffers — designing for one-handed usage.

In his 2-month-long research?—?at airports, streets, cafes, on buses and trains?—?Steven Hoober shed light on the three ways users hold their phones.

How People Hold and Interact with Mobile Phones

(Large preview)


49% of users hold their phones with one-hand specifically while they are on the go.

Making a strong case for designing apps for one-handed usage. Steven also found that users frequently alter their grip based on their comfort and situation.

Why Designing For One-Handed Usage Should Become The Top Priority For App Makers

We use our phones a great deal when we are preoccupied or in a hurry. This greatly impacts how users hold their phones and how they use the apps resulting in a lot more of one-handed-usage than the 49% number suggested above.

Research suggests that an average user checks their phones for as many as 58 times a day out of which 70% of mobile interaction lasts less than 2 minutes.


We use our phones in “distracted short-burst usage”.

Image Credit: Rescue Time. (Large preview)

A team of researchers at Simform observed usage and behavior of short-burst sporadic usage in multiple scenarios such as:

When Users Use Mobile Apps

Example cases of short-burst usage (Large preview)

Google’s Product Director, Luke Wrobleski, terms these short bursts as ‘one thumb, one eyeball‘ mobile-usage experience. It reflects how a distracting environment forces users to engage in single-handed usage within short spans of partial attention. He further adds that the most optimal type of smartphone usage with a single hand is one where quick interaction is supported by smooth functionality.

How To Design For Keeping These One-Handed Short-Burst Usages In Mind?

The answer is rather simple. Do continuous usability testing and study different ways your users hold their phones in various situations.

If the users of your app tend to use the app a lot in distracting scenarios, then you should focus on designing patterns that target reachability and one-handed use.

Two Methods of Holding a Touchscreen Phone with One Hand

(Large preview)

Let’s take a look at the evolution of Spotify’s interface to get a perspective of the problem:

Thumb Zone for Mobile Hamburger Menu UI

Spotify’s Old Navigation?—?Hamburger Menu. (Large preview)

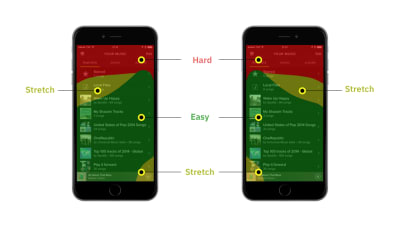
Spotify used the Hamburger Menu at the top-left which concealed these features and set the users on a treasure hunt of sorts. With the advent of bigger screens, however, another design challenge was added to the list?—?reachability.
Thumb Zone for Mobile Hamburger Menu UI

Spotify?—?A certain level of difficulty and discomfort was experienced as users tried to communicate with the app. (Large preview)

This compelled Spotify’s team to pull down the Hamburger Menu in 2016 and lay its core features?—?Home, Browse, Search, Radio, and Library?—?at the bottom that resulted in an increase of 9% clicks in general and 30% on menu items.

Use Established UX Patterns For Common App Usage Scenarios To Make One-Handed Usage Easy

Why reinvent the wheel? When you can use proven UX patterns that work. Many designers have already focused on one-handed usage as their designing principle.

We have gone through hundreds of apps and thousands of patterns to find the best patterns one-handed usage in mind. So let’s look at what works, what problems are solved, and what benefits you will get out of these.

We divide the most common user behaviors and UX patterns in six categories:

  1. Navigation UX Patterns
    e.g. menu bars, tab bars, and, gestures for easily moving between the most important sections of the app;
  2. Designing For Actions
    Creating, editing, posting, adding, removing, and other actions users take to utilize the core functionality of the app;
  3. Shopping, Transactional And Checkout Flow Design Patterns
  4. Searching, Sorting, And Filtering Patterns for when users want to quickly find or browse content;
  5. Input And Interaction Patterns
    Sliders, pickers, selectors, dropdowns, form fills, zooming, scrolling that make up the building blocks of any app;
  6. Miscellaneous Patterns
    Media playback, photo capture, photo editing, and map navigational patterns.

1. Designing App Navigation Keeping ‘One-Handed Usage’ In Mind

What Is It?

The foundation of a great app is a good navigation design. Good navigation helps users discover the features faster and find what’s important to them.

70% of users discover features of the app using navigation links compared to search or other ways. Navigation bars, menus, gestures, links, tabs, etc are the most common navigation UX patterns.

A good navigation design should have all the important sections right upfront and easily accessible.

Challenges

Common UX patterns like Apple’s tab bar and Google’s swipeable menu have limitations. You can put only a limited number of features in the tab bar and to access all of the swipeable menu items is not easy.

Users shouldn’t have to struggle to reach an important part of the app by stretching to the top of the screen. That’s just bad usability. Specifically, if the users are on-the-go and are using the app in a short burst.

Solution

Facebook and many other apps solve this challenge by putting items in a tab icon called More or Menu from where users can access more features and sections of the app. This, however, is not ideal for reachability and one-handed use.

  • Use the flyout menu instead of a full-page menu for reachability and fitting in more than 5 items.
  • Expanded tab bar for when you have more content.
  • Personalized tab bar for power users to quickly access what they like.
  • Use gestures to imbibe ease-of-access in users’ habits.
  • Getting back and closing a page should be easy as well.
  • Quickly jumping to a section of the page with smart UX patterns

Facebook, for instance, conceals numerous features in a Hamburger Menu that declutters the main screen. Although this inclusion has a cleaner and more organized appeal, users suffer from one-handed reachability.

1.1 What makes the Hamburger Menu a REAL Problem?
Use Flyout Menu Instead Of A Full-Page Menu For Reachability

Thankfully, we have a way to resolve this challenge?—

Full-page menus can be replaced with flyout menus, which like the name suggests ‘fly-out’ from the bottom. This allows for easier access to the options even with one hand.

1.2 Mobile UX Patterns for Flyout Menu Designs (Video Credit: Joox)
Expand The Tab Bar For When You Have More Content

Human Interface Guidelines recommend having no more than 5 features in the bottom navigation bar. This makes it tricky for app builders to present additional core functionalities at the forefront.

This is where the ‘More’ option (3 dots) comes in handy. Located at the bottom bar, it can conceal other functionalities and reveal them with a click.

1.3 Designing Bottom Navigation Bar with Expandable More Options.
Personalized Tab Bar For Power Users To Quickly Access What They Like

Every user is different and a feature that is important for one user may not be that important for the other. To make the most of your app, you can allow users to customize their tab bars with frequently used functionalities.

1.4 Personalized Bottom Tab Bar for Quick Feature-Accessibility.
Gestures Are Easy To Imbibe In Users’ Habits For Quick Navigation

Popularised by Tinder, Gesture-based navigation is a great technique to facilitate single-handed usage. Gestures if smartly used can help expand navigation for one-handed use.

1.5 Gesture-based Navigation to Access App Features.
From Designing “Getting To” To “Getting Back” Using Gestures And Accessibility

Navigation isn’t only about getting to a screen or section of the app. It is important to design for?—?going back to where the user came from, closing a screen, or jumping to a section on a page! Let’s look at how apps use gestures and UX patterns to do those things easily.

1.6 Using Gestures to Navigate Through Multiple Screens (Video Credit: Zenly)
Patterns For Quickly Jumping To Different Sections Of The App

Apps with many categories, subcategories, and sections such as books, wiki, restaurant menus, products may need more organization to ensure users don’t struggle with finding content.

These can be organized in a hierarchy and using UX patterns to increase accessibility and ease of use.

1.7 Floating Tab Bars and Gestures to Jump Between Sections.

2. One-Handed Patterns For Core Actions Like?—?Creating, Editing, Posting, Adding, Deleting And Others

What Is It?

Users spend about 50% of their mobile phone time in self-expression, social interaction, online shopping, managing finances, health and productivity, and planning upcoming events. These action-driven UX patterns include things like creating social posts, editing documents, editing, a few others.

Challenges

When designing action-driven apps, we have to ensure they don’t take the backseat. Like, having a post or creating a button at the top instead of right next to your thumb.

Solution

There are three things to keep in mind when designing the user experience of these core actions.

  1. Core actions should grab users’ attention by the prominent placement of the icon or button. Don’t put them at the top right corner of the app where they can get buried. It should be easily reachable without needing to use second hand or overreaching.
  2. On top of that, users should be able to finish the entire creation and addition task flow with one hand. This includes things like canceling the task, typing with keyboard opening up, moving to the next step and so on.
  3. Designing for complex editing tasks with multi-level edit menus and controls.
  4. With reachability as a goal, you can make sharing and sending things easy and simple too.
The Button Or Icon For The Core Task Of The App Should Draw Users In

Apps’ core tasks center around things like capturing images, creating a post, adding files, sharing, etc. It becomes necessary to have users focus on these first and make it?—?reachable and discoverable.

For instance, Snapchat hides everything and only incentivizes users to capture photos and videos. Also, the ‘Send’ button immediately asks users to share their stories with others.

2.1 Making Core Tasks Easily Reachable with Gestures, Flyout Menus, and Floating Tab Bars.
Breaking Up Complex Editing Tasks With Menus And Controls Designed Specifically For Mobile

For many users, mobile phones are the most used computing devices. There is a generation of users who get real work done on their mobile phones. For example, document editing is no longer a computer-only affair since a host of mobile apps offer the service.

Microsoft Word and WPS Office offer a host of editing tools and multi-level menus within thumb’s reach. These intuitive menu systems are smart and powerful allowing users to do complex operations and multiple choices.

2.2 Placing Editing Tools on the Bottom Half of the Screen for Quicker Modifications.
With Reachability As A Goal, You Can Make Sharing And Sending Things Easy And Simple Too

What amplifies our experience with our favorite music these days is the super-quick shareability options for social media, often just a click away.

You can employ a share extension that slides up from the bottom and allows users to directly type messages.

2.3 UX Patterns for Single-handed Sharing of Photos, Videos, Music, and More.
Divide Creating Or Adding Tasks Into Multiple Steps

Creating boards, favorites, and wish lists can be a drag, especially when they are placed at the top extremes. Let’s look at the patterns that handle multi-step data inputs.

Flipboard and Airbnb keep everything at the bottom and within the reach of the thumb. From typing to selecting the next steps or canceling the action is very simple.

2.4 Placing ‘Create’ and ‘Add’ Icons within the Reach of the Thumb for Smooth One-handed Usage.

3. Designing Faster Checkout And Transactional Experiences For When You Are On-The-Go

What Is It?

According to Kaspersky Cybersecurity Index, 50% of eCommerce sales happen on mobile phones. Add to that commercial transaction like booking a ride, flight, hotel room, movie tickets, and concert tickets and you realize how important designing mobile checkout experience is. A report by Baymard Institute suggested that 23% of shoppers who abandon their cart abandon it because of the complicated checkout process. This is specifically true for mobile shoppers for whom checkout is a multi-step process where inputting data is not as easy.

Challenges

The checkout process requires many inputs and careful attention from users.

  • Designing a one-handed checkout experience would mean users can complete the transaction with minimal thumb movement and fewer steps.
  • This is especially very important for users who are on the move or need to do the transaction immediately.

Solution

To design a one-handed checkout experience we have to minimize the information required from the users.

  • When choosing product variations like size, color, time/date and others, they should be easily accessible and discoverable.
  • We can use applications like Google and Apple wallet or autofill from things like Keychain, 1password, and LastPass to fill the information like names, credit cards, addresses, One-time-passwords.
  • We also must emphasize the simple and minimal thumb movements from the users.
Adding Items To Carts And Choosing Product Preferences At Thumb’s Reach

The logistics of shopping online can be simplified within three steps?—?adding items to carts, picking product variations, and completing the payment process.

As designers, it becomes essential for us to not only make these selections noticeable but also to place them within the reach of a thumb.

One way to achieve this goal is to display product variations in a tray that slides up when the user chooses an item.

Another way is to allow users to scroll through the page and quickly select variations of a product while the option to ‘Place the Order’ or ‘Buy’ stays static at the bottom.

3.1 Smooth Payment Checkout Flow With Options to Add Items and Choose Product Variations.
3.1 Adding Items to Cart for e-Commerce on On-Demand Delivery Apps. Video Credits: Shopping Choose | WE+AR TRBL | Tasty Hamburger App
Using e-Wallets And Password Managers For Swift Payment

The Payment Methods Report 2019 suggests that over 71% of online transactions are carried out via e-Wallets like Apple Pay, Google Pay, Alipay, Fitbit, Samsung Pay, YandexMoney, and others. These wallets are not only deemed to be faster but are also much safer and easier to access.

The checkout process can be made more efficient and straightforward. What’s more, you can also add a swipe-to-pay option for higher conversions.

3.2 UX Patterns for Payment Checkouts for e-Commerce Mobile Apps.
3.2 UX Patterns for Payment Checkouts for e-Commerce Mobile Apps. (Video Credits: SPACED Challenge (Travel + VR) | Checkout Promocode | Gamification Checkout)

4. Searching, Filtering, And Sorting Content With Reachability As The Main Goal

What Is It?

Without the right UX, finding just the right products or items can be a tedious challenge for the user. Searching, filtering, and sorting tools determine how easy or difficult it is for the user to browse the site’s product and item catalog.

Filters are a great tool to narrow down high volumes of content and to find the most relevant results.

In theory, they are different: sorting organizes the content according to a certain parameter, filtering removes it from view.

During Baymard’s Product Listings & Filtering study, it was observed that sites with an average product list usability saw abandonment rates of 67–90%. What’s more, there was about 17–33% abandonments from users trying to find the exact same types of product from e-Commerce sites with a slightly tweaked toolset. This resulted in approximately 4X increase in leads.

Challenges

  • Searching on mobile should be easily accessible. For example, Youtube, Amazon Prime, Slack, Google Maps make it difficult for users to reach the search menu by having them reach the top right corner.
  • Organizing the information hierarchy of filters as there are too many parameters and categories so that users can find what they are looking for quickly.
  • Manage multi-level information in UI especially when there are many categories and each category has many items.
  • Changing UI based on different states like “Filter is applied” and what “Filters are applied”.
  • All this should be accomplished by users in the reach of users’ thumb.

Solution

  • Use gestures or easily accessible buttons for search. When users go to the search screen give suggestions as well as open the text box immediately.
  • Speak the language of the users and keep users intent in mind when organizing filters. Keep the filters/sorting button near the reach of users. Also, make accessing and closing the filters menu with one hand.
  • To solve information complexity use either a two-step filtering control or side by side filtering control.
  • Apply filters immediately. Make filters interactive based on actions users take. Allow users to choose multiple options. Change filter categories to match applied filters.
  • Show recommendations, recently used or most frequently used information first.

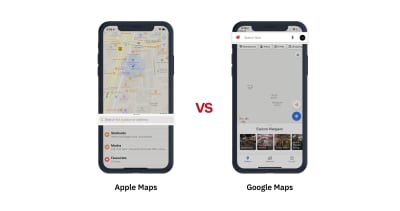
For many apps, Search is one of the top 5 features used. But many app designers make reaching the search icon difficult. See the comparison below for Apple Maps vs Google Maps and Netflix vs Youtube.
UX Search Patterns for Apple Maps and Google Maps

Comparing Search Bar Reachability – Apple Maps vs Google Maps. (Large preview)

UX Search Patterns for Netflix and YouTube

Comparing Search Bar Reachability – Netflix vs YouTube. (Large preview)

Some apps use the search screen as a content discovery screen. They recommend users what they’d like, what they searched before, what’s trending and so on.

4.1 Creating a Search Page for Users to Discover Content. (Large preview)
Remove Friction And Impending Steps From Searching And Filtering

To make things really quick for users, we can make it so that when they tap on the search icon on the tab bar the keyboard immediately pops up so that users can start typing their queries immediately. See the examples of Netflix and SpotHero.

Many apps like Amazon or Google Drive use the search bar prominently at the top of the home page. In such cases, we can use gestures (swipe down) like the Inshorts app to immediately start typing instead of having to reach the top and tap on the search bar.

4.2 Searching and Filtering Made Thumb-friendly.
Double-Tap On The Search Icon To Pull Up The Keyboard

If you want to use your search page to show information to users then you can also use double-tap to pull up the keyboard like Microsoft News, Spotify, and Reddit Apollo.

4.3 Accessing Keyboard Made Easy with a Double-tap on ‘Search’ Icon.
Thumb Reachable Filter Menu Should Let Users Find Information Faster

Online shopping, booking, on-demand and other apps alike can contain a laundry list of items for users to choose from.

The biggest consideration for designing a filtering menu for small devices is the information hierarchy. Let’s look at these examples to understand how filtering and sorting can be designed when options are aplenty. These show how you can handle information complexity without letting one-handed usage suffer.

Also, filters should be responsive and reactive to users’ choices and indicate when filters are applied.

To make this process more responsive, search results can be filtered in the background simultaneously as users select the choices.

4.4 Sorting and Filtering Items on e-Commerce and On-Demand Delivery Mobile Apps.
4.4 Sorting and Filtering Items on e-Commerce and On-Demand Delivery Mobile Apps. Video Credit: Filters | Car Sharing with Friends.

5. User Input Controls Such As?Forms, Pickers, Selectors, Dropdowns, Sliders That Make Up The Building Blocks Of An App

What Is It?

With smaller screens comes smaller real estate. Fundamental user interactions have to be reimagined in order to increase the productivity of mobile users.

Things like filling up forms, typing up the password, choosing date/time, making a selection, popovers had to translate well to touch interface without abandoning the metaphors of PCs.

Challenges

Inputting data on mobile devices is tedious, especially when there are a number of data fields to be filled.

Translating user interactions to smaller devices is not easy. The biggest challenges are:

  • Speed of user input should be very fast with minimal movement of users’ thumb.
  • Information should be gathered in a minimal number of steps.
  • The input control design should have an easily understood interface and metaphor.
  • The experience should be delightful and consistent.
  • Users must know their location and information must not be lost.

When done correctly, adding inputs in trackers, calendars, and others alike could become a short task.

Solutions

  • Any user action like filling up forms or making choices should be closer to the bottom. The flow of actions and choices should be consistent without any jarring UI changes.
  • Information needed to move ahead should be in thumb’s reach.
  • Data input options including notifications should be clear and near to the bottom.
  • Bigger forms can be divided into multi-step and multi-screen forms. This multi-screen approach should have going forward and going back very easily.
Fixing Filling Up Forms Starting With Sign-Up Forms

We all hate filling up sign up forms. They are time-consuming and ask for unnecessary information.

Filling up forms can be less laborious by turning a lengthy form into multiple screens. Using things like auto-fill, thumb reachable buttons for next and previous steps, continuous keyboard presence, and no scrolling makes this approach faster and easier.

5.1 Best Practices for Multi-Screen Onboarding Flows (Video Credit: Zenly & AirBnB)
Get Quick Input From Users With Minimal Thumb Movement

Positioning the user-input controls towards the bottom of the screen allows for quicker data entry and prompt call-to-action responses.

Use pickers, dropdowns, scrollers, and sliders to supply information to users.

5.2 One-handed User Input Controls for Accurate Form Filling (Video Credit: Periscope)
Smart Mobile Patterns For User Input Controls

Let’s look at some more patterns that make getting input from users easier.

5.3 One-handed User Input Controls for Mobile App Forms (Video Credit: Peach | Zova Workout & Fitness | Square Order)

6. Miscellaneous Patterns For Media Playback, Photo Capture, Photo Editing, And Map Navigation Patterns

With over 2 million apps on Google Store and 1.83 million apps on the App Store, it has become imperative for designers to make their apps stand out. One way to do this is to make common functions fun and smooth for users, and this final section is a round-up of miscellaneous user interactions.

6.1 Forget Pinching; These Apps Lets Users Zoom In and Out with One Thumb.
6.1 Whether it’s Selecting Emojis, Sending Images, or Listening to Audio Clips, Gestures Can Add Ease such App Interactions.
6.1 Whether it’s Selecting Emojis, Sending Images, or Listening to Audio Clips, Gestures Can Add Ease such App Interactions (Video Credit: Composer Concept | Gamification + Checkout)

Conclusion

Although reachability is a big part of it designing for one-handed usage, it is not just about ensuring everything close to users’ reach. Apps that have good one-handed use also save the time of users, remove friction, take out unnecessary steps, and most importantly focus on quickening the “distracted short burst usage” of apps.

We looked at many patterns that designers can use to solve different UX challenges. For more, you can check these websites to find patterns that help you design for one-handed use.

(cc, yk, il)
Categories: Others Tags:

Dataroom and doc protection

February 20th, 2020 No comments

In not any case work owners really want to lag behind rivals, for this reason, ever more businesses are moving to a digital virtual room, as these possess proved to be one of the most convenient method of organizing and storing essential business records. To function suitably, the business should be well methodized, allowing use … Continue reading Dataroom and doc protection

The post Dataroom and doc protection appeared first on Design Shard.

Categories: Designing, Others Tags:

Footnote Characters

February 20th, 2020 No comments

They are special superset numbers that are sometimes perfect for footnotes. Here they are:

¹ ² ³ ? ? ? ? ? ?

I generally prefer to superscript the number myself, like:

<p>This next word<sup>1</sup> has a footnote.</p>

You’d probably add an anchor link around that as well to link to an ID elsewhere on the page that explains the footnote.

But sometimes it just isn’t practical or possible to use HTML as you author a bit of text. As I type, I’m writing in the WordPress Gutenberg editor. I can write in HTML block if I want, but it’s much more practical to use the default paragraph blocks, which have options for stuff like bold, italic, and strikethrough, but not for superscript. I don’t really wanna convert a block to HTML just to use a superscript number. So, a special Unicode character¹ it is.

  1. Another thing the Gutenberg editor can’t do is add an ID to a link, so it’s not really practical for me to offer a “jump back to the footnote” link down here. Sad face.

The post Footnote Characters appeared first on CSS-Tricks.

Categories: Designing, Others Tags:

Do This to Improve Image Loading on Your Website

February 20th, 2020 No comments

Jen Simmons explains how to improve image loading by simply using width and height attributes. The issue is that there’s a lot of jank when an image is first loaded because an img will naturally have a height of 0 before the image asset has been successfully downloaded by the browser. Then it needs to repaint the page after that which pushes all the content around. I’ve definitely seen this problem a lot on big news websites.

Anyway, Jen is recommending that we should add height and width attributes to images like so:

<img src="dog.png" height="400" width="1000" alt="A cool dog" />

This is because Firefox will now take those values into consideration and remove all the jank before the image has loaded. That means content will always stay in the same position, even if the image hasn’t loaded yet. In the past, I’ve worked on a bunch of projects where I’ve placed images lower down the page simply because I want to prevent this sort of jank. I reckon this fixes that problem quite nicely.

Direct Link to ArticlePermalink

The post Do This to Improve Image Loading on Your Website appeared first on CSS-Tricks.

Categories: Designing, Others Tags:

monica.css

February 19th, 2020 No comments

Monica Dinculescu:

I don’t want every possible padding and margin and colour and flexbox configuration in the world. I just want the ones that I know I end up using in every project. So here is monica.css: my very own CSS framework, which I copy paste at the beginning of every CSS file and take it from there.

I love it when people make their own CSS starter. I like Sanitize, but even that feels like a bit much for most things I poke around at. If I was making one for myself, I’d probably steal some of this stuff from Monica. I’d definitely pull the margin off body as I find myself writing that line a lot. I’d probably steal some of that [class] stuff from Andy’s. My center class would probably just be text-align and I’d give myself some other centering class for my other favorite centering: display: grid; place-items: center;.

I love how everyone agrees on box-sizing.

Direct Link to ArticlePermalink

The post monica.css appeared first on CSS-Tricks.

Categories: Designing, Others Tags:

Understanding Web Accessibility Color Contrast Guidelines and Ratios

February 19th, 2020 No comments

What should you do when you get a complaint about the color contrast in your web design? It might seem perfectly fine to you because you’re able to read content throughout the site, but to someone else, it might be a totally different experience. How can put yourself in that person’s shoes to improve their experience?

There are some relatively easy ways to test contrast. For example, you can check the site on your phone or tablet in bright sunlight, or add a CSS filter to mimic a grayscale view). But… you don’t have to trust your eyes. Not everyone has your exact eyes anyway, so your subjective opinion can possibly be a faulty measurement.

You can mathematically know if two colors have enough contrast between them.

The W3C has a document called Web Content Accessibility Guidelines (WCAG) 2.1 that covers successful contrast guidelines. Before we get to the math, we need to know what contrast ratio scores we are aiming to meet or exceed. To get a passing grade (AA), the contrast ratio is 4.5:1 for most body text and 3:1 for larger text.

How did the W3C arrive at these ratios?

The guidelines were created for anyone using a standard browser, with no additional assistive technology. The contrast ratios that the WCAG suggests were based initially on earlier contrast standards and adjusted to accommodate newer display technologies, like antialiased text, so content would be readable by people with a variety of visual or cognitive difficulties, whether it be due to age, sickness, or other losses of visual acuity.

We’re basically aiming to make text readable for someone with 20/40 vision, which is equivilent to the vision of someone 80 years old. Visual acuity of 20/40 means you can only read something at 20 feet away that someone with perfect 20/20 vision could read if it was 40 feet away.

So, say your design calls for antialiased text because it looks much smoother on a screen. It actually sacrifices a bit of contrast and ding your ratio. The WCAG goes into more detail on how scoring works.

There are other standards that take contrast in consideration, and the WCAG used some of these considerations to develop their scoring. One is called the Human Factors Engineering of Computer Workstations (ANSI/HFES 100-2007) was published in 2007 and designated as an American standard for ergonomics. It combined and replaced two earlier standards that were created by separate committees. The goal of the combined standard was to accommodate 90% of computer users, and cover many aspects of computer use and ergonomics, including visual displays and contrast. So, that means we have physical screens to consider in our designs.

What does the ratio mean?

The contrast ratio explains the difference between the lightest color brightness and the darkest color brightness in a given range. It’s the relative luminance of each color.

Let’s start with an egregious example of a teal color text on a light gray background.

<h1>Title of Your Awesome Site</h1>
h1 {
  background-color: #1ABC9C;
  color: #888888;
}
Yikes!

It’s worth calling out that some tools, like WordPress, provide a helpful warning for this when there’s a poorly contrasted text and background combination. In the case of WordPress, a you get notice in the sidebar.

“This color combination may be hard for people to read. Try using a brighter background color and/or a darker text color.”

“OK,” you say. “Perhaps you think that teal on gray color combination is not exactly great, but I can still make out what the content says.“ (I’m glad one of us can because it’s pretty much a muddy gray mess to me.)

The contrast ratio for that fine piece of hypertext is 1.47:1.

I wanted a better understanding of what the contrast scores were actually checking and came to find that it requires the use of mathematics… with a side of understanding the differences between human and computer vision. This journey taught me about the history of computer vision and a bit about biology, and gave me a small review of some math concepts I haven’t touched since college.

Here’s the equation:

(L1 + 0.05) / (L2 + 0.05)
  • L1 is the relative luminance of the lighter of the colors.
  • L2 is the relative luminance of the darker of the colors.

This seems simple, right? But first we need to determine the relative luminance for each color to get those variables.

OK, back to relative luminance

We mentioned it in passing, but it’s worth going deeper into relative luminance, or the relative brightness of any color expressed into a spectrum between 0 (black) and 1 (white).

To determine the relative luminance for each color, we first need to get the RGB notation for a color. Sometimes we’re working with HEX color values and need to covert that over to RGB. There are online calculators that will do this for us, but there’s solid math happening in the background that makes it happen. Our teal hex color, #1ABC9C, becomes an RGB of 26, 188, 156.

Next, we take each value of the RGB color and divide each one by 255 (the max integer of RGB values) to get a linear value between 0 and 1.

So now with our teal color it looks like this:

Component Equation Value
Red 26/255 0.10196078
Green 188/255 0.73725490
Blue 156/255 0.61176471

Then we apply gamma correction, which defines the relationship between a pixel’s numerical value and its actual luminance, to each component part of the RGB color. If the linear value of a component is less than .03938, we divide it by 12.92. Otherwise, we add .055 and divide the total by 1.055 and take the result to the power of 2.4.

Our gamma corrected color components from our teal color end up like this:

Component Equation Value
Red ((0.10196078 +.055)/1.055) ^ 2.4 0.01032982
Green ((0.73725490 +.055)/1.055) ^ 2.4 0.50288646
Blue ((0.61176471 +.055)/1.055) ^ 2.4 0.33245154

This part of our equation comes from the formula for determining relative luminance.

We just sort of sped past gamma correction there without talking much about it and what it does. In short, it translates what a computer “sees” into the human perception of brightness. Computers record light directly where twice the photons equals twice the brightness. Human eyes perceive more levels of light in dim conditions and fewer in bright conditions. The digital devices around us make gamma encoding and decoding calculations all the time. It’s used to show us things on the screens that match up to our perception of how things appear to our eyes.

Finally, we multiply the different colors by numbers that signify how bright that color appears to the human eye. That means we determine the luminance of each color by multiplying the red component value by .2126, the green component value by .7152, and the blue component by .0722 before adding all three of those results together. You’ll note that green gets the highest value here,

So, one last time for teal:

Component Equation Value
Red 0.01032982 X 0.2126 0.00219611973
Green 0.50288646 X 0.7152 0.35966439619
Blue 0.33245154 X 0.0722 0.02400300118

…and add them together for luminance!

L1 = 0.00219611973 + 0.35966439619 + 0.02400300118 = 0.38586352

If we do the same to get our L2 value, that gives us 0.24620133.

We finally have the L1 and L2 values we need to calculate contrast. To determine which value is L1 and and which is L2 , we need to make sure that the larger number (which shows the lighter color) is always L1 and is divided by the smaller/darker color as L2.

Now compare that result with the WCAG success criterias. For standard text size, between 18-22 points, a minimul result of 4.5 will pass with a grade of AA. If our text is larger, then a slightly lower score of 3 will do the job. But to get the highest WCAG grade (AAA), we have to have a contrast ratio result of at least 7. Our lovely combination fails all tests, coming far under 4.5 for regular text or 3 for headline style text. Time to choose some better colors!

I’m so glad we have computers and online tools to do this work for us! Trying to work out the details step-by-step on paper gave me a couple weeks of frustration. It was a lot of me getting things wrong when comparing results to those of automated contrast checkers.

Remember how teachers in school always wanted you to show your math work to prove how you got to the answer? I made something to help us out.

CodePen Embed Fallback

If you view this demo with the console open, you’ll see the math that goes into each step of the calculations. Go ahead, try our two example colors, like #1ABC9C and #888888.

I just want my page to have proper contrast, what do I do?!

There are a variety of accessibility resources that you can can audit your site. Here’s a list I put together, and there’s another list here on CSS-Tricks.

But here are a few tips to get you started.

First, identify areas that are not serving your accessibility needs.

The WAVE accessibility tool is a good place to start. Run your site through that and it will give you contrast results and help identify trouble areas.

Yay, passing scores!

Follow the suggestions of the audit

Use best practices to improve your scores, and remove the errors. Once you identify contrast errors, you can try out some different options right there in the WAVE tool. Click on the color box to pop open a color picker. Then play around until the errors go away, and you’ll know what you can replace in your code.

Run the test again

This way, you can make sure your changes improved things. Congratulations! You just made your product better for all users, not just ones affected by the accessibility errors!

What comes next is up to you!

You can make it easier on yourself and start all new products with the goal of making them accessible. Make accessibility guidelines part of your requirements for both technology and design. You’ll save yourself potentially hundreds of hours of remediation, and potential legal complaints. U.S. government and education websites are required to comply, but other industries are often taken to task for not making their sites equally available for all people.

If you have the option, consider using established and tested frameworks and web libraries (like Bootstrap or Google’s Material Design) that have already figured out optimum contrast theme colors. In many cases, you can take just what you need (like only the CSS) or at least review their color palettes to inform choices. You should still check the contrast though because, while most standard text options in a framework may follow contrast ratio WCAG suggestions, things like alert and message styles may not. (I’m looking at you, Bootstrap!)

Derek Kay has reviewed a list of web frameworks with a focus on accessibility, which I suggest you read if you are looking for more options. The U.S. Web Design System shows one way to solve color/contrast puzzles using their CSS token system that labels colors to make contrast differences super clear), but they also link to several very good resources for improving and understanding contrast.

We took a deeper dive here than perhaps you ever really need to know, but understanding what a contrast ratio is and what it actually means should help you remember to keep contrast in mind when designing future sites, web apps, and other software.

Having a clearer understanding of what the contrast ratio means helps me to remember who poor contrast can affect, and how to improve web and mobile products overall.

I’m not the ultimate subject expert on contrast, just a very, very curious girl who sometimes has issues reading things on the web with low contrast.

If you have any additional thoughts, corrections or further research to share, please leave a comment and I’ll amend this article! The fuller our understanding of the needs and requirements of our sites is, the better we can plan improvements and ultimately serve the needs of our audiences.

The post Understanding Web Accessibility Color Contrast Guidelines and Ratios appeared first on CSS-Tricks.

Categories: Designing, Others Tags:

Same HTML, Different CSS

February 19th, 2020 No comments

Ahmad Shadeed covers the idea of a card component that has a fixed set of semantic HTML with some BEMy classes on it. There is a title, author, image, and tags. Then he redesigns the card into five totally different designs without touching any of the HTML just the CSS.

If this is an ah-ha moment for you, awesome! It might be worth knowing that this exact concept essentially excited an entire generation of front-end developers, in no small part due to the concept of the CSS Zen Garden, where the entire website was a fixed set of HTML and only CSS changes birthed some incredible creativity.

Of course, we typically do get our hands into HTML when doing redesign work, but this is still a fun exercise that drives home the power of CSS. I wonder if JavaScript-powered components are what delivers this awe today, because they have a similar power of abstraction: make changes to a component and see the impact across an entire site. Only instead of the idea being rooted in constraint, there are no constraints.

Direct Link to ArticlePermalink

The post Same HTML, Different CSS appeared first on CSS-Tricks.

Categories: Designing, Others Tags:

Kroger Gets A New Logo And Slogan – Fresh For Everyone

February 19th, 2020 No comments

Kroger is hands-down one of my favorite grocery stores ever.

And I’m not the only one, apparently.

With 2,800 stores nationwide and in 35 states, Kroger is easily the largest grocery store retailer in the United States of America.

Kroger has been around for a long, long time.

I’m talking over 100 year’s time! Kroger was established in 1883 in Cinncinatti, where the Kroger headquarters still is.

Not only does Kroger have over 500,000 (yes, folks, you heard correctly. That’s five-hundred-thousand employees), but they also donate hundreds of millions of dollars to help feed the hungry all over the country.

Now that’s the kind of grocery store I want to be a part of.

And I have been!

For years my family and I shopped at Kroger and to this day, we still do.

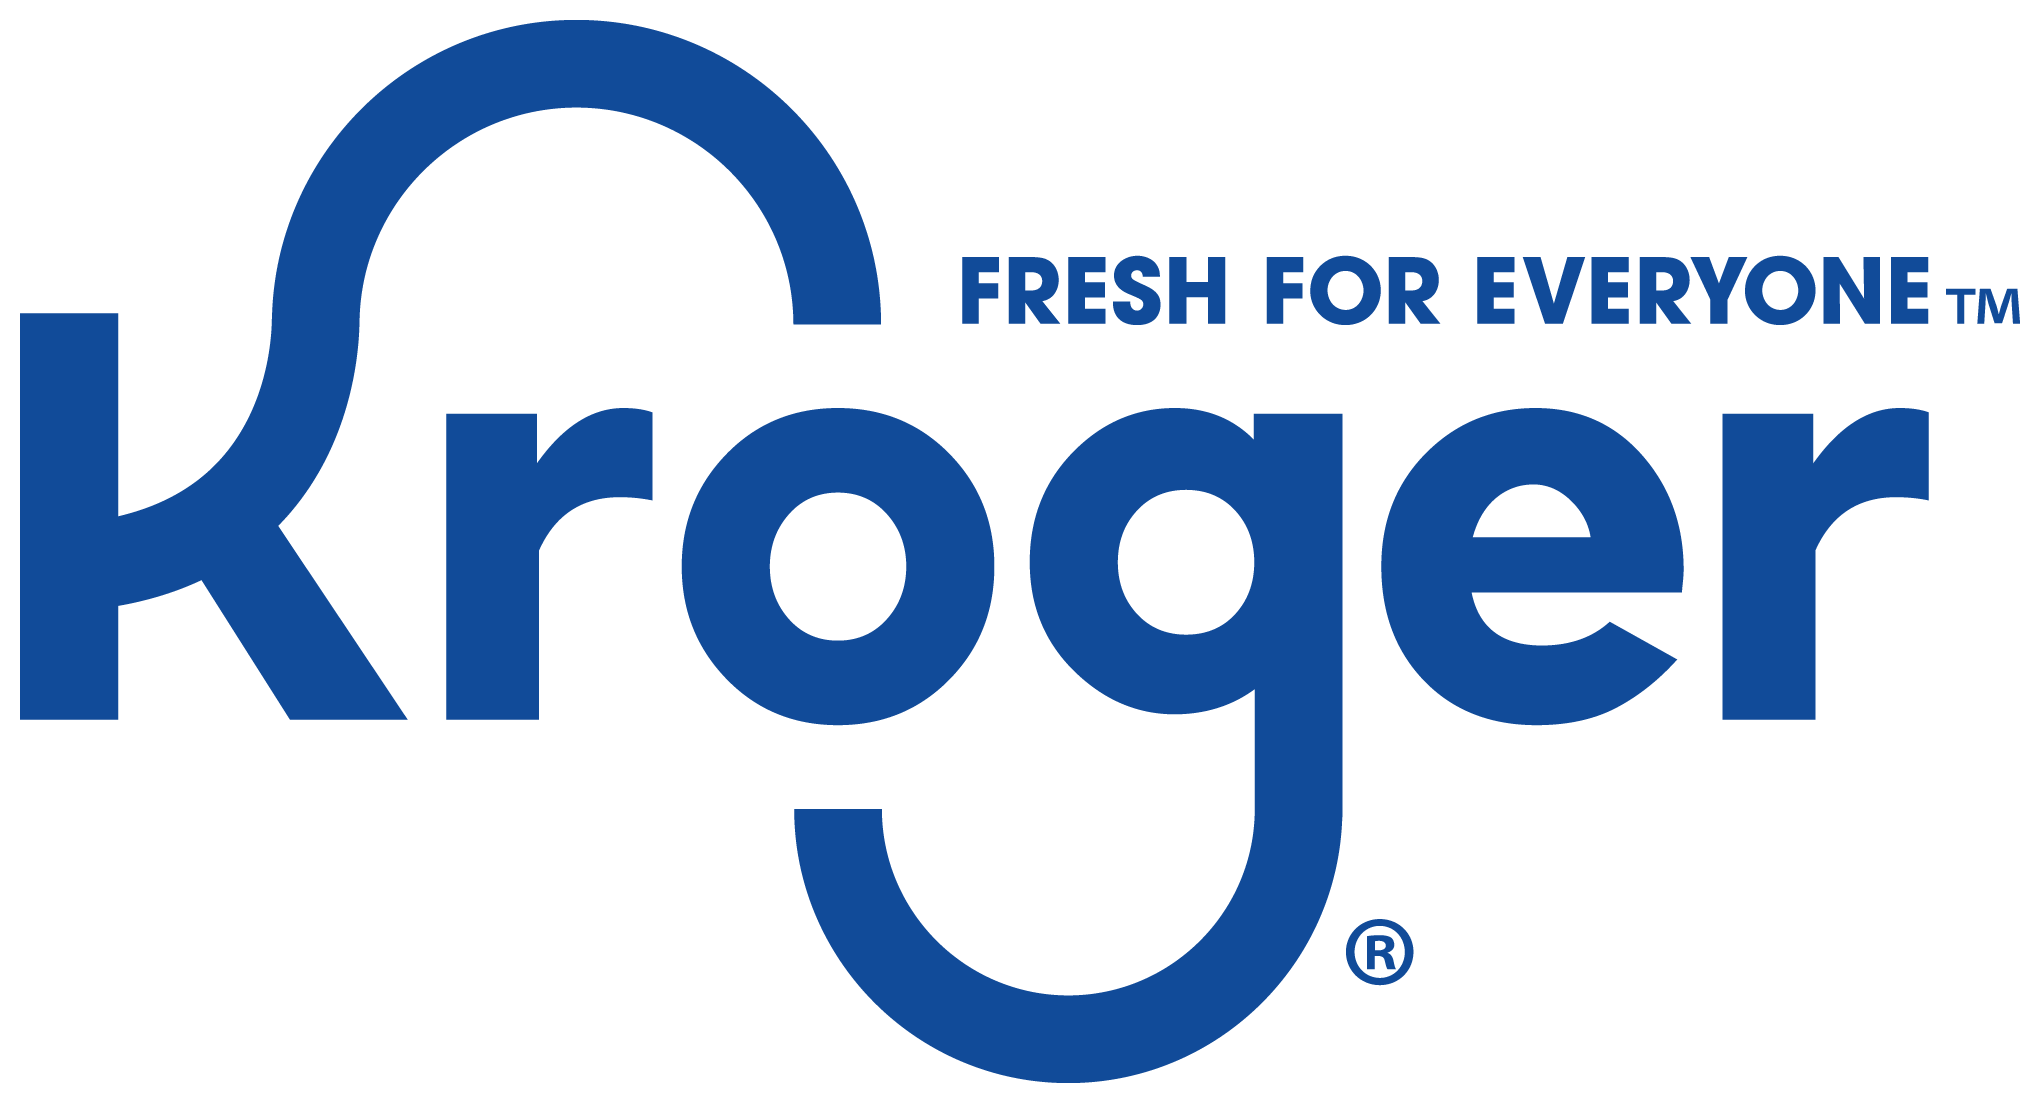
That’s why I wanted to talk a little bit about the new logo and slogan that they came out with at the end of last year.

As I said, Kroger has been around for a long, long time. And because they’ve been around for so long, you can imagine that their logo can quickly become dated.

One thing that completely distinguishes Kroger from other brands the curvy letters.

The “K” and “G” have a very distinct, curvy look to them that you don’t just see around.

And with this unique design, you either love it or hate it.

I’ve read loads of comments and talked to other designers who absolutely hate the curves.

But are the curvy letters what really brings the brand to life?

If they were to drop the curves, which, visually speaking would probably be the best thing to do, they would lose brand recognizability.

Since the brand has been repping the unique font for so long, it’d just feel wrong to change it so drastically at this point.

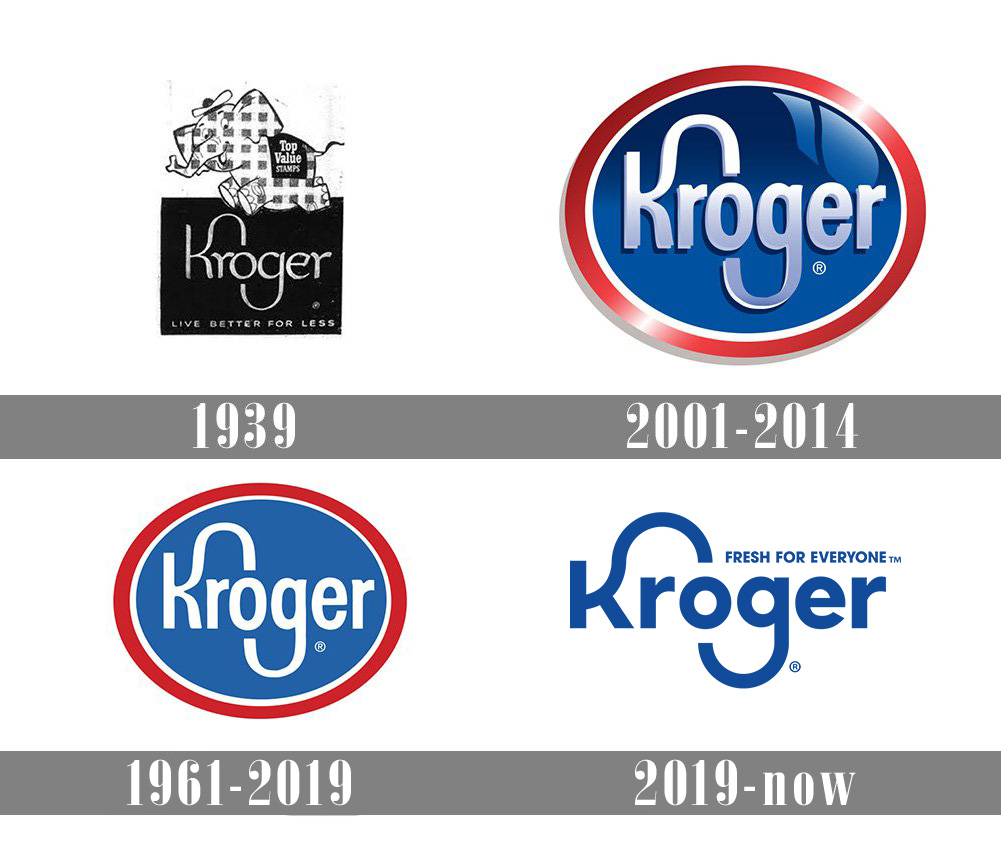
The logo went from a 3D realistic style to minimal, flat design, which is a trend we’ve been seeing from huge brands all through-out 2019.

Beyond changing the font to be a little simpler and with better tracking, the also dropped the 3D border that they had before.

Which to me seemed to be the smart choice.

They also threw in a slogan now.

“Fresh is for everyone.”

Which is just what we need to see and hear in 2020.

Their commercial just about sums it up.

And “What are all those little animated people called?”, you may ask.

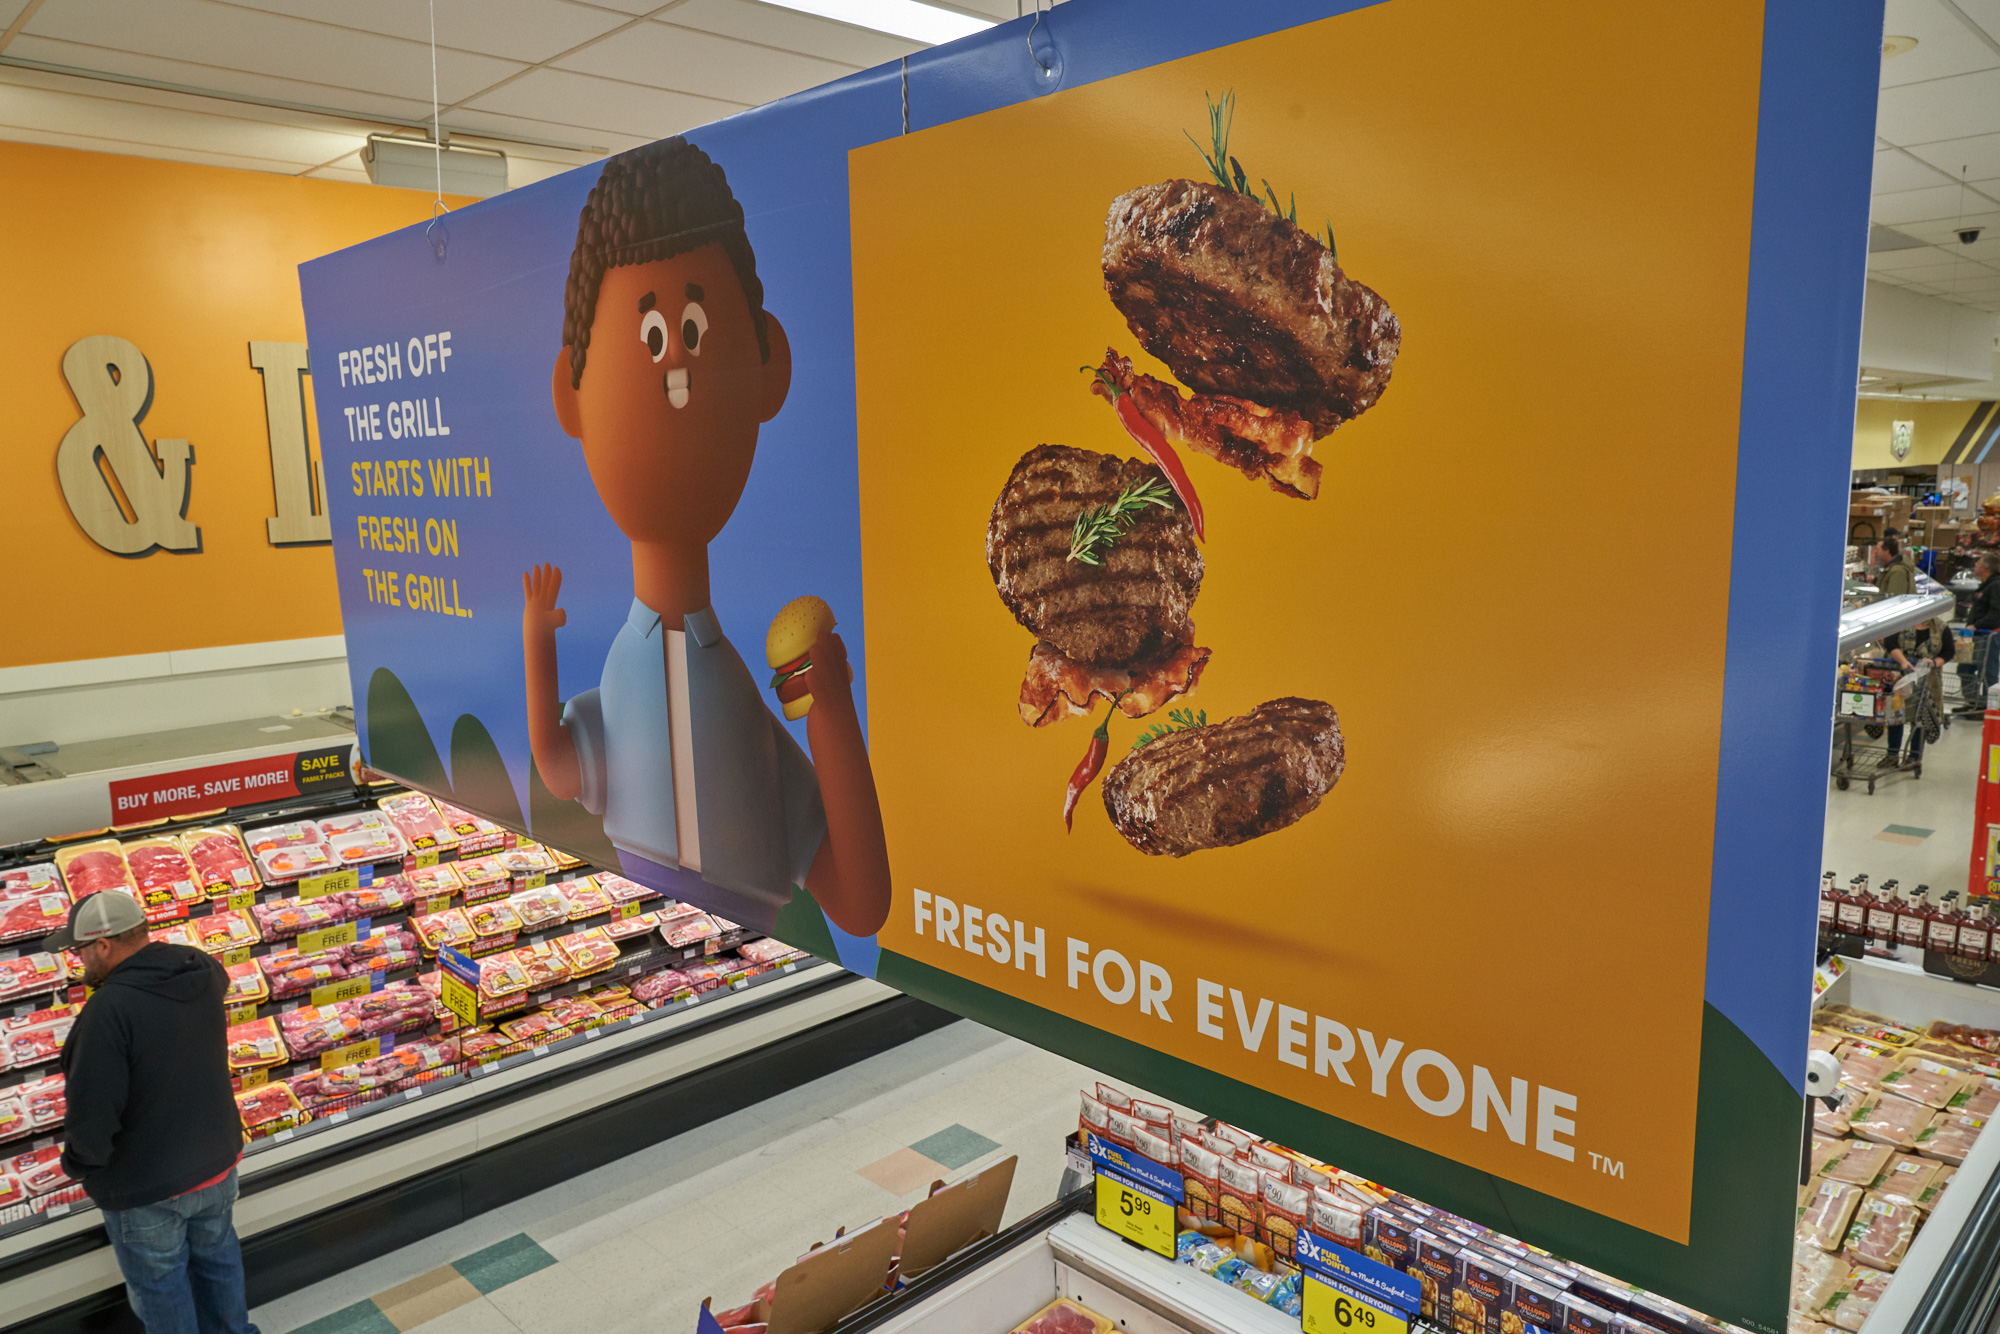
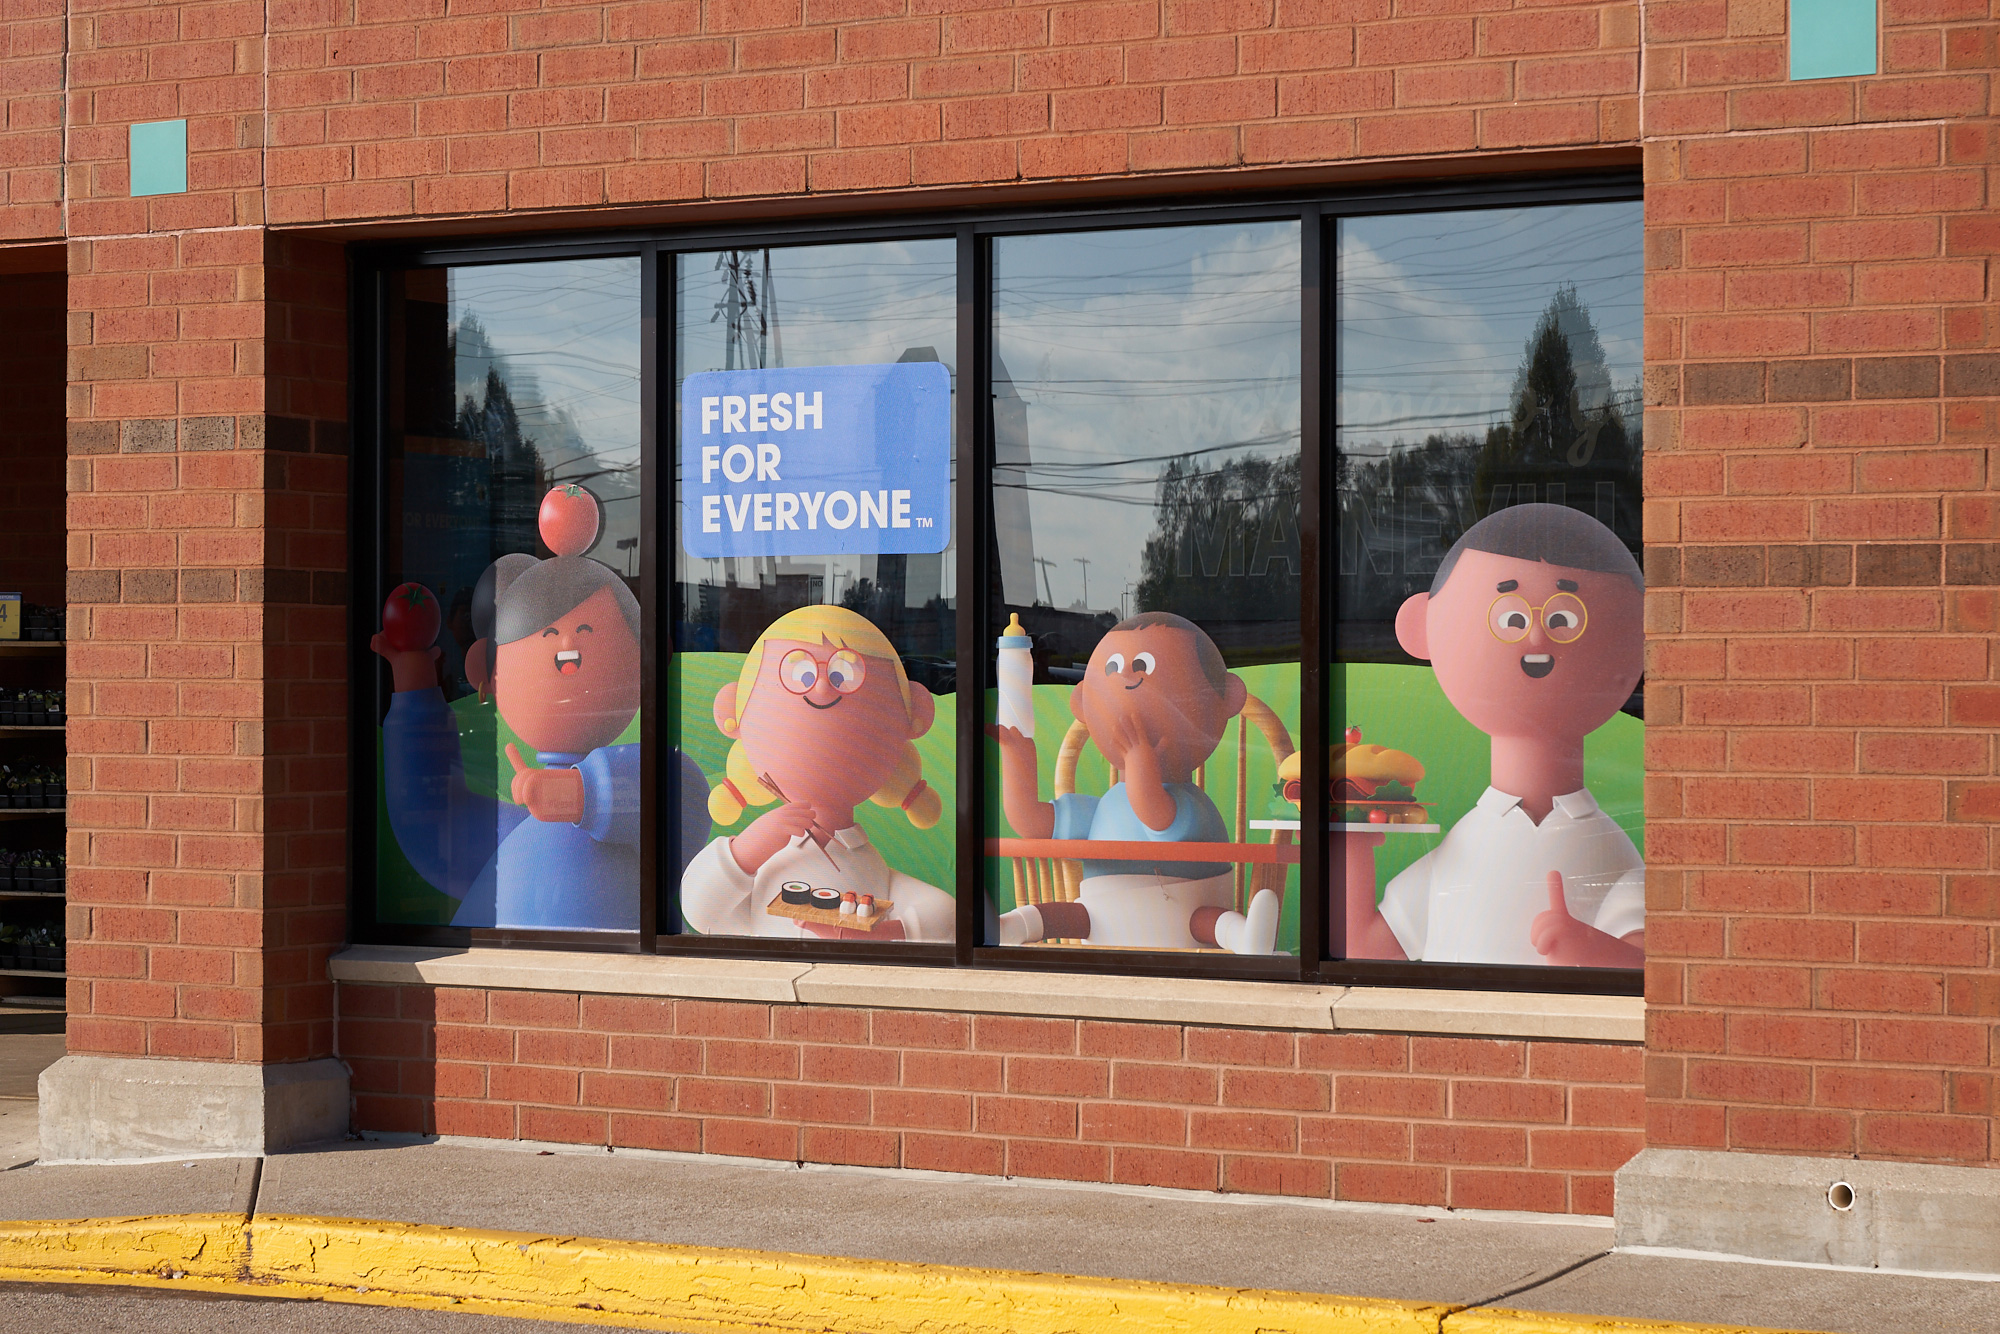
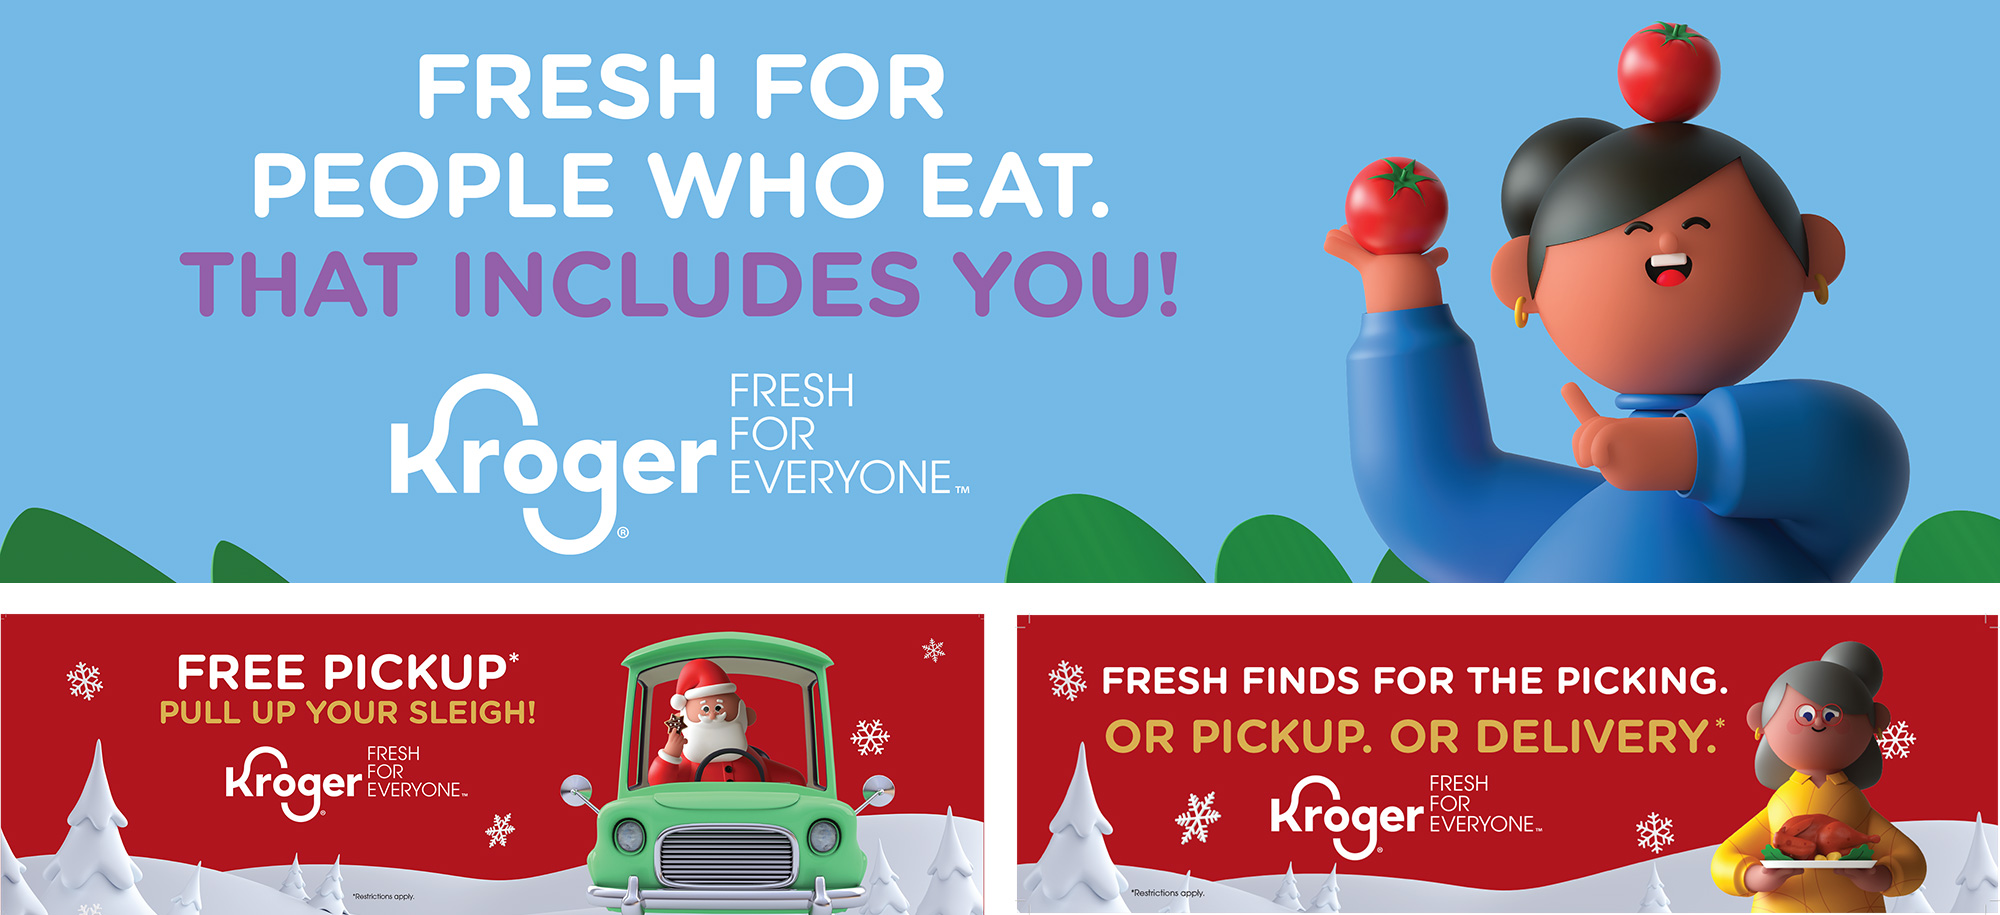
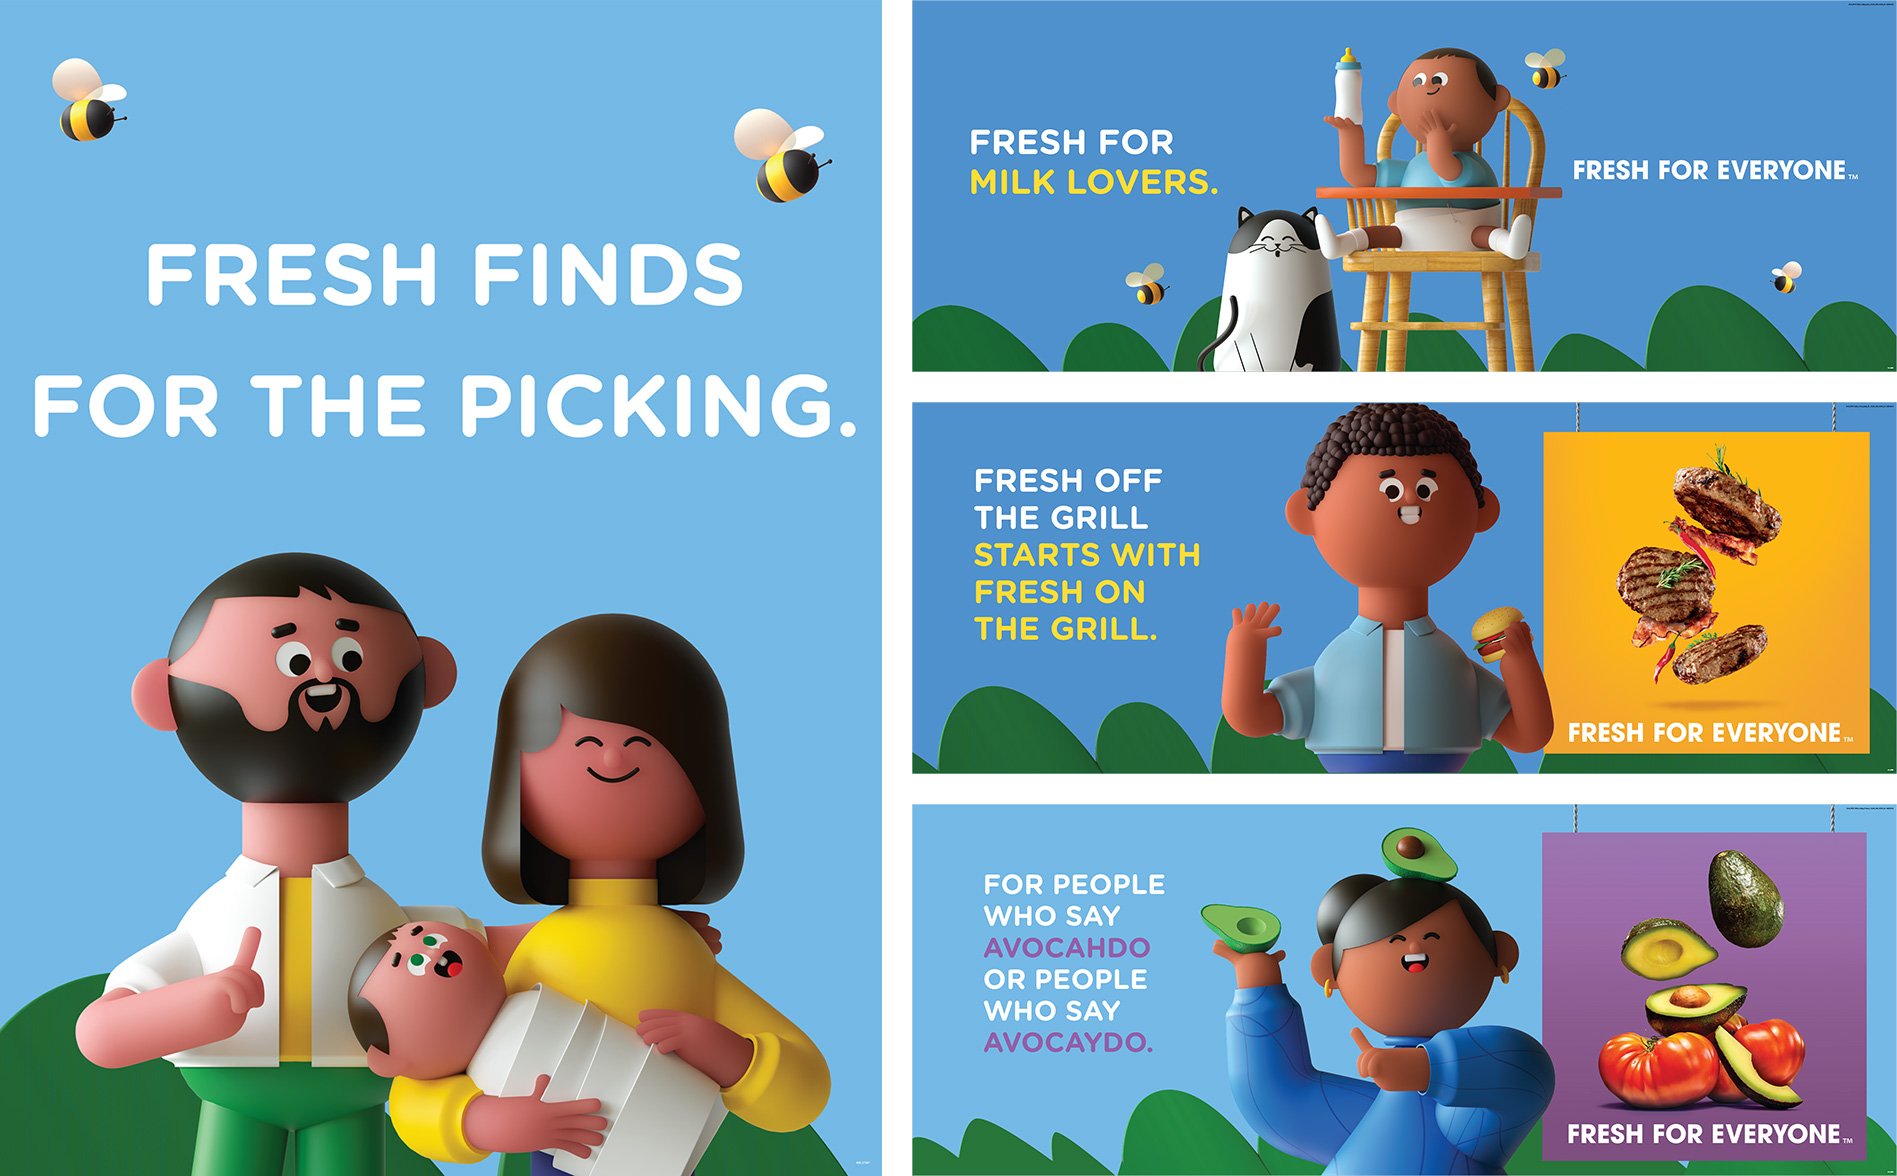
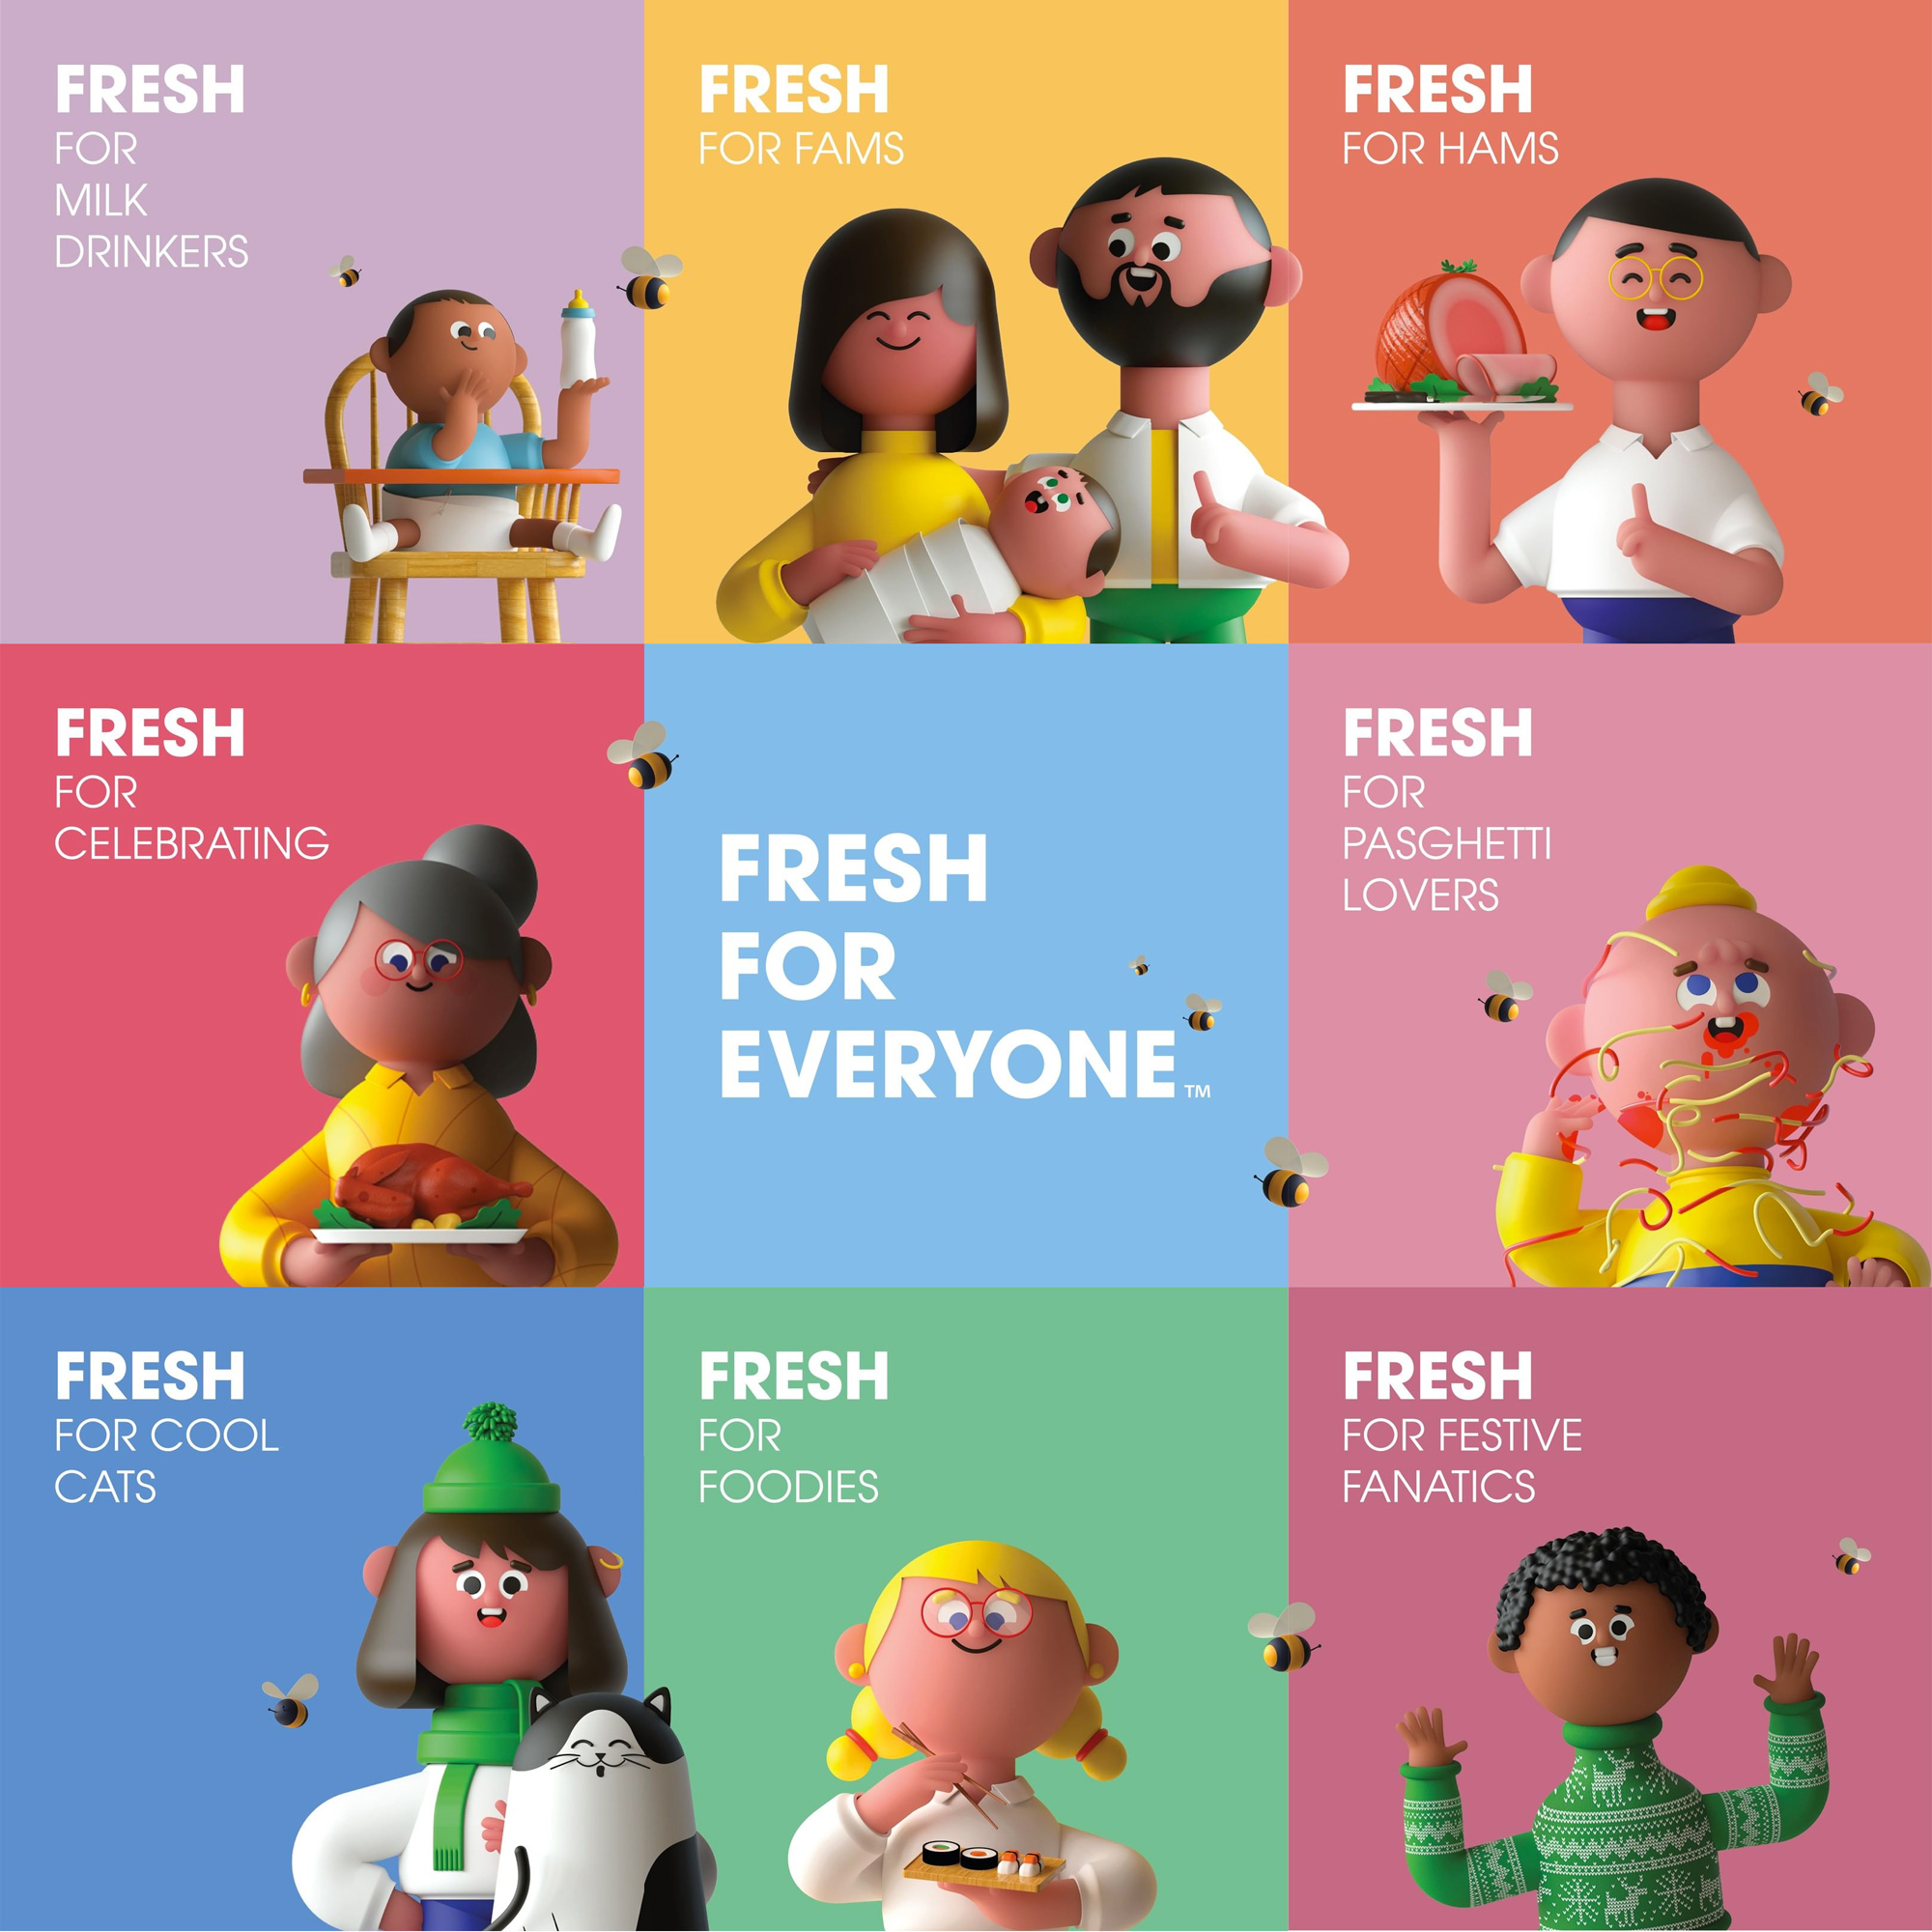
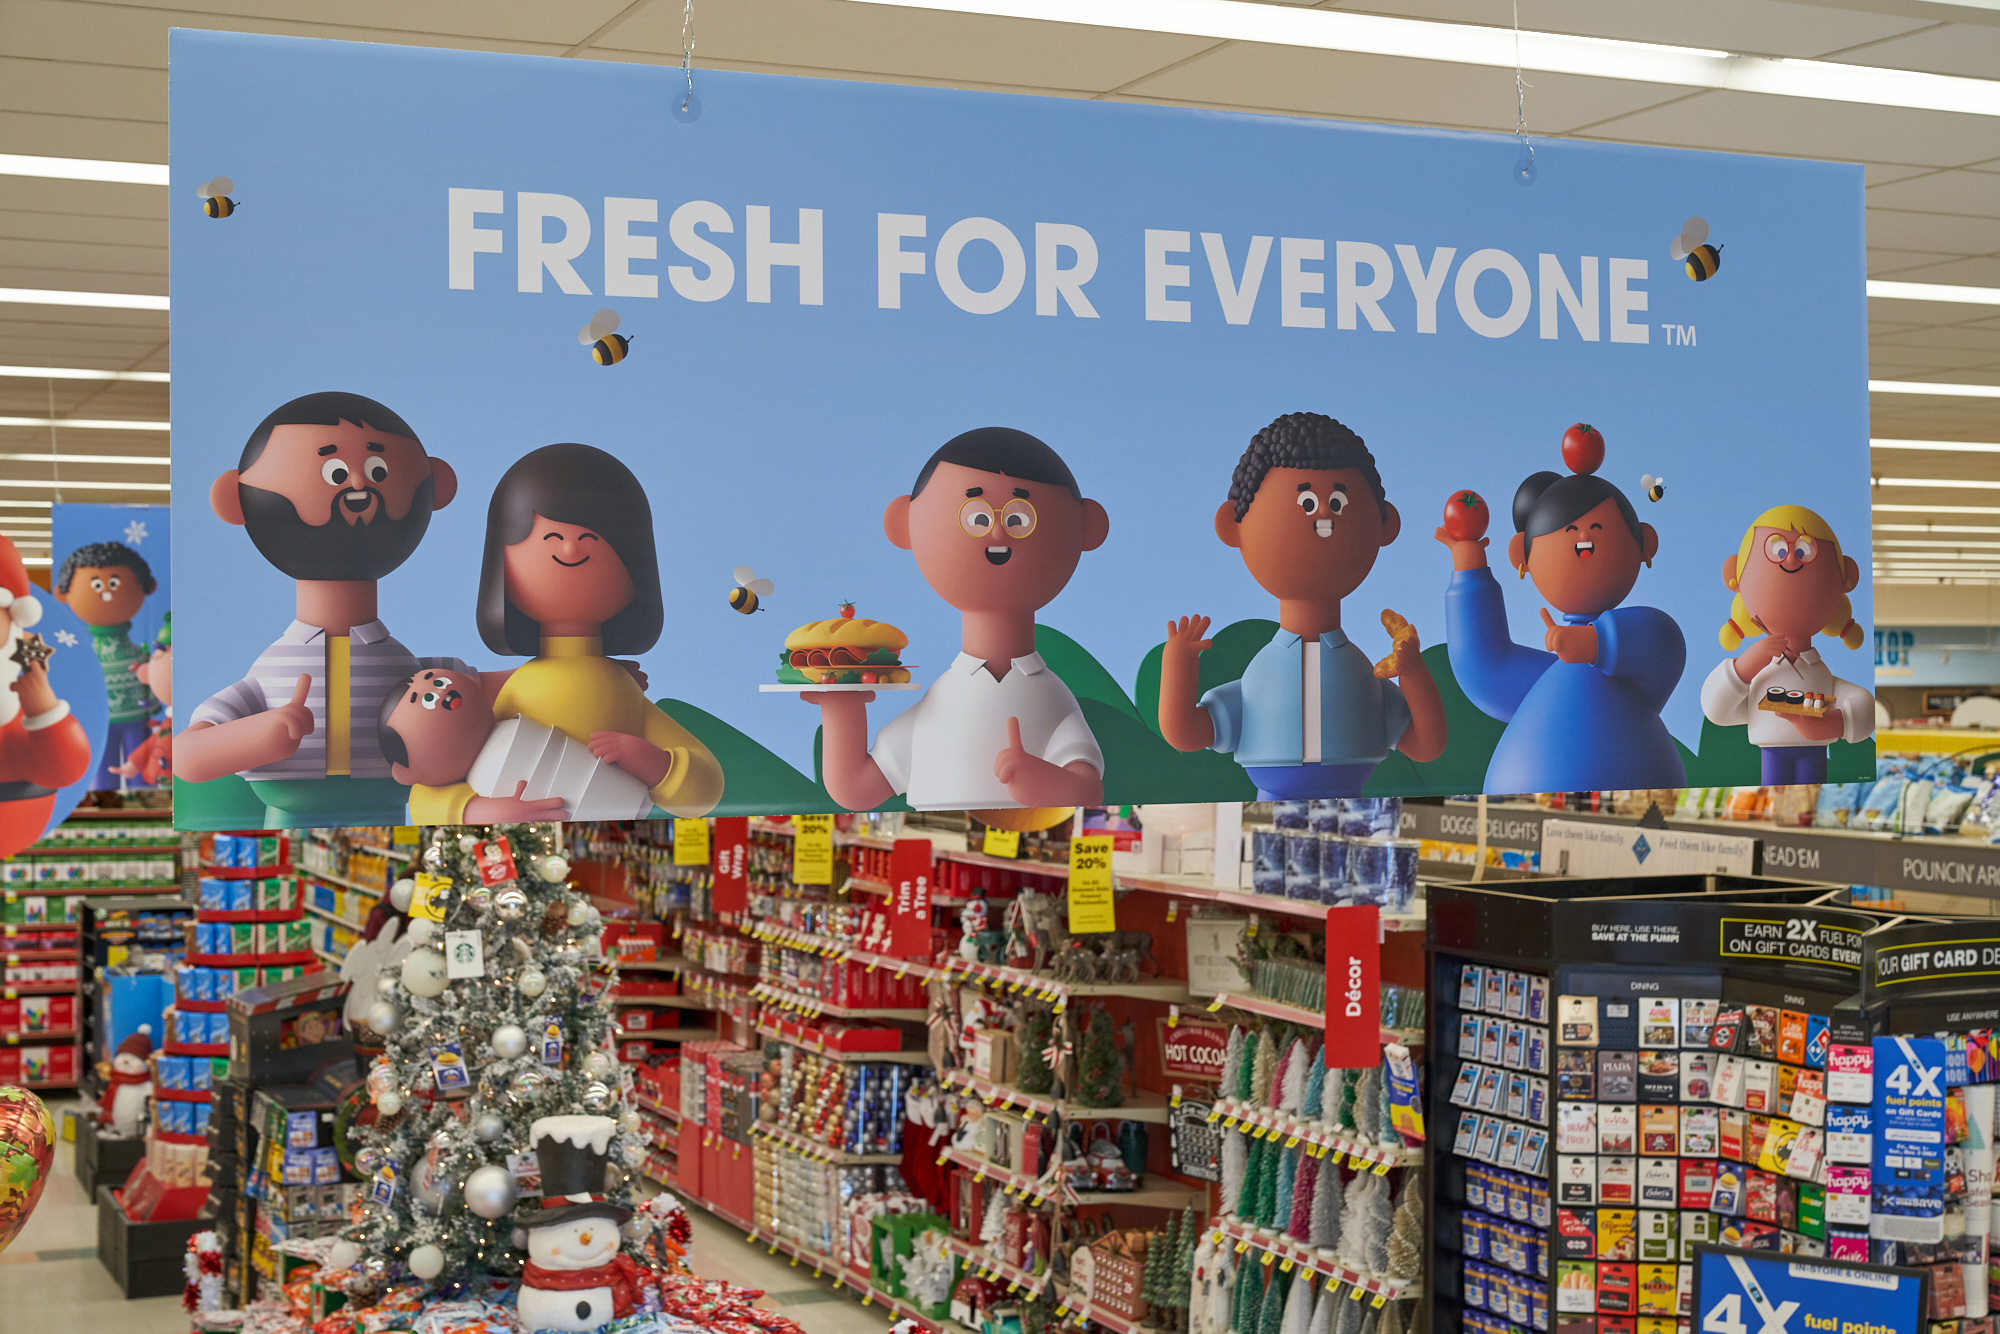
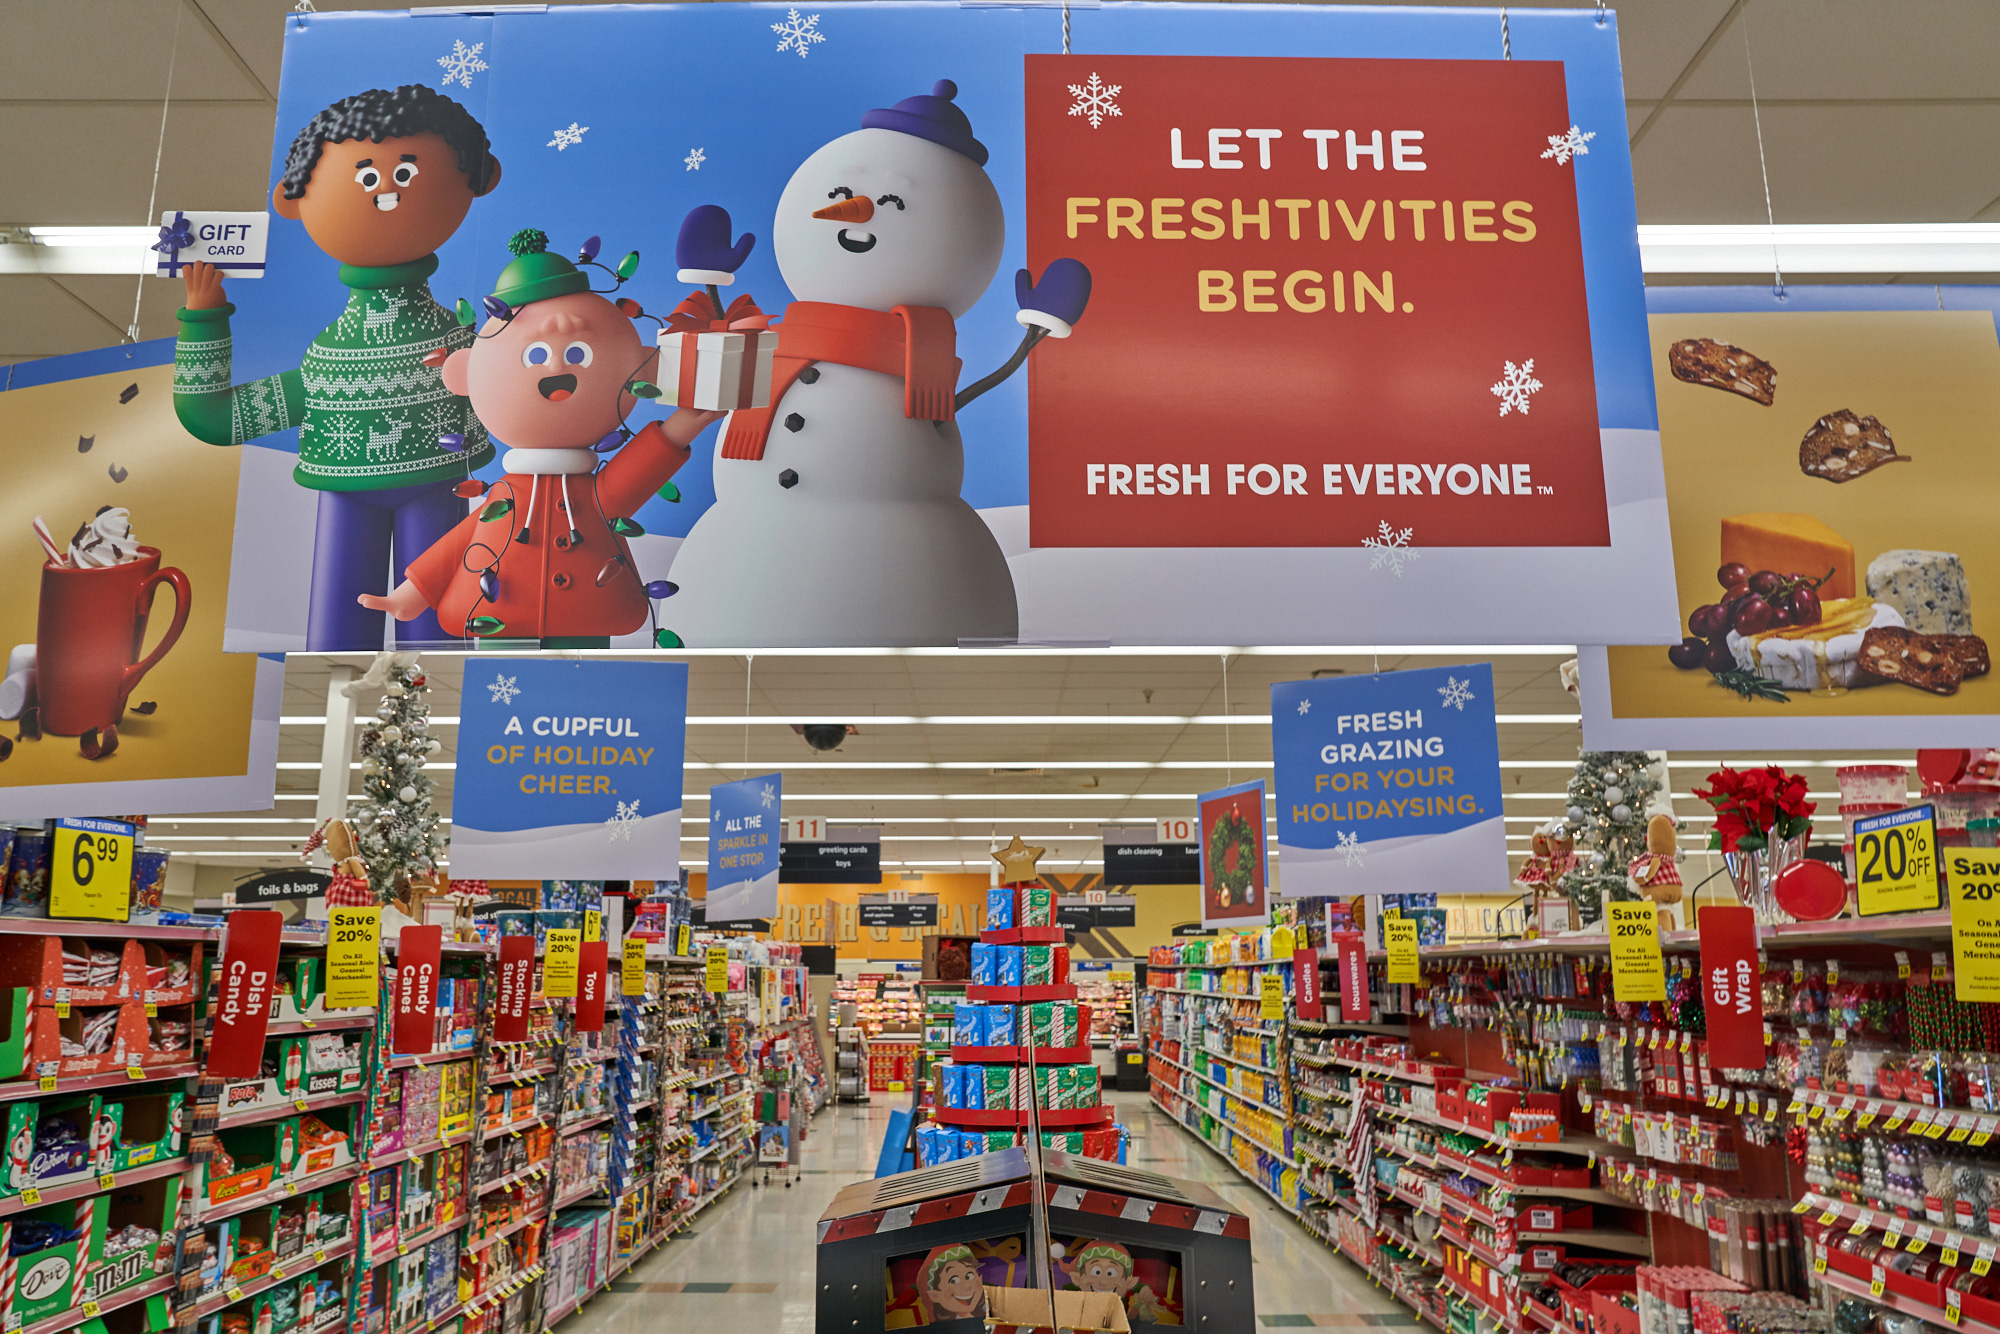
Well, those adorable little animations are called Krojis.

Only the cutest grocery store representatives I’ve ever seen.

The versatility you can get with these characters is amazing. The commercial was very relatable and inclusive, which I personally loved.

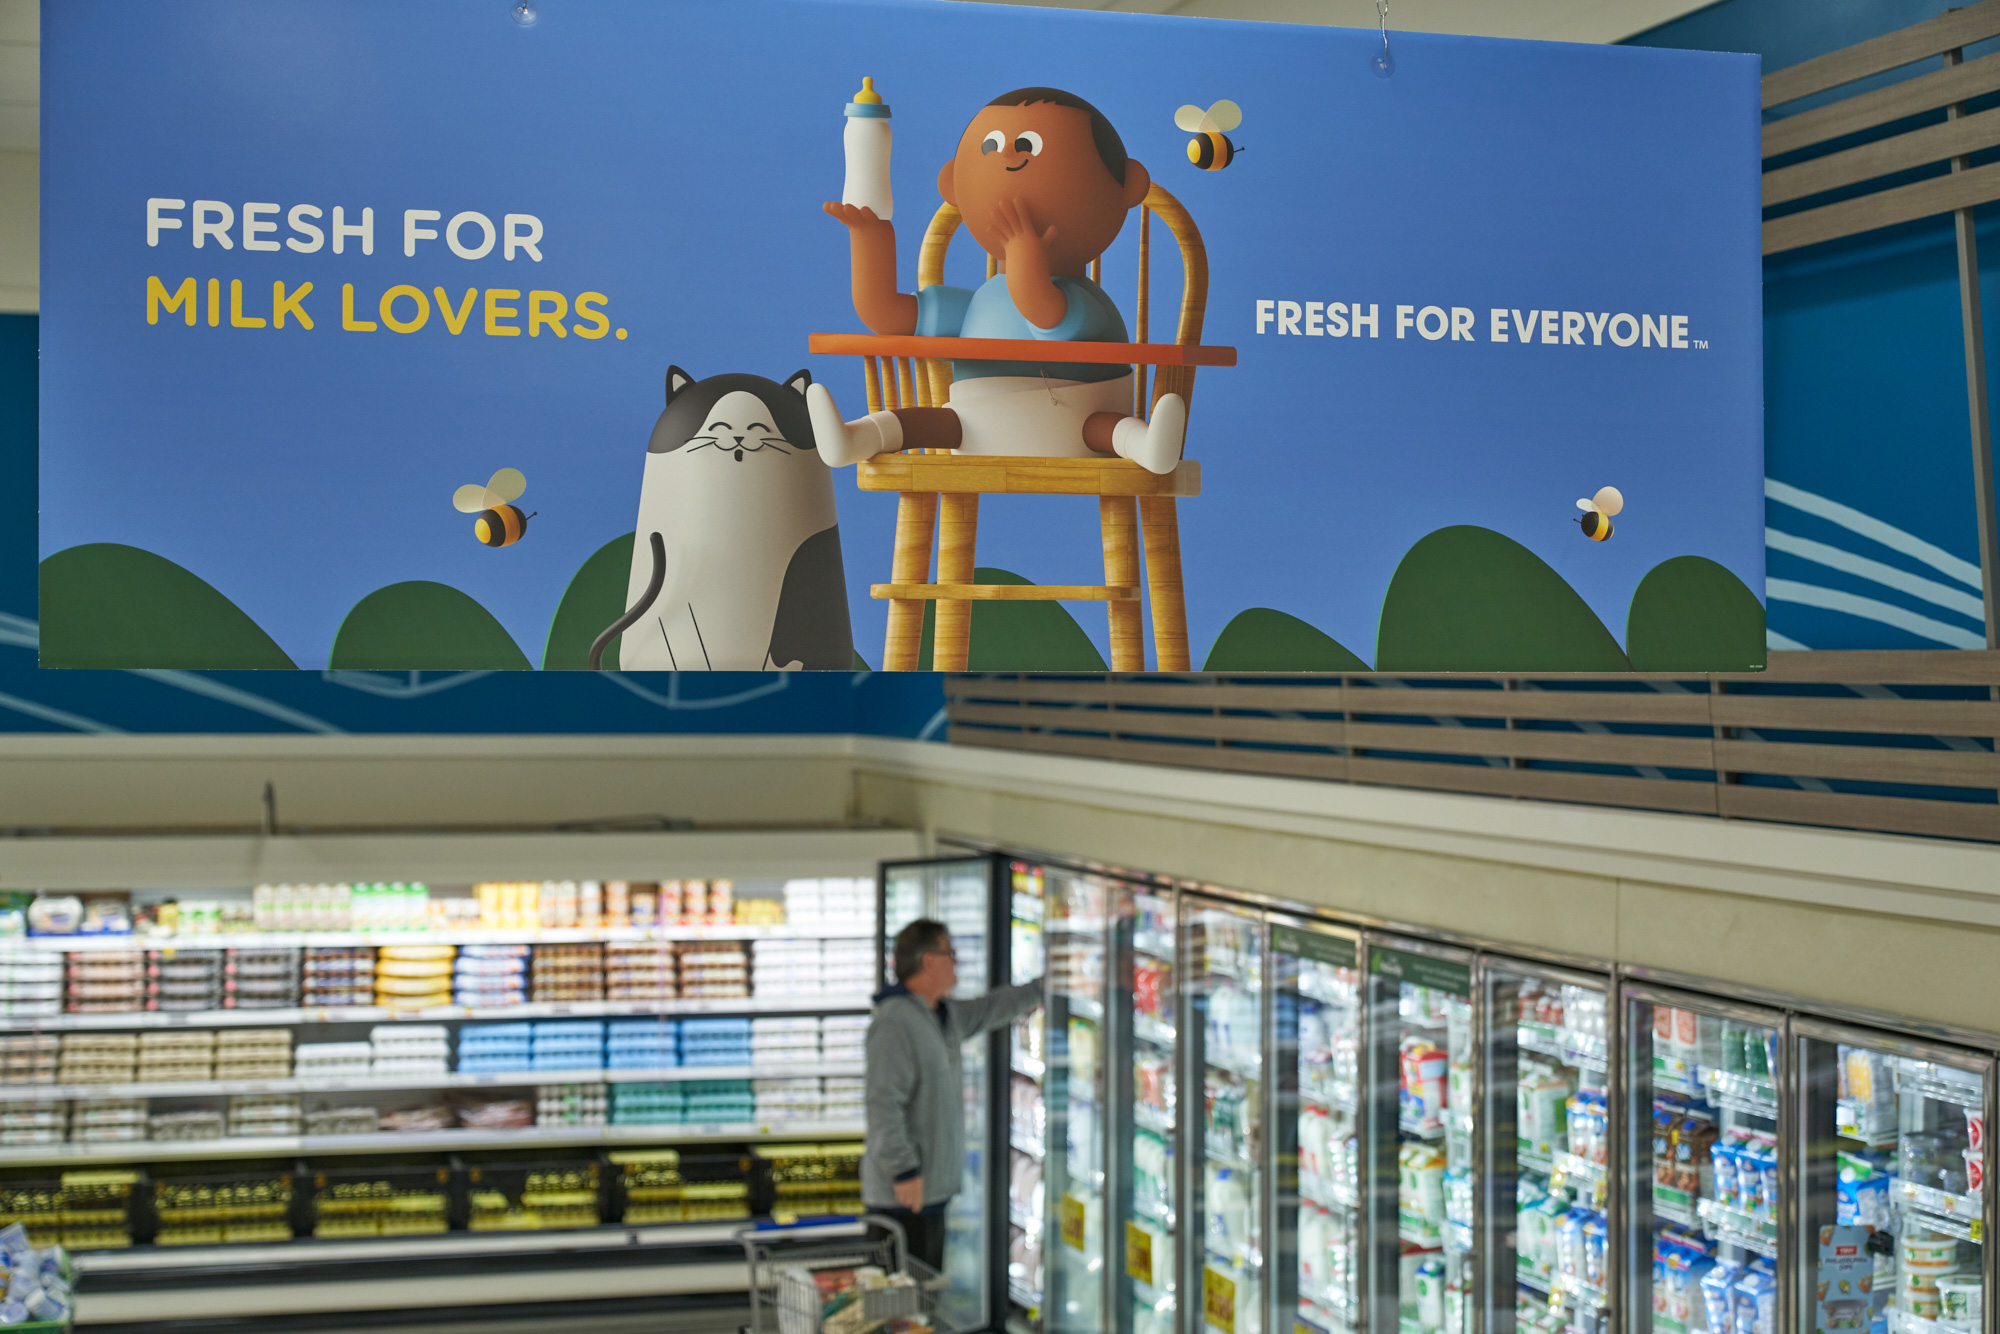
Having them on every sign in the store though does seem a bit overwhelming and excessive, but hey. They’re just trying to make us remember them, I suppose.

I think Kroger is on just the right path to becoming more relevant and modern, design-wise.

What do you guys think of all these new changes and the little Krojis?

I know many of us are in an uproar about the combination of fonts that they chose to go with.

A rounded sans serif with ITC Avant Garde Gothic… Maybe not the best choice to go with.

Be we want to know your thoughts on everything.

Let us know in the comments what you think about Kroger’s new logo and slogan.

Until next time,

Stay creative, folks!

Read More at Kroger Gets A New Logo And Slogan – Fresh For Everyone

Categories: Designing, Others Tags:

How To Use The HTML Drag-And-Drop API In React

February 19th, 2020 No comments
Drop zone

How To Use The HTML Drag-And-Drop API In React

How To Use The HTML Drag-And-Drop API In React

Chidi Orji

2020-02-19T11:00:00+00:002020-02-19T11:05:54+00:00

The drag-and-drop API is one of the coolest features of HTML. It helps us implement drag-and-drop features in web browsers.

In the current context, we will be dragging files from outside the browser. On dropping the file(s), we put them on a list and display their names. With the files in hand, we could then perform some other operation on the file(s), e.g. upload them to a cloud server.

In this tutorial, we’ll be focusing on how to implement the action of dragging and dropping in a React application. If what you need is a plain JavaScript implementation, perhaps you’d first like to read “How To Make A Drag-And-Drop File Uploader With Vanilla JavaScript,” an excellent tutorial written by Joseph Zimmerman not too long ago.

The dragenter, dragleave, dragover, And drop Events

There are eight different drag-and-drop events. Each one fires at a different stage of the drag-and-drop operation. In this tutorial, we’ll focus on the four that are fired when an item is dropped into a drop zone: dragenter, dragleave, dragover and drop.

  1. The dragenter event fires when a dragged item enters a valid drop target.
  2. The dragleave event fires when a dragged item leaves a valid drop target.
  3. The dragover event fires when a dragged item is being dragged over a valid drop target. (It fires every few hundred milliseconds.)
  4. The drop event fires when an item drops on a valid drop target, i.e dragged over and released.

We can turn any HTML element into a valid drop target by defining the ondragover and ondrop event handler attributes.

You can learn all about the eight events from the MDN web docs.

Drag-And-Drop Events In React

To get started, clone the tutorial repo from this URL:

https://github.com/chidimo/react-dnd.git

Check out the 01-start branch. Make sure you have yarn installed as well. You can get it from yarnpkg.com.

But if you prefer, create a new React project and replace the content of App.js with the code below:

import React from 'react';
import './App.css';

function App() {
  return (
    <div className="App">
      <h1>React drag-and-drop component</h1>
    </div>
  );
}
export default App;

Also, replace the content of App.css with the below CSS style:

.App {
  margin: 2rem;
  text-align: center;
}
h1 {
  color: #07F;
}
.drag-drop-zone {
  padding: 2rem;
  text-align: center;
  background: #07F;
  border-radius: 0.5rem;
  box-shadow: 5px 5px 10px #C0C0C0;
}
.drag-drop-zone p {
  color: #FFF;
}
.drag-drop-zone.inside-drag-area {
  opacity: 0.7;
}
.dropped-files li {
  color: #07F;
  padding: 3px;
  text-align: left;
  font-weight: bold;
}

If you cloned the repo, issue the following commands (in order) to start the app:

yarn # install dependencies
yarn start # start the app

The next step is to create a drag-and-drop component. Create a file DragAndDrop.js inside the src/ folder. Enter the following function inside the file:

import React from 'react';

const DragAndDrop = props => {
  const handleDragEnter = e => {
    e.preventDefault();
    e.stopPropagation();
  };
  const handleDragLeave = e => {
    e.preventDefault();
    e.stopPropagation();
  };
  const handleDragOver = e => {
    e.preventDefault();
    e.stopPropagation();
  };
  const handleDrop = e => {
    e.preventDefault();
    e.stopPropagation();
  };
  return (
    <div className={'drag-drop-zone'}
      onDrop={e => handleDrop(e)}
      onDragOver={e => handleDragOver(e)}
      onDragEnter={e => handleDragEnter(e)}
      onDragLeave={e => handleDragLeave(e)}
    >
      <p>Drag files here to upload</p>
    </div>
  );
};
export default DragAndDrop;

In the return div, we have defined our focus HTML event handler attributes. You can see that the only difference from pure HTML is the camel-casing.

The div is now a valid drop target since we have defined the onDragOver and onDrop event handler attributes.

We also defined functions to handle those events. Each of these handler function receives the event object as its argument.

For each of the event handlers, we call preventDefault() to stop the browser from executing its default behavior. The default browser behavior is to open the dropped file. We also call stopPropagation() to make sure that the event is not propagated from child to parent elements.

Import the DragAndDrop component into the App component and render it below the heading.

<div className="App">
  <h1>React drag-and-drop component</h1>
  <DragAndDrop />
</div>

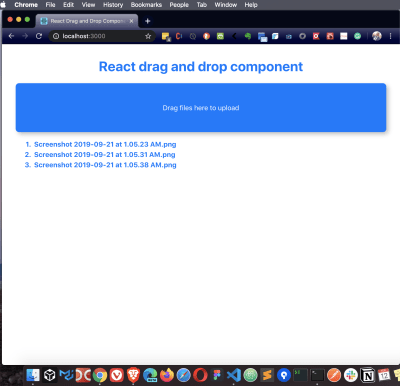
Now view the component in the browser and you should see something like the image below.

Drop zone

div to be converted into a drop zone (Large preview)

If you’re following with the repo, the corresponding branch is 02-start-dragndrop

Managing State With The useReducer Hook

Our next step will be to write the logic for each of our event handlers. Before we do that, we have to consider how we intend to keep track of dropped files. This is where we begin to think about state management.

We will be keeping track of the following states during the drag-and-drop operation:

  1. dropDepth
    This will be an integer. We’ll use it to keep track of how many levels deep we are in the drop zone. Later on, I will explain this with an illustration. (Credits to Egor Egorov for shining a light on this one for me!)
  2. inDropZone
    This will be a boolean. We will use this to keep track of whether we’re inside the drop zone or not.
  3. FileList
    This will be a list. We’ll use it to keep track of files that have been dropped into the drop zone.

To handle states, React provides the useState and useReducer hooks. We’ll opt for the useReducer hook given that we will be dealing with situations where a state depends on the previous state.

The useReducer hook accepts a reducer of type (state, action) => newState, and returns the current state paired with a dispatch method.

You can read more about useReducer in the React docs.

Inside the App component (before the return statement), add the following code:

...
const reducer = (state, action) => {
  switch (action.type) {
    case 'SET_DROP_DEPTH':
      return { ...state, dropDepth: action.dropDepth }
    case 'SET_IN_DROP_ZONE':
      return { ...state, inDropZone: action.inDropZone };
    case 'ADD_FILE_TO_LIST':
      return { ...state, fileList: state.fileList.concat(action.files) };
    default:
      return state;
  }
};
const [data, dispatch] = React.useReducer(
  reducer, { dropDepth: 0, inDropZone: false, fileList: [] }
)
...

The useReducer hook accepts two arguments: a reducer and an initial state. It returns the current state and a dispatch function with which to update the state. The state is updated by dispatching an action that contains a type and an optional payload. The update made to the component’s state is dependent on what is returned from the case statement as a result of the action type. (Note here that our initial state is an object.)

For each of the state variables, we defined a corresponding case statement to update it. The update is performed by invoking the dispatch function returned by useReducer.

Now pass data and dispatch as props to the DragAndDrop component you have in your App.js file:

<DragAndDrop data={data} dispatch={dispatch} />

At the top of the DragAndDrop component, we can access both values from props.

const { data, dispatch } = props;

If you’re following with the repo, the corresponding branch is 03-define-reducers.

Let’s finish up the logic of our event handlers. Note that the ellipsis represents the two lines:

e.preventDefault()
e.stopPropagation()


const handleDragEnter = e => {
  ...
  dispatch({ type: 'SET_DROP_DEPTH', dropDepth: data.dropDepth + 1 });
};

const handleDragLeave = e => {
  ...
  dispatch({ type: 'SET_DROP_DEPTH', dropDepth: data.dropDepth - 1 });
  if (data.dropDepth > 0) return
  dispatch({ type: 'SET_IN_DROP_ZONE', inDropZone: false })
};

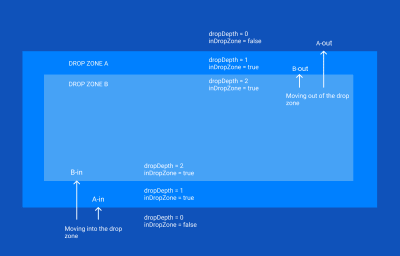
In the illustration that follows, we have nested drop zones A and B. A is our zone of interest. This is where we want to listen for drag-and-drop events.

An illustration of the ondragenter and ondragleave events

An illustration of the ondragenter and ondragleave events (Large preview)

When dragging into a drop zone, each time we hit a boundary, the ondragenter event is fired. This happens at boundaries A-in and B-in. Since we’re entering the zone, we increment dropDepth.

Likewise, when dragging out of a drop zone, each time we hit a boundary, the ondragleave event is fired. This happens at boundaries A-out and B-out. Since we’re leaving the zone, we decrement the value of dropDepth. Notice that we don’t set inDropZone to false at boundary B-out. That is why we have this line to check the dropDepth and return from the function dropDepth greater than 0.

if (data.dropDepth > 0) return

This is because even though the ondragleave event is fired, we’re still within zone A. It is only after we have hit A-out, and dropDepth is now 0 that we set inDropZone to false. At this point, we have left all drop zones.

const handleDragOver = e => {
  ...
  e.dataTransfer.dropEffect = 'copy';
  dispatch({ type: 'SET_IN_DROP_ZONE', inDropZone: true });
};

Each time this event fires, we set inDropZone to true. This tells us that we’re inside the drop zone. We also set the dropEffect on the dataTransfer object to copy. On a Mac, this has the effect of showing a green plus sign as you drag an item around in the drop zone.

const handleDrop = e => {
  ...
  let files = [...e.dataTransfer.files];
  
  if (files && files.length > 0) {
    const existingFiles = data.fileList.map(f => f.name)
    files = files.filter(f => !existingFiles.includes(f.name))
    
    dispatch({ type: 'ADD_FILE_TO_LIST', files });
    e.dataTransfer.clearData();
    dispatch({ type: 'SET_DROP_DEPTH', dropDepth: 0 });
    dispatch({ type: 'SET_IN_DROP_ZONE', inDropZone: false });
  }
};

We can access the dropped files with e.dataTransfer.files. The value is an array-like object so we use the array spread syntax to convert it to a JavaScript array.

We now need to check if there is at least one file before attempting to add it to our array of files. We also make sure to not include files that are already on our fileList.
The dataTransfer object is cleared in preparation for the next drag-and-drop operation. We also reset the values of dropDepth and inDropZone.

Update the className of the div in the DragAndDrop component. This will conditionally change the className of the div depending on the value of data.inDropZone.

<div className={data.inDropZone ? 'drag-drop-zone inside-drag-area' : 'drag-drop-zone'}
      ...
    >
  <p>Drag files here to upload</p>
</div>

Render the list of files in App.js by mapping through data.fileList.

<div className="App">
  <h1>React drag-and-drop component</h1>
  <DragAndDrop data={data} dispatch={dispatch} />
  <ol className="dropped-files">
    {data.fileList.map(f => {
      return (
        <li key={f.name}>{f.name}</li>
      )
    })}
  </ol>
</div>

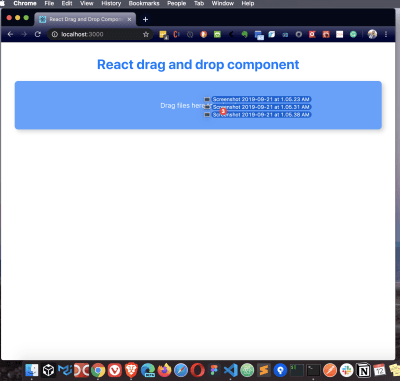
Now try dragging and dropping some files onto the drop zone. You’ll see that as we enter the drop zone, the background becomes less opaque because the inside-drag-area class is activated.

When you release the files inside the drop zone, you’ll see the file names listed under the drop zone:

Drop zone showing low opacity during dragover

Drop zone showing low opacity during dragover (Large preview)

A list of files dropped into the drop zone

A list of files dropped into the drop zone (Large preview)

The complete version of this tutorial is on the 04-finish-handlers branch.

Conclusion

We’ve seen how to handle file uploads in React using the HTML drag-and-drop API. We’ve also learned how to manage state with the useReducer hook. We could extend the file handleDrop function. For example, we could add another check to limit file sizes if we wanted. This can come before or after the check for existing files. We could also make the drop zone clickable without affecting the drag-and-drop functionality.

Resources

(ra, ks, il)
Categories: Others Tags:

6 Best Browsers for Developers in 2020

February 19th, 2020 No comments

On the surface, web browsers seem very similar. They all provide you with a relatively straightforward way to get online and search for the content that you need.

However, the more time you spend building your skills as a designer/developer, the more you’ll recognize the need for a unique kind of browsing experience. Fortunately, we’ve found some of the best browsers for web developers, to get you started.

Let’s take a look at what each option can offer.

Firefox Developer Edition

Among developers, Firefox is probably the world’s most popular browser.

On it’s own, Firefox is a pretty powerful browser. Deemed a lot faster than the average web browser, Firefox helps you to track down information and create stunning websites in a fraction of the time of something like Edge.

However, if you really want to get the next-level Firefox experience, then it’s worth upgrading to Firefox’s own developer edition.

Like Google Chrome for Developers, Firefox’s Developer Edition comes built for the open web.

Additionally, with Firefox Developer Edition, you get access to a next-generation CSS engine (written in RUST), an inactive CSS system that grays out CSS declarations that don’t impact the page, and more. There is also a host of “Firefox DevTools” to access.

With your new browser, you can access a best-in-class JavaScript debugger, a Master CSS Grid, and various other features too. In fact, Firefox is the only browser that is specifically built with tools that help developers to build and design with their own CSS grid. These tools make it easier to visualize information, display area names, and preview transformations too.

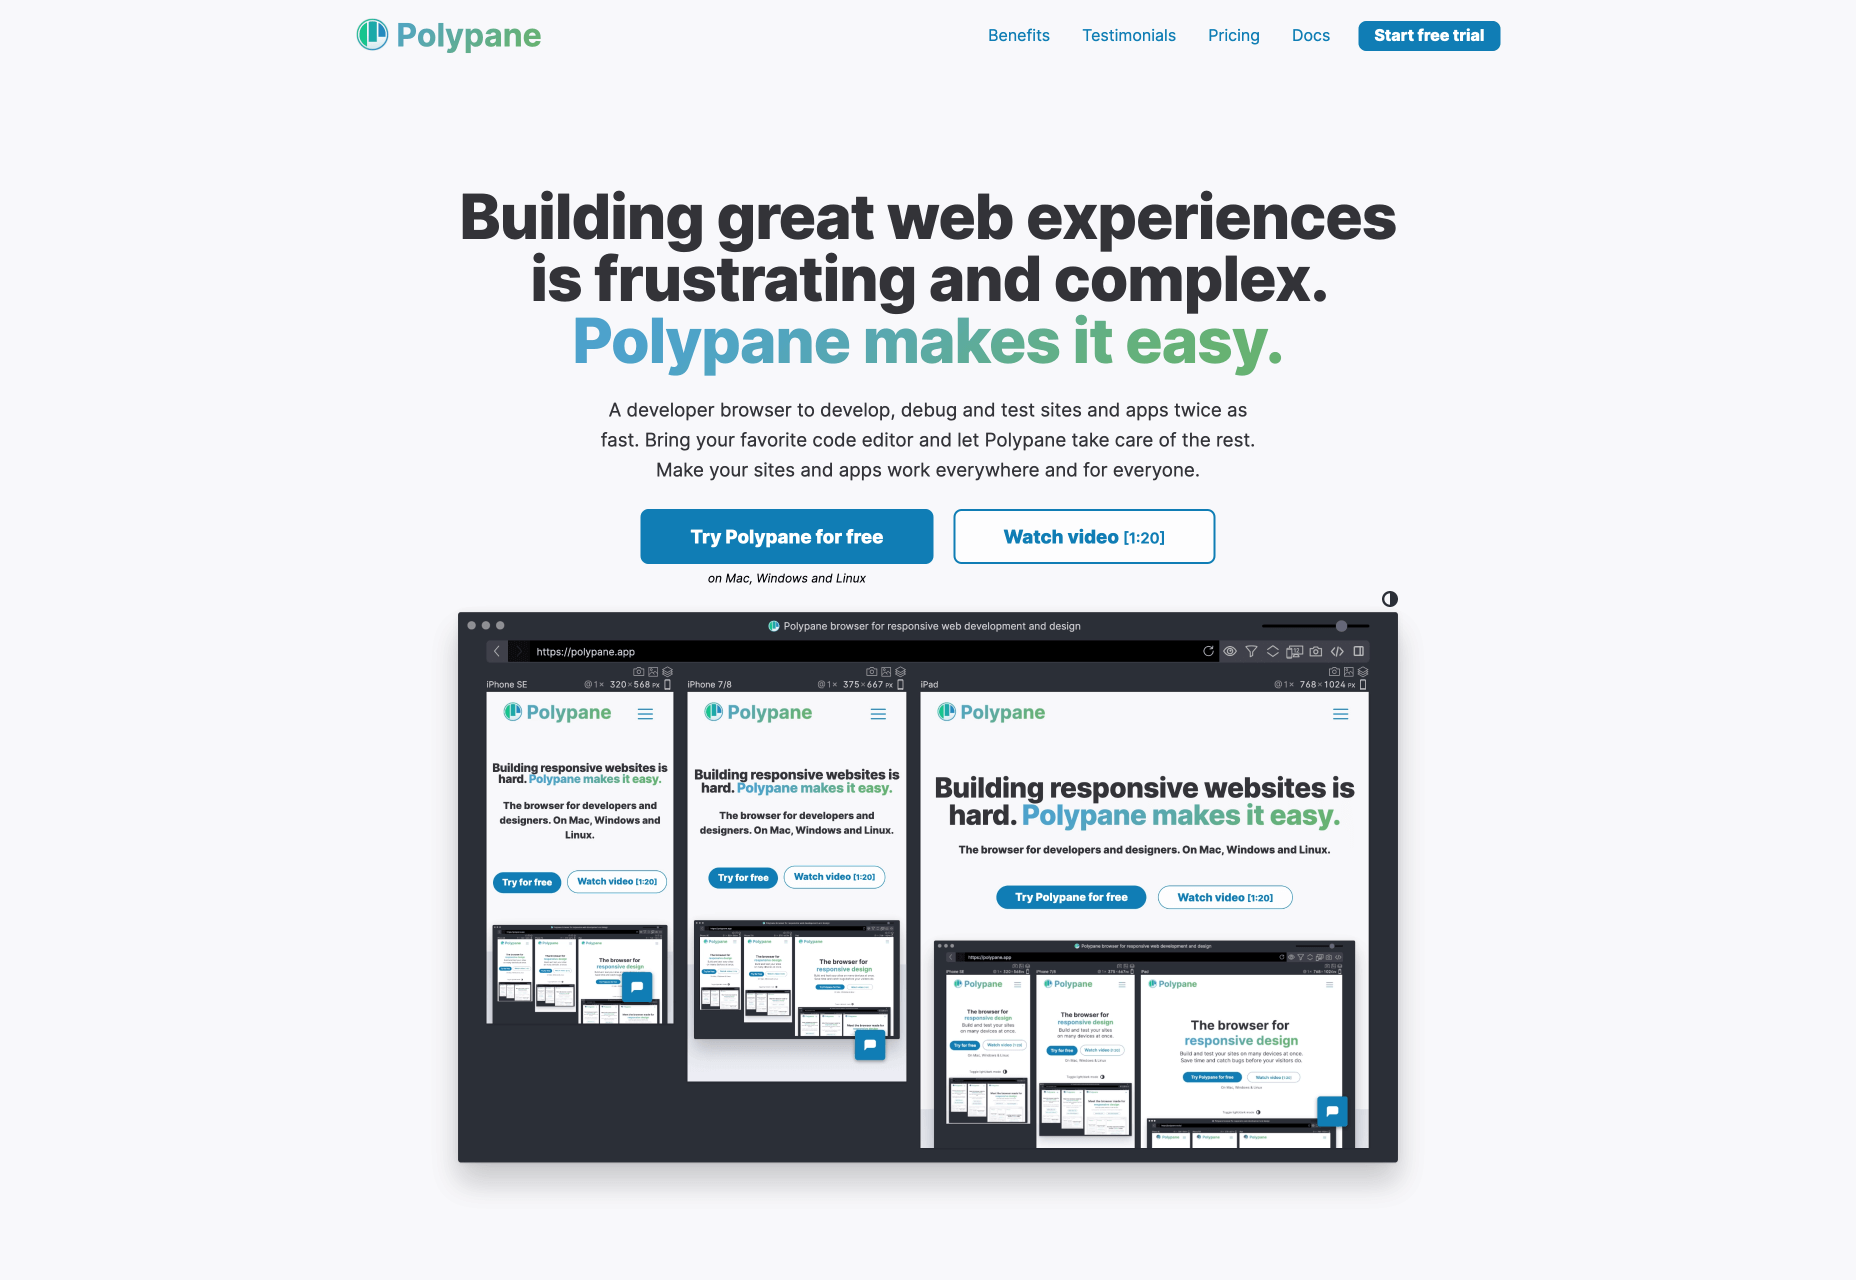
Polypane

Finally, Polypane is a unique kind of browser, specifically designed for developers and designers. This browser is a cross-platform solution and Devtool that experts can use to develop, test, and debug sites as quickly as possible.

Created to help developers and designers increase both the quality of their work and their productivity, Polypane is packed full of useful features. What’s more, it works with any code editor and technology stack.

In an age where user experience is more important than ever, Polypane helps companies to build higher-quality websites through everything from WordPress, to Drupal and Angular.

Because tools for developing and debugging are built into the browser already, you don’t have to worry about finding and adding extra extensions.

For those who aren’t sure about using a new and proprietary browser experience, Polypane does come with a free trial. However, as with most specialist tools for web developers, you will need to pay if you want to continue accessing advanced features long-term.

On the plus side, like Google Chrome’s developer edition, Polypane benefits from regular updates, so you know that you’re always going to be on the cutting edge of the web industry.

What’s more, you can also access different packages depending on whether you’re using Polypane as an individual or an agency.

Google Chrome for Developers

Google Chrome stands out as one of the world’s most widely used browsers.

Chrome has more than 58% of the market share, according to the latest estimates. With figures like that, it must have something special to offer.

While Chrome might be particularly popular among everyday consumers, it also has something special to offer people in the web development and design world too. For instance, Google now has it’s own “Chrome browser for Developers” product.

Created for the open web, Google Chrome for Developers helps professionals to design websites that are specifically optimized for the next version of the digital world. With Google Chrome, you can test cutting-edge APIs for web-based platforms in real-time.

What’s more, Google Chrome is packed with endless tools and add-ons that you can implement into your browser. That includes PHP consoles for WordPress, screenshot tools for collecting web design inspiration, and even LastPass for password control.

Not only do you have endless opportunities to get creative with Google Chrome, but you also have access to updates that happen on a weekly basis, so you know you’re always on the cutting edge.

Opera

Opera might not be as popular as Chrome or Firefox for developers, but it has a number of benefits to consider. If you’re not looking for too many advanced development features, then Opera could give you everything you need for a quick and effective experience online.

Numerous stress and speed tests have placed this browsing solution right in the middle of the pack. You’re not going to get life-changing performance with Opera, but you will get a connection and browsing experience that you can rely on.

Unlike Chrome and Firefox, Opera also relies more heavily on in-built features. That means that you don’t need to worry about adding extra functionality to your browser on your own.

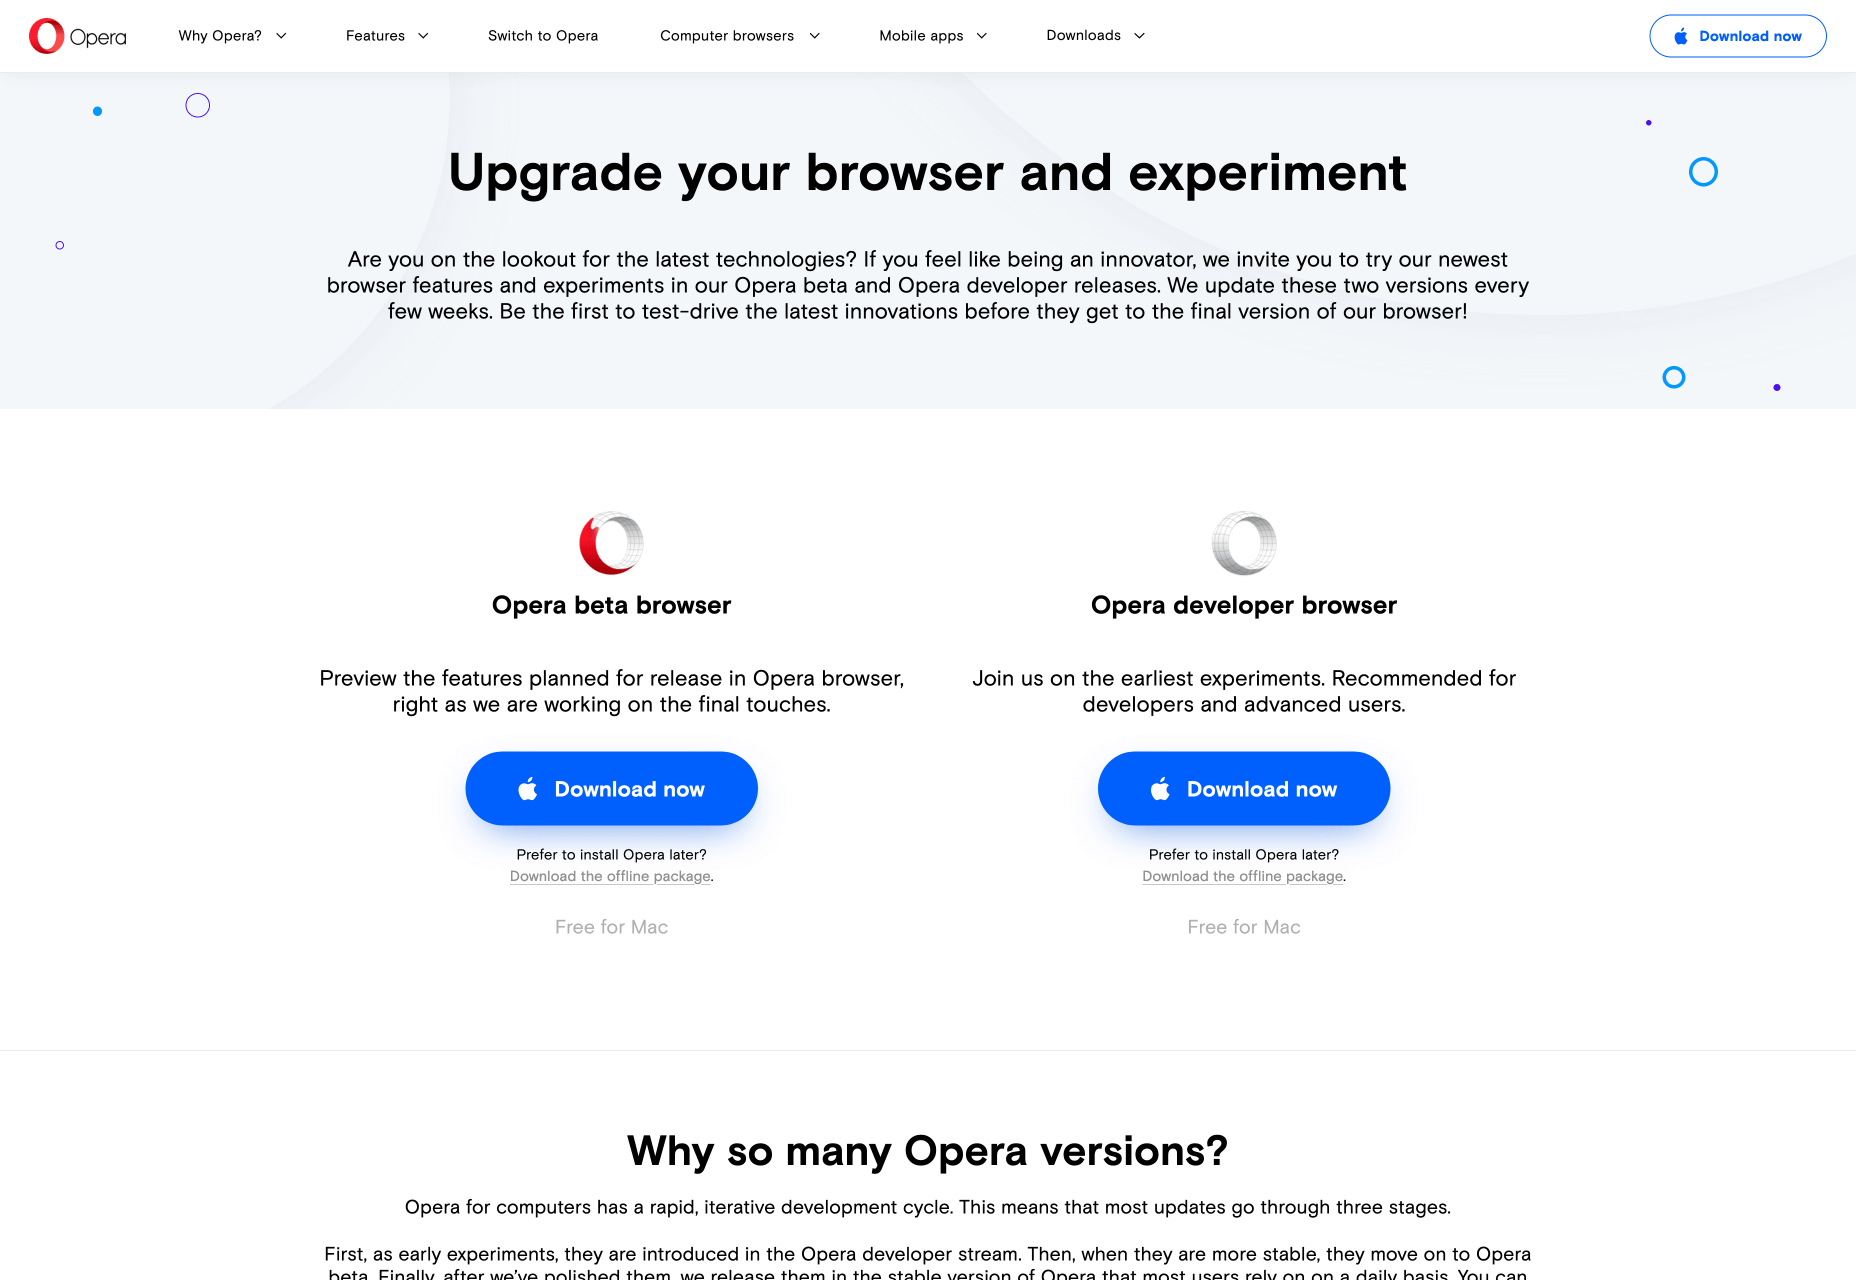
The Opera Developer browser gives today’s design experts a chance to get started with some of the latest tools and features as they roll out from Opera.

If you want to be on the cutting edge of early experiments with web browsing, the developer stream is a perfect choice. However, it’s worth noting that some of the developer features you can access from this browser won’t be as stable as they should be.

Blisk

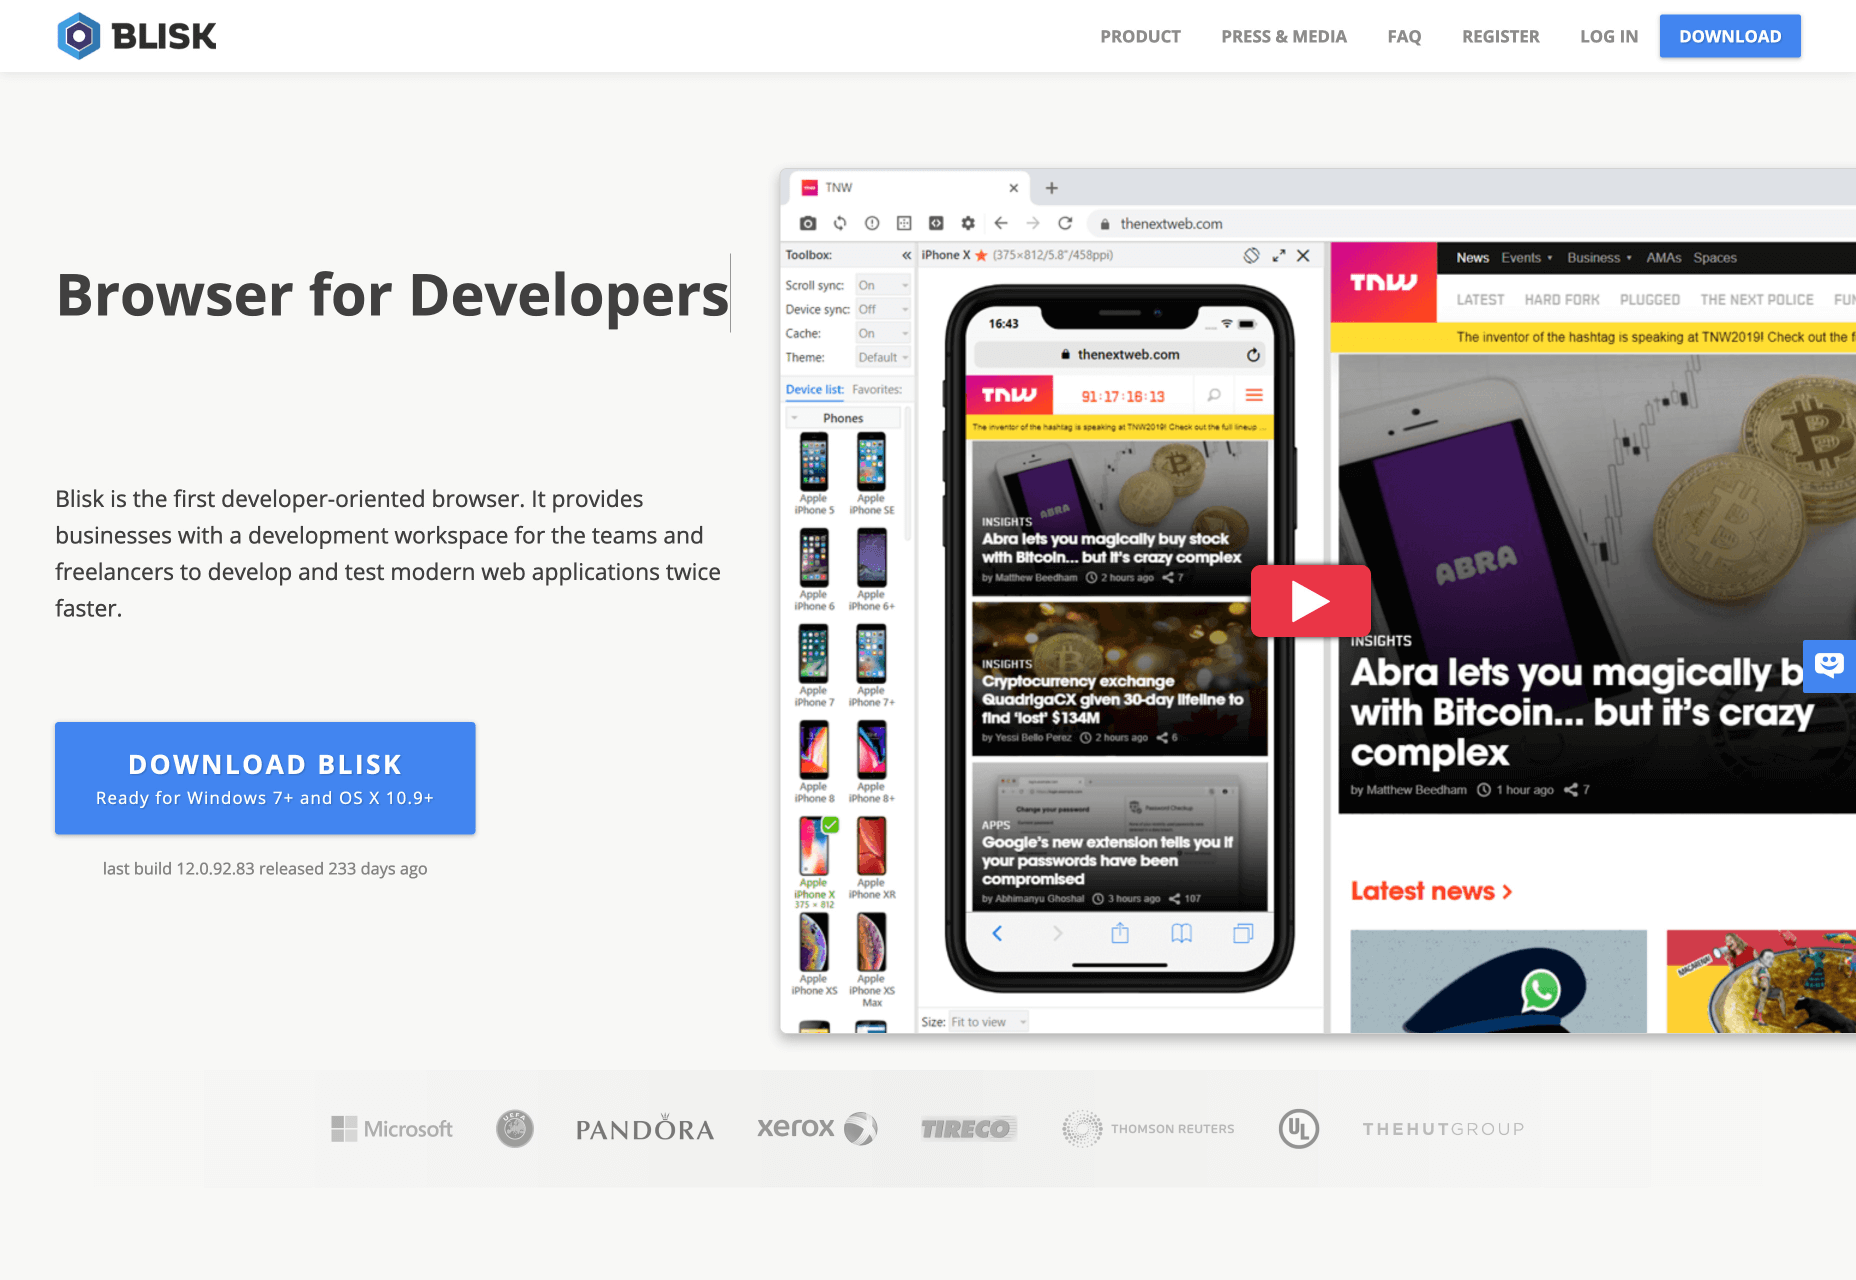
Blisk is an interesting alternative to many of the major browsers on the web today.

Compared to Opera, Chrome, and Firefox, Blisk doesn’t have nearly as much attention online. However, it may be worth consideration if you’re a growing developer. This browser is specifically designed to give designers a development-first workspace where they can develop and test modern applications as quickly as possible.

Blisk is the only developer-focused web browser that allows you to access all of the functionality you need for creating sensational online experiences. You can view what your website or app is going to look like on virtually any phone design, from Google Pixel, to the iPhone. What’s more, there are viewing options in landscape or portrait mode too.

Blisk also shows mobile and desktop designs side by side, so you can compare the UI that users will get whenever they approach a website – no matter where they’re connecting with you from. Other features include:

  • State of the art URL and scroll sync: Blisk automatically synchronizes scroll and URL positions for desktops and mobiles.
  • Auto-refresh: Whenever you save code changes when working in a browser, Blisk will refresh your tabs and update CSS changes.
  • DevTools: Blisk delivers DevTools similar to Chrome, you can launch separate DevTools for mobile and desktop and use them to simultaneously inspect the performance.
  • Error notifications: Blisk automatically monitors potential page errors in JavaScript and resources that fail to load.
  • Page inspector: Blisk delivers page inspector tools, powering quick inspection of any element on mobile or desktop.

Safari for Developers

Believe it or not, Safari for Developers is a very powerful tool – depending on the kind of websites and online experiences that you want to build. Although this browser option isn’t quite as broad or comprehensive as some of the other options we’ve mentioned so far – it has its benefits.

For instance, Safari is the best way to make sure that your sites are going to perform amazingly on iPhone, Mac, and iPad technology.

As Apple becomes an increasingly popular brand around the world, Safari will allow you to connect with viewers in a very specific landscape. Additionally, the Safari developer edition helps you to experiment with a host of advanced features too.

With Safari for Developers, you can add things like Apple Pay to websites, giving customers more ways to check out online. This could be an excellent way to increase conversions for your ecommerce clients.

Additionally, picture-in-picture functionality means that you can float a video window from Safari over your desktop or a full-screen app. This makes it easier to follow specific guidelines when you’re working in Safari.

Safari even has it’s own tab on the Mac App store, where you can explore things like Xcode for creating unique Safari extensions that work specifically for Apple customers.

Exploring Different Development Browsers

As a developer, you’re going to need a very unique selection of tools within your browser to help you get the most out of your designs.

The average browser simply won’t give you the advanced experience that you need online. That’s why it’s important to experiment with solutions ranging all the way from Google Chrome for developers, to modern solutions like Blisk.

Whether you decide to go for something tried-and-tested, like Firefox, or something a little more innovative, you’re sure to find that a developer-focused browser helps you to accomplish more.

Source

Categories: Designing, Others Tags: