Archive

Archive for June, 2021

Safari 15: New UI, Theme Colors, and… a CSS-Tricks Cameo!

June 11th, 2021 No comments

There’s a 33-minute video (and resources) over on apple.com covering the upcoming Safari changes we saw in the WWDC keynote this year in much more detail. Look who’s got a little cameo in there:

Perhaps the most noticeable thing there in Safari 15 on iOS is URL bar at the bottom! Dave was speculating in our little Discord watch party that this probably fixes the weird issues with 100vh stuff on iOS. But I really just don’t know, we’ll have to see when it comes out and we can play with it. I’d guess the expectation is that, in order for us to do our own fixed-bottom-UI stuff, we’d be doing:

.bottom-nav { 
  position: fixed; /* maybe sticky is better if part of overall page layout? */
  bottom: 100vh; /* fallback? */
  bottom: calc(100vh - env(safe-area-inset-bottom)); /* new thing */
}

On desktop, the most noticeable visual feature is probably the theme-color meta tags.

This isn’t even a brand new Apple-only thing. This is the same tag that Chrome’s Android app has used since 2014, so you might already be sporting it on your own site. The addition is that it supports media queries.

<meta name="theme-color" 
      content="#ecd96f" 
      media="(prefers-color-scheme: light)">
<meta name="theme-color" 
      content="#0b3e05" 
      media="(prefers-color-scheme: dark)">

It’s great to see Safari get aspect-ratio and the new fancy color systems like lab() and lch() as well. Top-level await in JavaScript is great as it makes patterns like conditional imports easier.

I don’t think all this would satisfy Alex. We didn’t exactly get alternative browser engines on iOS or significant PWA enhancements (both of which would be really great to see). But I applaud it all—it’s good stuff. While I do think Google generally takes privacy more seriously than what general internet chatter would have to believe, it’s notable to compare each company’s newly-released features. If you’ll forgive a bit of cherry-picking, Google is working on FLoC, a technology very specifically designed to help targeted advertising. Apple is working on Private Relay, a technology very specifically to making web browsing untrackable.


The post Safari 15: New UI, Theme Colors, and… a CSS-Tricks Cameo! appeared first on CSS-Tricks.

You can support CSS-Tricks by being an MVP Supporter.

Categories: Designing, Others Tags:

Web Design Done Well: Making Use Of Audio

June 11th, 2021 No comments

It’s easy to get hyper-focused on how things look on the web. There’s a lot to look at. You’re looking at this right now! However, in the age of touchscreens and home assistants, it’s safe to say sight isn’t the only sense worth caring about.

George Lucas once said half of any movie’s magic comes from its sounds. The same could be said of certain online experiences. For part two of this series, we’ve assembled some of our favorite examples of sound being used on the web. Most of us have had the misfortune of crossing bad examples (auto-playing videos being a particularly egregious example) but audio can give web experiences a whole new dimension when applied well.

What follows are some astounding sounds from the World Wide Web. We hope these bright ideas help you to think about your own projects a little bit differently.

Part Of: Web Design Done Well

The New Yorker’s Audio Articles

The word ‘article’ generally brings to mind words on a page, with some wiggle room on whether that page is paper or on a screen. With each passing year, this assumption becomes more restrictive and reductive. Words can be heard as well as read. This is something a growing number of websites are clocking on to, with the The New Yorker being a particularly good example. Much of their writing — fiction and non-fiction — comes complete with an audio version, often read by the authors themselves.

Most websites don’t have the luxury of recording people like Margaret Atwood, but with text-to-speech software getting better and better, we love seeing sites incorporating it into their design and functionality. Nieman Reports did a fantastic article on the subject last year, and yes, there’s an audio version.

Tune In To The World’s Radios In Radio Garden

Lest we forget, websites can take forms other than grids. Radio Garden takes you around the world’s radio stations in an instant. It’s like Google Earth, but with music. Spin the globe, turn on, tune in, drop out. A deceptively simple idea executed with a playful elegance.

A lot of pieces are needed for this to be possible, among them CesiumJS for the globe, Esri for satellite imagery, and Free GeoIP for the location API. A wonderful idea beautifully executed. (An honorable mention must also go to Radiooooo, a kind of time travel equivalent.)

Botany And Symphonies In Penderecki’s Garden

We doubt you’ve ever seen a memorial garden quite like Krzysztof Penderecki. Wander the virtual garden of the legendary Polish composer (and keen gardener) with his music playing in the background. It’s a beautiful tribute, and a cracking case study in web design to boot. There’s a lot of cool stuff going on but the music seemed the apt thing to focus on.

Akkers van Margraten’s Oral Histories Of WWII

The scope for archival material to reinvent itself online in new and exciting ways is almost limitless. The Akkers van Margraten oral history project builds its website around its audio content, with the audio clips accompanied by mournful musical arrangements.

The music is supplemental, helping the interviewees to conjure the spirit of a time and place. Would the effect be the same without? We’re not so sure.

Netflix Brings Trailer-Like Intensity To Its Dark Series Guide

There is a wariness of media that plays automatically on web pages. This wariness is well earned. Still, the guide for Netflix’s “Dark” series shows how powerful it can be when done right. The site’s deep ambient tones pull you headfirst into the mood.

Imagine a long-form article with the right accompaniment — a horror story paired with dissonant ambient arrangements perhaps, or a look back at the Swinging Sixties with a Jefferson Airplane song playing in the distance. This Dark guide shows how much of a shot in the arm that can be.

IT Museum Brings Audio Tours To The Web

The DataArt IT Museum is an ever-growing collection of Eastern European tech hardware, each item appropriately brought online. This e-museum is beautiful in all sorts of ways, but its use of interview snippets is particularly sharp. Not unlike Akkers van Margraten, the audio snippets bridge the gap between then and now.

It almost feels obvious once you see it. Just about everyone has wandered through a museum or gallery or historical building while listening to an audio guide. Why shouldn’t the same option be available to us online?

Ethics For Design

What is the role of a designer? That is the question posed to a dozen designers and researchers in Ethics for Design, with the answers presented in a way only the web could really pull off. Instead of presenting the results in one glossy run-of-the-mill video, the site instead separates all the pieces.

As much as anything else, it shows how much can be lost when we limit ourselves to one medium — be it text, sound, videos, photographs, or graphics. Although a little jarring to begin with, maybe that’s what’s needed to think about how each piece fits into a wider puzzle.

SoundCloud’s Sticky Music Player Bar

We figured we should close with a god-honest feature. For that, we turn to SoundCloud, which has a music player that plays independently of the rest of the site. Clicking on a new page doesn’t reset the player, allowing visitors to browse artists and albums without breaking the flow of what they’re listening to. It feels so natural that it’s hard to imagine there one not being there.

We’ve become used to this through apps like Spotify, but on the web proper, it still screams untapped potential. Think of how it might be combined with other ideas featured here. Imagine you’re on a news website and start listening to a story, a la The New Yorker. With a player like this, visitors could continue browsing the site while still listening to the original story. Sounds like the future.

Wrapping Up

The sites featured here only scratch the surface of what’s possible. Sound can take countless forms: radio, music players, interviews, narration, and navigation to name but a few. We’re not all that far away from conversing with websites.

If you’re interested in learning more, the articles below offer a sound starting point for audio design online:

Technical capabilities have grown massively in recent years, with more and more flexibility demanded of the sites we use. They are seen, they are touched, and, increasingly, they are heard. We’ll hold off advocating for edible, pleasantly scented websites (for now) but sometimes it’s absolutely worth making them noisier.

Categories: Others Tags:

Put a Background on Open Details Elements

June 11th, 2021 No comments
A screenshot of some text with details elements present. One of them is open. It's not clear what text is within that details and what isn't.

One thing that can be just a smidge funky about the

element is that, when open, it’s not always 100% clear what is inside that element and what isn’t. I’m not saying that always matters or that it’s a particularly hard problem to solve, I’m just noting it as it came up recently for me.

Here’s a visual example:

What text here is inside a

and what isn’t?

The solution is… CSS. Style the

somewhat uniquely, and that problem goes away. Even if you want the typography to be the same, or you don’t want any exclusive styling until the

is opened, it’s still possible. Using an alpha-transparent fill, you can even make sure that deeper-nested

remain clear.

Here’s that CSS:

details[open] {
  --bg: rgb(0 0 0 / 0.2);
  background: var(--bg);
  outline: 1rem solid var(--bg);
  margin: 0 0 2rem 0;
}

And the demo:

CodePen Embed Fallback

The post Put a Background on Open Details Elements appeared first on CSS-Tricks.

You can support CSS-Tricks by being an MVP Supporter.

Categories: Designing, Others Tags:

Three Front-End Auditing Tools I Discovered Recently

June 10th, 2021 No comments

Is every resource properly minified and compressed? Are all the caching headers set correctly? Does the site load all the resources in the best order to guarantee a fast first paint? These are only a few questions to consider when having the goal of building a fast website. Building for the web is complex these days.

But how do you find all these things causing performance issues?

Let me share three tools that will help you spot performance issues and ship high-quality and fast websites.

Note: If you’re looking for a complete overview of best practices and tools, have a look at the Frontend performance checklist.

Waterfaller: A Tool Focusing On Network Waterfalls

I discovered Waterfaller just recently. Contrary to Lighthouse or WebPage Test, Waterfaller focuses on one thing alone — issues in the network waterfall.

The tool analyzes what resources are loaded on the website and in what order these resources come in. You can find advice on what you could implement to make every resource load faster right in the tool.

I love Waterfaller’s narrow scope! Run a test, find problematic files and receive advice — that’s all doable in 30 seconds. It’s beautiful!

Yellow Lab: A Tool That Analyses Your Site Top To Bottom

If you’re looking for an extensive overview of how well your site is structured, give Yellow Lab a try. The number of included performance tests and checks is outstanding! It provides standard metrics such as page weight and request count and analyzes your HTML, CSS, and JavaScript.

It’s a beautiful tool to find issues in your CSS architecture in the form of duplicated selectors or too many color declarations. It also points out a too complex HTML structure, and it also checks your server and cache header configuration. It’s a perfect companion to build a high-quality website.

webhint: The Pickiest Tool Out There

Let me introduce you to the end boss. Say hello to Microsoft’s webhint. webhint is comparable to Lighthouse, and it scans your site for issues in the areas of accessibility, compatibility, progressive web apps, performance, and security.

What astonishes me about webhint is that it’s incredibly picky. I encountered situations in the past where I had a completely green Lighthouse score, WebPage Test gave me straight A’s, but still, webhint was offering me areas for improvement.

If you haven’t used it yet, I recommend giving it a try. You might find surprising things to improve.

Use The Best Tools To Build The Best Websites

As you’ve seen, the tooling landscape includes many valuable tools. And while some of the tools scan for a wide range of issues, there’s no tool covering everything. The usual mantra applies:

“Use the right tool for the job.”

What web performance tools do you use? I’d love to learn more about your favorite tools helping you to ship the best and fastest websites.

Categories: Others Tags:

9 Amazing Design-Resource Package Sites

June 9th, 2021 No comments

Every designer has their own preferred strategy for collecting resources. Some pluck brushes, fonts, and templates from different “stock photo sites” and public marketplaces. Others collect graphics from swipe files and forums around the web.

The never-ending desire for themes, visual content, and graphical components has prompted an influx of “design packages” to appear around the web. These all-in-one bundles, ranging from Envato Elements to Elegant Themes, promise a selection of valuable creative content in exchange for a single fee or monthly subscription. 

If you’ve been planning to seek out a few of these high-value subscriptions yourself, you’re in the right place! Today, we’re going to talk about some of the top designer resources available on the market. 

1. Envato Elements

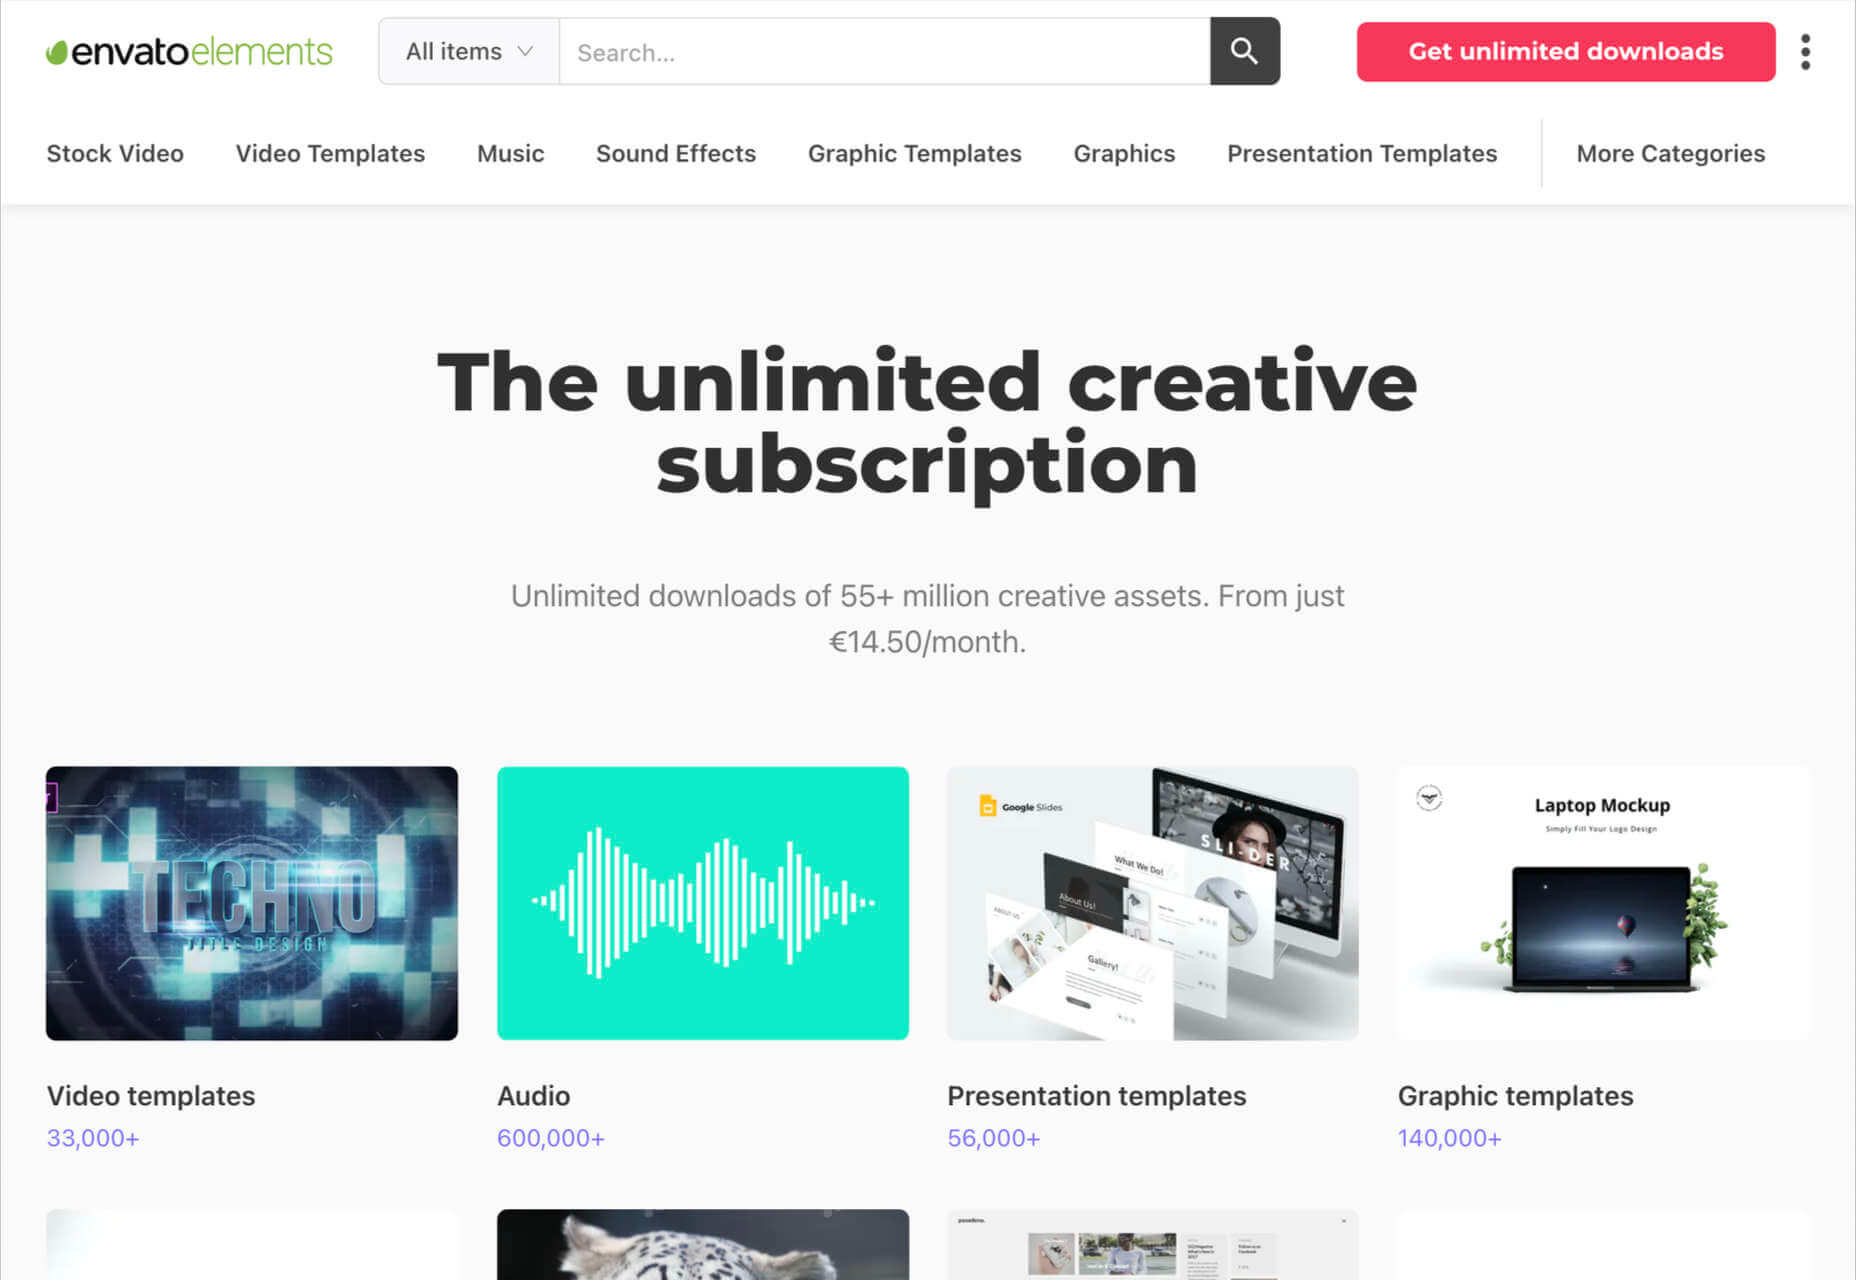
Probably the best-known of all the designer resource marketplaces, Envato Elements advertises itself as the unlimited creative subscription. On this website, you’ll be able to access around 54 million creative assets through a single subscription. There are endless resources to unlock here, ranging from templates for your graphics to video templates, audio, and stock photos. 

Unlike most marketplaces, Envato gives you peace of mind by promising only the highest quality designs and graphics. Your content comes with quality assurance, and there are many PSD elements on the site, too, including stationery and web design templates, mock-ups, and more. Categories for your creative content include:

  • Stock photos
  • Video templates
  • Music
  • Sound effects
  • Graphic templates
  • Graphic designs
  • Presentation templates
  • Fonts
  • Photos
  • Web templates
  • Add-ons
  • CMS templates
  • WordPress resources
  • 3D content

Pricing: Pricing starts at only $16.50 per month, and this gives you unlimited access to everything on the site, including millions of digital assets and stock photos. You’ll also be able to use various courses and tutorials on the website too.

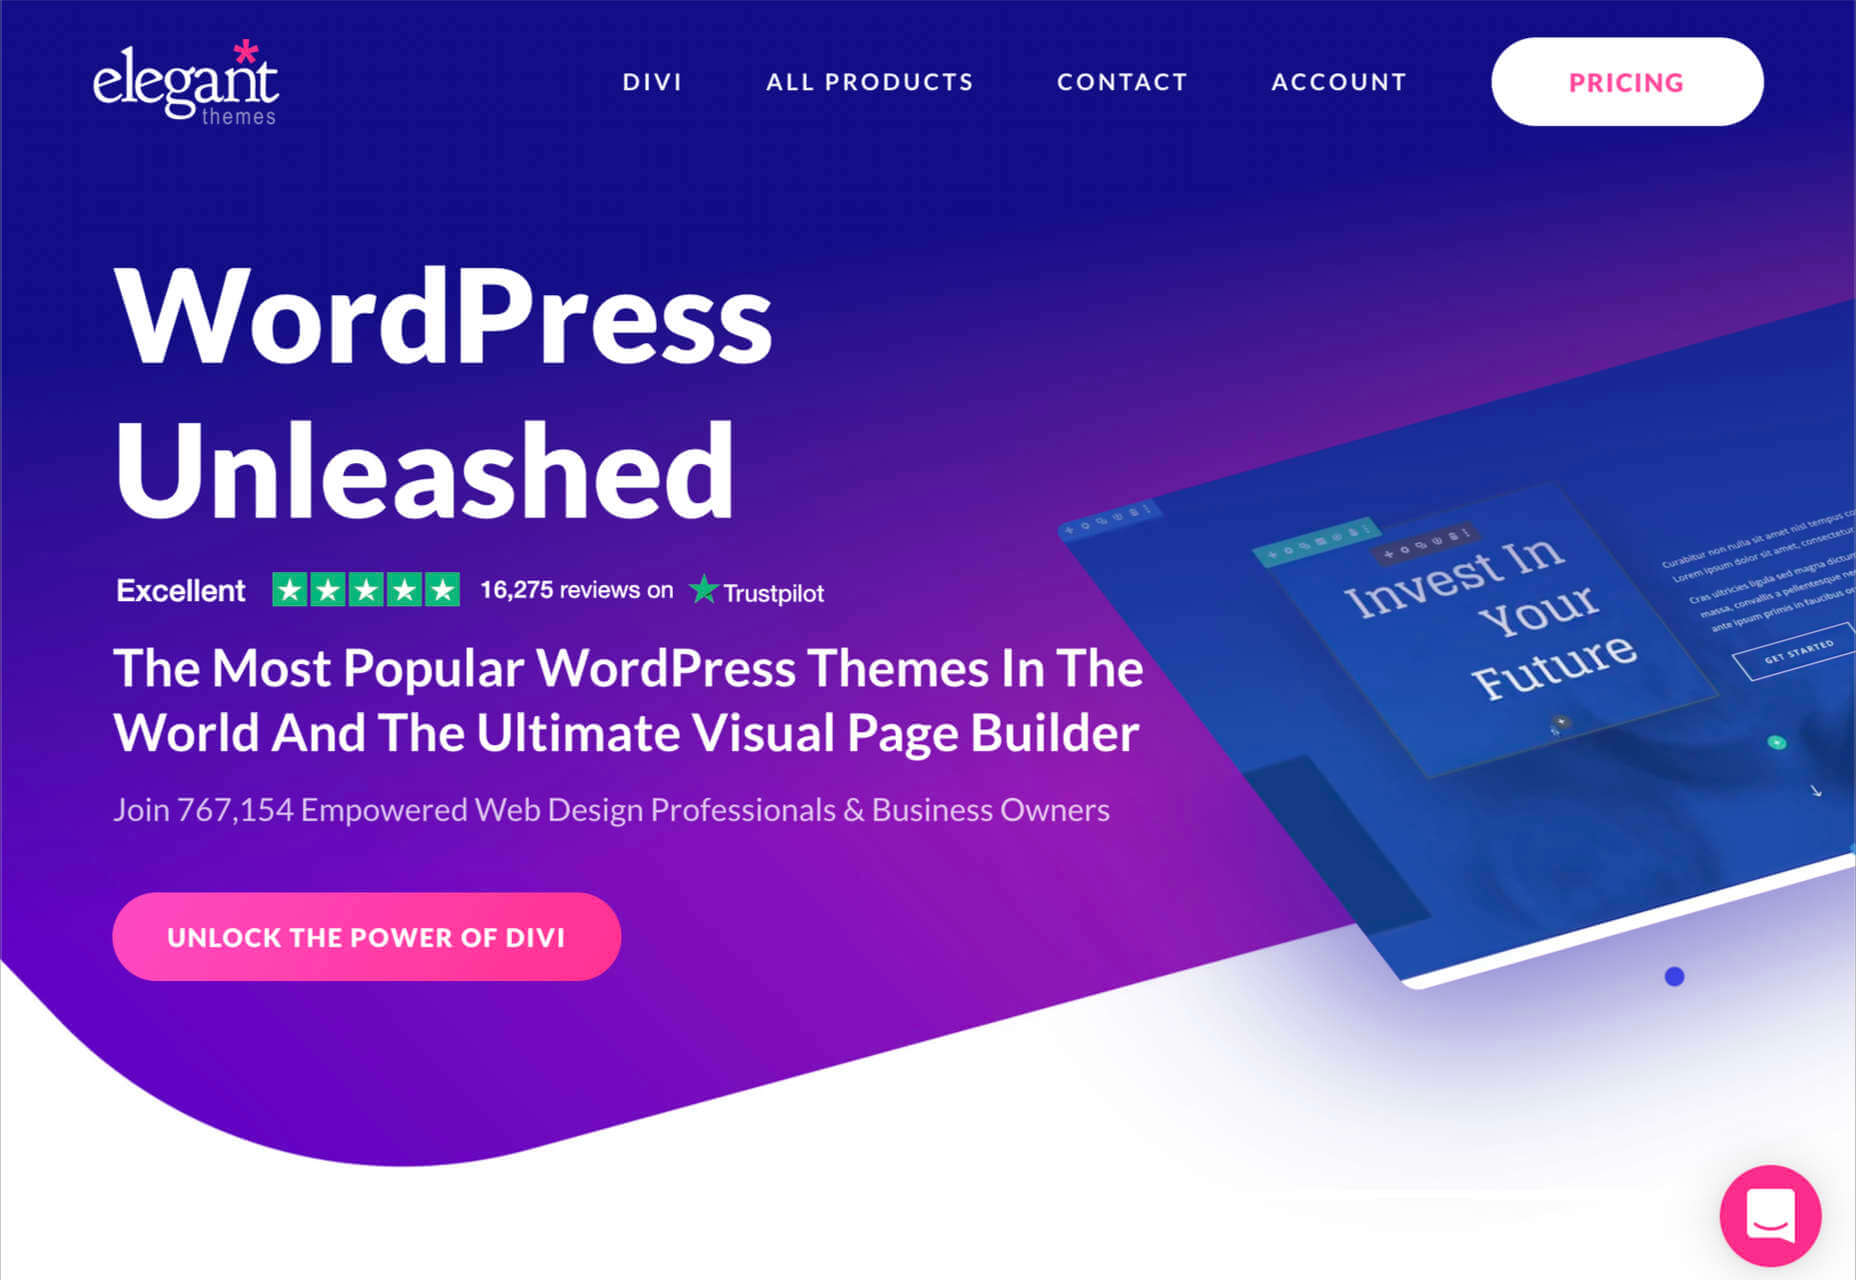
2. Elegant Themes

Elegant Themes is an all-in-one creative resource for website themes. The solution offers you access to some of the most popular WordPress themes worldwide. 

You’ll also get access to a visual page builder as part of the kit. When you sign up for the Elegant Themes subscription, you get access to all of the resources within, including the Divi page builder and WordPress theme, Extra, Monarch, Bloom, and more. If you’re a site builder or work on building pages for clients, this is a must-have subscription. 

Elegant themes are currently the go-to resource for more than 750,000 people. It’s also home to some of the highest-rated themes around. Features include:

  • Divi WordPress page builder
  • Endless WordPress themes
  • Page editing tools
  • Monarch, Bloom, and Extra 
  • Hundreds of website packs
  • Lifetime premium support
  • Unlimited website usage

You can either pay for yearly access with Elegant Themes or pay a one-off price for lifetime access. For most, the lifetime option is likely to be a pretty appealing one. You don’t have to worry about renewing your subscription this way.
3. Template Monster

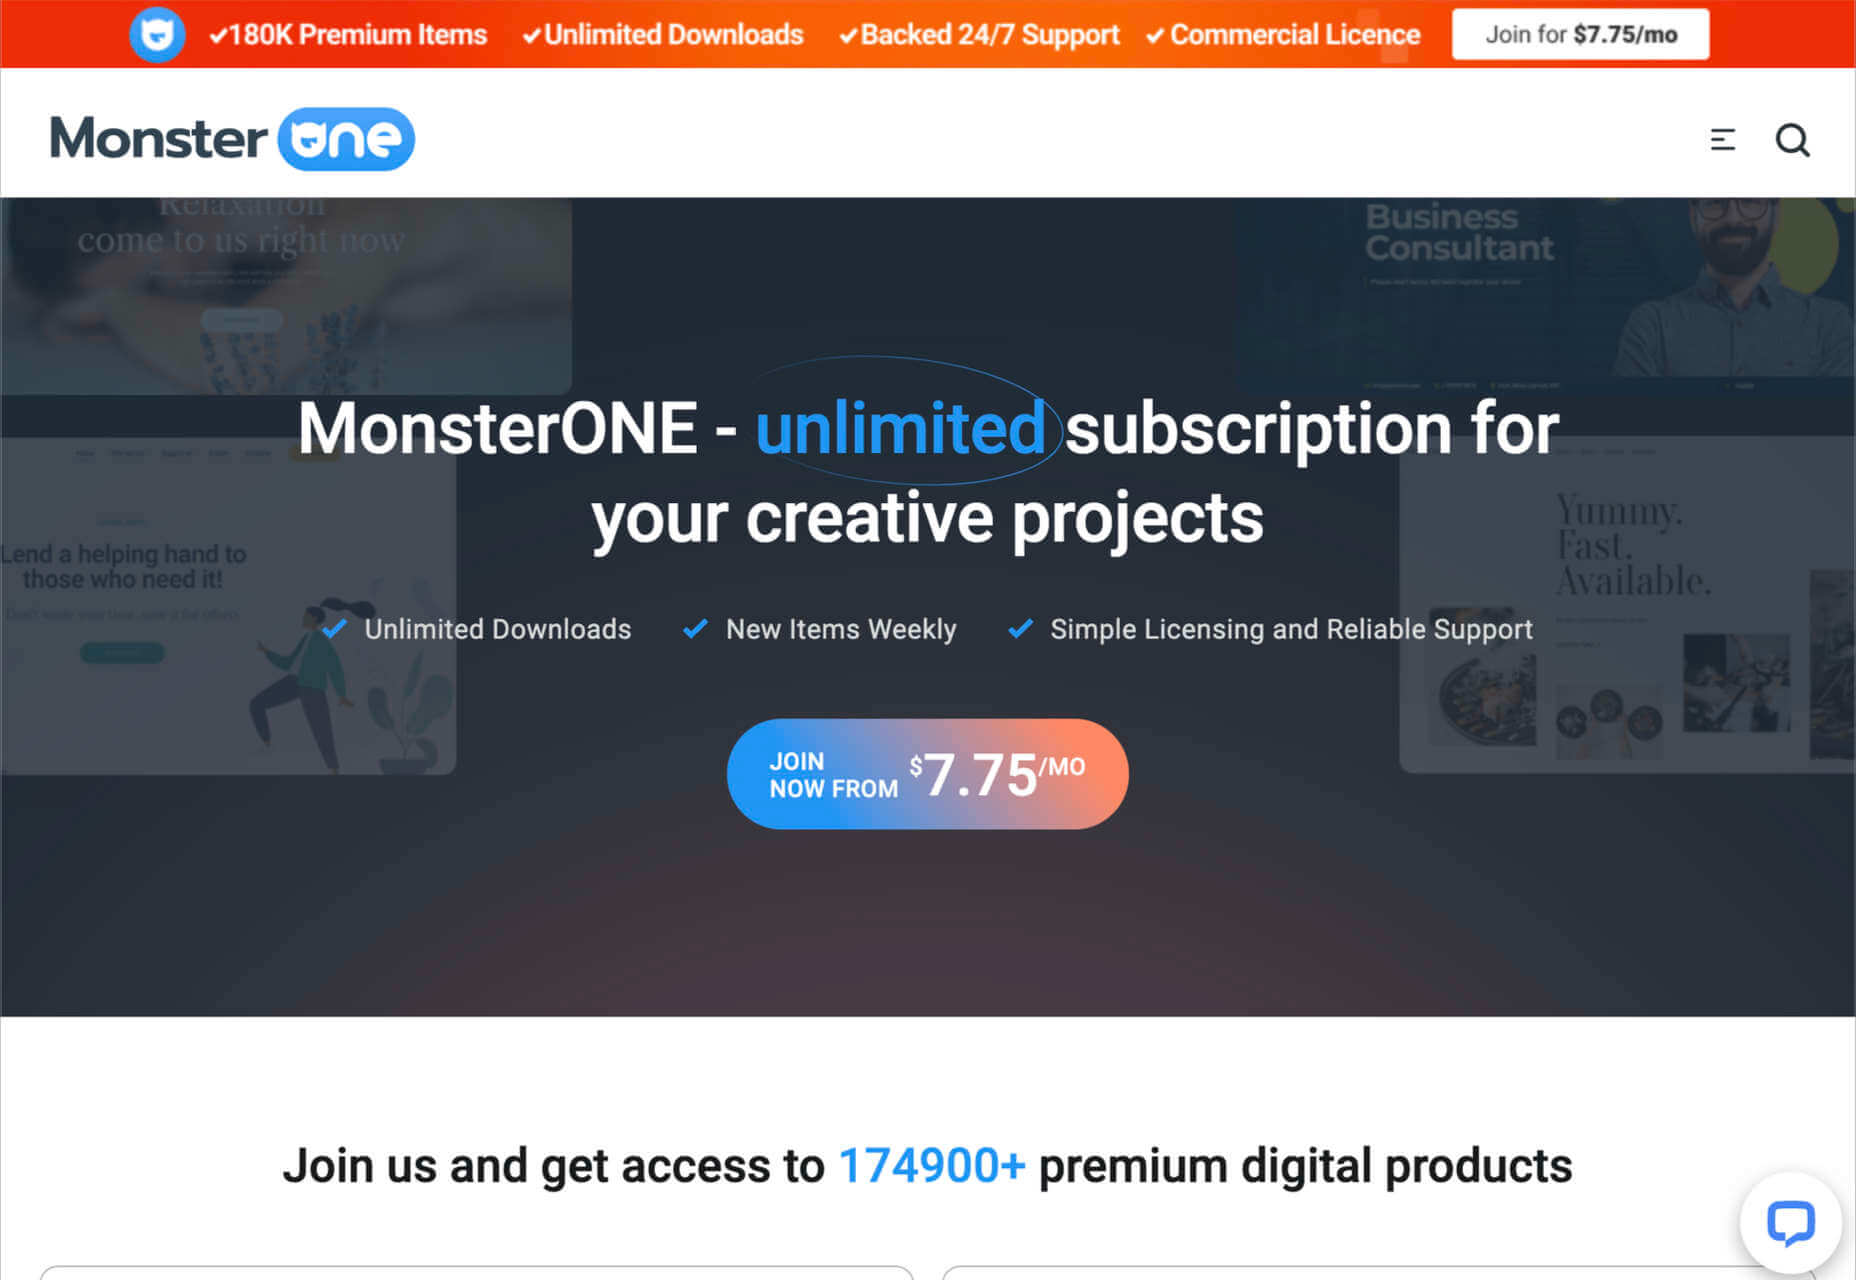
Template Monster offers the “ONE” web development membership, perfect for creative professionals. The MonsterONE offering is a complete unlimited subscription for all of your creative needs, with access to unlimited downloads, new weekly items, and simple licensing. You also get plenty of support from the Template Monster Team. 

A goldmine for anyone who needs to upgrade their selection of video and photo assets, graphic templates, HTML templates, or anything else, Template Monster is packed full of amazing resources for any project. You can also find new products from fresh contributors all the time, so the value of your membership is constantly increasing. 

Features include:

  • HTML templates
  • Presentation templates
  • CMS templates
  • Graphic templates
  • Video assets
  • 3D models
  • Audio assets
  • WordPress themes and plugins

Pricing starts at a tiny $6.90 per month, with a slight discount if you pay yearly. The lowest-cost package gives you access to all of your graphic and design assets, but you won’t get any eCommerce or WordPress themes. However, if you upgrade to the all-in-one package at $14.95 per month, you get a more extensive range of resources.
4. Creative Market

Creative Market is another one of those amazing all-in-one environments for creatives and designers. This marketplace is supplied by thousands of independent artists from around the globe, each offering a host of top-quality designs and resources. You’ll find photos, graphics, templates, fonts, web themes, and countless other tools on the Creative Market. 

If you’re looking for sheer size, it’s hard to find another company that competes with the Creative Market package. There are literally millions of ready-to-use products available, including Instagram templates, textures, and procreate brushes. 

You’ll have access to 3D content for your immersive website designs and a host of purchasing products. Although there’s no “subscription model” per-se for this marketplace, you can invest in a credit plan that allows you to set how much you spend on your assets each month. 

Features include:

  • Millions of creative products
  • Huge selection of independent designers
  • Brushes, textures, templates 
  • Fonts and web content available
  • Huge selection of stock photos
  • Convenient credit plan

The individual purchasing plan is likely to appeal more to people just beginning to test Creative Market for the first time. However, if you want a subscription experience, we’d recommend using the credit plan to estimate how many credits you’ll need each month.

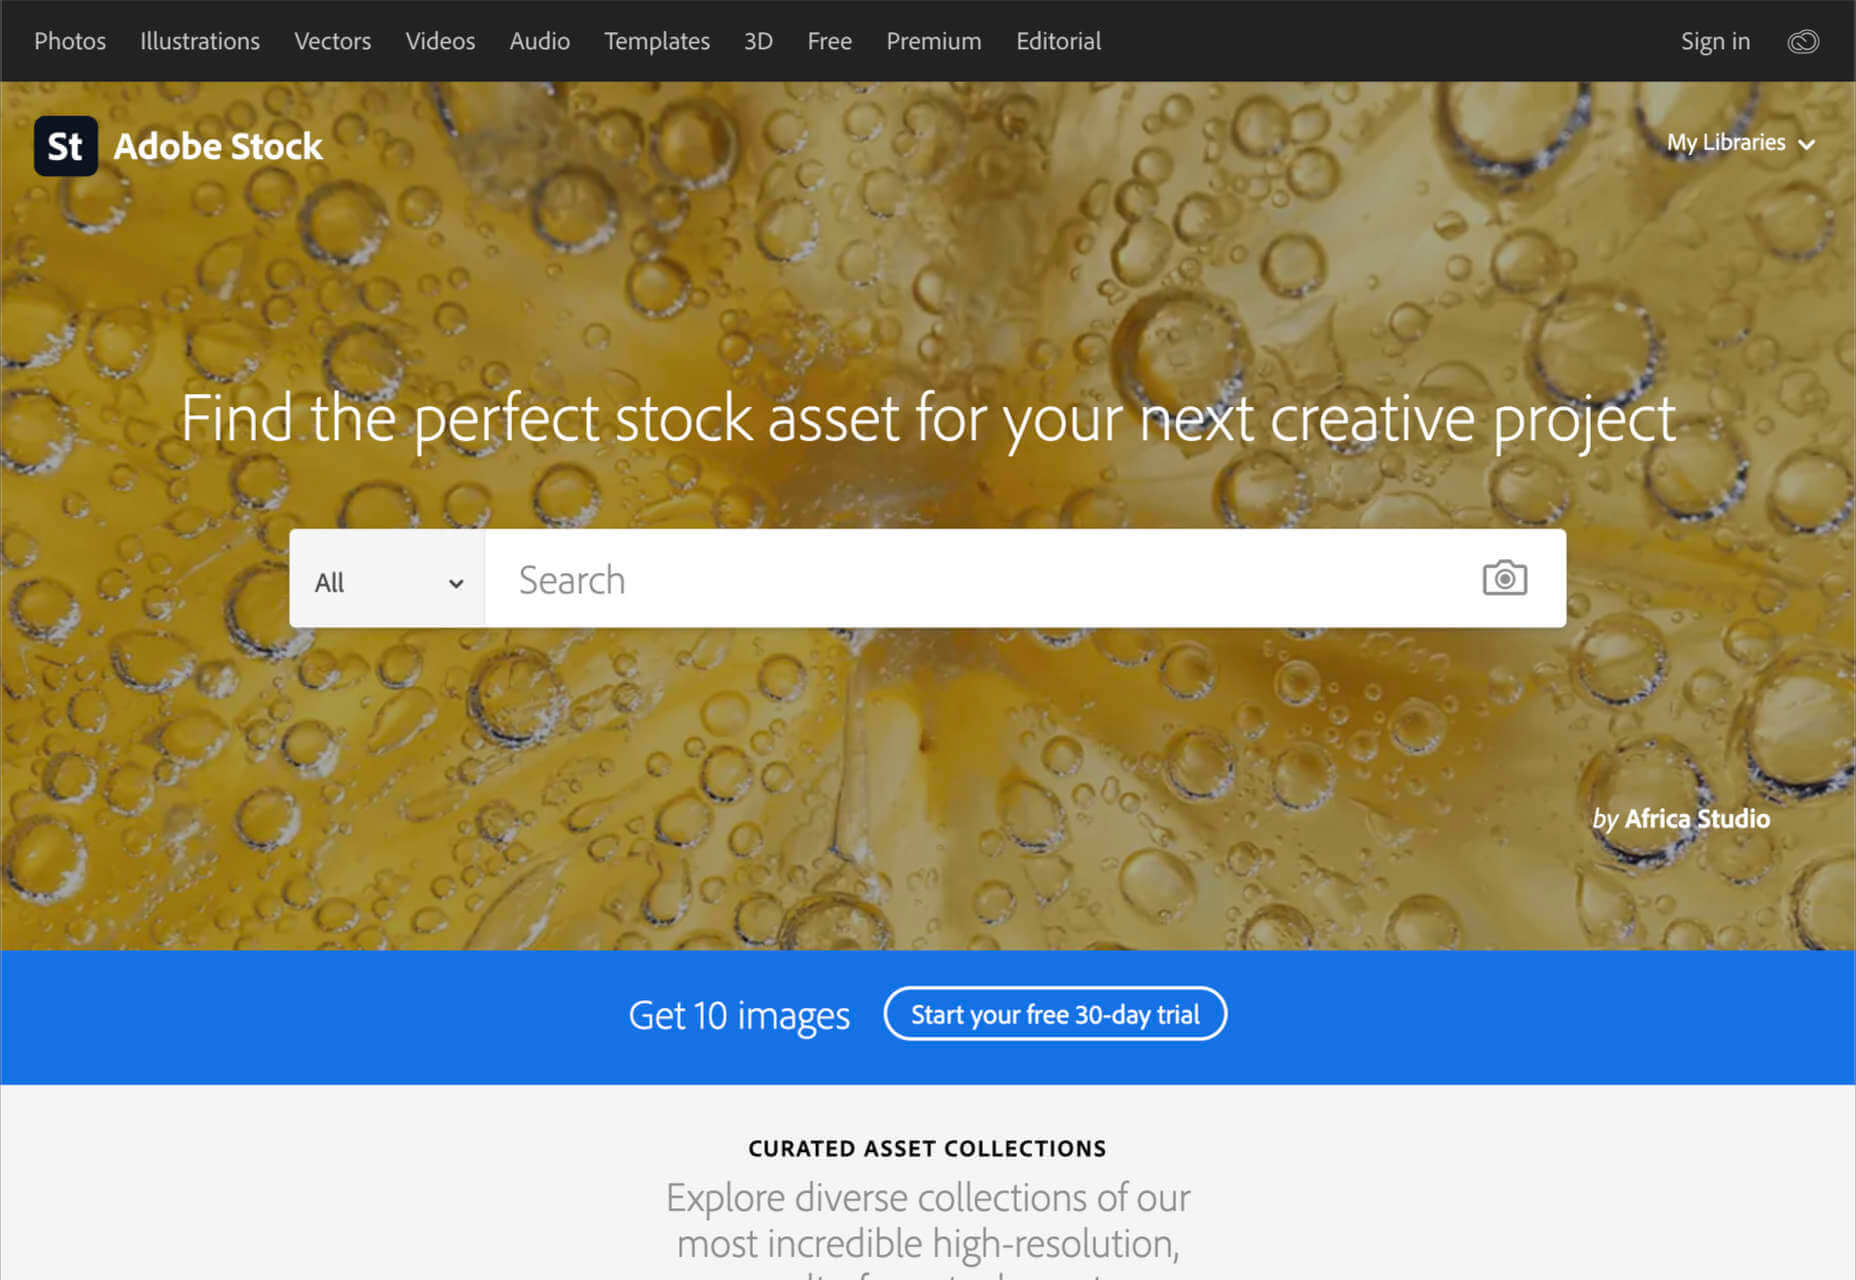
5. Adobe Stock

All web designers know Adobe. The chances are that no matter what kind of creative work you do, you’ve developed a few skills with an Adobe product, from Photoshop to Lightroom. Adobe Stock is also one of the leading platforms for images on any topic. 

Although Adobe Stock doesn’t compete with other marketplaces in terms of versatility, it still stands out as one of the main resources for designers. There are hundreds of millions of stock images, videos, editorial content, and vectors. You can also access a premium collection of custom content and 3D resources too. The great thing about Adobe stock is that you can easily create your own libraries and download content into your Adobe software. Resources include:

  • Stock photos
  • Premium images
  • 3D content
  • Vectors and brushes
  • Stock video footage
  • Royalty-free templates
  • Vector art and illustrations
  • Stock music and audio
  • Integration with Adobe software

Adobe Stock is a little pricier than some of the other marketplaces available today, but it’s still pretty impressive. You’ll pay around $29.99 per month for 10 assets per month, or you can access a full annual plan at $199.99 per month. The amount you pay will depend on the quality of the resources that you want to download.
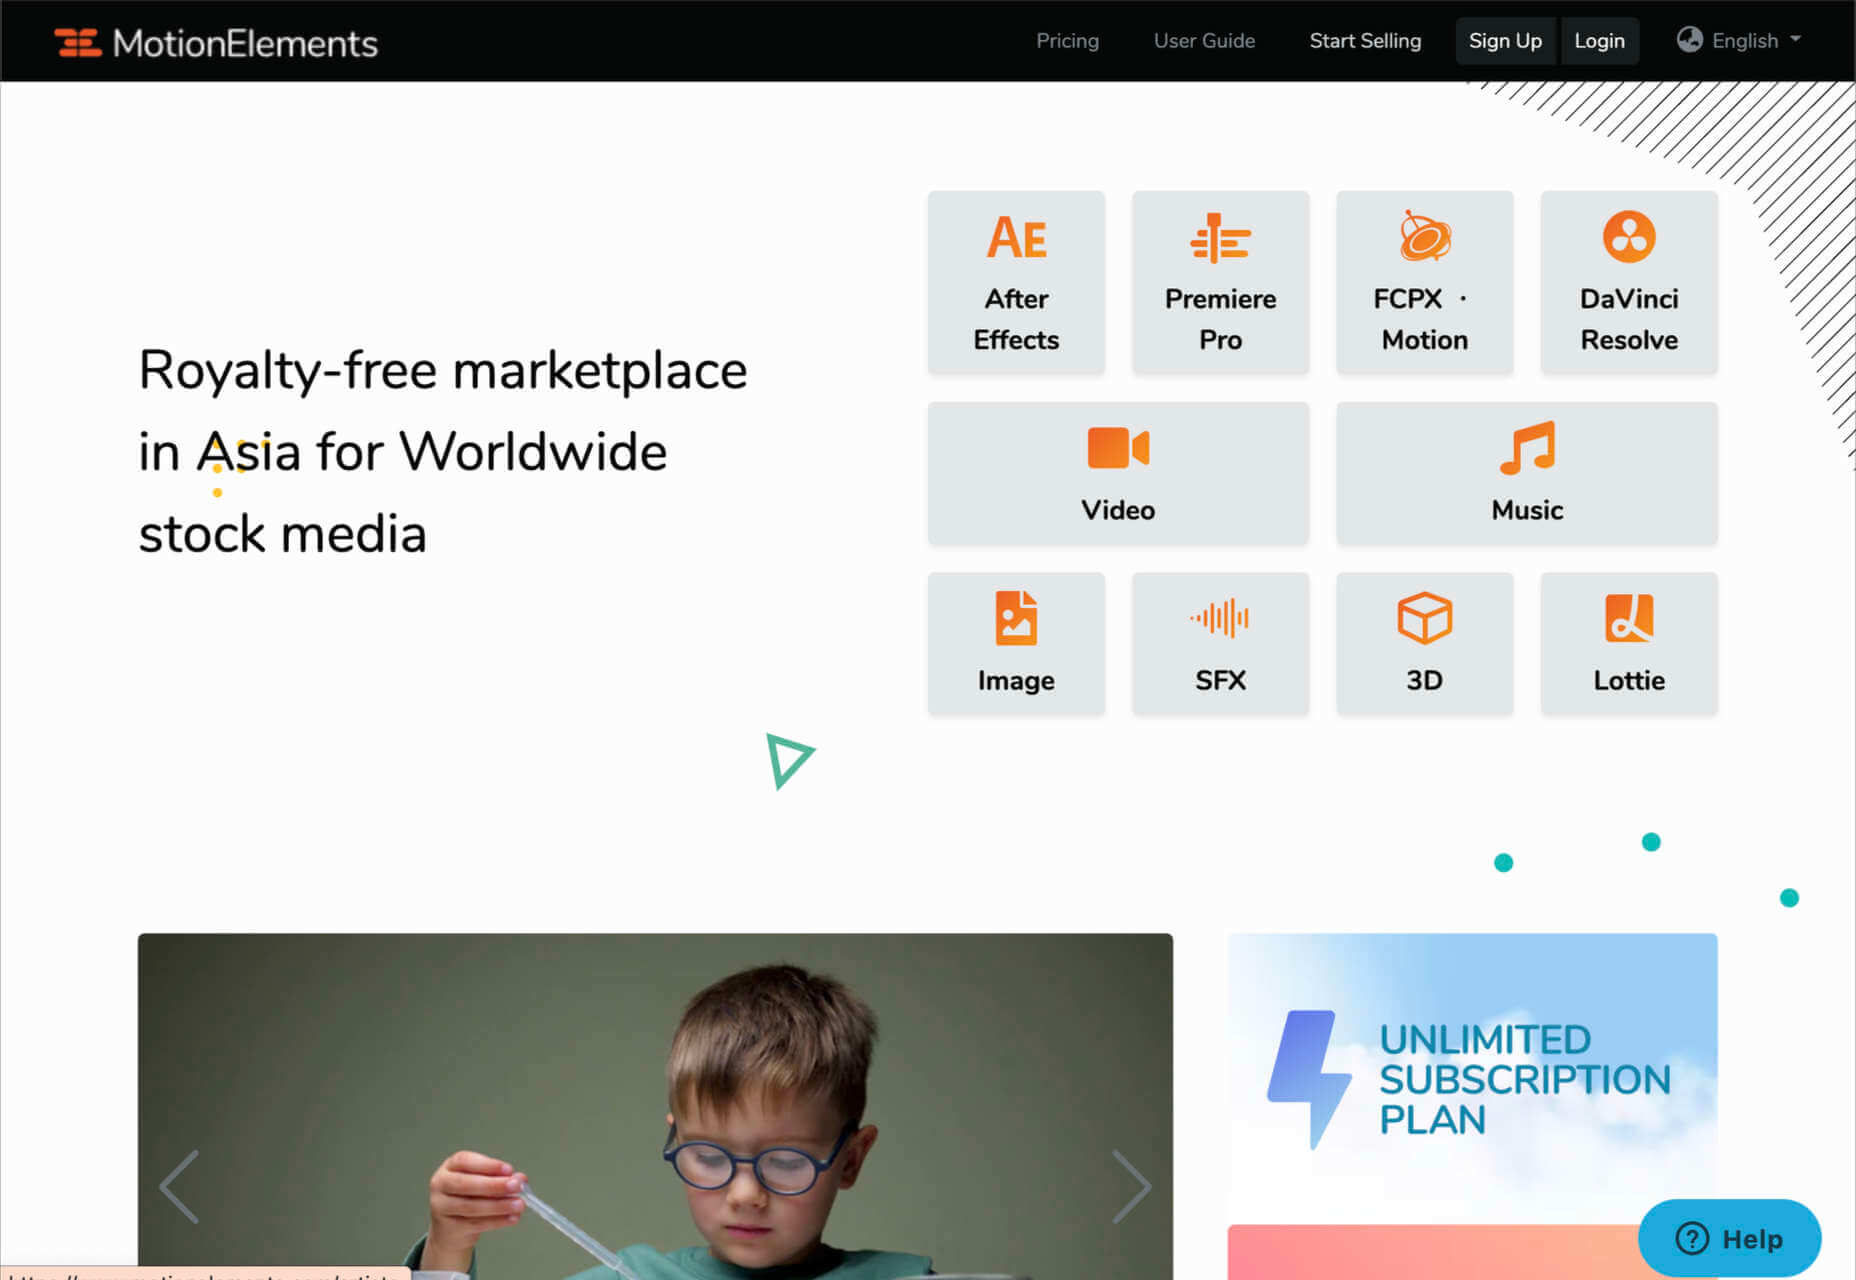
6. Motion Elements

If Elegant Themes is the go-to resource for designers searching for WordPress themes and web design solutions, Motion Elements is the top choice for “motion” content. Here, you’ll find videos, SFX content, images, music, 3D solutions, and so much more. 

Though it’s located in Asia, Motion Elements is available worldwide. The marketplace offers a monthly subscription plan wherever you can download unlimited products to suit your needs. There are tons of resources to choose from here, including After Effects elements, tools for Lottie, Premiere Pro, FCPX motion, DaVinci Resolve, and more. 

Features include:

  • After Effects elements
  • Premier Pro resources
  • FCPX Motion
  • DaVinci Resolve
  • Video and audio content
  • Stock images
  • SFX resources
  • 3D content

Pricing starts at $16.50 per month for an unlimited annual plan. This means that you can download as much as you like without having to pay any more. There is a small discount if you pay for a full year of access in one go.
7. Creative Tim

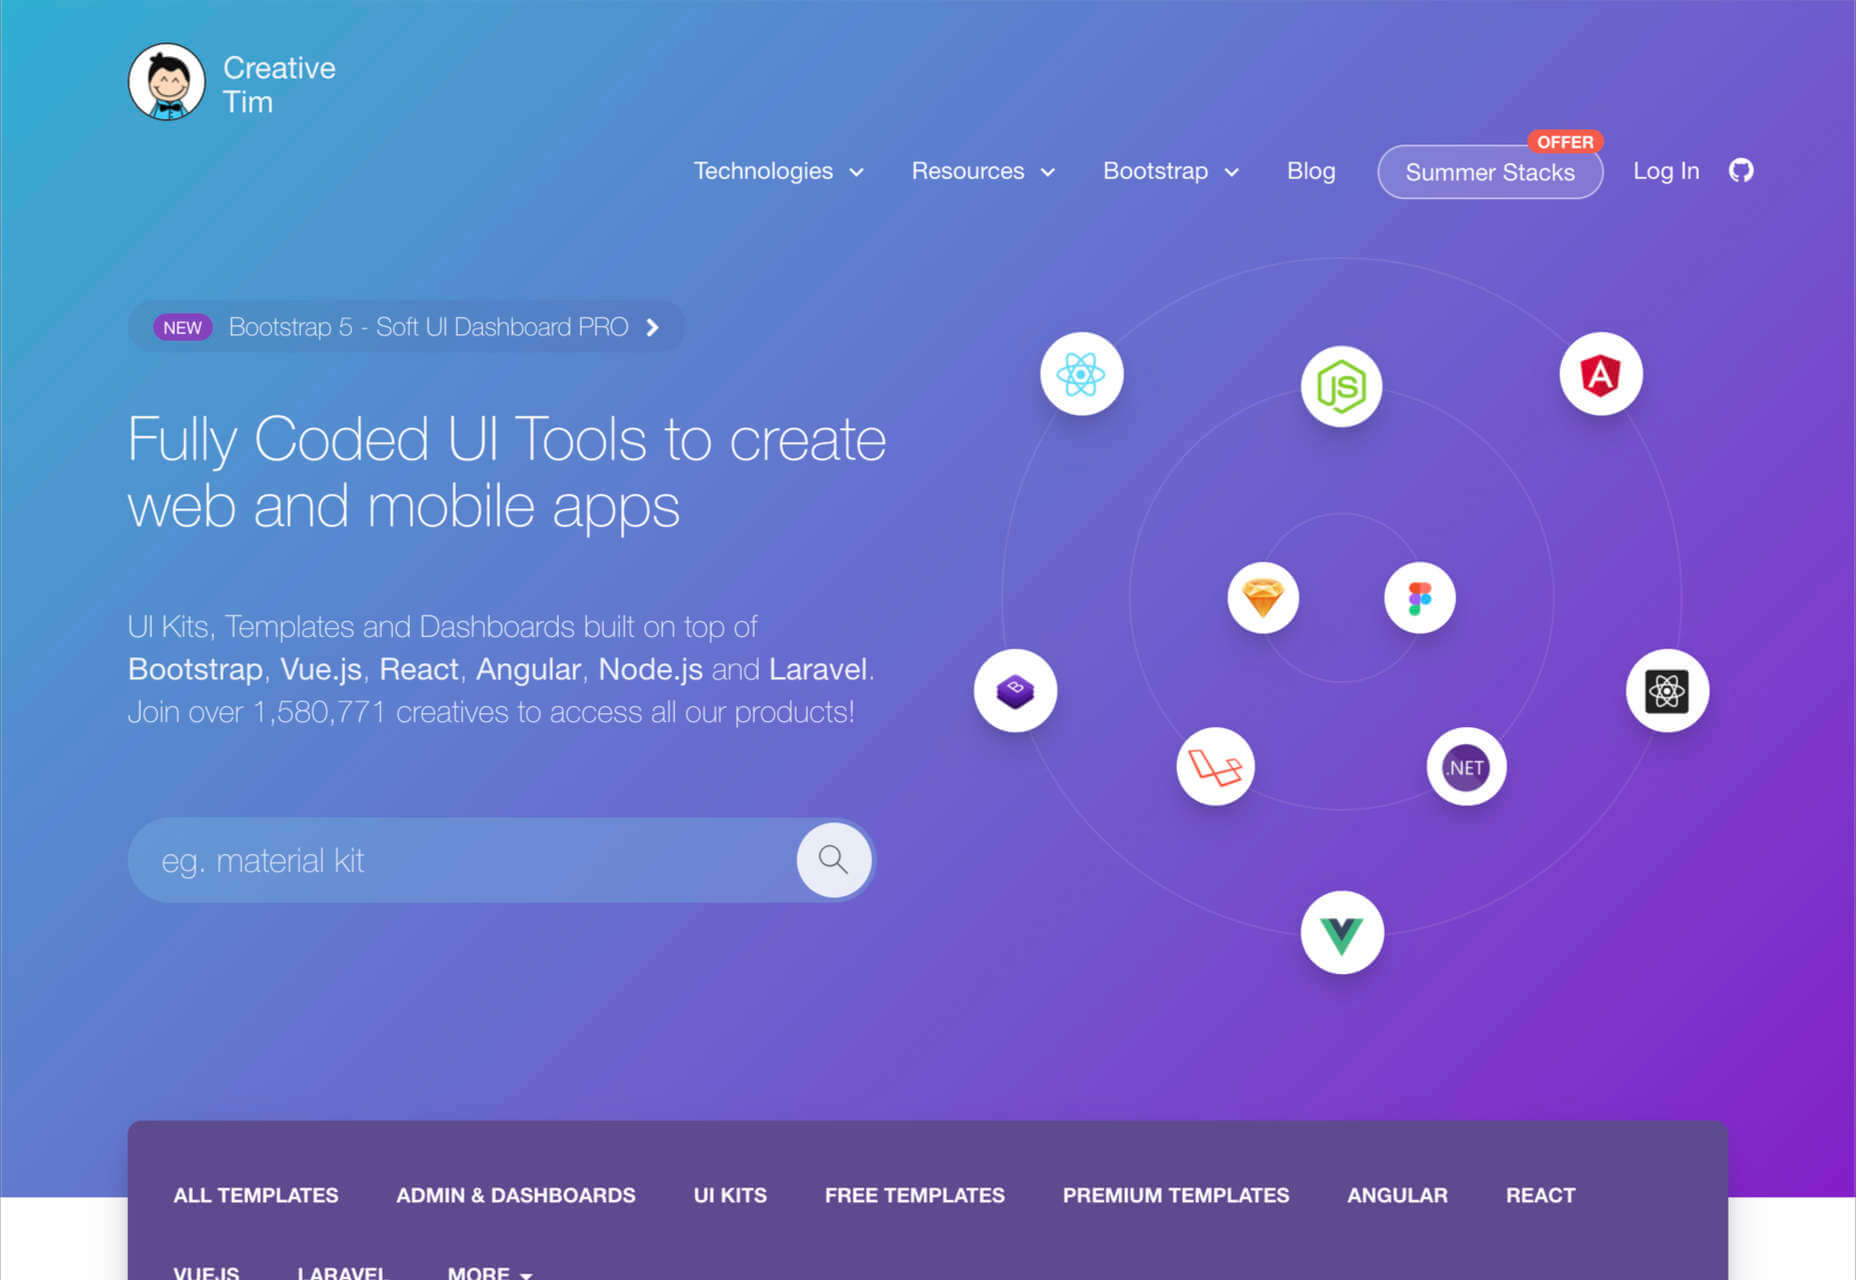
Simple but effective, Creative Tim is an amazing resource for front-end and back-end content bundles. You get fully coded UI tools here that can help you create various mobile and web apps and a huge selection of dashboards and templates. If you’re the kind of designer who likes working on top of things like Bootstrap, React, Angular, Laravel, Node.js, and more, then Creative Tim has you covered. 

This is one of the more technical creative resource packages that we’ve looked at so far, but it has a lot of value to offer. That’s probably why there are already more than 1.5 million people using the service. You can search through administration dashboards, UI kits, premium templates, free content, and design systems. Of course, everything is easy to access too. Features include:

  • Frontend design technologies for endless platforms
  • Soft design, light design, paper design, and more
  • Bootstrap content 
  • Resources and third-party tools
  • Complete design and web kits
  • UI kits and templates
  • Admin and dashboard templates

There’s a free version of Creative Tim available for beginners if you want to keep your costs low, but it’s generally much better to sign up for the premium subscription. You can also purchase kits and templates on a one-off basis if you prefer to start small. However, the best prices generally come from buying the bundles from Creative Tim’s subscription side. 
8. Storyblocks

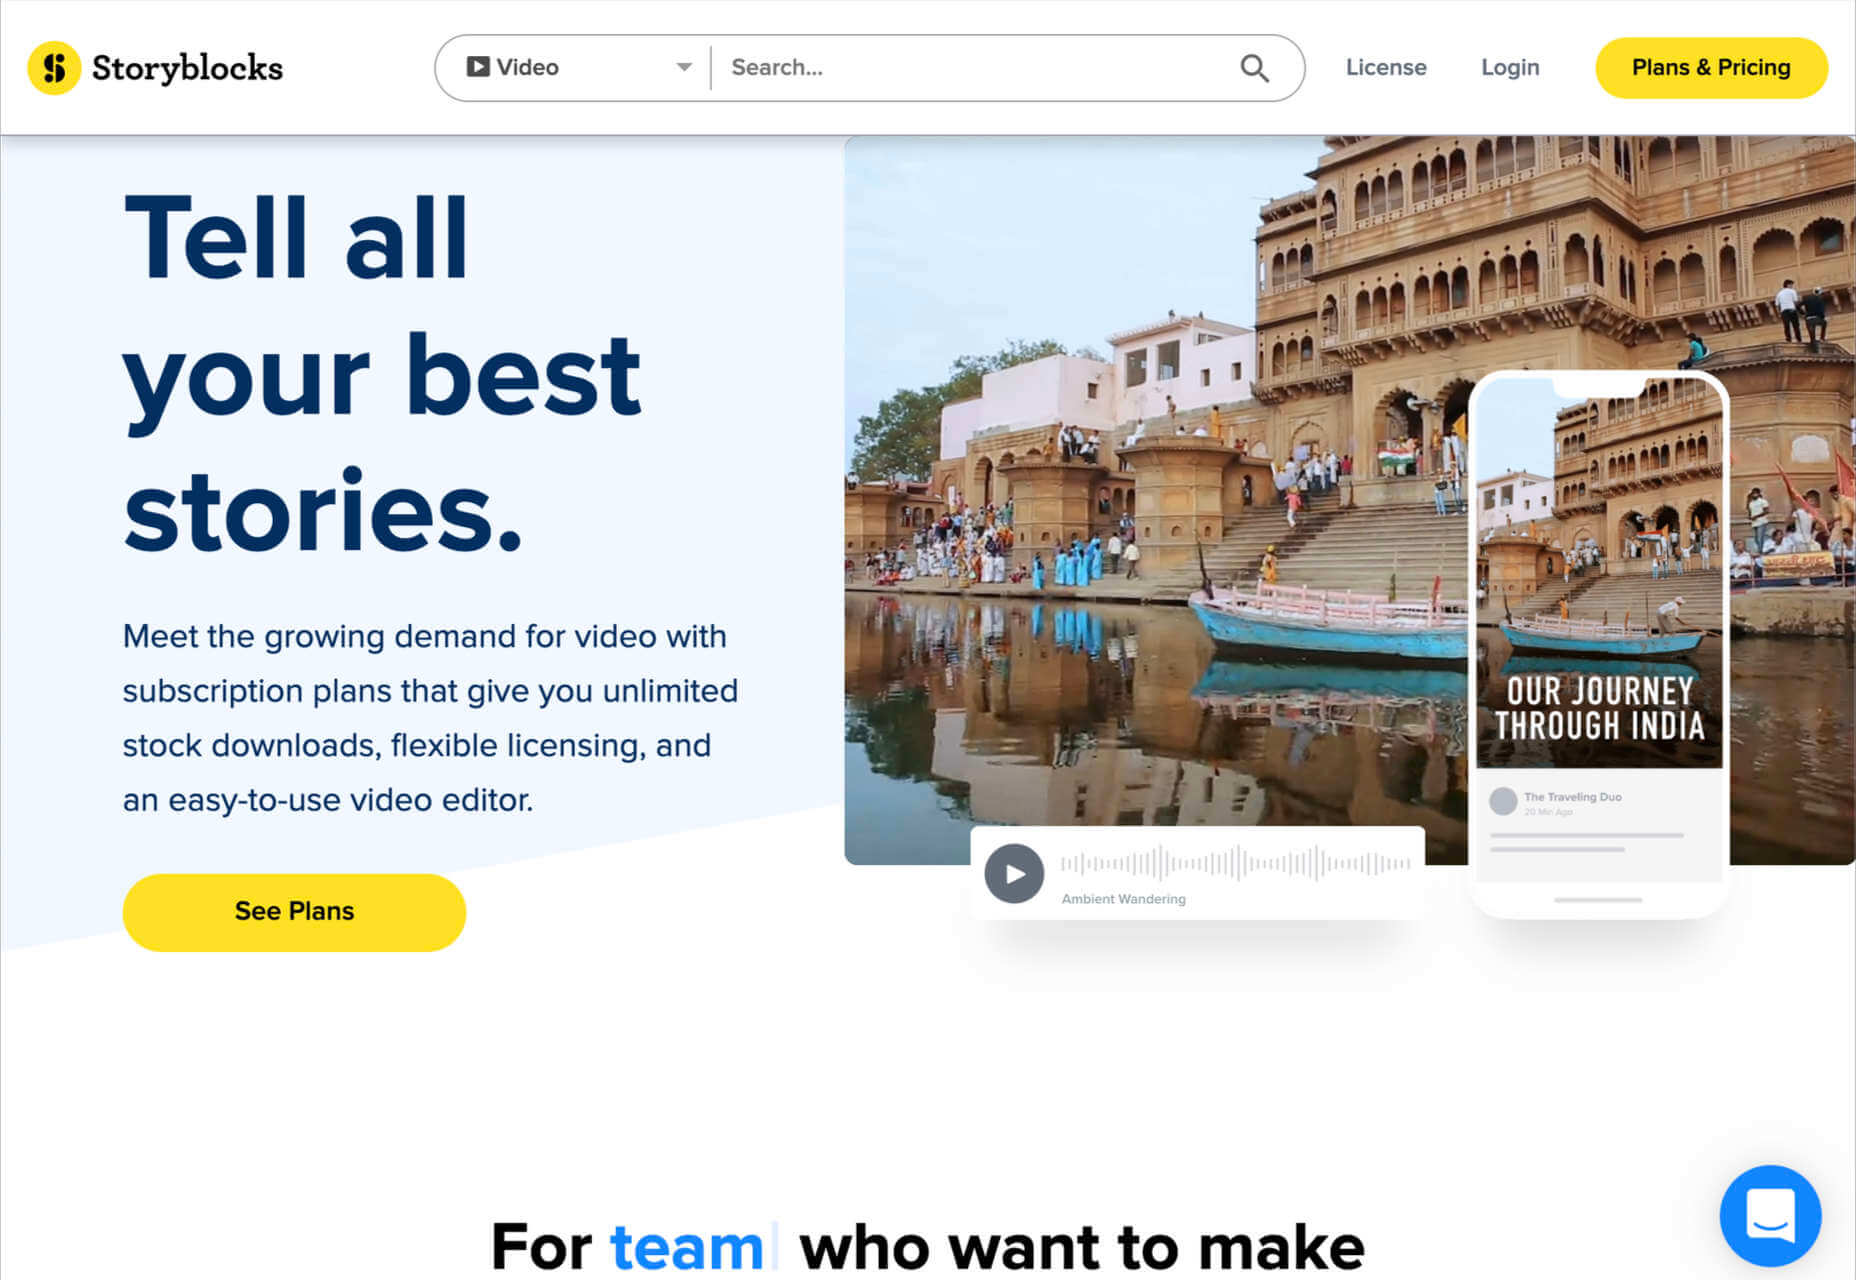
Similar in style to Motion Elements, Storyblocks is a creative design resource for any designer getting involved with the video world. This website is home to some of the best free-to-use videos around, with simple licensing available at a click. Aside from high-quality videos and templates, you also get audio and sound effects as part of your subscription and images or illustrations. 

The unlimited access pass gives you all the resources you might want, from 4K and HD footage to music and sound effects, After Effects templates, and photos, vectors, or illustrations. You can also export a host of your own video projects with access to the Maker video editor, which allows you to make various changes to your custom video content. Features include:

  • HD and 4K video footage
  • After Effects Templates
  • Sound Effects and Music
  • Photos, Illustrations, and Vectors
  • Unlimited video exports
  • Video editor access
  • Licensing support

The standard all-access plan from Storyblocks starts at a very affordable £39 per month for all of the content you might want. In addition, everything you get here is unlimited, so you don’t have to worry about running out of credits. There’s also an enterprise option available if you want to share access to resources with your team.
9. Motion Array

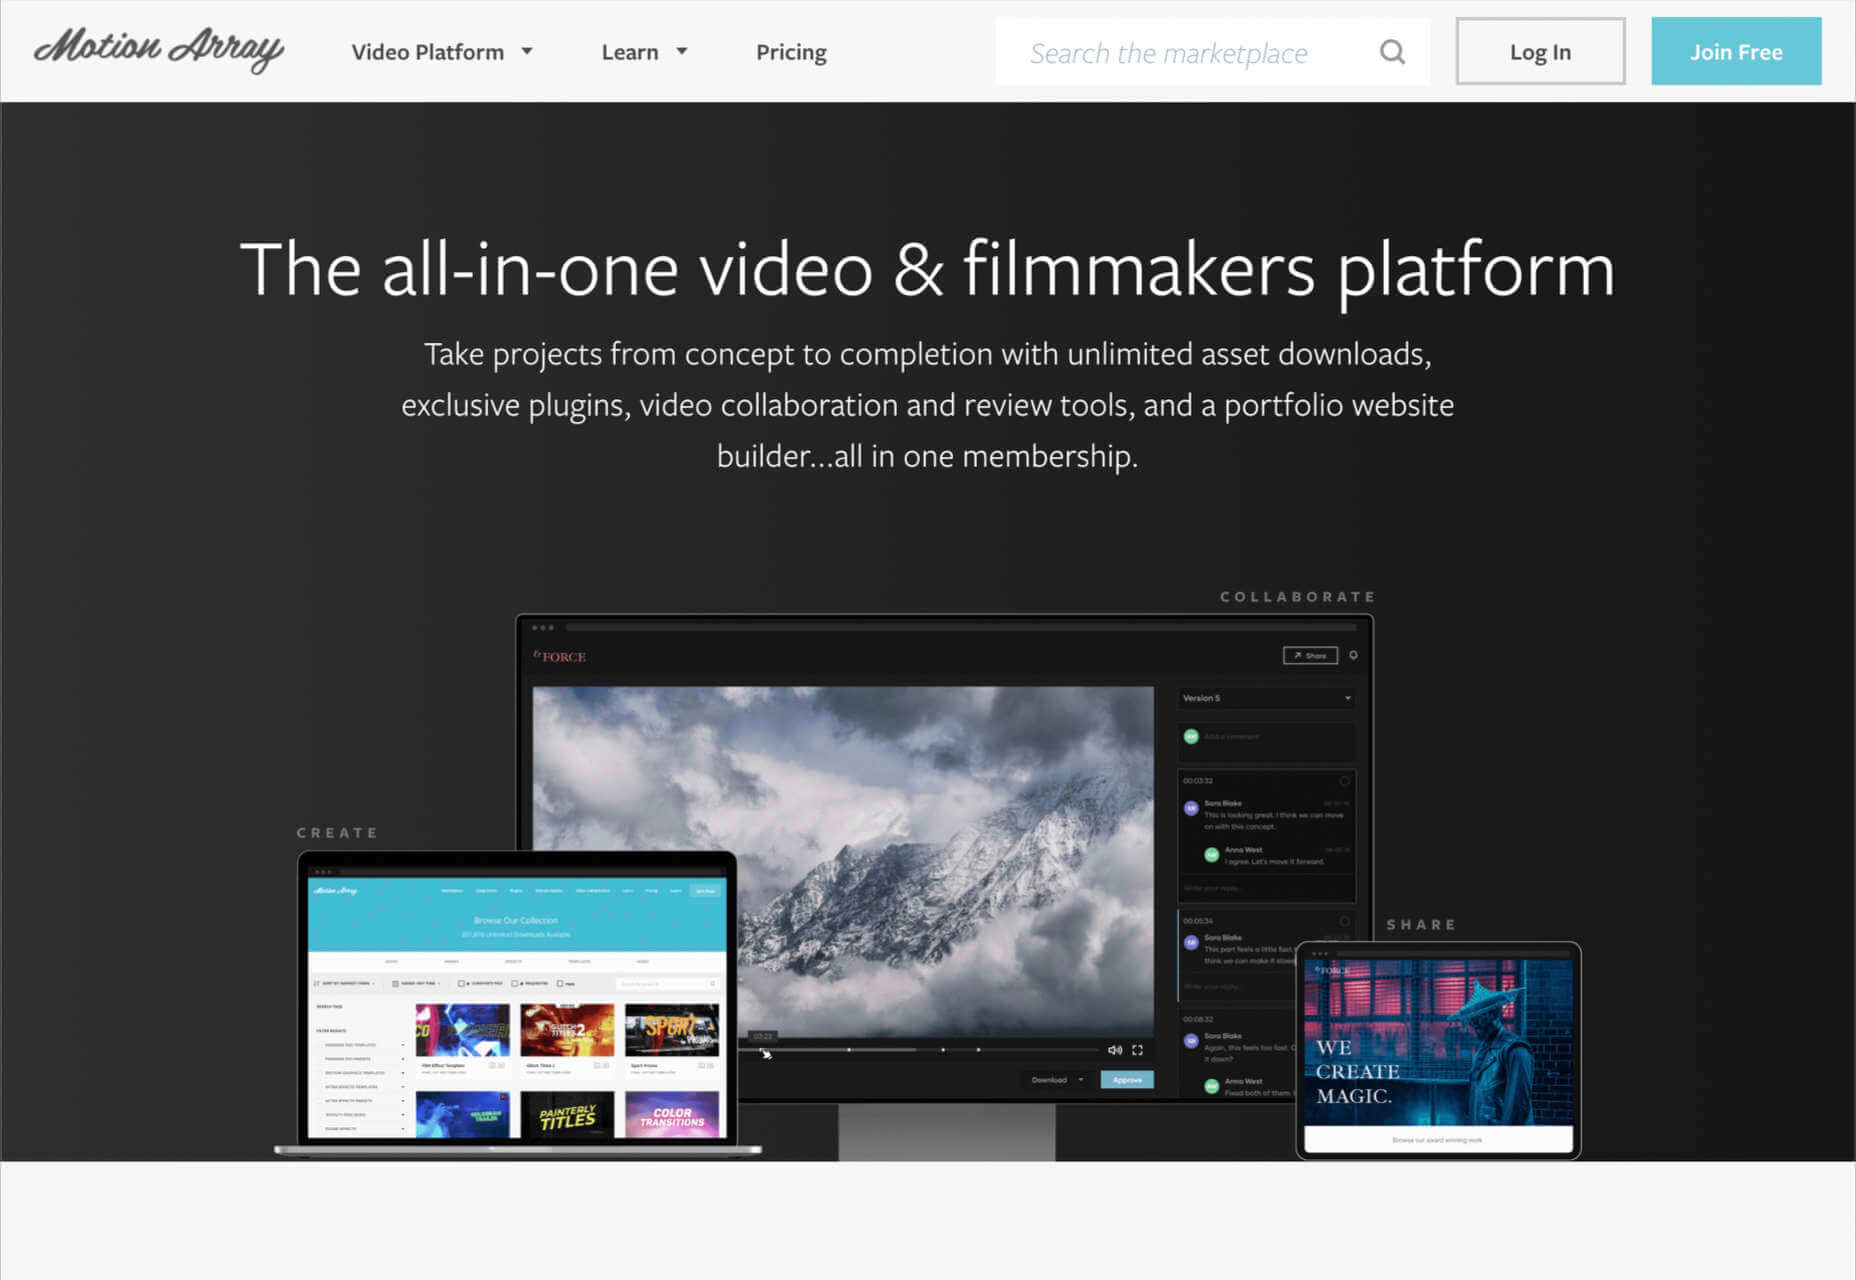
Motion Array is an all-in-one video creation platform for those with an eye for visual content. This fantastic resource center is packed full of valuable tools, from Da Vinci Resolve templates to Adobe Premier Pro Content. As part of your subscription payment, you’ll get endless presets, audio effects, plugins, video footage, tutorials, and more. 

Though a little more expensive than some of the other premier subscription services on the market, Motion Array does offer a lot of content that you can’t get anywhere else. There’s an unlimited marketplace constantly updating with access to royalty-free footage, stock photos, music, and sound effects. You also get plugins built for Premiere Pro. Features include:

  • Adobe Exchange elements
  • Final Cut Pro and DaVinci resolve templates
  • Royalty-free music and sound effects
  • Stock footage and video
  • Photos and images
  • Time-saving integrations with your favorite apps
  • Portfolio site builder
  • Stock media requests

There’s a free subscription option for Motion Array, which you won’t find from most alternatives. This only gives you access to some basic stock photos and assets, but it’s a nice way to start. When you are ready to upgrade, you can pay $29.99 per month for the full stock media library, as well as requests for custom media assets and exclusive plugins.
Start Stocking Up on Designer Resources

As a designer or creative professional, keeping a constant stack of resources available is crucial to your ongoing productivity. Fortunately, there are tons of premium marketplaces out there today, making it easier to access everything you need. 

Whether you’re looking for full UI kits and templates, or you want some free-to-use images and videos for the website content you’re creating, there’s something for everyone. With most monthly subscription services available at a highly affordable price, you could even sign up for multiple sites at once. 

Source

The post 9 Amazing Design-Resource Package Sites first appeared on Webdesigner Depot.

Categories: Designing, Others Tags:

target=”blank”

June 9th, 2021 No comments

Does that make your eye twitch a little bit? Like… it’s a typo. It should be target="_blank" with an underscore to start the value. As in…

<a target="_blank" href="https://codepen.io">
  Open CodePen in a New Tab
</a>

Welp, that’s correct syntax!

In the case of the no-underscore target="blank", the blank part is just a name. It could be anything. It could be target="foo" or, perhaps to foreshadow the purpose here: target="open-new-links-in-this-space".

The difference:

  • target="_blank" is a special keyword that will open links in a new tab every time.
  • target="blank" will open the first-clicked link in a new tab, but any future links that share target="blank" will open in that same newly-opened tab.

I never knew this! I credit this tweet explanation.

I created a very basic demo page to show off the functionality (code). Watch as a new tab opens when I click the first link. Then, subsequent clicks from either also open tab open that link in that new second tab.

Why?

I think use cases here are few and far between. Heck, I’m not even that big of a fan of target="_blank". But here’s one I could imagine: documentation.

Say you’ve got a web app where people actively do work. It might make sense to open links to documentation from within that app in a new tab, so they aren’t navigating away from active work. But, maybe you think they don’t need a new tab for every documentation link. You could do like…

<a target="codepen-documentation" 
  href="https://blog.codepen.io/documentation/">
  View CodePen Documentation
</a> 

<!-- elsewhere -->

<a target="codepen-documentation" 
  href="https://blog.codepen.io/documentation/">
  About Asset Hosting
</a>

The post target=”blank” appeared first on CSS-Tricks.

You can support CSS-Tricks by being an MVP Supporter.

Categories: Designing, Others Tags:

Meet :has, A Native CSS Parent Selector (And More)

June 9th, 2021 No comments

Parent selector has been on developers’ wishlist for more than 10 years and it has become one of the most requested CSS features alongside container queries ever since. The main reason this feature wasn’t implemented all this time seems to be due to performance concerns. The same was being said about the container queries and those are currently being added to beta versions of browsers, so those performance seems to be no longer an issue.

Browser render engines have improved quite a bit since then. The rendering process has been optimized to the point that browsers can effectively determine what needs to be rendered or updated and what doesn’t, opening the way for a new and exciting set of features.

Brian Kardell has recently announced that his team at Igalia is currently prototyping a :has selector that will serve as a parent selector, but it could have a much wider range of use-cases beyond it. The developer community refers to it as a “parent selector” and some developers have pointed out that the name isn’t very accurate. A more fitting name would be a relational selector or relational pseudo-class as per specification, so I’ll be referring to :has as such from now on in the article.

The team at Igalia has worked on some notable web engine features like CSS grid and container queries, so there is a chance for :has selector to see the light of day, but there is still a long way to go.

What makes relational selector one of the most requested features in the past few years and how are the developers working around the missing selector? In this article, we’re going to answer those questions and check out the early spec of :has selector and see how it should improve the styling workflow once it’s released.

Potential Use-Cases

The relational selector would be useful for conditionally applying styles to UI components based on the content or state of its children or its succeeding elements in a DOM tree. Upcoming relational selector prototype could extend the range and use-cases for existing selectors, improve the quality and robustness of CSS and reduce the need for using JavaScript to apply styles and CSS classes for those use-cases.

Let’s take a look at a few specific examples to help us illustrate the variety of potential use-cases.

Content-Based Variations

Some UI elements can have multiple variations based on various aspects — content, location on the page, child state, etc. In those cases, we usually create multiple CSS classes to cover all the possible variations and apply them manually or with JavaScript, depending on the approach and tech stack.

Even when using CSS naming methodology like BEM, developers need to keep track of the various CSS classes and make sure to apply them correctly to the parent element and, optionally, to affected child elements. Depending on the number of variations, component styles can get out of hand quickly and become difficult to manage and maintain leading to bugs, so developers would need to document all variations and use-cases by using tools like Storybook.

With a relational CSS selector, developers would be able to write content checks directly in CSS and styles would be applied automatically. This would reduce the amount of variation CSS classes, decrease the possibility of bugs caused by human error, and selectors would be self-documented with the condition checks.

Validation-Based Styles

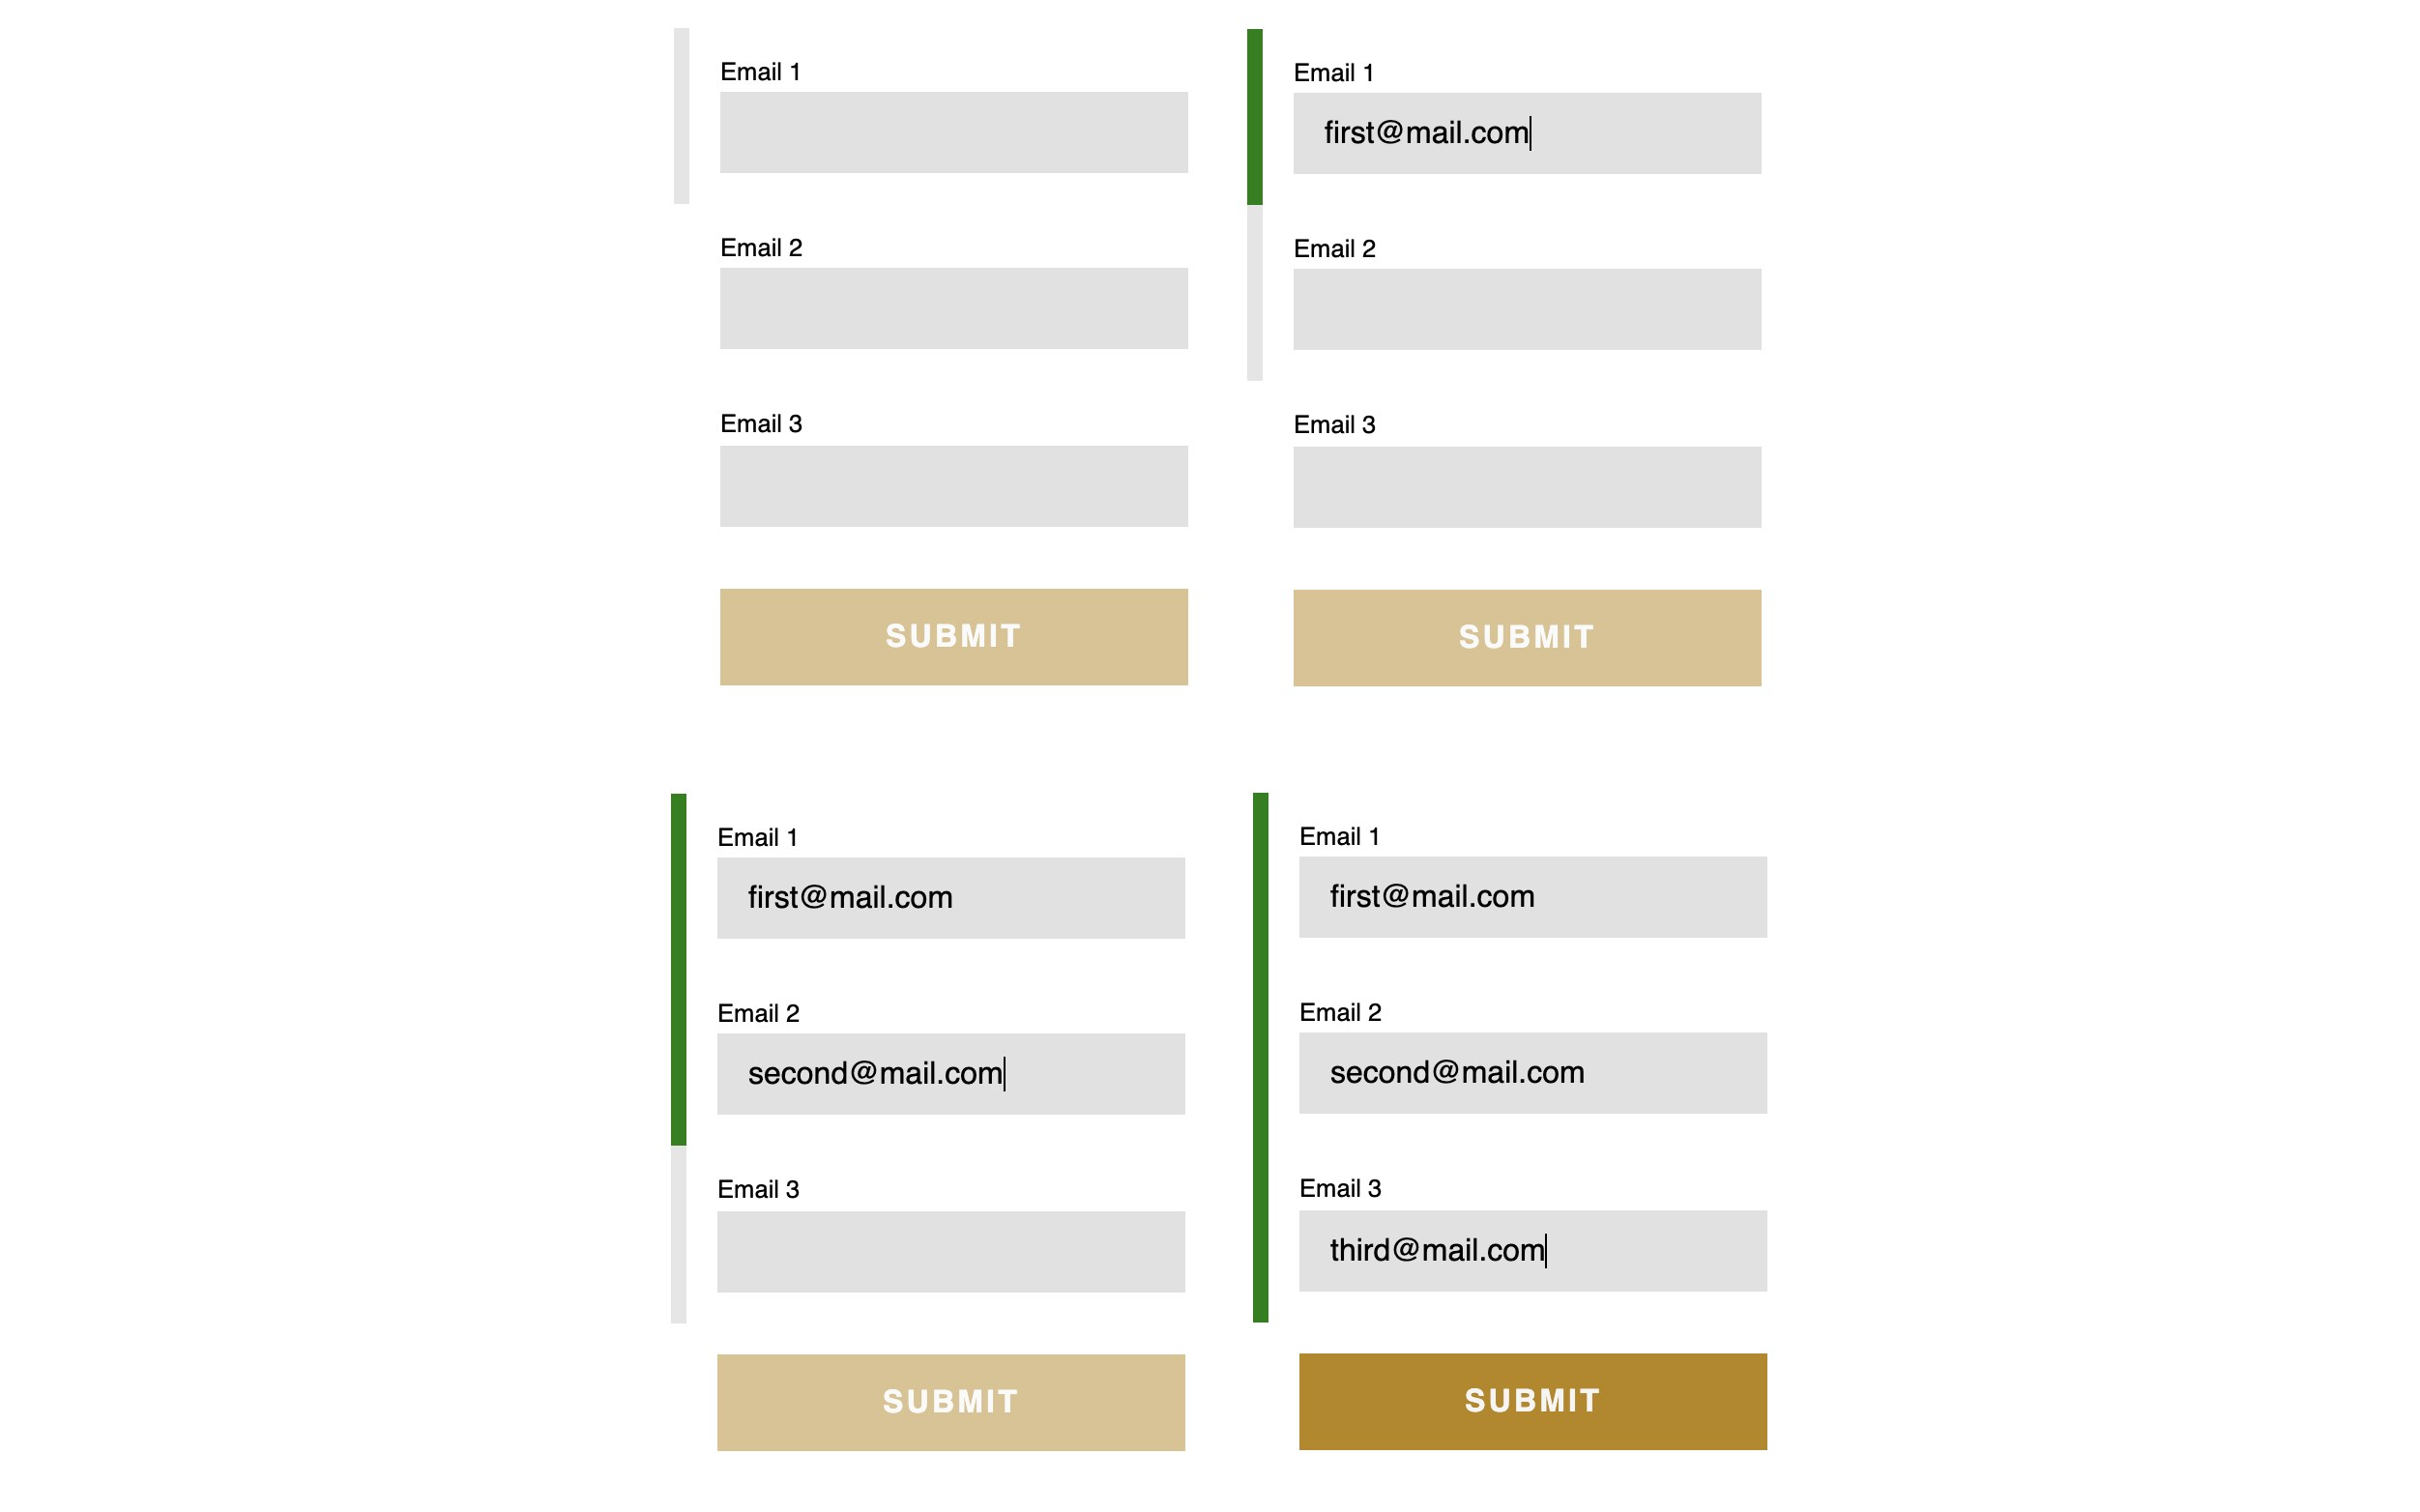
CSS supports input pseudo-classes like :valid and :invalid to target elements that successfully validate and elements that unsuccessfully validate, respectfully. Combined with HTML input attributes like pattern and required, it enables native form validation without the need to rely on JavaScript.

However, targeting elements with :valid and :invalid is limited to targeting the element itself or its adjacent element. Depending on the design and HTML structure, input container elements or preceding elements like label elements also need some style to be applied.

The relational selector would extend the use-case for the input state pseudo-classes like :valid and :invalid by allowing the parent element or preceding elements to be styled based on the input validity.

This doesn’t apply only to those pseudo-classes. When working with an external API that returns error messages that are appended in the input container, there won’t be a need to also apply the appropriate CSS class to the container. By writing a relational selector with a condition that checks if the child message container is empty, appropriate styles can be applied to the container.

Children Element State

Sometimes a parent element or preceding element styles depend on the state of a target element. This case is different from the validation state because the state isn’t closely related to the validity of the input.

Just like in the previous example, :checked pseudo-class for checkbox and radio input elements is limited to targeting the element itself or its adjacent element. This is not limited to pseudo-classes like :checked, :disabled, :hover, :visited, etc. but to anything else that CSS selectors can target like the availability of specific element, attribute, CSS class, id, etc.

Relation selectors would extend the range and use-cases of CSS selectors beyond the affected element or its adjacent element.

Selecting Previous Siblings

CSS selectors are limited by the selection direction — child descendant or following element can be selected, but not the parent or preceding element.

A relational selector could also be used as a previous sibling selector.

Advanced :empty Selector

When working with dynamically loaded elements and using skeleton loaders, it’s common to toggle a loading CSS class on the parent element with JavaScript once the data is fetched and components are populated with data.

Relational selector could eliminate the need for JavaScript CSS class toggle function by extending the range and functionality of :empty pseudo-class. With relational selector, necessary conditions to display an element can be defined in CSS by targeting required data HTML elements and checking if it’s populated with data. This approach should work with deeply nested and complex elements.

CSS :has Pseudo-Class Specification

Keep in mind that :has is not supported in any browsers so the code snippets related to the upcoming pseudo-class won’t work. Relational pseudo-class is defined in selectors level 4 specification which has been updated since its initial release in 2011, so the specification is already well-defined and ready for prototyping and development.

That being said, let’s dive into the :has pseudo-class specification. The idea behind the pseudo-class is to apply styles to a selector if the condition (defined as a regular CSS selector) has been met.

/* Select figure elements that have a figcaption as a child element */
figure:has(figcaption) { /* ... */ }

/ Select button elements that have an element with .icon class as a child */
button:has(.icon) { /* ... */ }

/ Select article elements that have a h2 element followed by a paragraph element */
article:has(h2 + p) { /* ... */ }

Similar to the other pseudo-classes like :not, relational pseudo selector consists of the following parts.

<target_element>:has(<selector>) { /* ... */ }

  • Selector for an element that will be targeted if condition passed as an argument to :has pseudo-class has been met. Condition selector is scoped to this element.

  • A condition defined with a CSS selector that needs to be met for styles to be applied to the selector.

Like with most pseudo-classes, selectors can be chained to target child elements of a target element or adjacent element.

/* Select image element that is a child of a figure element if figure element has a figcaption as a child */
figure:has(figcaption) img { /* ... */ }

/* Select a button element that is a child of a form element if a child checkbox input element is checked */
form:has(input[type="checkbox"]:checked) button { /* ... */ }

From these few examples, it is obvious how versatile, powerful and useful the :has pseudo-class is. It can even be combined with other pseudo-classes like :not to create complex relational selectors.

/* Select card elements that do not have empty elements */
.card:not(:has(*:empty)) { /* ... */ }

/* Select form element that where at least one checkbox input is not checked */
form:has(input[type="checkbox"]:not(:checked)) { /* ... */ }

The relational selector is not limited to the target element’s children content and state, but can also target adjacent elements in the DOM tree, effectively making it a “previous sibling selector”.

/* Select paragraph elements which is followed by an image element */
p:has(+img) { /* ... */ }

/* Select image elements which is followed by figcaption element that doesn't have a "hidden" class applied */
img:has(~figcaption:not(.hidden)) { /* ... */ }

/* Select label elements which are followed by an input element that is not in focus */
label:has(~input:not(:focus)) { /* ... */ }

In a nutshell, relational selector anchors the CSS selection to an element with :has pseudo-class and prevents selection to move to the elements that are passed as an argument to the pseudo-class.

.card .title .icon -> .icon element is selected
.card:has(.title .icon) -> .card element is selected

.image + .caption -> .caption element is selected
.image:has(+.caption) -> .image element is selected

Current Approach And Workarounds

Developers currently have to use various workarounds to compensate for the missing relational selector. Regardless of the workarounds and as discussed in this article, it’s evident how impactful and game-changing the relational selector would be once released.

In this article, we’ll cover two most-used approaches when dealing with the use-cases where relational selector would be ideal:

  • CSS variation classes.
  • JavaScript solution and jQuery implementation of :has pseudo-class.

CSS Variation Classes For Static Elements

With CSS variation classes (modifier classes in BEM), developers can manually assign an appropriate CSS class to elements based on the element’s content. This approach works for static elements whose contents or state won’t change after the initial render.

Let’s take a look at the following card component example which has several variations depending on the content. Some cards don’t have an image, others don’t have a description and one card has a caption on the image.

See the Pen Card variations by Adrian Bece.

For these cards to have the correct layout, developers need to apply the correct modifier CSS classes manually. Based on the design, elements can have multiple variations resulting in a large number of modifier classes which sometimes leads to creative HTML workarounds to group all those classes in the markup. Developers need to keep track of the CSS classes, maintain documentation and make sure to apply appropriate classes.

.card { /* ... */}
.card--news { /* ... */ }
.card--text { /* ... */ }
.card--featured { /* ... */ }

.card__title { /* ... */ }
.card__title--news { /* ... */ }
.card__title--text { /* ... */ }

/* ... */

JavaScript Workaround

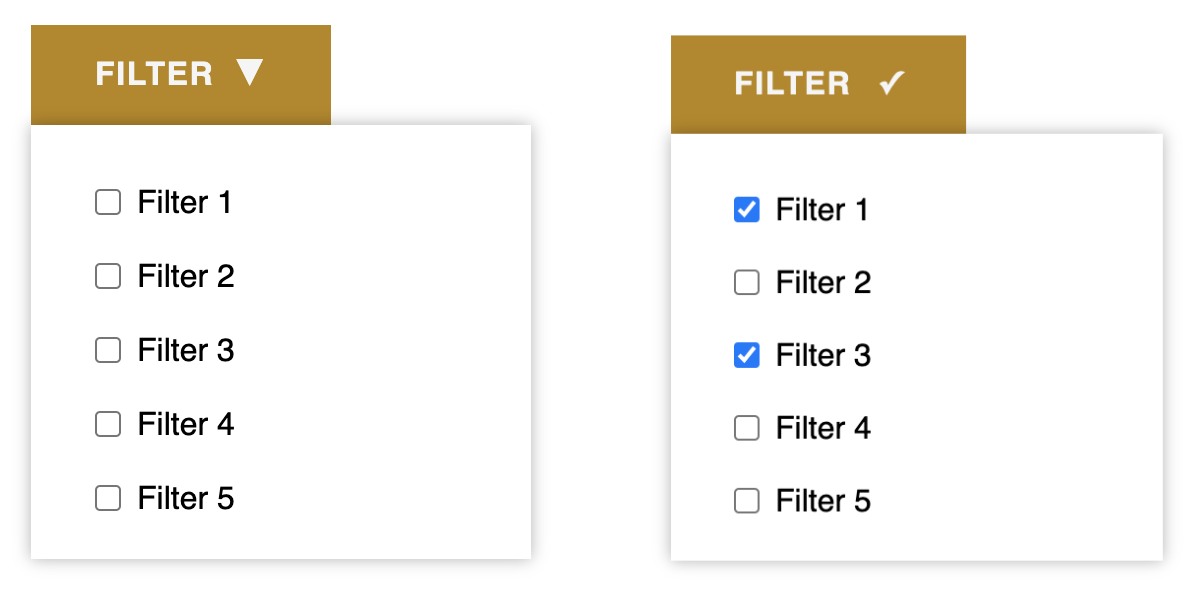
For more complex cases, when the applied parent element style depends on child state or element content that changes dynamically, developers use JavaScript to apply necessary styles to the parent element depending on the changes in the content or state. This is usually handled by writing a custom solution on a case-by-case basis.

See the Pen Filter button state by Adrian Bece.

Relational Selector In jQuery

Implementation of relational :has selector has existed in popular JavaScript library jQuery since 2007 and it follows the CSS specification. Of course, the main limitation of this implementation is that the jQuery line needs to be manually attached invoked inside an event listener, whereas native CSS implementation would be a part of the browser render process and automatically respond to the page state and content changes.

The downside of the JavaScript and jQuery approach is, of course, reliance on JavaScript and jQuery library dependency which can increase the overall page size and JavaScript parsing time. Also, users that are browsing the Web with JavaScript turned off will experience visual bugs if fallback is not implemented.

// This runs only on initial render
$("button:has(+.filters input:checked)").addClass("button--active");

// This runs each time input is clicked
$("input").click(function() {
  $("button").removeClass("highlight");
  $("button:has(+.filters input:checked)").addClass("highlight");
})

See the Pen Email inputs — valid / invalid by Adrian Bece.

Conclusion

Similar to the container queries, :has pseudo-class will be a major game-changer when implemented in browsers. The relational selector will allow developers to write powerful and versatile selectors that are not currently possible with CSS.

Today, developers are dealing with the missing parent selector functionality by writing multiple modifier CSS classes that needed to be applied manually or with JavaScript, if the selector depends on a child element state. The relational selector should reduce the amount of modifier CSS classes by allowing developers to write self-documented robust selectors, and should reduce the need for JavaScript to apply dynamic styles.

Can you think of more examples where parent selector or previous sibling selector would be useful? Are you using a different workaround to deal with the missing relational selector? Share your thoughts with us in the comments.

References

Categories: Others Tags:

10 Restaurant Marketing Tips to Survive the COVID19 Pandemic

June 9th, 2021 No comments

Due to the Coronavirus pandemic hitting restaurants hard, owners had to adapt to survive.

To ensure you sell food and make a profit in these trying times, you need to update your restaurant marketing strategy to fit the current climate. Below, you will find actionable tips that you can use to hit refresh on your marketing efforts.

10 Restaurant Marketing Tips to Use During COVID19

1. Keep in constant touch with your customers

One of the worst things about this pandemic is that it has put a wedge between restaurants and their clients by limiting face-to-face interactions. That’s why you need to capitalize on online communication. Use your website and social media profiles to keep customers informed about any changes to your menu, opening hours, cleaning routine, and more.

Don’t forget to also update your restaurant profiles on third-party websites like Google My Business and TripAdvisor. Wherever customers may stumble upon your restaurant, they should have enough information to make an informed decision. Can they dine in-restaurant or order food online? This brings us to the next point.

2. Start selling your food online

If you’re not offering delivery yet, it’s time to start. First, find a restaurant ordering system that best fits your needs. Then, enable customers to place food orders on your website, which is preferable to using a third-party delivery app because you keep all the profits. You can also take orders on your Facebook page by using Facebook’s ‘Start Order’ button.

If you don’t have a website for your restaurant yet, it’s mandatory that you create one since most of your customers will come from online marketing efforts. And don’t worry if you don’t have any IT knowledge. You can use a restaurant website builder to generate a sales-optimized website without spending a fortune.

3. Revamp your menu to make it more delivery-friendly

The next step in setting up your food delivery business is to look at your current menu and see if every item is suitable for delivery. Some dishes don’t travel well. Instead of sacrificing customer experience, it’s best that you remove them from the delivery menu and replace them with more suitable items.

For example, many restaurants are now selling meal kits and family bundles. These are great for two reasons. They travel well, and they provide enough food to feed an entire family while also giving them a fun activity to do.

4. Sell alcohol to-go

If your local regulations allow it, you can also start delivering alcohol with your meals. That can be beer and wine or cocktail kits that customers can put together at home. People miss going out for drinks as much as they miss a meal at their favorite restaurant, so be there for them.

5. Organize contests and giveaways on social media

Use your social media platforms to bring some excitement into your customers’ lives. And what better way to do that than by organizing contests and giveaways where they can win prizes? Whether that’s a free meal at your restaurant or a gift card they can share with a friend, you will raise engagement and interest without too much hassle.

Not to mention these types of contests can also provide you with free, user-generated content for your social media channels. Ask customers to recreate one of your recipes and tag you on Instagram. Then, you can share the results on your stories.

6. Add a thank you card to every delivery bag

Ever since the pandemic started, customers have stepped up and supported their favorite local business through thick and thin. The least you can do, as a restaurant owner, is to show them their support is appreciated. There are many ways you can do that, from offering constant promotions and discounts to simpler things that won’t cost you anything.

One of these things can be a hand-written thank you note placed in every delivery bag. These personalized tokens of appreciation can go a long way in securing customer loyalty and creating repeat business.

7. Offer customers something more than food

When people are sick of ordering takeout, come to their aid by sharing a few recipes of your most popular menu items that they can try to recreate at home. This won’t hurt your sales in any way, and it will bring you appreciation and gratitude from your customers.

Similarly, take a more personal approach on social media by sharing behind-the-scenes clips of your chef preparing a meal while offering professional advice. You can even ask your bartender to mix some cocktails for your viewers’ entertainment.

8. Provide no-contact delivery options

A great added benefit of any online ordering system is the ability to offer zero-contact order fulfillment options to your customers. That can be curbside pickup or no-contact delivery where the driver leaves the order at their doorstep. These options will make customers feel safer and better-taken care of by their favorite restaurant.

9. Partner up with local influencers

Food and restaurant influencers are also affected by the COVID19 pandemic. Reach out to influencers in your area and propose mutually beneficial partnerships. Depending on your budget, you might be able to promote your food to their followers and expose your restaurant to a broader audience.

If you don’t know any influencers in your area at the top of your head, the easiest solution is to use an influencer finding tool from the many that exist online.

10. Offer timely discounts and promotions

This is also a time to be creative with your restaurant promotions. Offers and discounts that speak to the current situation will naturally attract customers to your restaurant. Create themed evenings like “Lockdown Date Night,” “Friday Family Fiesta,” or “Zoom Movie Night.”

Pair them up with unique promotions like two desserts on the house, a serving of nachos for free with any order, or 20% off your pizza menu, plus a free drink. The choices are endless; you just have to think about what would most appeal to your customers.

Conclusion

If there’s one thing the Coronavirus pandemic has taught restaurant owners worldwide, they have to be ready for anything and learn to adapt fast. All that’s left for you to do now is make the most of a challenging situation. How? By learning how to promote your restaurant on a budget, with limited resources.

The tips and tricks above will help you stand out from the crown of restaurants fighting for the same thing: the attention of foodies and increased profits through customer loyalty.

Photo by Louis Hansel on Unsplash

Categories: Others Tags:

Looking at WCAG 2.5.5 for Better Target Sizes

June 8th, 2021 No comments

Have you ever experienced the frustration of trying to tap a button on a mobile device only to have it do nothing because the target size is just not large enough **and it’s not picking up on your press? Maybe you have larger fingers, like I do, or maybe it’s due to limited dexterity. This is because the sadly ever-decreasing target area of elements we, the users, have to interact with.

Let’s talk about target size and how to make it large enough for users to easily interact with an element. This is an especially big deal if a user is accessing content on a small hand-held touch screen device where real estate is much tighter.

Success criterion revisited

I touched (no pun intended) on Success Criterion in a previous article covering the WCAG 2.1 criterion, Label in Name. In short, the WCAG criteria is the baseline from which we determine whether our work is “accessible.”

If you’re wondering whether there’s a criterion for target size, the answers is yes. It’s WCAG 2.5.5. Pulling straight from the guidelines. passing WCAG 2.5.5 with a AAA grade requires “the size of the target for pointer inputs is at least 44 by 44 CSS pixels except when:

  • Equivalent: The target is available through an equivalent link or control on the same page that is at least 44×44 CSS pixels;
  • Inline: The target is in a sentence or block of text;
  • User Agent Control: The size of the target is determined by the user agent and is not modified by the author;
  • Essential: A particular presentation of the target is essential to the information being conveyed.”

What could possibly go wrong?

It’s just a size, right? Easy peasy. Nothing can possibly go awry.

Or can it?

Small target sizes can cause accessibility hurdles for many people. Have you ever been traveling in a vehicle on a bumpy road and you’re trying to interact with an app on your mobile can not press on an element? That is an accessibility hurdle. Those with motor skill or cognitive impairments will have a much harder time because it is much harder for them if the target size is too small and does not meet WCAG requirements.

I don’t mean to pick on Twitter here, but it’s the first notable example I found while hunting for examples of small targets.

There are some good examples of small targets in here, from the tiny contextual menu to the actions in the footer of a tweet, and even the small icons to add topics to a timeline. And notice that even with a properly sized target, like the floating button to compose a tweet, it overlaps with another target, obstructing access to it.

Imagine the hurdles someone with neuromuscular disorders, such as Multiple Sclerosis, Cerebral Palsy, arthritis, tremors, or Alzheimer’s Disease or any other motor impairment would have to overcome to activate a target in any of those cases.

Another favorite example I see quite often? Ads. Have you ever struggled to click the minuscule “X” button to close them?

You’re not alone if you’ve ever struggled to click, let alone even locate, the close button.

Having no motor skill or cognitive disabilities personally, I find myself fumbling around and taking multiple times to hit some target areas. The fact that someone who needs to use something like a pen or stylus on a target size that is not a minimum of 44×44 pixels can be a difficult task. These targets shouldn’t need multiple attempts to activate when the target size doesn’t meet recommended guidelines.

Target size considerations

WCAG 2.5.5 goes into specific detail to help us account for these things by defining the four types of controls we just saw: equivalent, inline, User Agent, and essential.

We’re going to look at different considerations for determining target sizes and hold them up next to the WCAG guidelines to help steer us toward making good, accessible design decisions.

Consider the difference between “click” and “tap”

This success criteria ensures that target sizes are large enough for users to easily activate targets, even if the user is accessing these targets on handheld devices. We typically associate small screens with “taps” instead of “clicks” when it comes to activating targets. And that’s something we need to consider in our target sizing.

Mice and similar input devices use a pointer on the screen, which is considered “fine” precision because it allows a user to access an element on the screen with exact precision. Fine precision makes it easier to access smaller target sizes in theory. The trouble is, that sort of input device can be tough for some users, whether it’s with gripping the device, or some other cognitive or motor skill. So, even with fine precision, having a clear target is still a benefit.

A Tale of Two Targets: Combining padding and color can help increase the size of a tap target while making it visually clear.

Touch, on the other hand, can be problematic as it is an input mechanism with very “coarse” precision. Users can lack a level of fine control when using a mouse or stylus, for example. A finger, which is larger than a mouse pointer, generally obstructs a user’s view of the exact location on the screen that is being activated or touched. Hence, “course” precision.

A smaller pointer offers more precision than a larger thumb when it comes to interacting with an element.

This issue is exacerbated in responsive design, which needs to accommodate for numerous types of fine and coarse inputs. Both input types must be supported for a site that can be accessed by a desktop or laptop with a mouse, as well as a mobile device or tablet with a touch screen.

That makes the actual size we use for a target a pretty important detail. Depending on who is using a control, what that control does, how often it’s used, and where it’s located, we ought to consider using larger, clearer targets to prevent things like unintended actions.

But with all this said, we do actually have a CSS media query that can detect a pointer device so we can target certain styles to either fine or coarse input interactions, and it’s well-supported. Here’s an example pulled right out of the spec:

/* Make radio buttons and check boxes larger if we have an inaccurate primary pointing device */
@media (pointer: coarse) {
  input[type="checkbox"], input[type="radio"] {
    min-width: 30px;
    min-height: 40px;
    background: transparent;
  }
}

But wait. While this is great and all, Patrick H. Lauke offers a word of caution about this interaction media query and it’s potential for making incorrect assumptions.

Consider that different platforms have different requirements

When WCAG specifies exact values, it’s worth paying attention. Notice that we’re advised to make target sizes at least 44×44 pixels, which is mentioned no fewer than 18 times in the WCAG 2.5.5 explainer.

However, you may have also seen similar requirements with different guidance from the likes of Apple’s “Human Interface Guidelines” for iOS, and Google’s “Material Design” in their platform design requirements.

“Try to maintain a minimum tappable area of 44pt x 44pt for all controls.” (Apple, “Human Interface Guidelines”)
“Consider making pointer targets at least 44 x 44 dp.”
(Material Design, “Accessibility”)

Consider the “tappable area” of a target

Notice that Apple’s platform requirements refer to a “tappable area” when describing the ideal target size. That means that we’re talking about space as much as we are about the appearance of a target. For example, Google’s Material Design suggests at least a 48×48 dp (density-independent pixels) target size for interactive elements. But what if your design requirements call for a 24×24 dp icon? It’s totally legit to use padding in our favor to create more interactive space around the icon, comprising the 48×48 dp target size. Or, as it’s documented in Material Design:

Touch targets are the parts of the screen that respond to user input. They extend beyond the visual bounds of an element. For example, an icon may appear to be 24×24 dp, but the padding surrounding it comprises the full 48×48 dp touch target.

CodePen Embed Fallback

Consider responsive layout behavior

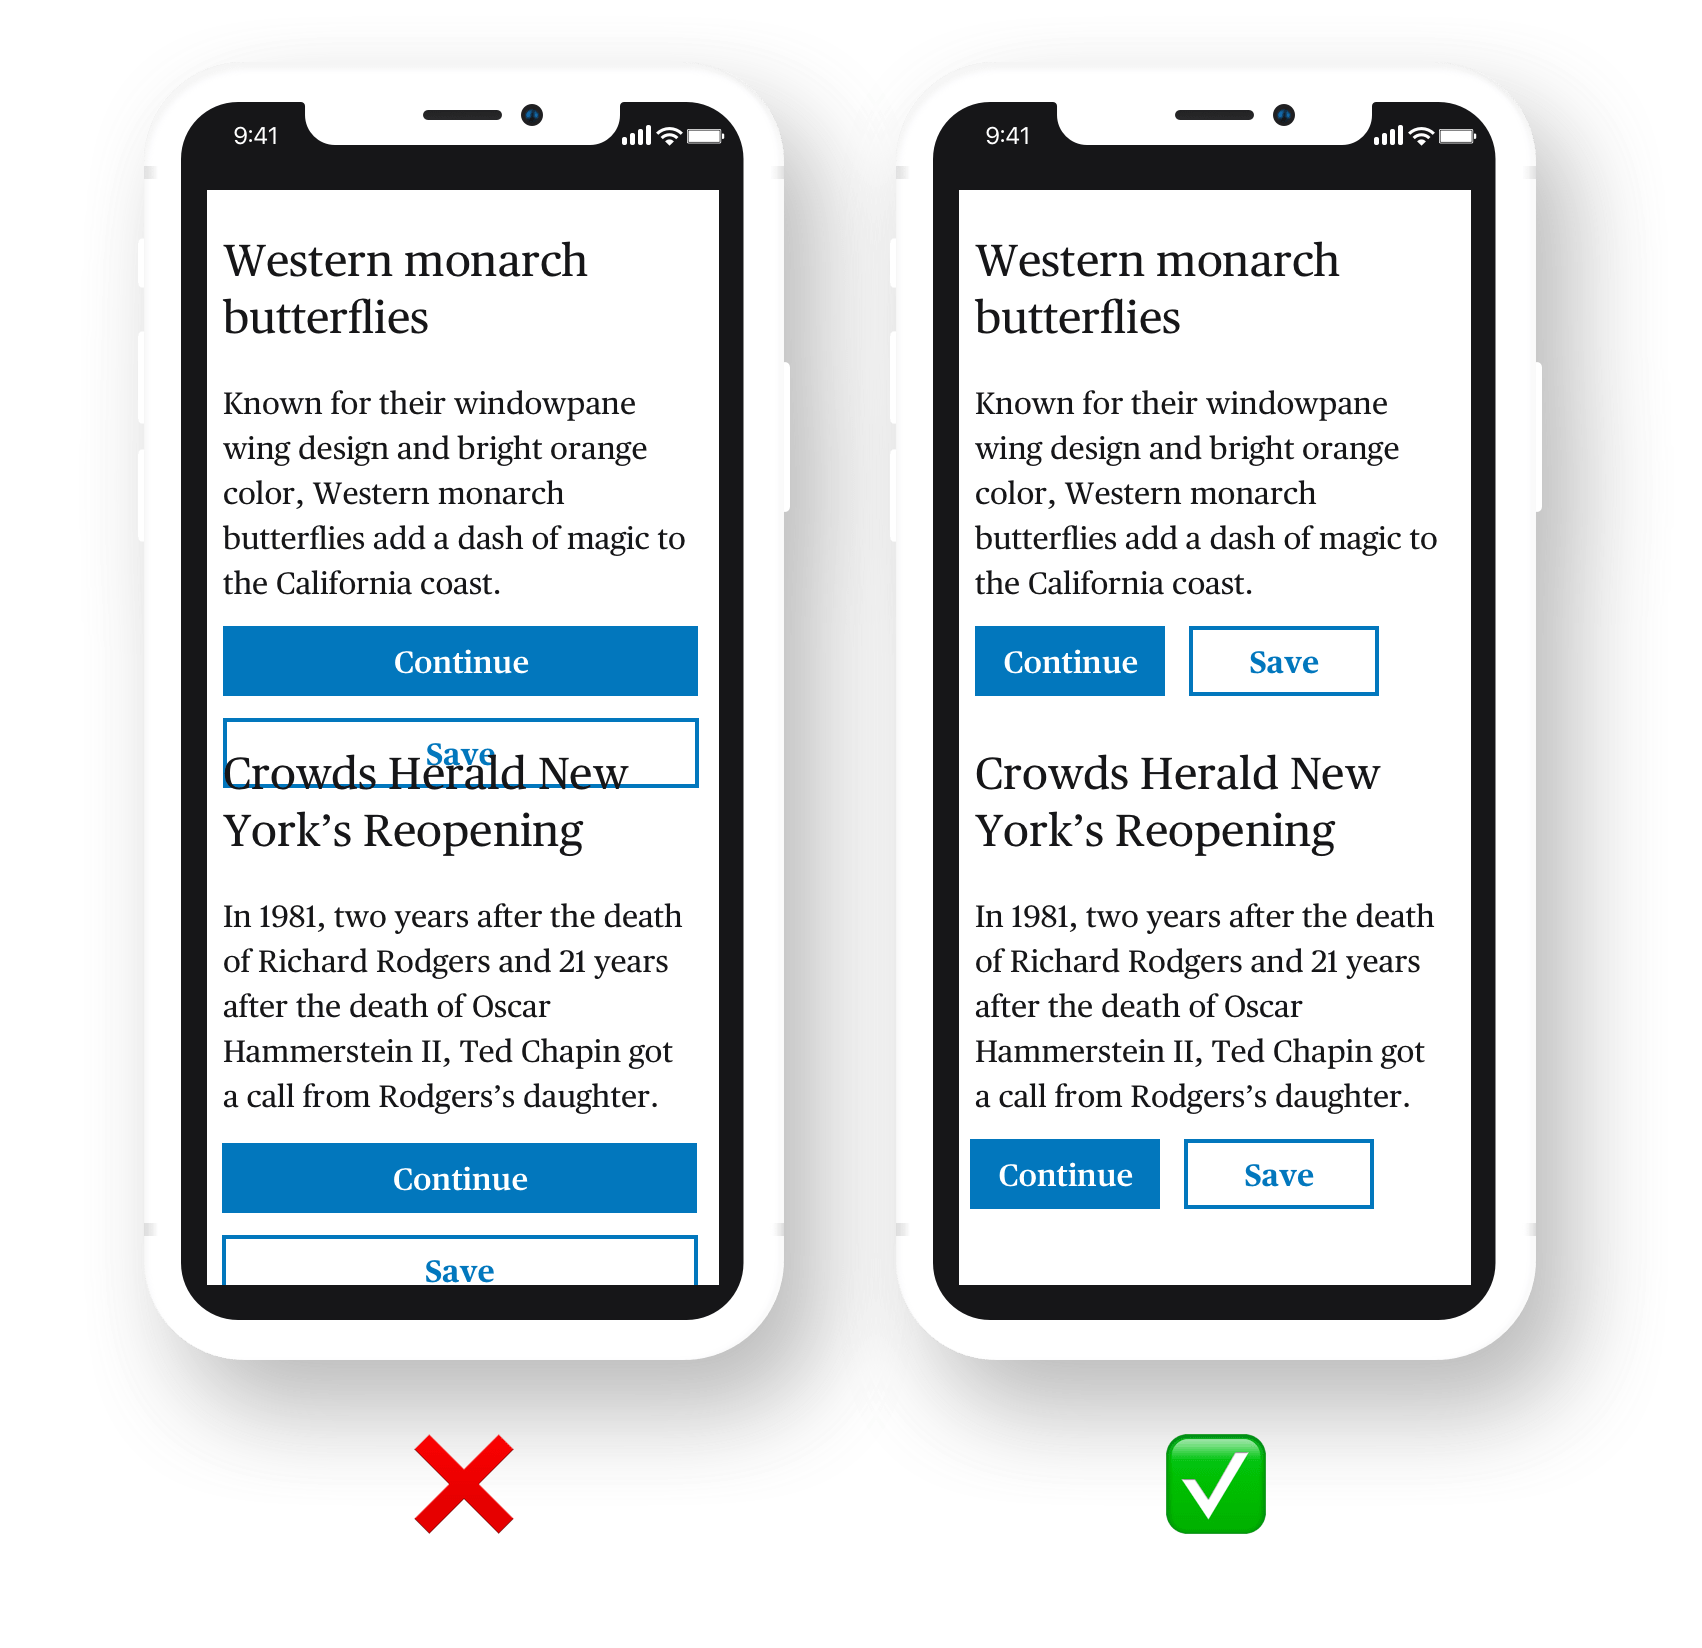
That’s right, we’ve gotta consider how things shift and move around in a design that’s meant to respond to different viewport sizes. One example might be buttons that stack on small screens but are inline on larger screen. We want to make sure that transition accounts for the placement of surrounding elements in order to prevent overlapping elements or targets.

Speaking of inline, there’s a particular piece of the WCAG’s exception for inline targets that’s worth highlighting:

Inline: Content displayed can often be reflowed based on the screen width available (responsive design). In reflowed content, the targets can appear anywhere on a line and can change position based on the width of the available screen. Since targets can appear anywhere on the line, the size cannot be larger than the available text and spacing between the sentences or paragraphs, otherwise the targets could overlap. It is for this reason targets which are contained within one or more sentences are excluded from the target size requirements.

(Emphasis mine)

Now, we’re not necessarily talking about buttons that are side-by-side here. We can links within text and that text might break the target’s placement, possibly into two lines.

While it might be difficult to tap one target without inadvertently tapping the other, the WCAG makes an exception for inline targets, like links within paragraphs.

Consider the target’s relationship to its surroundings

We just saw how inline links within a block of text are exempt from the 44×44 rule. There are similar exceptions depending on the target’s relationship to the elements around it.

Let’s take the example that the WCAG explainer provides, again, in it’s description of inline target exceptions:

If the target is the full sentence and the sentence is not in a block of text, then the target needs to be at least 44 by 44 CSS pixels.

That’s a good one. We ought to consider whether the target is its own block or part of a larger block of text. If the target is its own block, then it needs to abide by the rules, whether it’s a button with a short label, or a complete sentence that’s linked up. On the flip side, a complete sentence that’s linked up inside another block of text doesn’t have to meet the target size requirements.

If the target is its own block of text (left), then it needs to adhere to the WCAG criterion. Otherwise, it is exempt (right).

You might think that something like a linked icon at the end of a sentence or paragraph would need to play by the rules, but the WCAG is clear that these targets are exempt:

A footnote or an icon within or at the end of a sentence is considered to be part of a sentence and therefore are excluded from the minimum target size.

And that makes sense. Imagine content with a line height of, say 32 pixels and an icon at the end that’s all padded up to be 44×44 pixels and how easy it would be to inadvertently activate the icon.

CodePen Embed Fallback

Consider whether the target is styled by the User Agent

If the target is completely un-styled — in the sense that you’ve added no CSS to it — and instead takes on the default styles provided by the browser, then there’s no need to stress the 44×44 rule. That makes sense. The User Agent is like system-level UI so changing it superficially with our own styles would be overriding an entire system which could lead to inconsistencies in that UI.

You’re fine just as you are, little button.

So, yeah, if you’re rockin’ a default

Categories: Designing, Others Tags:

The best PDF editors in 2021

June 8th, 2021 No comments
Best PDF editor 2021

Portable Document Formats (PDFs) are a big part of modern business life, used for exchanging electronic documents.

Regardless of the business industry, everyone must have come across a PDF file, at least once in their life. PDFs are mostly preferred as they can keep the format as is since they are mainly designed for viewing not editing the file. 

Yet, there will be times when you need to be the PDF whisperer; you’ll need to make some edits or adjustments to your PDF file to make the format even better. So we rounded up 5 PDF Editor Tools for you to choose “the one” and show your magic!

Best PDF Editors

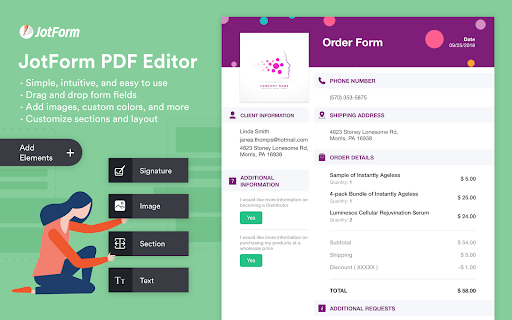
JotForm PDF Editor 

JotForm takes the PDF game a step forward by presenting amazing options for designs, automation processes, widgets, and integrations.

JotForm PDF Editor is all about simplifying and easing. Creating contracts, invoices, agreements, etc. will no longer be a time-consuming part of your daily workflow. 

JotForm PDF Editor

You can use your current data to create a PDF document with JotForm PDF Editor. You can choose among 900+ PDF templates and transfer your data; or create a custom one by using the drag and drop PDF builder option, which turns your form data into PDF documents. 

If you wish to import a form from a webpage, that’s doable, too!

You could seamlessly use e-signatures, smart annotations, and password protection in your PDFs to streamline your daily efforts and speed up the whole operational process. In addition, integrations with third parties such as Google Drive, Zoom, Slack, and many more, could help you adapt JotForm PDF Editor to your workflow. 

It’s also possible to even use JotForm PDF Editor in the healthcare industry as JotForm products are HIPAA compliant. Having said that, PDF documents covering sensitive patient information such as medical history, consents, hospital discharge, etc. could be safely created with JotForm.

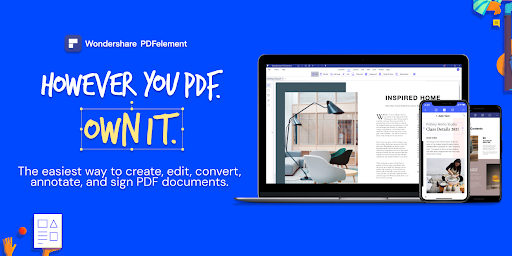
Wondershare PDFelement

Wondershare’s PDFelement is a PDF writer, presenting the option to change any element in a PDF file. These elements could be listed as texts, images, hyperlinks, headers/footers, watermarks and so on. 

It’s possible to handle the text editing process under a single toolbar by using the panel to modify the font, color, alignment, etc. Also, from the ribbon toolbar, you may add hyperlinks to the text by choosing an anchor text. You can also easily take the product tour on their website to even further discover other features.

Wondershare PDF Element

PDFelement also lets you play around with the images on a PDF document; you could rotate, flip, extract, or replace. It’s also possible to add an image or color to the background and make edits on it. 

With PDFelement, you can create PDFs from 300+ file types, organize pages and files, convert PDFs into other formats, supported with cloud storage, e-signature services, and the availability for multiple platforms, including Windows, Mac, and iOS.

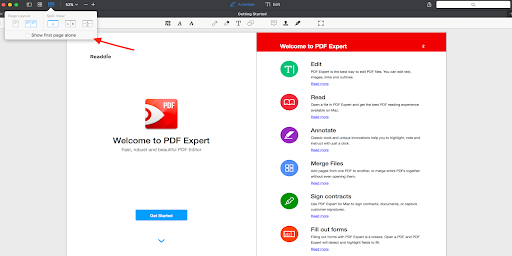
PDF Expert

PDF Expert is a PDF editing tool that is only available on Apple devices. PDF Expert especially stands out with its clean, modern, and user-friendly interface. 

PDF Expert

Text, image & link editing, text annotation, page numbering, form filling, document signing are some of the features to be applied to PDF documents. They are also offering a solution for the PDF document sizes meaning that they make it possible to compress any PDF file. 

It’s also possible to combine files from different sources and merge PDFs. You can also extract specific pages out of your PDF document and send them for review if needed.

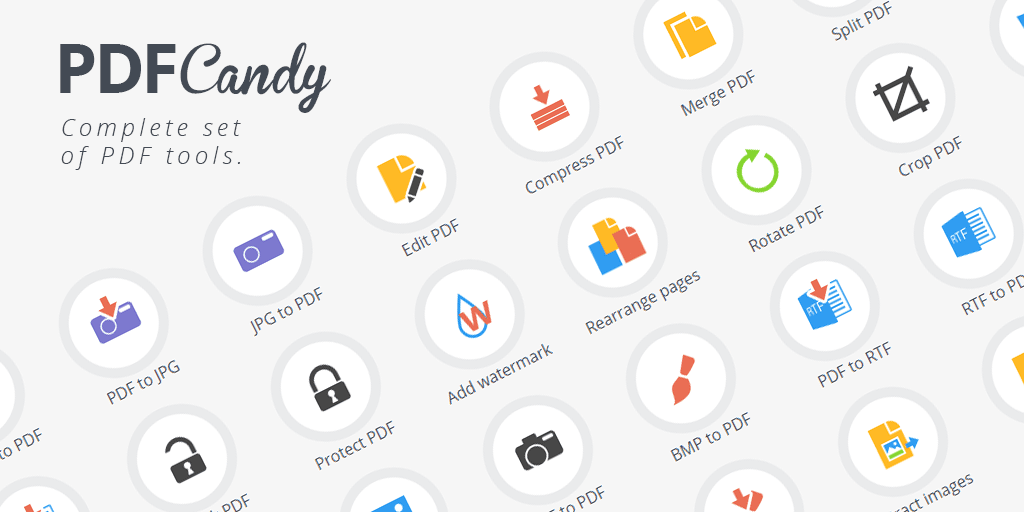
PDF Candy 

PDF Candy gives the option to upload files from Dropbox or Google Drive or the PDF Candy Team is offering a drag and drop option to ease the user experience.

PDF Candy

PDF Candy is notable with its wide range of tools; as they are providing online and offline PDF editing tools (44 to give an exact number), for editing or modifying PDF documents which are not limited to but can be listed as merging, compressing, OCR, page numbering, rotating, etc. It’s possible to choose your “Favorite” for faster access among the rest of the tools. You can also share your favorites on your social media to spread the word about it!

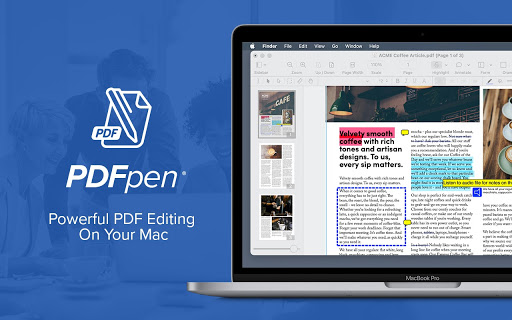
PDFpen

PDFpen is another PDF editing tool for Apple products; Mac, iPad, and iPhone.

What is remarkable about PDFpen? It’s possible to work without a designer as they are providing services for OCR, converting files, text editing, markups, compressing, magnifying, etc.

PDFpen

With PDFpen’s broad tools options & features, you can add signatures and comments, merge documents, redact sensitive information, fix typos to better manage your day-to-day operations on your Apple devices 

So there you have it, some of the best PDF Editors in the market, feel free to try them out and see which one is the best fit for your business, do you think we missed any? Please let us know in the comment section, happy editing! 

Categories: Others Tags: