Archive

Archive for November, 2021

Exciting New Tools For Designers, November 2021

November 15th, 2021 No comments

With the holidays fast approaching, there are plenty of fun gifts for you in this roundup of new tools and resources for web designers. Make sure to share anything you find helpful with others to spread additional holiday cheer.

Here’s what is new for designers this month…

Volley

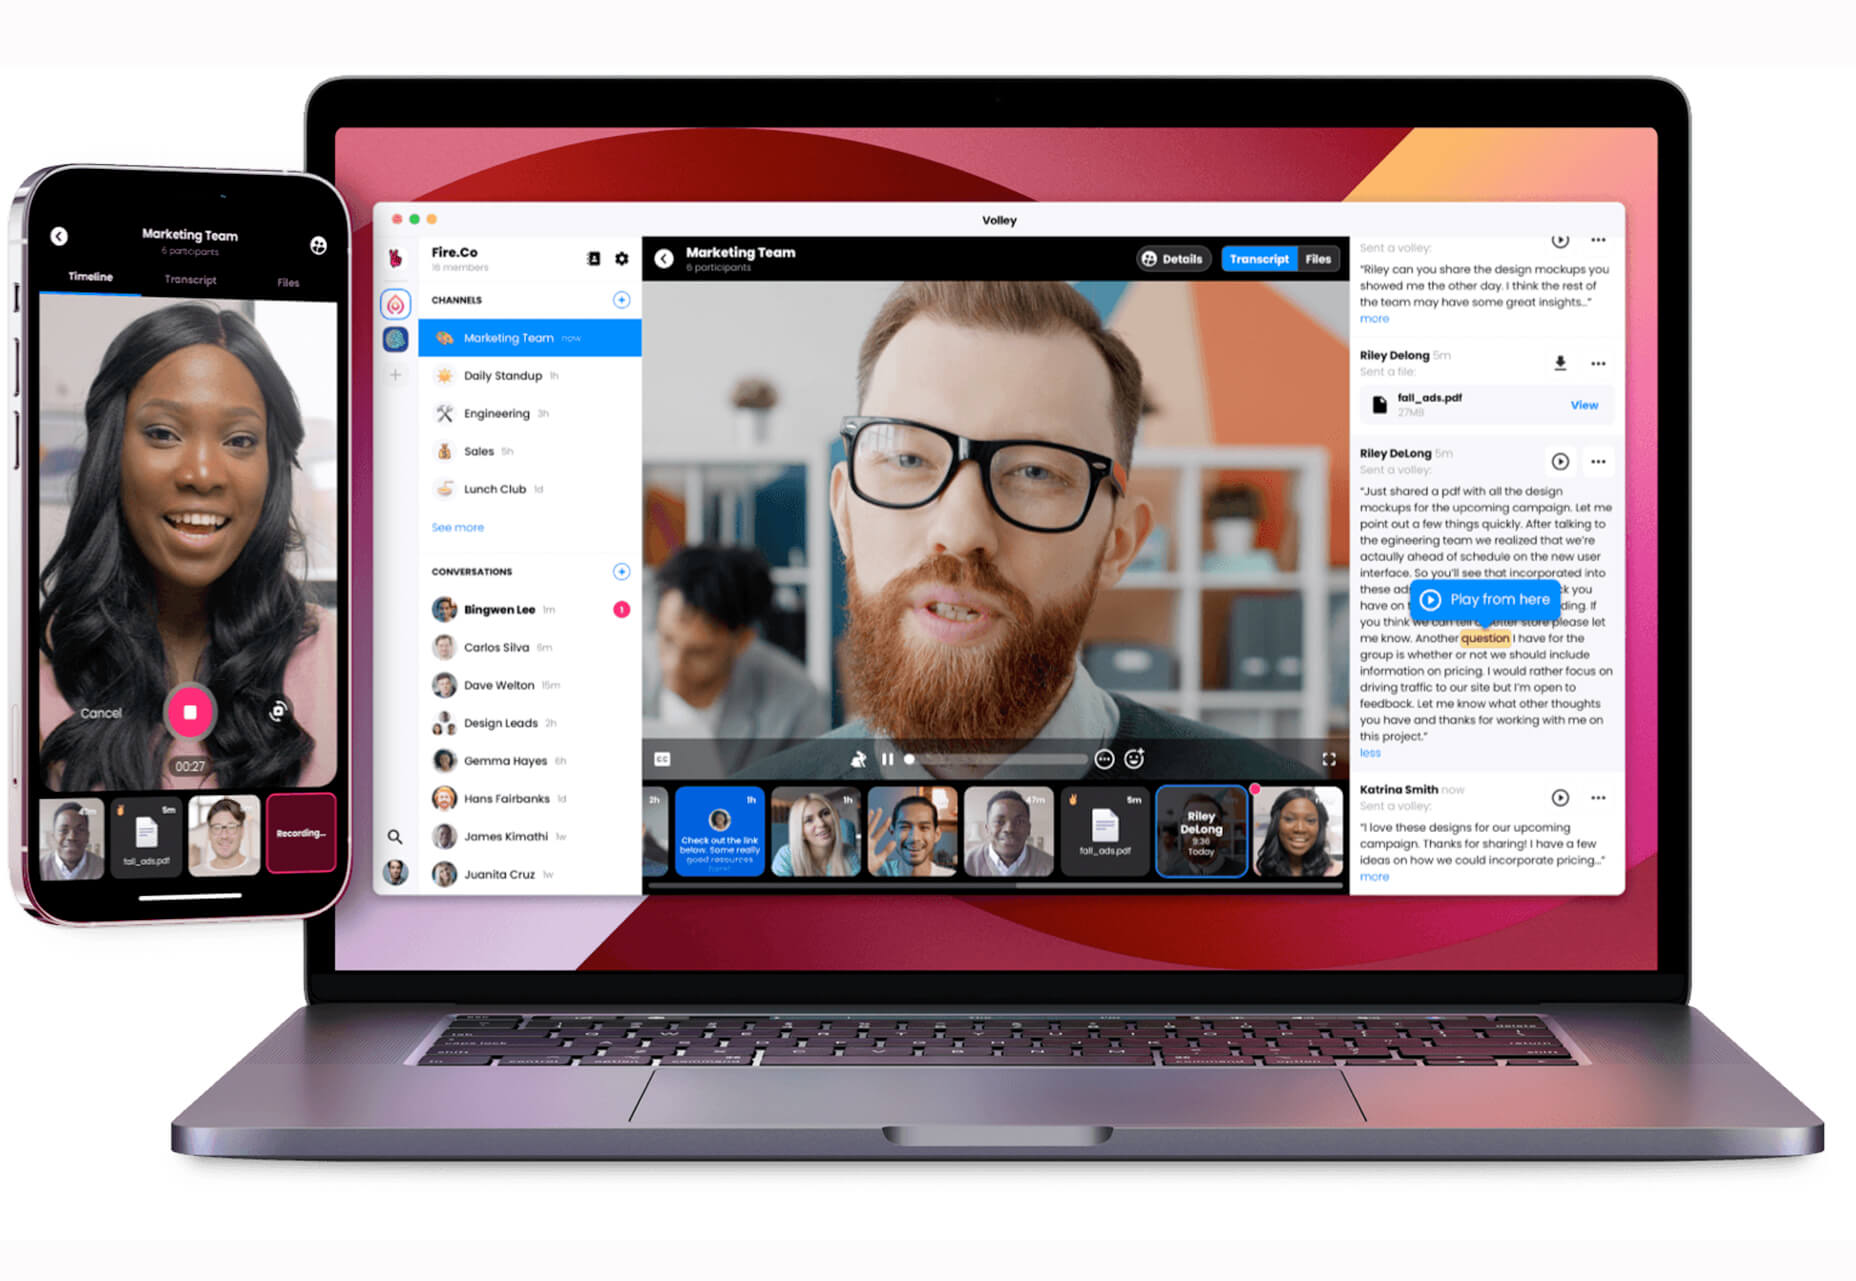
Volley, billing itself as Snapchat for work, is a new way to collaborate with remote teams. The tool addresses the two main problems of remote teams (lack of communication and loneliness) with an async video messaging app with interactive transcriptions neatly organized into workspaces. Volley emphasizes talking over typing (76% of volleys sent are video), doesn’t require you to coordinate schedules (it’s 100% asynchronous), and lives in a threaded conversation with context that’s neatly organized. Plus, the tool is free to use.

Upnext

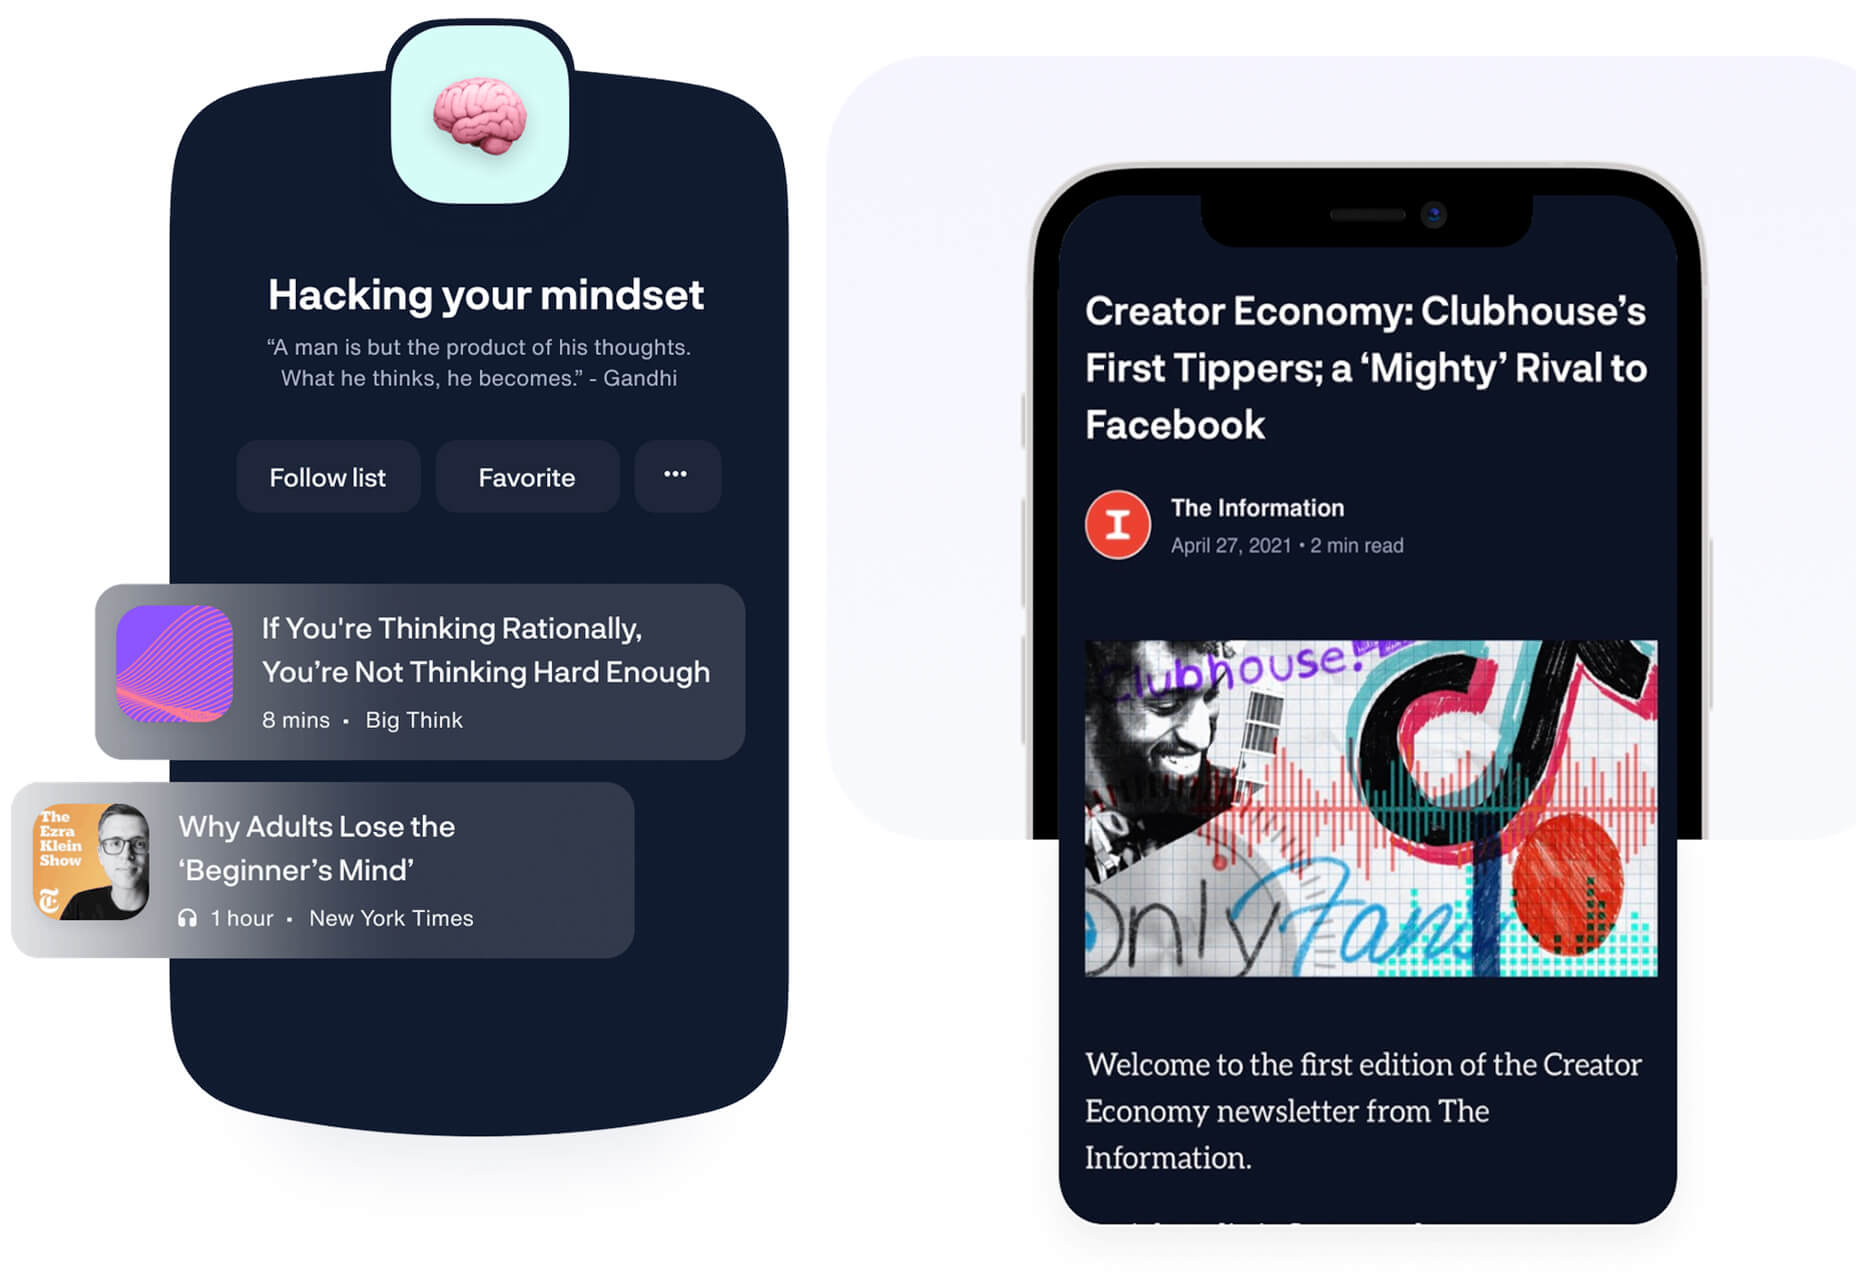
Upnext is a new type of reading list. It’s designed to help you save, organize, and focus on fantastic content while expanding your knowledge on your favorite topics. You can create playlists with almost any type of content that you can refer to later and follow “thinkers” that you love. Search and filter content, focus on reading, integrate videos, and even highlight and note specific content in your customized library. This brand-new web app has a waitlist that you can join to get access soon.

Startup 5

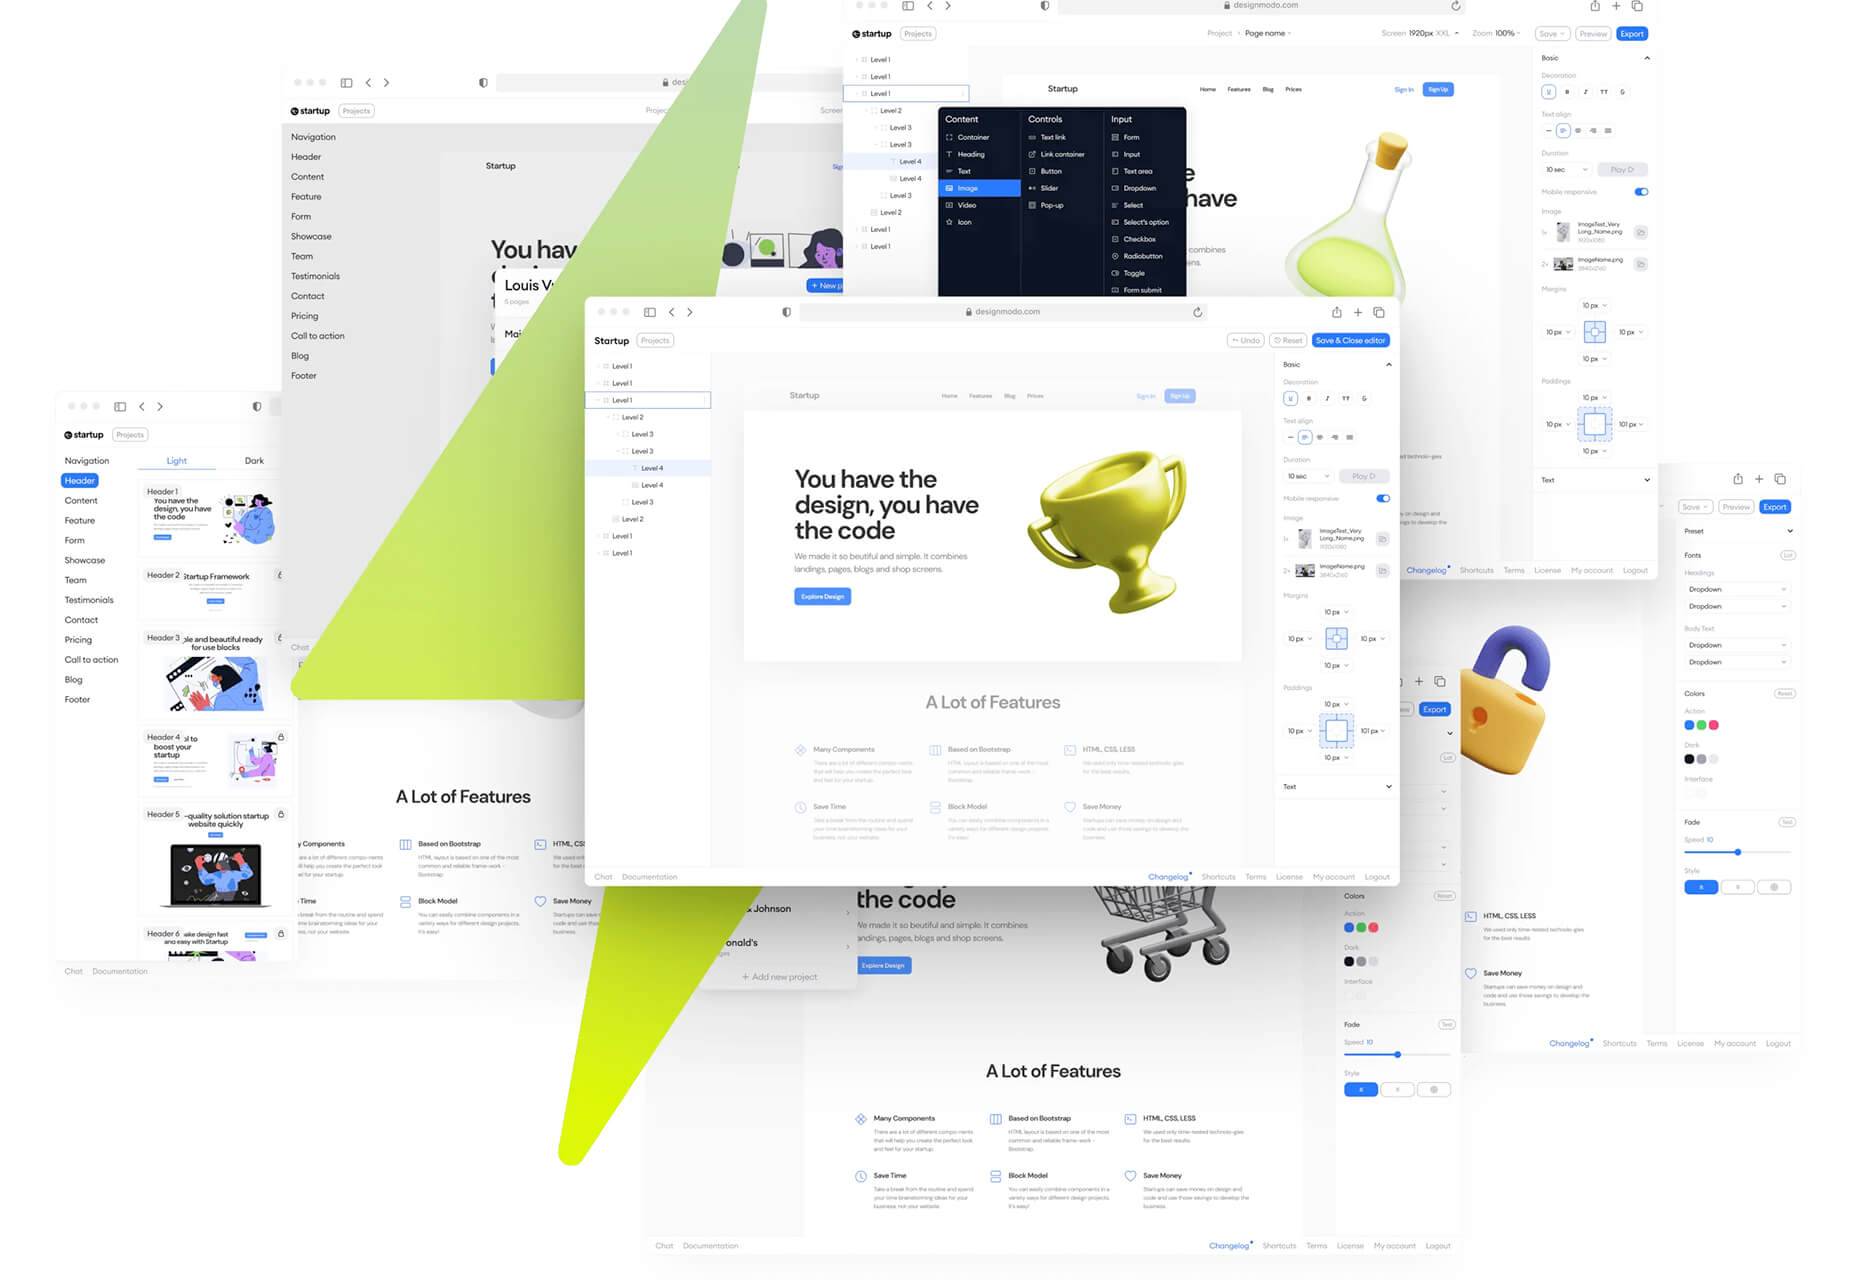
Startup 5 is a new version of the popular website builder, and it’s a perfect tool to create your online presence. With Startup, it’s fast and easy to get your business online with pre-designed blocks. It includes a visual editor with 150+ blocks with pre-designed and pre-coded elements and styles you can easily customize in a drag and drop interface. It’s an easy tool for building a website quickly without a coding background. Most users can publish a website quickly and easily.

Flatmap

Flatmap generates Mapbox Vector Tiles from geographic data sources like OpenStreetMap. It is memory-efficient so that you can build a map of the world in a few hours on a single machine without any external tools or database. Vector tiles contain raw point, line, and polygon geometries that clients like MapLibre can use to render custom maps in the browser, native apps, or a server. Flatmap packages tiles into an MBTiles (SQLite) file that can be served using tools like TileServer GL or even queried directly from the browser.

Cleanup.Pictures

Cleanup.Pictures is a web-based tool to remove objects, people, text, or other defects from your images before using them in projects. It’s an AI-based alternative to other photo-editing software.

Linkz.ai

Linkz.ai helps you make smart link preview popups for your website to help encourage greater engagement and interaction for links. It works with a line of code you can install quickly and easily, and then you get smart link previews (in two style options) for every link on your site.

Llline

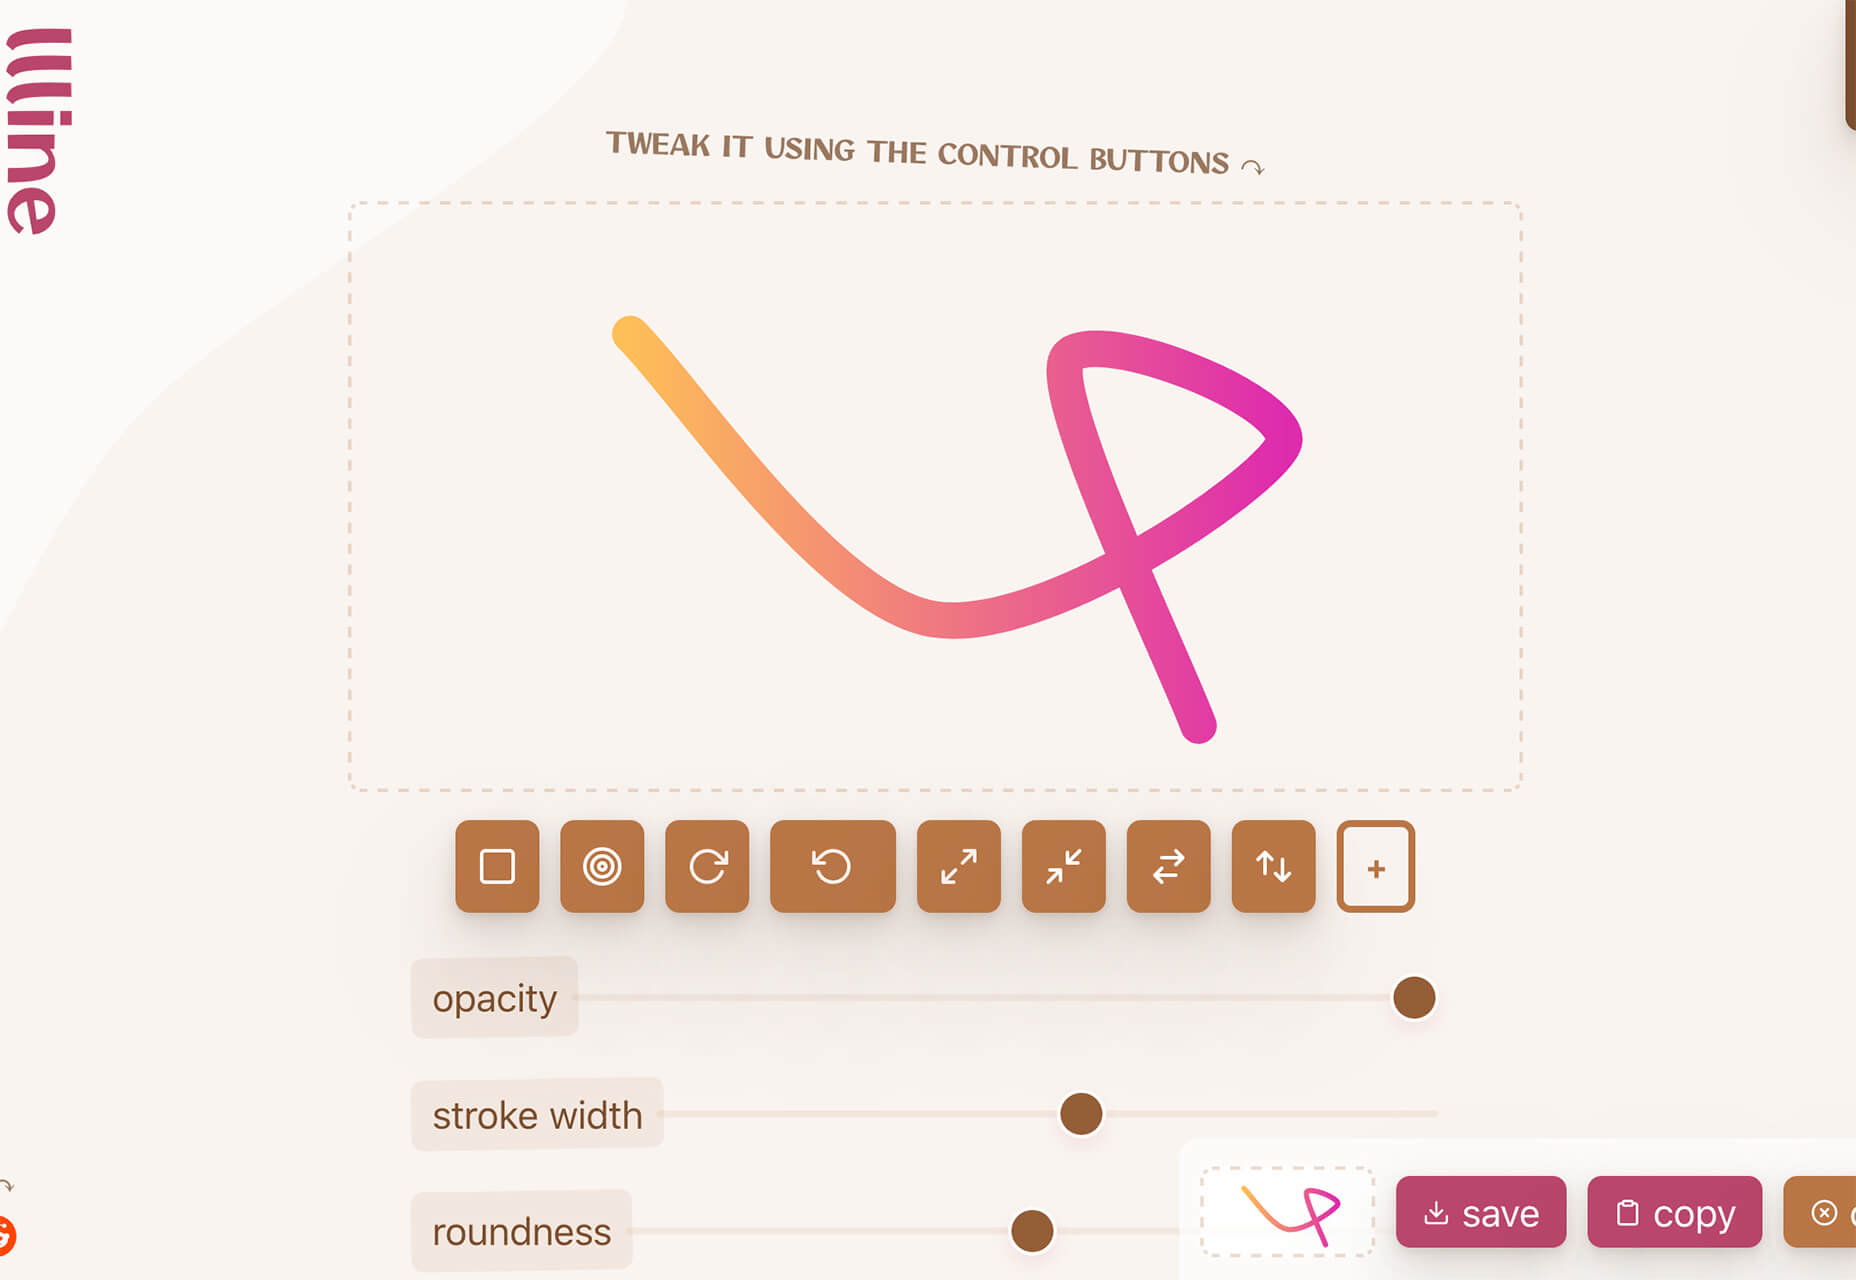
Llline is an SVG generator that helps you create smooth and organic lines and strokes with plenty of customization options for almost any application. This tool helps create graphic elements in just a few clicks, allowing you to add a few points to a canvas and then draw a smooth curve using these points. You can then tweak the resulting SVG graphic by rotating it, changing its color, giving it a gradient, making it a dashed line, and then you can download or copy the SVG markup.

Lorem.Space

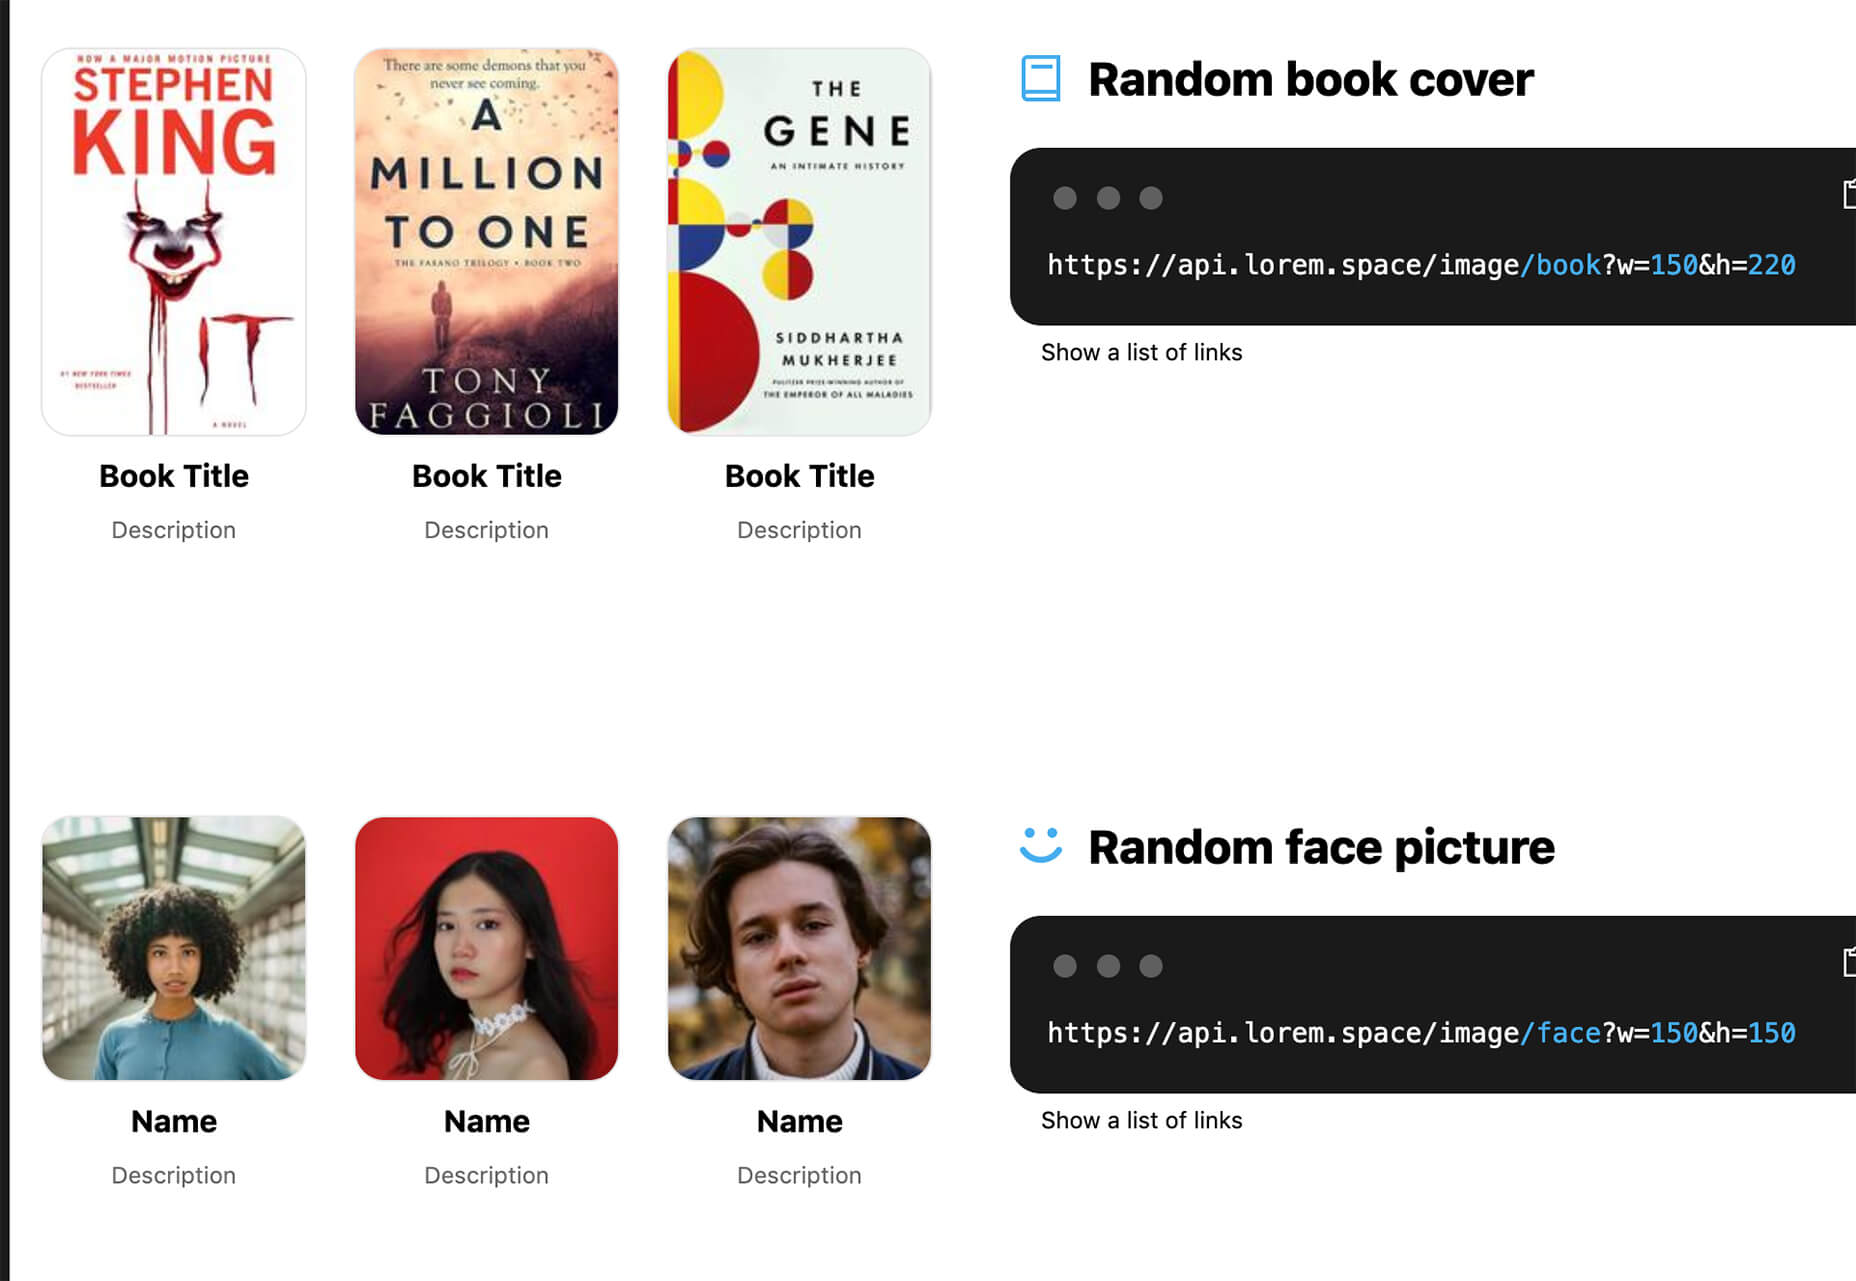
Lorem.Space is a valuable placeholder image tool. With just a little bit of code, you can pop cool placeholder images – from movie posters to shoes – right in your website mockup so that the design is easier to visualize. It’s a great solution that’s fun and keeps you from having to put empty boxes throughout the design. And everything can be randomized, so you don’t spend time looking for placeholders.

Huetone

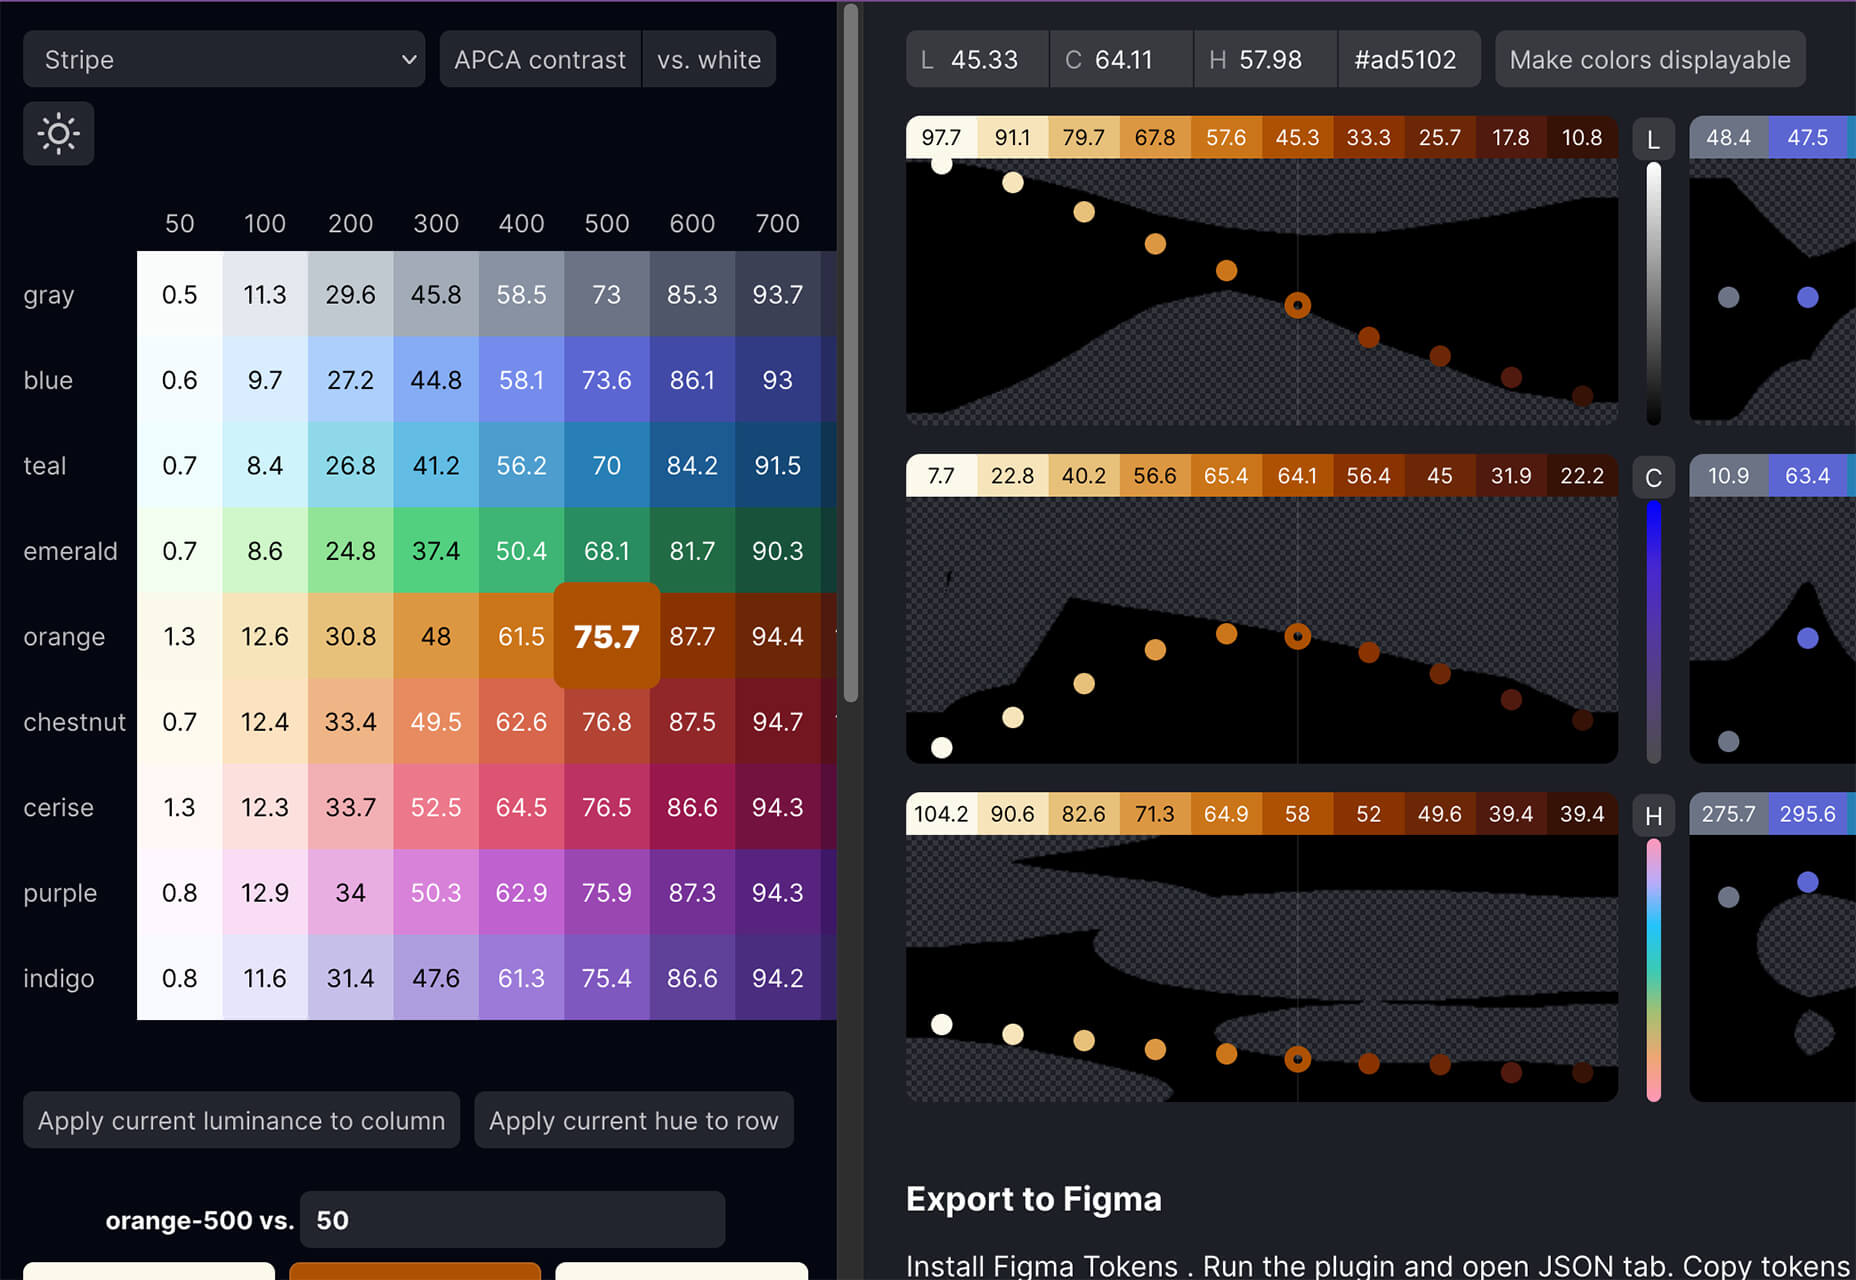
Huetone can help you create more accessible color palettes by making use of the Advanced Perceptual Contrast Algorithm. The contrast ratios and color combinations show on one screen to help you quickly develop palettes and combinations. Plus, the tool has hotkeys that make it easy to change hues, toggle, and adjust quickly. Then you can export everything to Figma.

Rowy

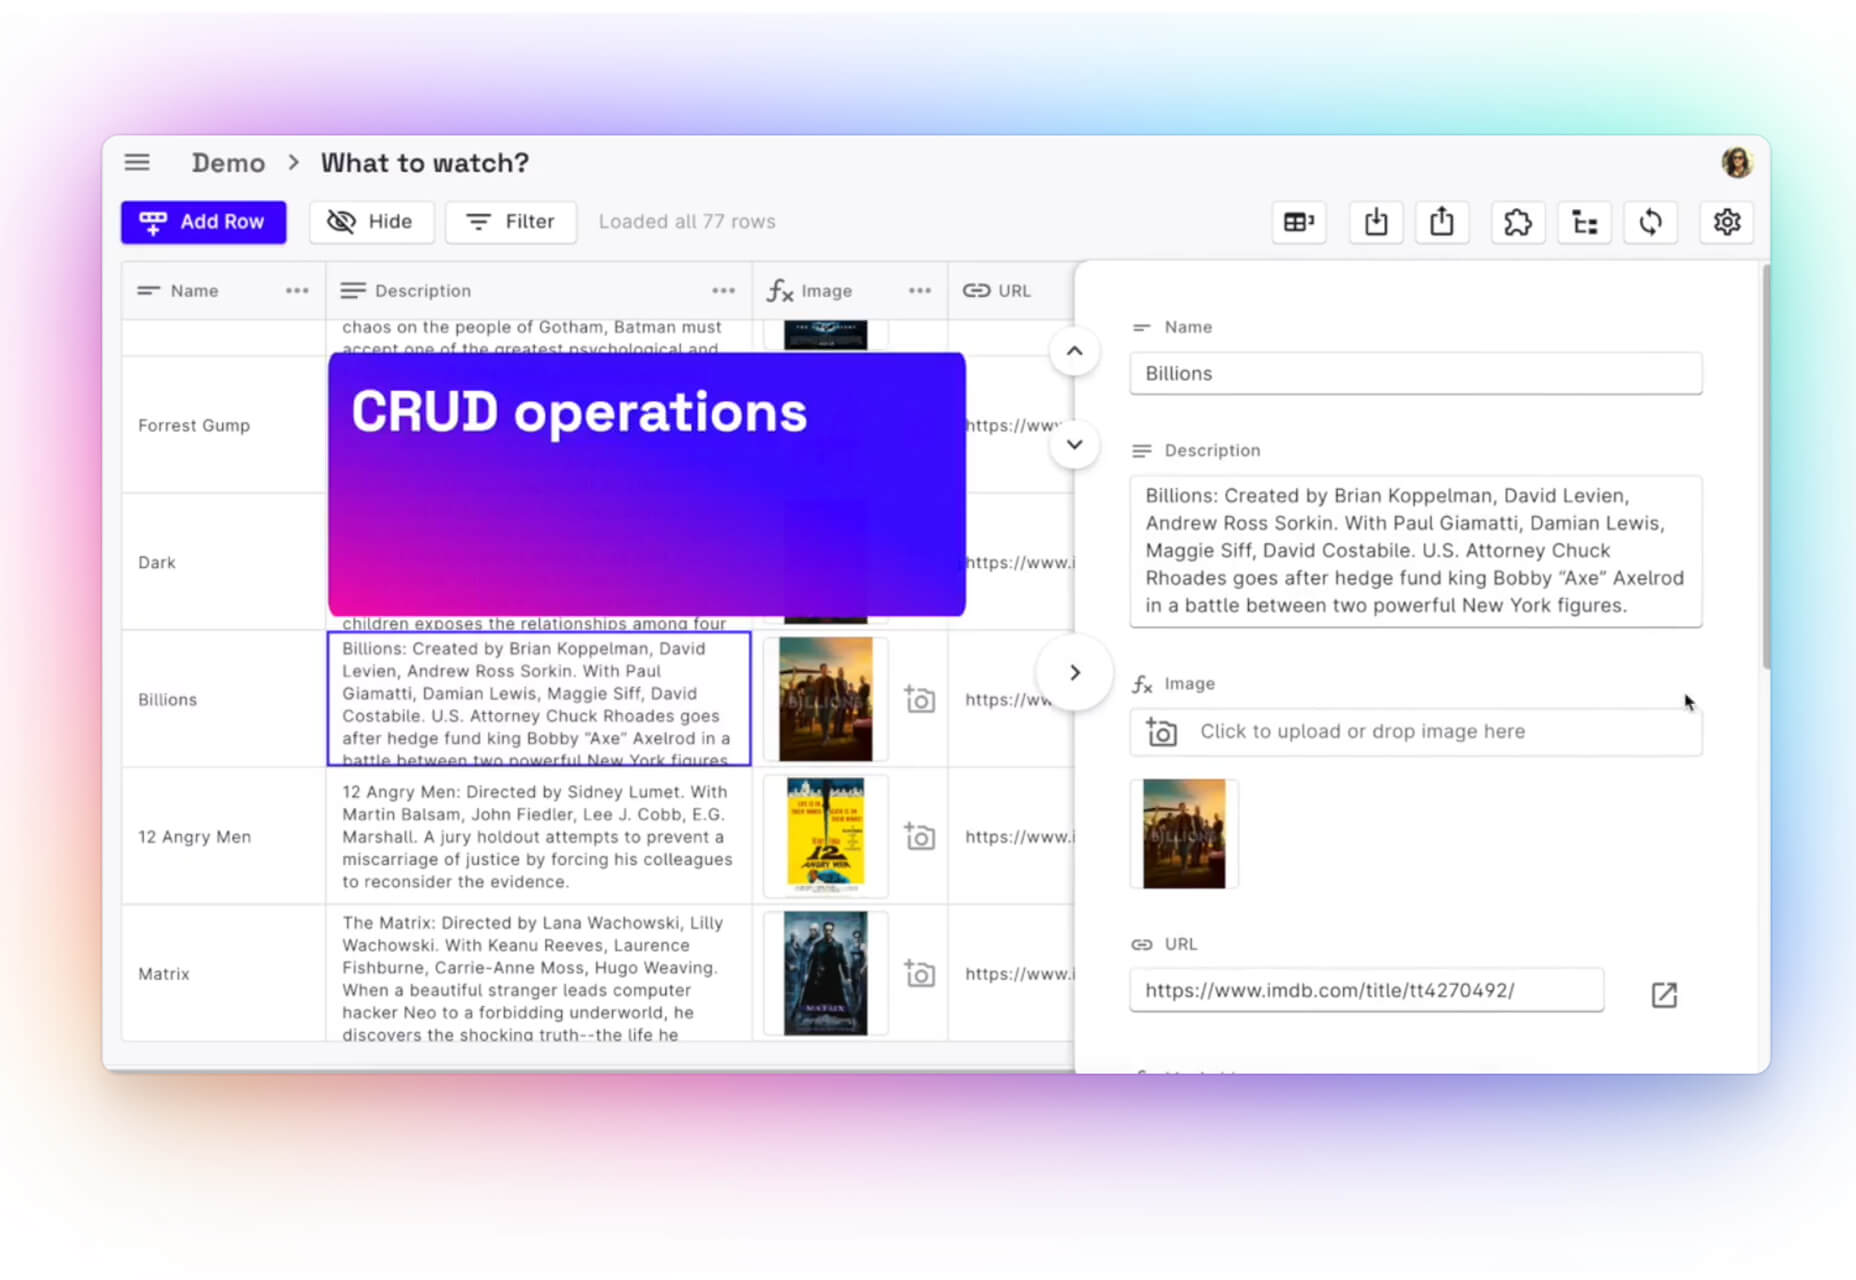
Rowy is an open-source tool to build on the Google Cloud Platform. You can manage Firestore data in a spreadsheet-style user interface, write Cloud Functions in the browser, and connect to third-party platforms.

AdCreative.ai

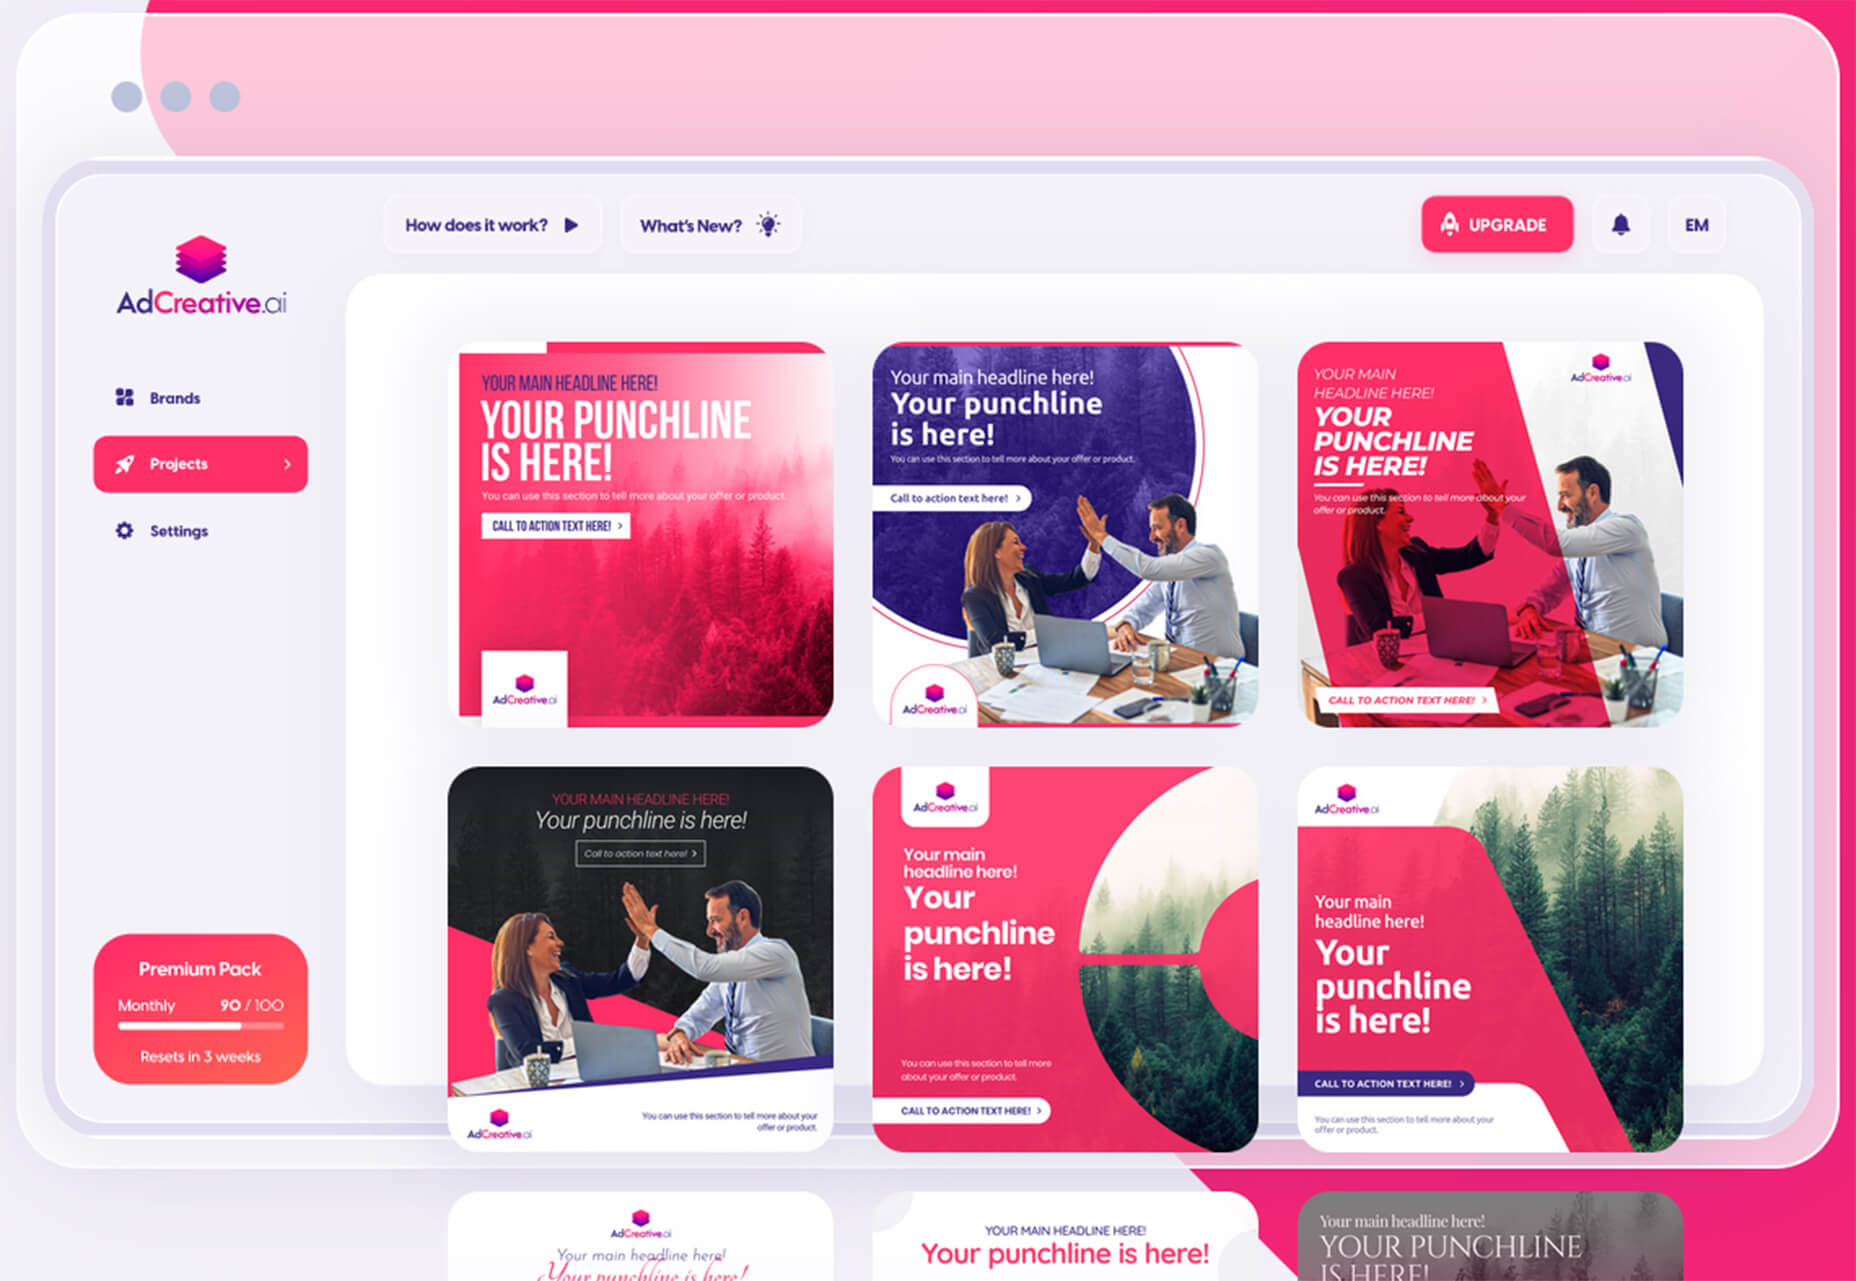
AdCreative.ai uses artificial intelligence to help create better ad creative. To get started, you upload logos and color files, connect social and other accounts, pick the sizes you need, write text, pick a background, and upload product images, and let the AI do the work. Once you have the creative you like, you can connect to your online ad accounts for easy use. This is a premium tool that’s free to try.

Flowrift

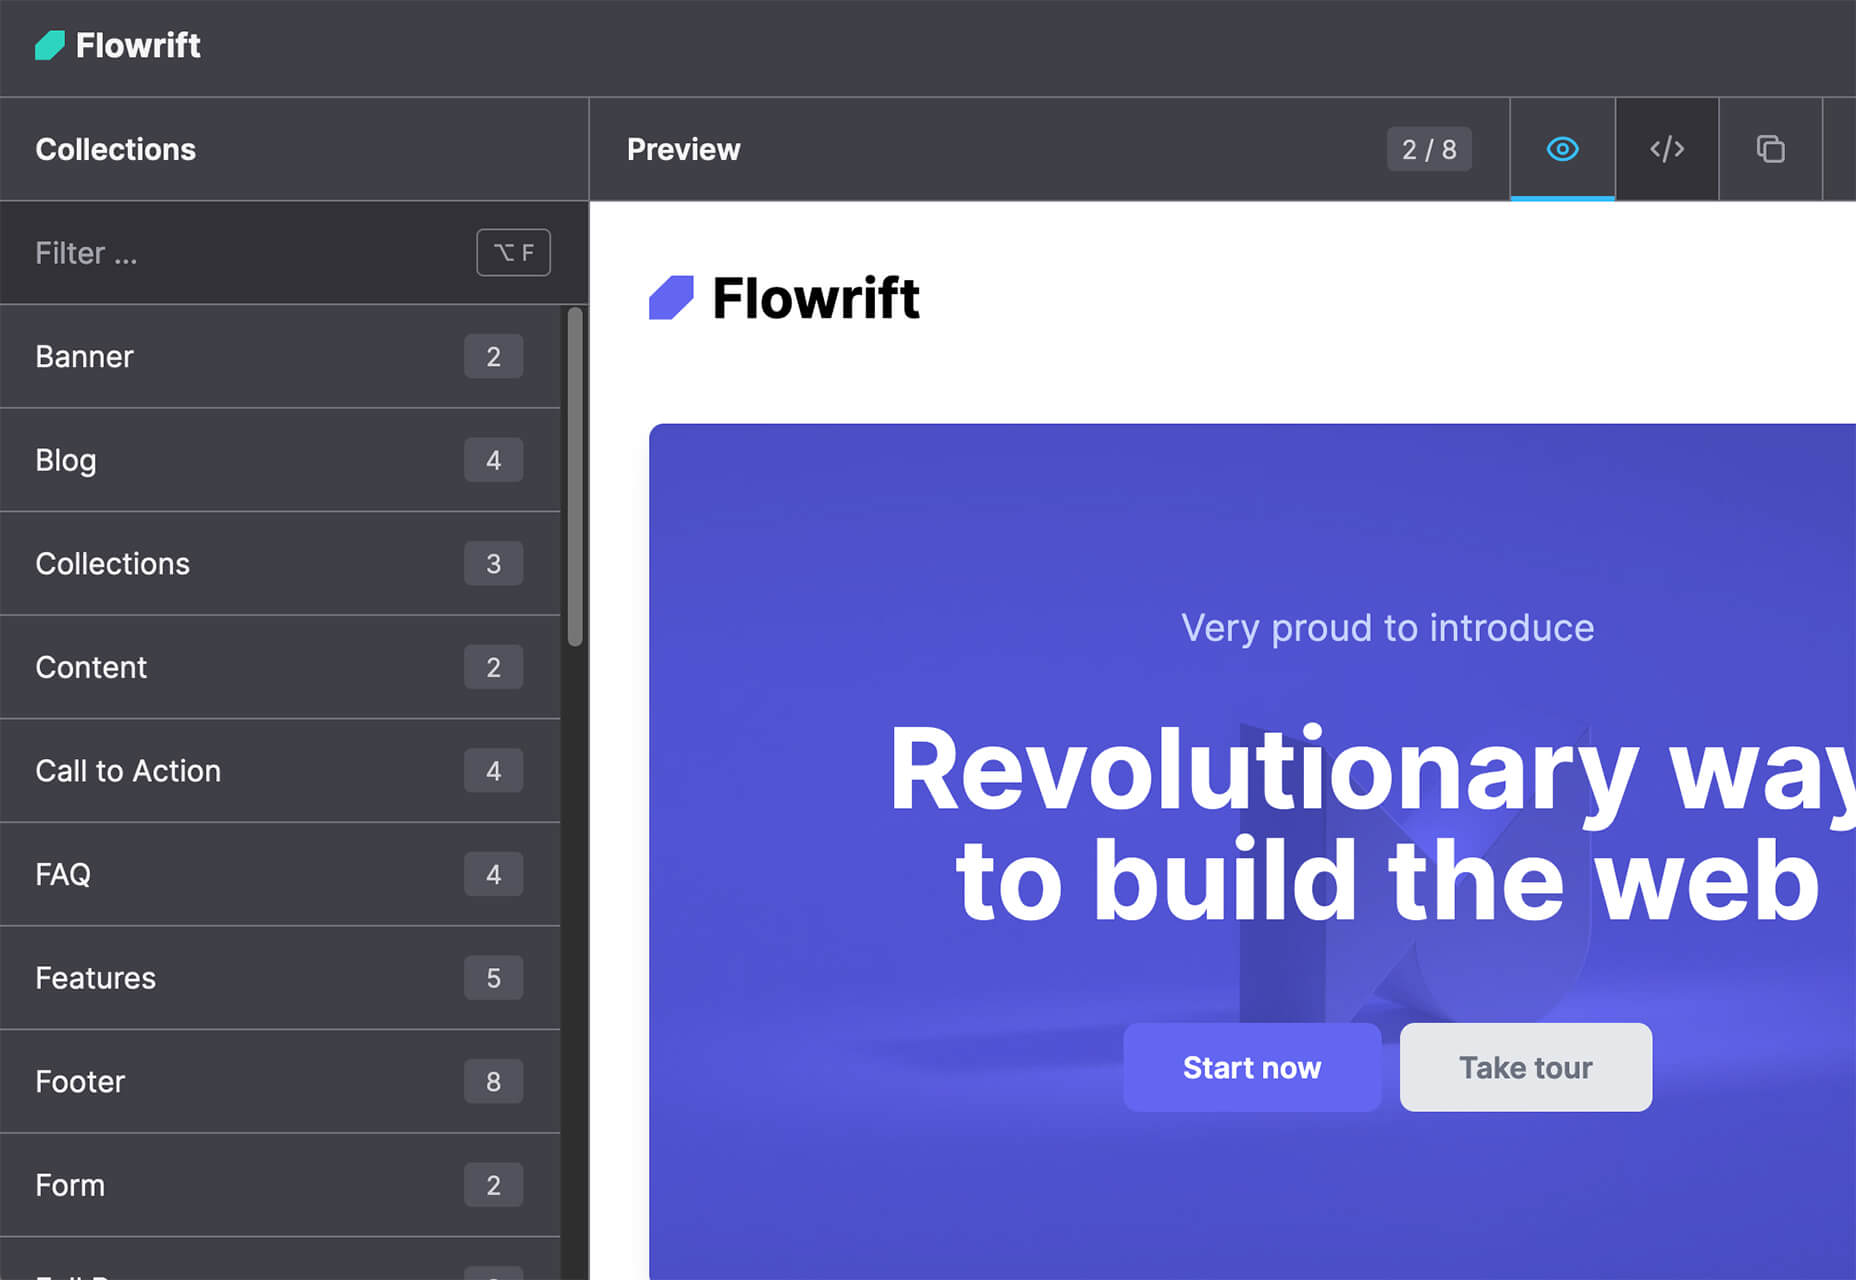
Flowrift is a tool to browse and then copy and customize Tailwind CSS blocks in groups of collections. Filter by block type and then experiment with the options. It even has e-commerce blocks.

Layout Patterns

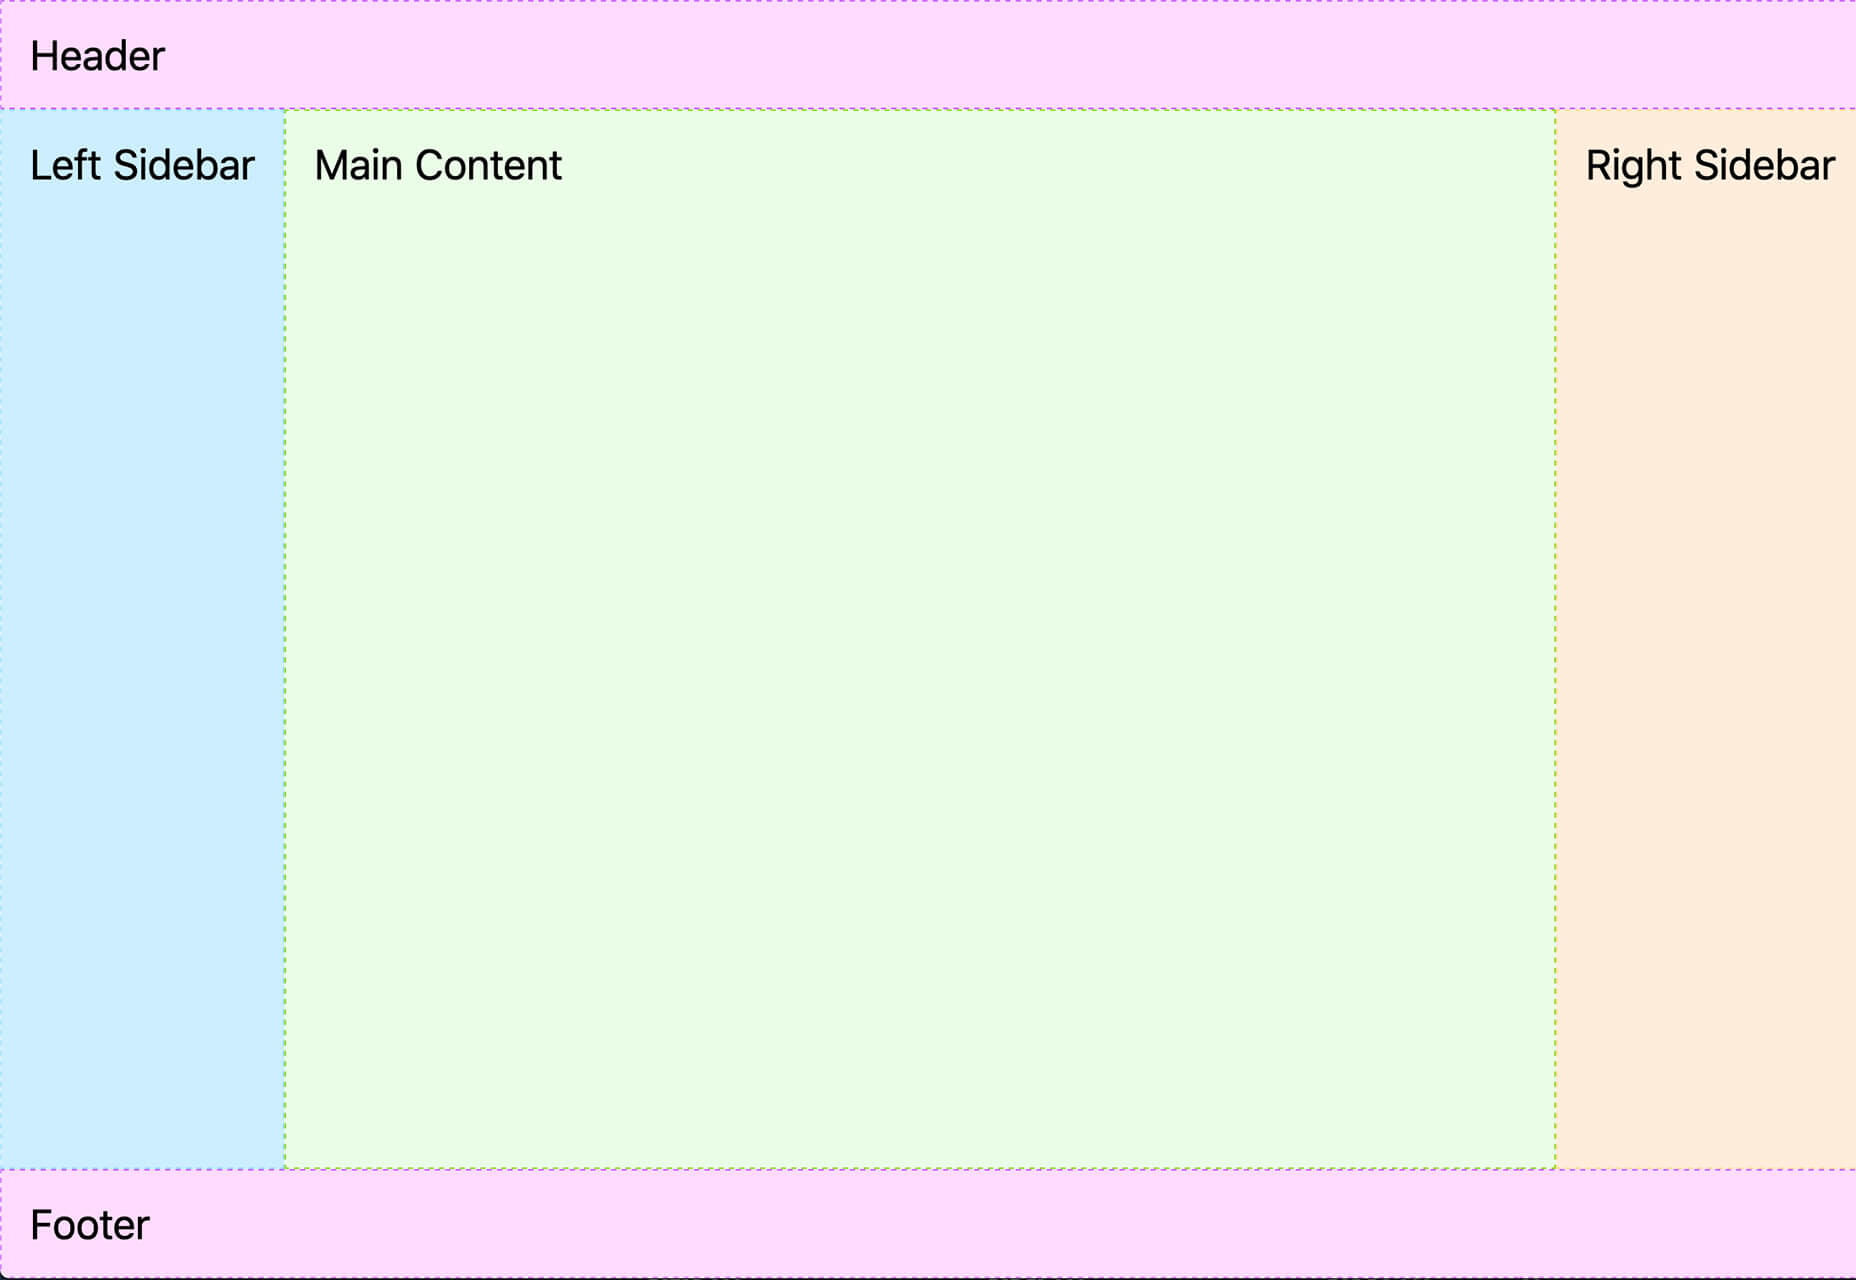
Layout Patterns is a collection of layout patterns built using modern CSS APIs to help you build common interfaces such as cards, dynamic grid areas, and full-page layouts.

You.com

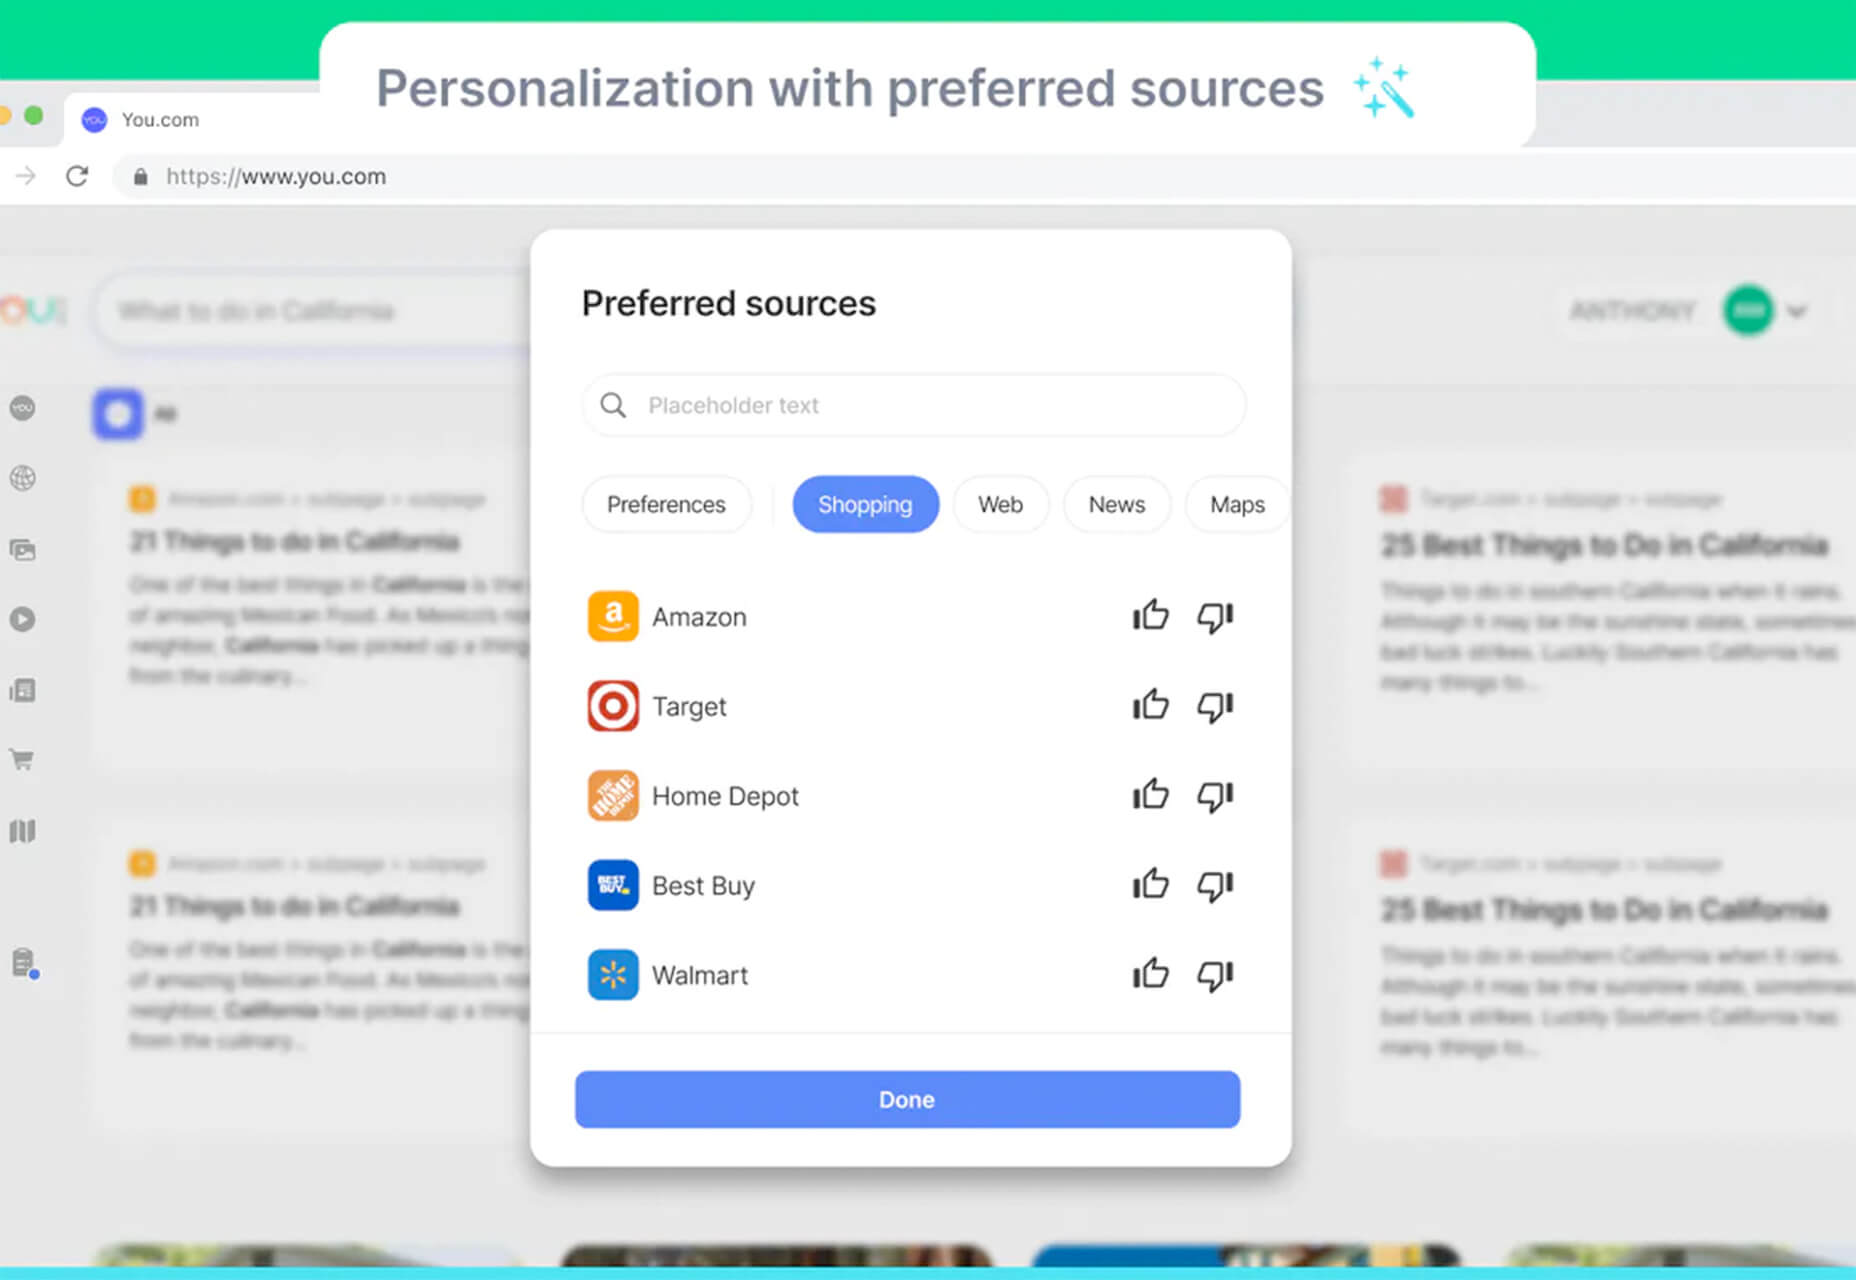
You.com is a new private search engine that summarizes the web. The tool is in open beta and includes superior privacy choices, actionable results, extensible apps, and personalization through preferred sources.

3D Icons

3D Icons is a fun set of three-dimensional, full-color icons that are free for all uses. (Donations are accepted.) They integrate with pretty much any web design tool you are using and come in four color styles – clay, gradient, color, and premium – so you can get just the right look for your project. Each icon also includes three rendering views – dynamic, side, and isometric.

Arco Design

Arco Design is a comprehensive React UI components library based on the Arco Design system. It includes a customizable theme and more than 60 crafted components that you can use out of the box.

Seekvectors.com

Seekvectors.com is a search tool to find free resources in five different formats, PNG, SVG, JPG, EPS, and AI.

Outline to Single Stroke

Outline to Single Stroke is a tool in the Figma community that works just like the name implies. Select a filled vector on the canvas, and then you can outline it to a single stroke and adjust the line weight if you like.

Codeamigo

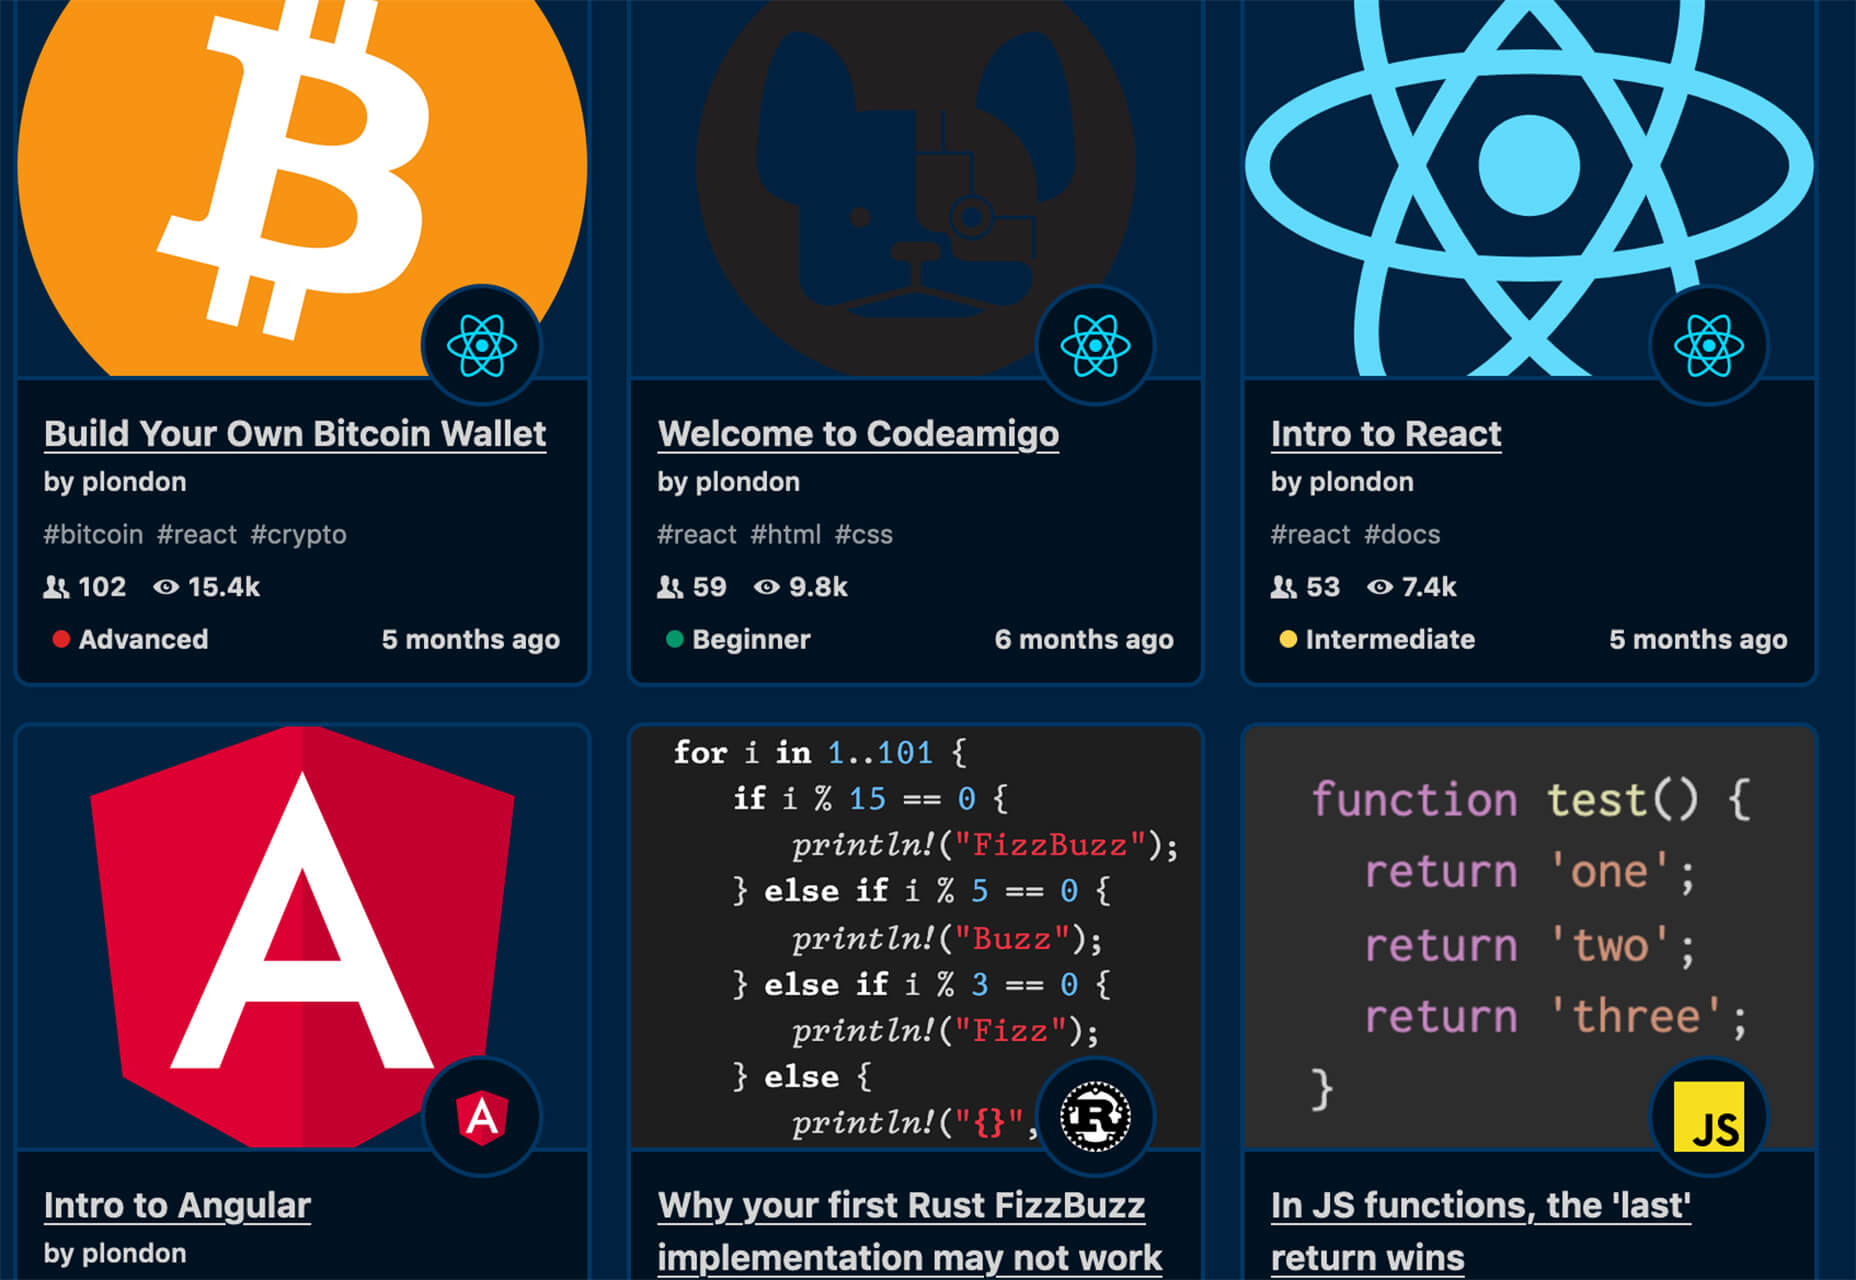
Codeamigo is a new self-paced platform to help you learn coding skills. It’s packed with various lessons for different languages and templates and has something for every level from beginner to advanced.

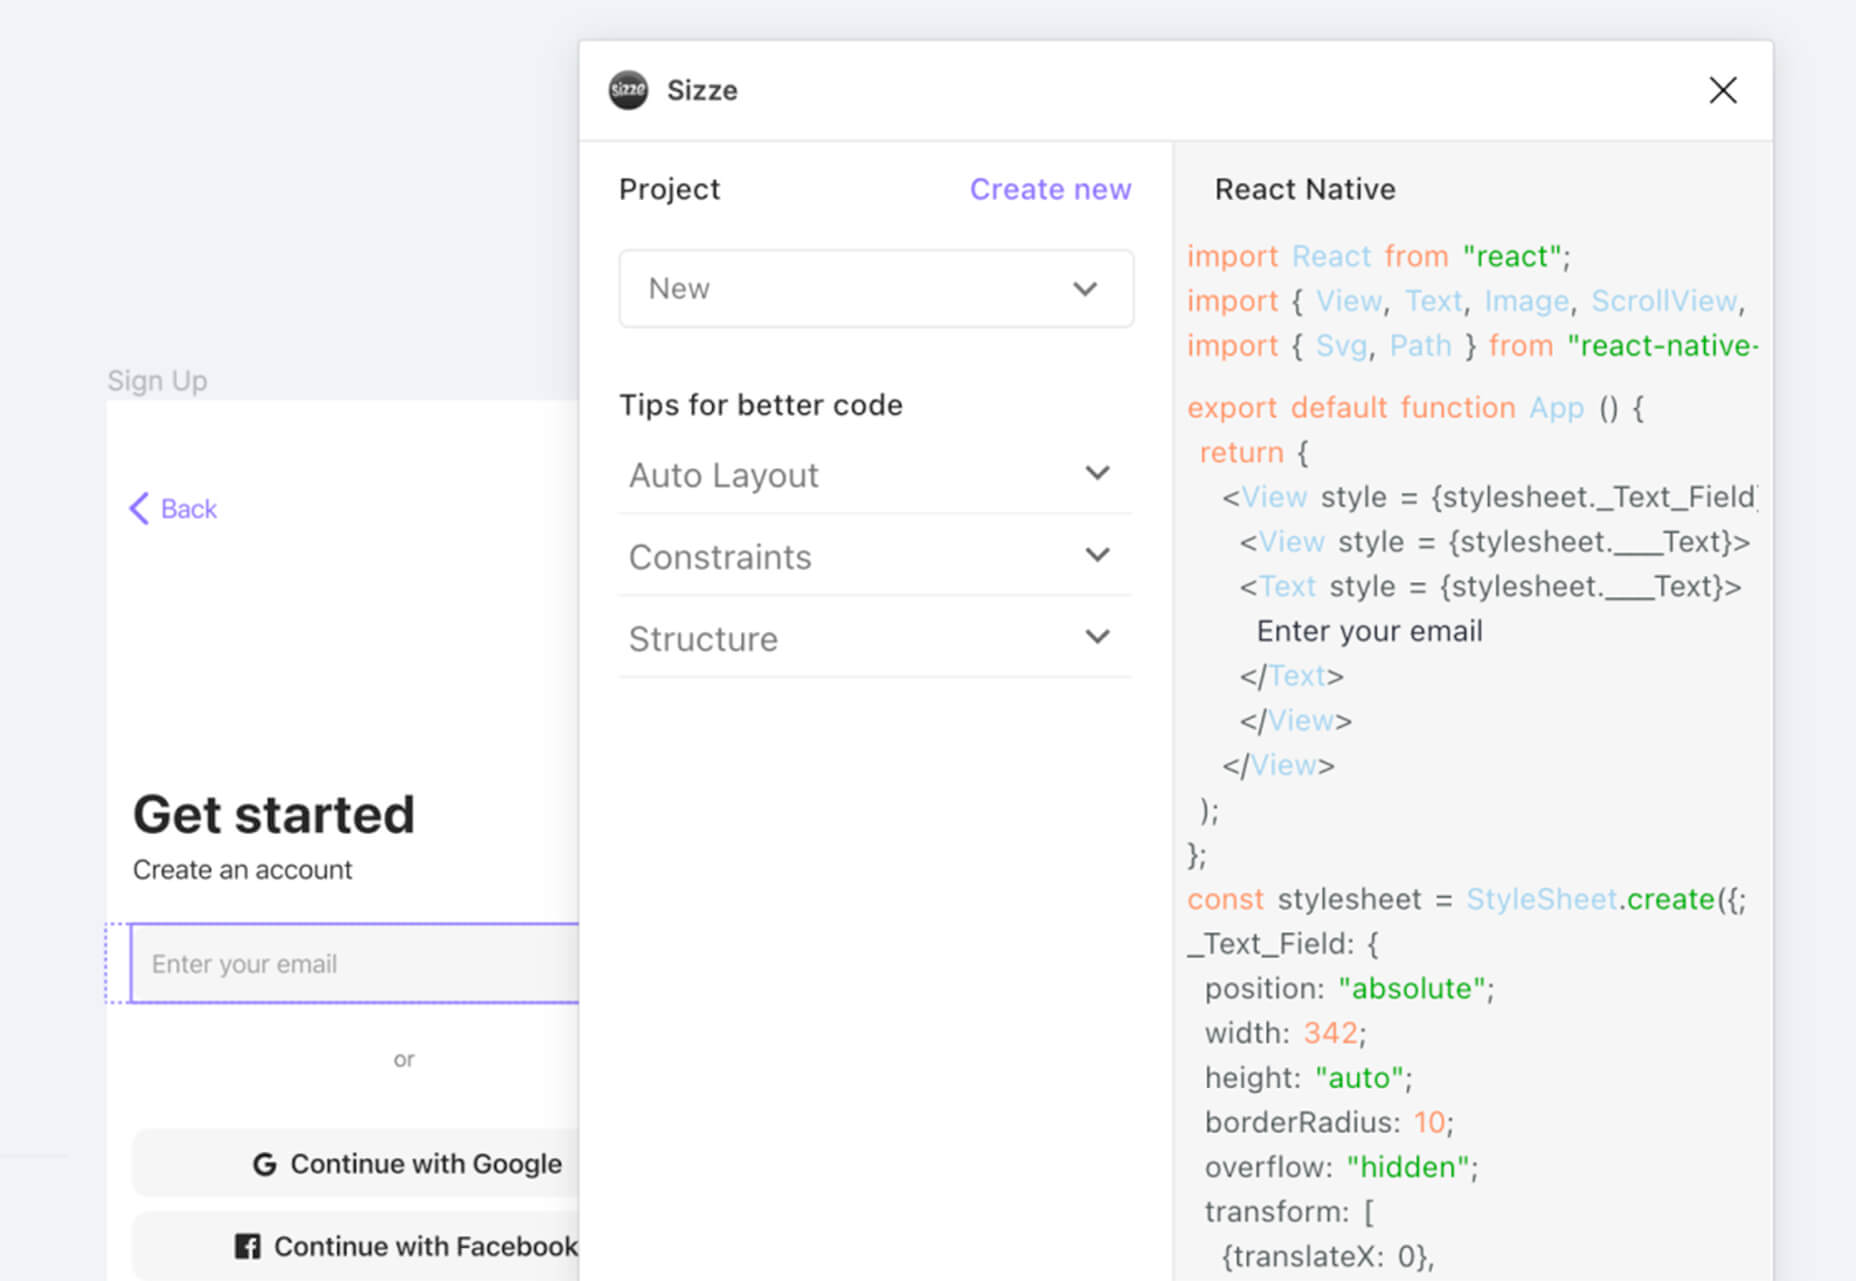
Sizze

Sizze is a Figma to React Native export tool to create app prototypes and instantly export to code.

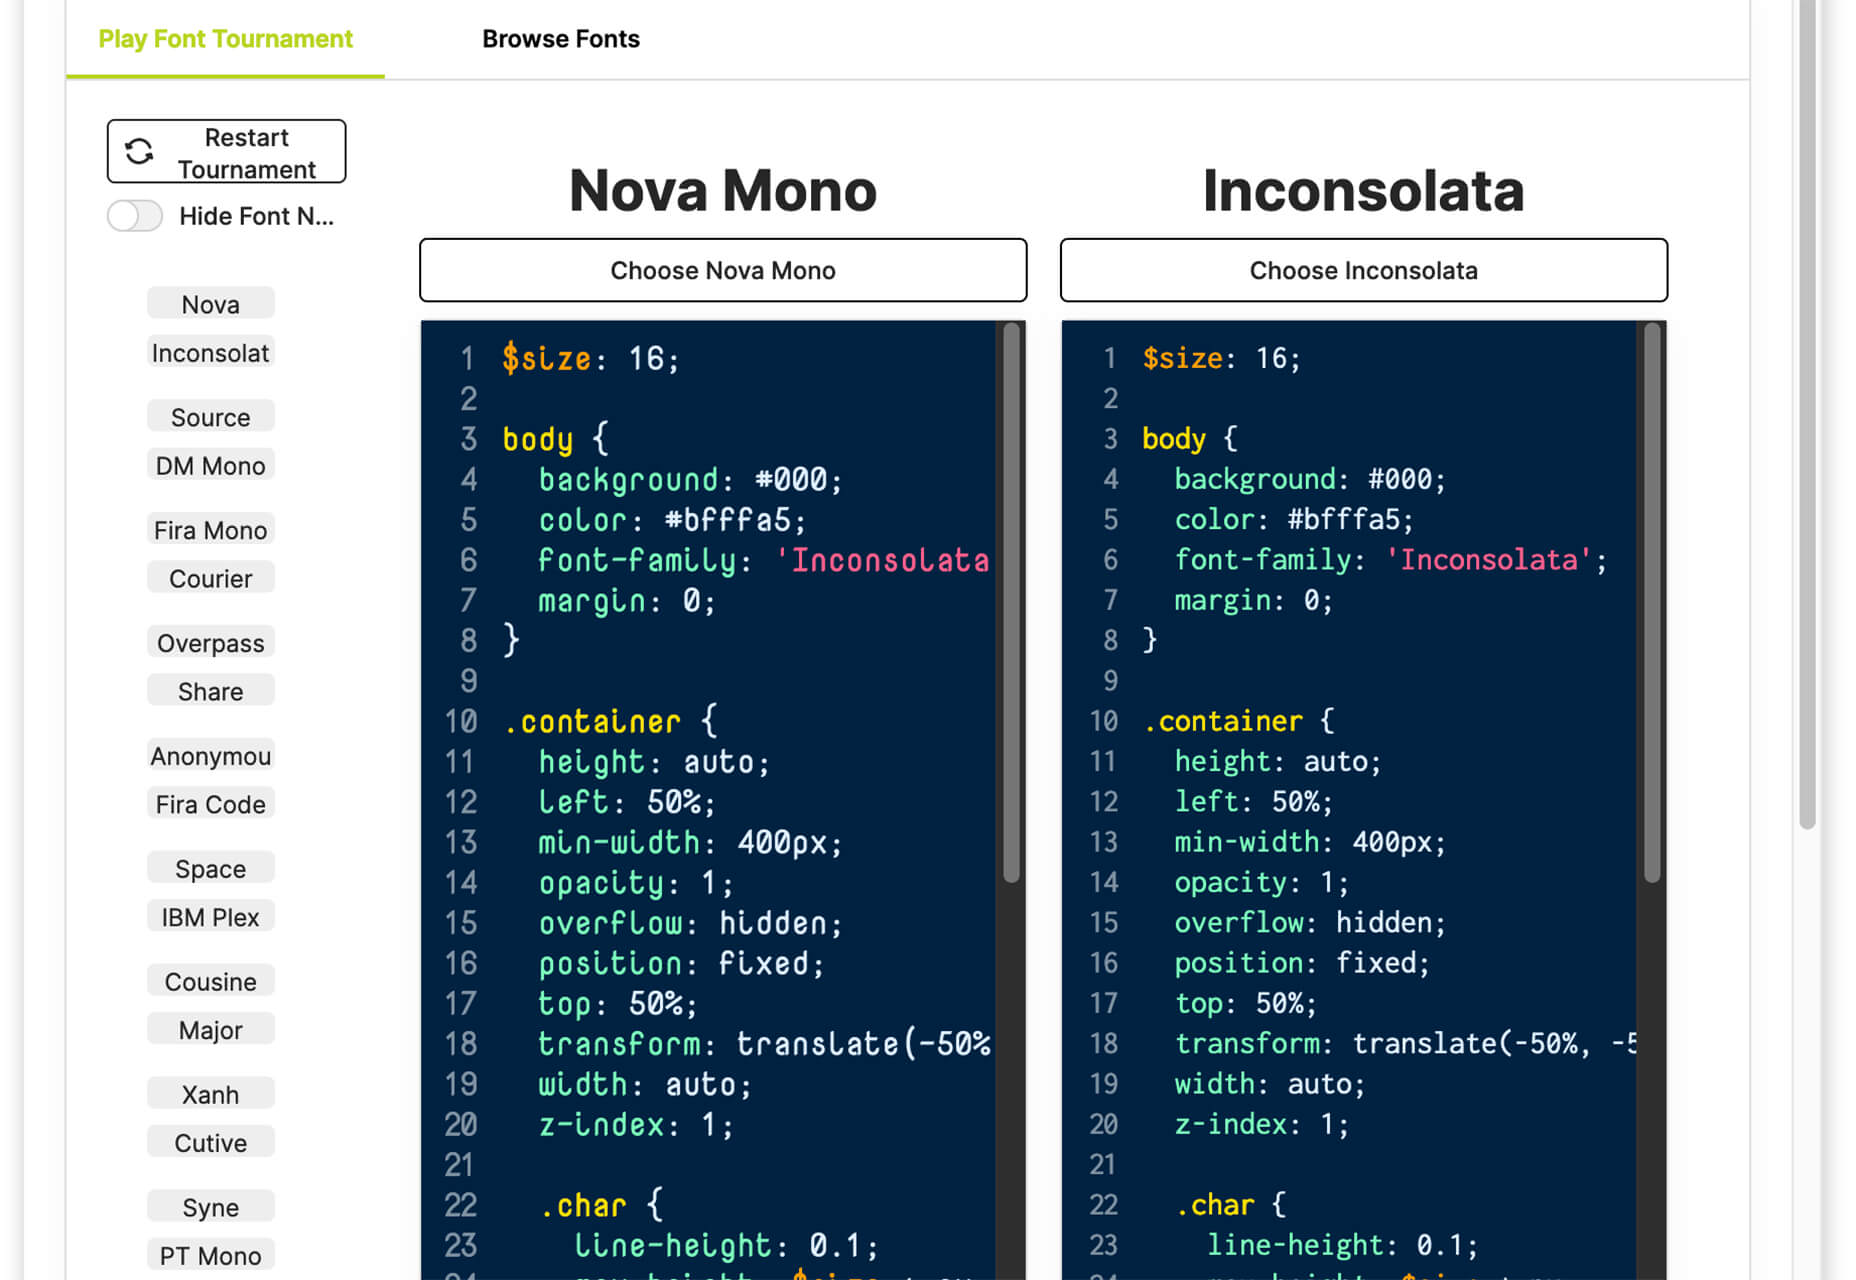
CodingFont

CodingFont is an excellent game that can help you pick a font to use for coding that you like! If you spend a lot of time looking at code each day, the right font can help reduce eye strain and make the work a little easier to see.

Christmas Revue

Christmas Revue is the first in a trio of holiday typefaces that you can use this season. This SCG color font is fun and perfect for the holidays with exciting glyphs. It is free for personal use only.

Hotsnow

Hotsnow is a fun display font that has interesting fills and shapes in an all-caps character set. It is free for personal use.

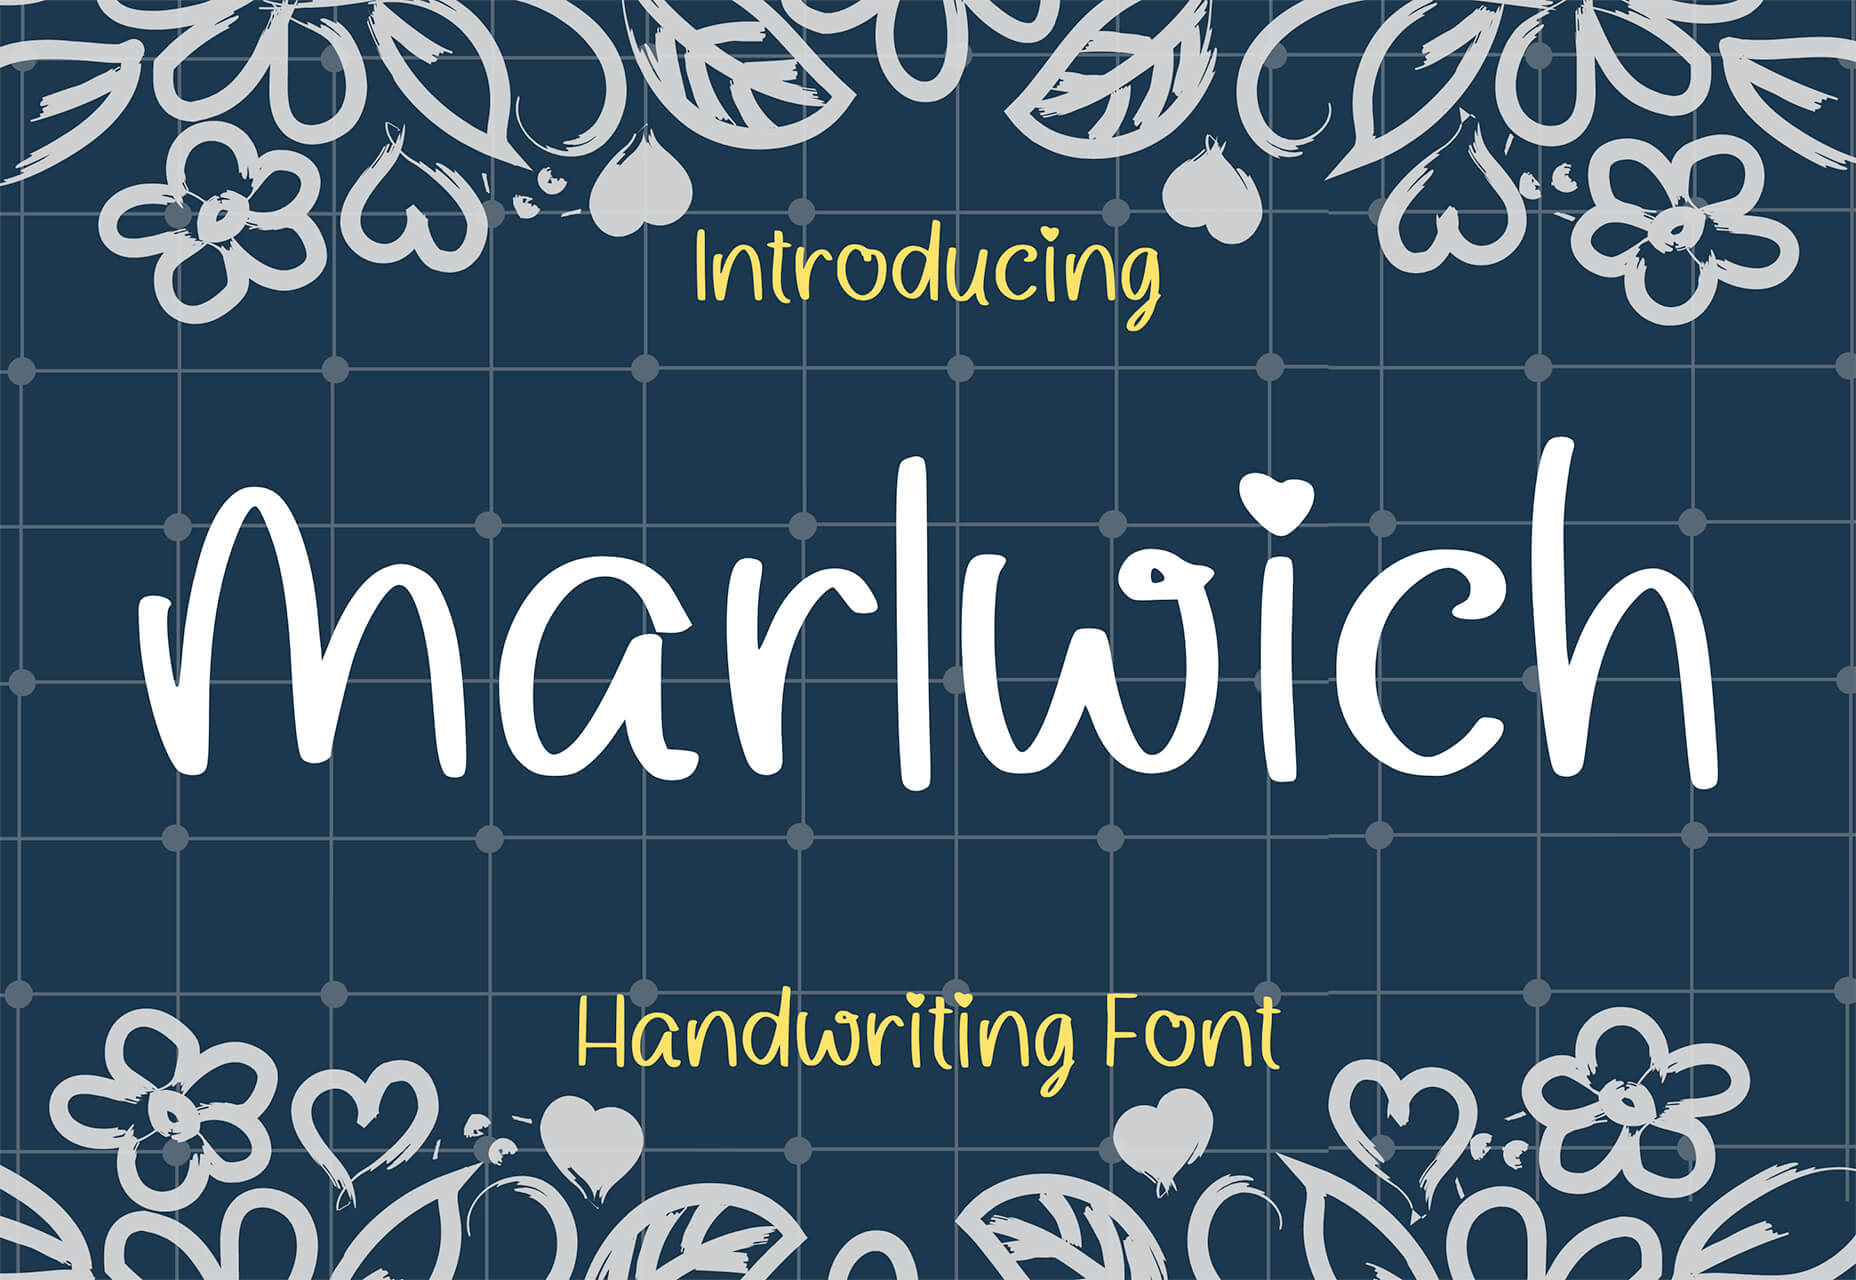
Marlwich

Marlwich is a feminine handwriting-style typeface that has the feel of signing a holiday letter or card. It contains upper- and lower-case characters and is only for non-commercial use for free. (A paid option is available for commercial projects.)

Source

The post Exciting New Tools For Designers, November 2021 first appeared on Webdesigner Depot.
Categories: Designing, Others Tags:

Exciting New Tools For Designers, December 2021

November 15th, 2021 No comments

With the holidays fast approaching, there are plenty of fun gifts for you in this roundup of new tools and resources for web designers. Make sure to share anything you find helpful with others to spread additional holiday cheer.

Here’s what is new for designers this month…

Volley

Volley, billing itself as Snapchat for work, is a new way to collaborate with remote teams. The tool addresses the two main problems of remote teams (lack of communication and loneliness) with an async video messaging app with interactive transcriptions neatly organized into workspaces. Volley emphasizes talking over typing (76% of volleys sent are video), doesn’t require you to coordinate schedules (it’s 100% asynchronous), and lives in a threaded conversation with context that’s neatly organized. Plus, the tool is free to use.

Upnext

Upnext is a new type of reading list. It’s designed to help you save, organize, and focus on fantastic content while expanding your knowledge on your favorite topics. You can create playlists with almost any type of content that you can refer to later and follow “thinkers” that you love. Search and filter content, focus on reading, integrate videos, and even highlight and note specific content in your customized library. This brand-new web app has a waitlist that you can join to get access soon.

Startup 5

Startup 5 is a new version of the popular website builder, and it’s a perfect tool to create your online presence. With Startup, it’s fast and easy to get your business online with pre-designed blocks. It includes a visual editor with 150+ blocks with pre-designed and pre-coded elements and styles you can easily customize in a drag and drop interface. It’s an easy tool for building a website quickly without a coding background. Most users can publish a website quickly and easily.

Flatmap

Flatmap generates Mapbox Vector Tiles from geographic data sources like OpenStreetMap. It is memory-efficient so that you can build a map of the world in a few hours on a single machine without any external tools or database. Vector tiles contain raw point, line, and polygon geometries that clients like MapLibre can use to render custom maps in the browser, native apps, or a server. Flatmap packages tiles into an MBTiles (SQLite) file that can be served using tools like TileServer GL or even queried directly from the browser.

Cleanup.Pictures

Cleanup.Pictures is a web-based tool to remove objects, people, text, or other defects from your images before using them in projects. It’s an AI-based alternative to other photo-editing software.

Linkz.ai

Linkz.ai helps you make smart link preview popups for your website to help encourage greater engagement and interaction for links. It works with a line of code you can install quickly and easily, and then you get smart link previews (in two style options) for every link on your site.

Llline

Llline is an SVG generator that helps you create smooth and organic lines and strokes with plenty of customization options for almost any application. This tool helps create graphic elements in just a few clicks, allowing you to add a few points to a canvas and then draw a smooth curve using these points. You can then tweak the resulting SVG graphic by rotating it, changing its color, giving it a gradient, making it a dashed line, and then you can download or copy the SVG markup.

Lorem.Space

Lorem.Space is a valuable placeholder image tool. With just a little bit of code, you can pop cool placeholder images – from movie posters to shoes – right in your website mockup so that the design is easier to visualize. It’s a great solution that’s fun and keeps you from having to put empty boxes throughout the design. And everything can be randomized, so you don’t spend time looking for placeholders.

Huetone

Huetone can help you create more accessible color palettes by making use of the Advanced Perceptual Contrast Algorithm. The contrast ratios and color combinations show on one screen to help you quickly develop palettes and combinations. Plus, the tool has hotkeys that make it easy to change hues, toggle, and adjust quickly. Then you can export everything to Figma.

Rowy

Rowy is an open-source tool to build on the Google Cloud Platform. You can manage Firestore data in a spreadsheet-style user interface, write Cloud Functions in the browser, and connect to third-party platforms.

AdCreative.ai

AdCreative.ai uses artificial intelligence to help create better ad creative. To get started, you upload logos and color files, connect social and other accounts, pick the sizes you need, write text, pick a background, and upload product images, and let the AI do the work. Once you have the creative you like, you can connect to your online ad accounts for easy use. This is a premium tool that’s free to try.

Flowrift

Flowrift is a tool to browse and then copy and customize Tailwind CSS blocks in groups of collections. Filter by block type and then experiment with the options. It even has e-commerce blocks.

Layout Patterns

Layout Patterns is a collection of layout patterns built using modern CSS APIs to help you build common interfaces such as cards, dynamic grid areas, and full-page layouts.

You.com

You.com is a new private search engine that summarizes the web. The tool is in open beta and includes superior privacy choices, actionable results, extensible apps, and personalization through preferred sources.

3D Icons

3D Icons is a fun set of three-dimensional, full-color icons that are free for all uses. (Donations are accepted.) They integrate with pretty much any web design tool you are using and come in four color styles – clay, gradient, color, and premium – so you can get just the right look for your project. Each icon also includes three rendering views – dynamic, side, and isometric.

Arco Design

Arco Design is a comprehensive React UI components library based on the Arco Design system. It includes a customizable theme and more than 60 crafted components that you can use out of the box.

Seekvectors.com

Seekvectors.com is a search tool to find free resources in five different formats, PNG, SVG, JPG, EPS, and AI.

Outline to Single Stroke

Outline to Single Stroke is a tool in the Figma community that works just like the name implies. Select a filled vector on the canvas, and then you can outline it to a single stroke and adjust the line weight if you like.

Codeamigo

Codeamigo is a new self-paced platform to help you learn coding skills. It’s packed with various lessons for different languages and templates and has something for every level from beginner to advanced.

Sizze

Sizze is a Figma to React Native export tool to create app prototypes and instantly export to code.

CodingFont

CodingFont is an excellent game that can help you pick a font to use for coding that you like! If you spend a lot of time looking at code each day, the right font can help reduce eye strain and make the work a little easier to see.

Christmas Revue

Christmas Revue is the first in a trio of holiday typefaces that you can use this season. This SCG color font is fun and perfect for the holidays with exciting glyphs. It is free for personal use only.

Hotsnow

Hotsnow is a fun display font that has interesting fills and shapes in an all-caps character set. It is free for personal use.

Marlwich

Marlwich is a feminine handwriting-style typeface that has the feel of signing a holiday letter or card. It contains upper- and lower-case characters and is only for non-commercial use for free. (A paid option is available for commercial projects.)

Source

The post Exciting New Tools For Designers, December 2021 first appeared on Webdesigner Depot.
Categories: Designing, Others Tags:

Popular Design News of the Week: November 8, 2021 – November 14, 2021

November 14th, 2021 No comments

Every day design fans submit incredible industry stories to our sister-site, Webdesigner News. Our colleagues sift through it, selecting the very best stories from the design, UX, tech, and development worlds and posting them live on the site.

The best way to keep up with the most important stories for web professionals is to subscribe to Webdesigner News or check out the site regularly. However, in case you missed a day this week, here’s a handy compilation of the top curated stories from the last seven days. Enjoy!

10 Free Christmas SVG Packs

5 Exciting Web Design Trends for 2022

22 Inspiring Web Design Trends for 2022

Microsoft’s Wild New Mouse Design is Both Brilliant and Bizarre

Codify Images – Decompose any Image with Some Letters

Everything I Hate About Material You

How I Made Google’s Data Grid Scroll 10x Faster with One Line of CSS

Automating Figma

What the H*** is ‘Right-Clicker Mentality’?

8 Critical Questions to Ask Before Hiring a Web Designer

Source

The post Popular Design News of the Week: November 8, 2021 – November 14, 2021 first appeared on Webdesigner Depot.
Categories: Designing, Others Tags:

Other Looks at the Conditional Border Radius Trick

November 12th, 2021 No comments

Remember when Ahmad Shadeed wrote about that border-radius “toggle” he found in Facebook’s CSS? It was interesting! I covered it. A few weeks after that surge of linkage, a couple of articles came out digging into it a little deeper.

In “Evaluating Clever CSS Solutions,” Michelle Barker wonders how clever is too clever?

While undoubtedly clever, and super interesting to read about, I side with Robin Rendle in the CSS-Tricks newsletter when he says:

I can’t help but feel that it’s a little too smart.

I have to agree here. Tricks like this have their place, and Facebook (which can clearly afford to hire the best of the best CSS developers) might be one of them. But speaking personally, when forced to pick between a trick like this and an ever-so-slightly less optimal but far more readable solution (say, a media query), in 99% of cases I’d plump for the latter.

Michelle is aware that a media query isn’t the same solution here. A non-clever solution would be a container query. I agree as well. I almost never opt for tricky solutions in production, as even if they seem to work, I worry about the long term maintenance and sometimes even the fragility of the solution.

Stefan Judis looked at how we might pull of the same “conditional border-radius” idea only using the upcoming container queries syntax.

/* If the container's width is equal to or greater than 
   the viewport width, remove the border-radius */
@container (width >= 100vw) {
  .conditional-border-radius {
    border-radius: 0;
  }
}

That’s pretty darn clear to me. Stefan also mentions that if we could use the theoretically upcoming @when feature, it could be even clearer:

@when container(width >= 100vw) {
  .conditional-border-radius {
    border-radius: 0;
  }
}
@else {
  .conditional-border-radius {
    border-radius: 1em;
  }
}

That is a big maybe, as there is no evidence these brand new specs will overlap like this. I hope they do though. CSS has gotten much more logical and readable over the years and this would keep that train moving.


Oh, and I mentioned this in the last article

The 9999 multiplication means that you’ll never get low-positive numbers. It’s a toggle. You’ll either get 8px or 0px and nothing in between. Try removing that part, resizing the screen, and seeing it sorta morph as the viewport becomes close to the component size

But I regretted not putting a video in there to make the concept clearer, so I’ll rectify that here.


The post Other Looks at the Conditional Border Radius Trick appeared first on CSS-Tricks. You can support CSS-Tricks by being an MVP Supporter.

Categories: Designing, Others Tags:

Interactive Rebase: Clean up your Commit History

November 12th, 2021 No comments

This article is part of our “Advanced Git” series. Be sure to follow Tower on Twitter or sign up for their newsletter to hear about the next articles.

Interactive Rebase is the Swiss Army knife of Git commands: lots of use cases and lots of possibilities! It’s really a great addition to any developer’s tool chain, because it lets you revise your local commit history—before you share your work with the rest of the team.

Let’s see what you can do with an interactive rebase and then look at some practical examples.

Advanced Git series:

  1. Part 1: Creating the Perfect Commit in Git
  2. Part 2: Branching Strategies in Git
  3. Part 3: Better Collaboration With Pull Requests
  4. Part 4: Merge Conflicts
  5. Part 5: Rebase vs. Merge
  6. Part 6: Interactive Rebase (You are here!)
  7. Part 7: Cherry-Picking Commits in Git (Coming soon!)
  8. Part 8: Using the Reflog to Restore Lost Commits

Rewriting your commit history

In short, interactive rebase allows you to manipulate your commit history. It’s meant for optimizing and cleaning up. You can…

  • change commit messages
  • combine multiple commits
  • split and edit existing commits
  • reorder commits
  • delete commits

Keep in mind that an interactive rebase rewrites your commit history: all of the involved commits get a new hash ID. Also, a quick reminder: commit IDs are there to identify commits—they are SHA-1 checksums. So, by changing that hash, you technically create completely new commits. This means that you shouldn’t use an interactive rebase on stuff that you’ve already pushed to a shared remote repository. Your colleagues might have based their work on these commits—and when you use interactive rebase to rewrite commit history, you are changing these base commits.

All of this means that an interactive rebase is meant to help you clean up and optimize your own local commit history before you merge (and possibly push) it back into a shared team branch.

Interactive rebase workflow

Before we take interactive rebase for a test drive, let’s look at the general workflow. This is always the same, no matter what exactly we’re doing—deleting a commit, changing a commit message, combining commits… the steps are identical.

The first step is to determine the range of commits you want to manipulate. How far back in time do you want to go? Once you have the answer, you can start your interactive rebase session. Here, you have the chance to edit your commit history. For example, you can manipulate the selected commits by reordering, deleting, combining them, and so on.

In your first step, you are always going to look at the current state of the commit history. You can use the git log command to examine a project’s history and show the commit log.

Here’s the little example repository we’re going to use throughout this article:

Note that I’m using the Tower Git desktop GUI in some of my screenshots for easier visualization.

After you’ve examined the list, it’s time to start the work. Let’s do this step-by-step. In the examples of this article, we will do the following things:

  • First, we change an old commit’s message.
  • Secondly, we combine two old commits.
  • After that, we split one commit.
  • Finally, we delete a commit.

Change a commit message

In many cases, you’ll want to change the most recent commit. Keep in mind that there’s a shortcut for this scenario which doesn’t involve interactive rebase:

$ git commit --amend

This command can modify both the content and the message of the most recent commit, and it opens your default text editor. Here you can make your changes, save them, and quit the editor. This will not only update the commit message, but will effectively change the commit itself and write a new one.

Again, please be careful and don’t amend your last commit if you’ve already pushed it to the remote repository!

For any other commit (anything older than the most recent one), you have to perform an interactive rebase. To run git rebase interactively, add the -i option. 

The first step is to determine the base commit: the parent commit of the one you want to change. You can achieve this by using the commit’s hash ID or by doing a little bit of counting. To change the last three commit messages (or at least one of them), you can define the parent commit like this:

$ git rebase -i HEAD~3

An editor window opens and you can see all three commits you selected (and by “selected” I mean a range of commits: from HEAD all the way down to HEAD~3). Please notice the reverse order: unlike git log, this editor shows the oldest commit (HEAD~3) at the top and the newest at the bottom.

Animated screenshot showing an open terminal that edits the commit and adds a reword command on another line.

In this window you don’t actually change the commit message. You only tell Git what kind of manipulation you want to perform. Git offers a series of keywords for this—in our case, we change the word pick to reword which allows us to change the commit messages. After saving and closing the editor, Git will show the actual commit message and you can change it. Save and exit again, that’s it!

Combining two commits

In this next example, we’ll combine the two commits—“7b2317cf Change the page structure” and “6bcf266 Optimize markup”—so that they become one single commit. Again, as a first step you need to determine the base commit. And again, we have to go back to at least the parent commit:

$ git rebase -i HEAD~3

The editor window opens again, but instead of reword, we’ll enter squash. To be exact, we replace pick with squash in line 2 to combine it with line 1. This is an important bit to keep in mind: the squash keyword combines the line you mark up with the line above it!

Showing an open terminal with a squash on line 2 and giants words in red pointing to that line saying that squash combines the marked up line with the line above it.

After saving the changes and closing the window, a new editor window pops up. Why’s that? By combining two commits we are creating… well… a new commit! And this new commit wants a commit message. Enter the message, save and close the window… and you’ve successfully combined the two commits. Powerful stuff!

Finally a little “pro tip” for those of you working with the “Tower” Git desktop GUI: to perform a squash, you can simply drag and drop commits onto each other, right in the commits view. And if you want to change a commit message, simply right click the commit in question and select “Edit commit message” from the contextual menu.

Animated screenshot showing the process of dragging one commit message on top of another, squashing the message, then editing the commit message.

Deleting a commit

We’re bringing in the big guns for our final example: we are going to delete a revision from our commit history! To do this, we’re using the drop keyword to mark up the commit we want to get rid of:

drop 0023cdd Add simple robots.txt
pick 2b504be Change headlines for about and imprint
pick 6bcf266 Optimizes markup structure in index page

This is probably a good moment to answer a question you might have had for some time now: what can you do if you’re in the middle of a rebase operation and think, “Oh, no, this wasn’t such a good idea after all”? No problem—you can always abort! Just enter the following command to turn back to the state your repository was in before you initiated the rebase:

$ git rebase --abort

Changing the past

These were just a few examples of what an interactive rebase can do. There are plenty of other possibilities to control and revise your local commit history.

If you want to dive deeper into advanced Git tools, feel free to check out my (free!) “Advanced Git Kit”: it’s a collection of short videos about topics like branching strategies, Interactive Rebase, Reflog, Submodules and much more.

Happy rebasing and hacking—and see you soon for the next part in our series on “Advanced Git”!

Advanced Git series:

  1. Part 1: Creating the Perfect Commit in Git
  2. Part 2: Branching Strategies in Git
  3. Part 3: Better Collaboration With Pull Requests
  4. Part 4: Merge Conflicts
  5. Part 5: Rebase vs. Merge
  6. Part 6: Interactive Rebase (You are here!)
  7. Part 7: Cherry-Picking Commits in Git (Coming soon!)
  8. Part 8: Using the Reflog to Restore Lost Commits

The post Interactive Rebase: Clean up your Commit History appeared first on CSS-Tricks. You can support CSS-Tricks by being an MVP Supporter.

Categories: Designing, Others Tags:

5 Simple Steps To Effective Wireframing

November 12th, 2021 No comments

Wireframes are a powerful tool, especially for UX designers; whether you are developing a new app, a website, or anything else, the initial steps of any project can be tackled with this robust approach.

There are many occasions when we get stuck or overwhelmed for hours in front of a new project. This is where creating wireframes can be beneficial. A wireframe is nothing more than a diagram of your ideas for the flow of a project.

This post will analyze what wireframes are, and why they are so crucial for user mapping. Then, we will reveal the steps you need to follow to create an efficient wireframe. Let’s dive in…

What Is A Wireframe?

In a few words, a wireframe is a drawing created in the early stages of a UX project. Wireframes are a brilliant and effortless way to create a blueprint for the structure of a page.

In such a drawing, you can include valuable information about the UI and UX of the page you want to design.

You can think of wireframing as a process of visualizing the initial ideas you have about a project. It does not matter if you are comfortable with drawing; you can design wireframes on paper or digitally.

In either case, drawing a wireframe is not about your artistic skills. Instead, wireframes are about structuring your project and identifying the fundamental interactions you want to build out.

Why Is Wireframing Important For UX Designers? 

If you are an experienced UX designer, you have already come across concepts like user mapping and user journeys. Mapping the entire user experience is crucial. And that’s the main reason why wireframing is a must for a UX project.

Since you need to provide a top-notch user experience, wireframing is a great way to ensure this from the earliest stages of your design. But what is the process you need to follow when designing wireframes?

And how can you ensure that your wireframes are efficient? Let’s find out…

Creating An Effective Wireframe In 5 Simple Steps

Creating a good wireframe will allow you to construct your project. You will think it through, prioritize some fundamental interactions and consider alternatives.

1. Research

Although this is not a wireframing step per se, it is critical to the efficiency of your wireframes. How can you start drafting without doing user research? Well, you can not. That’s why the first thing you need to do is analyze your project.

All you have to do is seek similar products/services and check them out. Look at what your competitors are doing right and what they are doing wrong. This way, you will be ready for the next step.

2. Create Personas

You have already selected the best practices and ruled out other guidelines you believe will not be effective on this project. Now it’s time to think about user flow: How many screens will you put on a page? Where are users coming from, and where do you want them to go after reading this page?

By mapping your user flow, you can create a user persona. Then all you have to do is figure out what information to include. 

Mapping the information correctly is crucial because it will help you ensure that users do not get frustrated or overwhelmed when they visit your final page.

Once you do that, you are good to go. 

3. Start Sketching

It’s time to reach for your fine pen, pencil, eraser, and paper. Visualizing your ideas needs to be quick and efficient. Try to avoid fine details because this step is not about creating a high-fidelity wireframe on paper. 

All you need to do here is sketch out basic features and formats.

Since most of us designers are perfectionists, you can use a timer. Set the timer to 4-5 minutes and force yourself to finish the wireframe by that time. Repeat this step until you have created a few wireframes with which you are happy.

Finally, expand and polish your favorite mockups for a few minutes and prepare for the hard part.

4. Ask for Feedback

There is nothing more important than feedback when it comes to wireframing. Discuss your project with your colleagues. Just let them know how each mockup helps you with the project and what idea it visualizes.

Try to sincerely listen to what they have to say about your designs. Once you have gathered all the information and advice, start modifying the wireframe accordingly.

5. Add Details and Create Prototypes

It’s been a long road, but you are now at the point where you feel most comfortable as a UX designer: prototyping. Plenty of software (Adobe XD, Framer, Proto.io, etc.) can help you with this step. 

Start by turning your low-fidelity sketch into a high-quality prototype. Once you are happy with the result, test your prototype’s screens and see if the result serves the user flow. Platforms like UsabilityHub and Prott can help you with this.

Valuable Tips to Keep in Mind While Creating a Wireframe

Keep your Wireframes Simple: Creating a wireframe is not about fine details; try to manage the time you spend on it well. All you need is a clear and simple visualization of your page. You will have all the time you need for prototyping.

Don’t Worry About Your Artistic Skills: Anyone can draw. It’s as simple as that. You do not have to be an artist to create a clear wireframe to help you visualize your ideas. Be confident and make sure you include all the information you need.

Always Think of the User Personas You Created: Creating a wireframe is a smart way to ensure that the page you create meets the user’s needs. Therefore, you should always keep in mind what users will do when they open this page and whether it meets their needs and goals.

The Bottom Line

Creating a wireframe is not as difficult as you might think. All you need to do is research, find out what users need from this page, and create a map. By following these simple steps, you’ll ensure that the wireframes you design deliver a top-notch user experience.


Featured image via Pexels.

Source

The post 5 Simple Steps To Effective Wireframing first appeared on Webdesigner Depot.

Categories: Designing, Others Tags:

AngularJS vs. React.js vs. Ember.js – What are the Differences?

November 12th, 2021 No comments

Let’s start with taking closer to What is AngularJS, React.js, and Ember.js.

What is AngularJS?

AngularJS is an open-source, structural, and Java-based framework, which is mainly used for developing single-page applications. AngularJS enables developers to practice HTML as a template language. This makes it easier to propagate application components by extending the HTML syntax. Angular completely duplicates most of the code you need to write first. Angular JS is also used for developing scalable applications and deploying angular apps to AWS has many benefits.

What is React.js?

React is a declarative, cost-effective, and manageable JavaScript library for developing user interfaces. This allows you to assemble complex user interfaces from small, isolated pieces of code called components. Interesting XML-type tags are immediately descriptive. You use components to tell React what to display on the screen.

What is Ember.js?

Ember.js is a free, open-source JavaScript client framework for web application development. By providing a complete solution including data management and application flow, you can build client-side JavaScript applications.

A Key Difference Between React.js vs Ember.js

Here are some big differences. Ember.js forms the basis of the SproutCore framework. The main feature of Ember.js for understanding Ember.js and React.js is best for the framework. If you want to manage AngularJS and React.js, you will find that they are the best contenders by far. It consists of a server-side rendering architecture and a two-way link. On the other hand, React.js is an open-source JavaScript library that supports Instagram and Facebook user interfaces. Its powerful performance ranks among the best compared to other frameworks. The advantages of Ember.js development company include high performance and server-side rendering.

And also another advantage is that you can use the full documentation of Ember.js. Other benefits include bidirectional data links with automatic configuration. Plus, other benefits of React.js include an easy-to-learn interface and API. We can also provide more appropriate and faster updates. Ember.js development services are very efficient when rendering large data sets. Some of the other benefits that dominate the React.js library include ease of debugging. JSX can be used to display quotes and HTML subcomponents. You can also improve the import of components.

Comparison Between Angular vs Ember

There are many differences between Angular and Ember. Many types of audiences use the web. It is also used by people with motor or visual impairments. There are many differences in support between Angular and Ember technologies, making it easy for any team to interact with any web software application. In addition, designing more accessible applications improves the user experience on several levels. Angular developers using ARIA, tab index, and roles can take full advantage of accessibility. Today, AR headbands allow anyone to play more games while looking at the screen. Each Ember.js development company can add properties when starting the project.

Compared to other frameworks, Ember simplifies accessibility issues. Provide the correct properties for your project. You can also define different languages ??by declaring parent properties. As new tests are created, Ember continues to provide industry best practices.

Advantages of AngularJS

  • Modularity
  • We can use a component in a module.
  • We can use dependency injection.
  • There are many “perks” out of the box, such as routers, form validation, HttpClient, and more.
  • High level of control.

Disadvantages of AngularJS

  • For inexperienced developers, using Angular requires some caution, especially if you don’t have extensive knowledge of Typescript. But for those with less experience, it’s easier to learn than React.
  • So far, each new version is significantly different from the previous version and has created a distrust of the framework, which makes it difficult to migrate forward-looking applications to the latest version of Angular complexity.
  • Dependency injection can be time-consuming, and you should be careful when creating component dependencies.

Advantages of React.js

  • No action is required for optimization.
  • Flexibility. React has nothing to do with React-Core. It is a component-based library for the view layer and offers almost complete application flexibility and customization.
  • Another emergence of React’s flexibility is that there are few barriers to the way you interact with different libraries and projects.
  • React uses JavaScriptES6. This has a slower learning curve than choosing TypeScript over Angular.

Disadvantages of React.js

  • React is very simple, but compiling a complete React-based framework is a challenging task.
  • Flexibility can be a double-edged sword, and the freedom React offers can mean wasted time deciding how best to solve a variety of challenges.
  • React uses JSX syntax extensions to mix HTML and JavaScript, but that also has a downside. Its complexity can be seen as an obstacle to efficient use of the library, especially for junior developers.

Advantages of Ember js

  • It must be configured in the system.
  • Ember is a self-defining, end-to-end consistent framework that focuses on ‘terms rather than parameters.
  • The Embers database allows you to access data from multiple sources at once to establish asynchronous relationships.
  • Ember CLI is widely regarded as the best CLI of all JavaScript frameworks. It helps generate the correct code taking into account dependencies and scaffolding with the correct structure.

Disadvantages of Ember.js

  • It’s a very self-defined framework, so it’s hard to customize.
  • With the heaviest frame;
  • Hard to learn
  • You might think it’s too complicated for a small project.
  • New versions are released slowly, but there are few new options.

Popular Websites Built with Ember, React, and Angular

When this site uses Ember.js development company and React, the sites I want to use are Linkedin, Apple Music, Playstation, Twitch.tv, Square. There are many modern and very scalable applications such as Linkedin and Twitch. tv. It may also require continuous real-time data and upgrades throughout its lifecycle. 

Ember is already in use by many businesses that require full service. Many companies use it, including JetBlue, The Guardian, IBM, Netflix, Wikiwand, etc. Use Angular to build more dynamic single-page apps like Gmail.

It consists of a robust application architecture that can support multiple platforms. React is used by companies like Amazon and Google. Ember.js development services show that the best JavaScript frameworks currently popular with the developer community include React, Angular, and Ember. So what decision did you make if you wanted to choose the best of these best Ember.js development companies for JavaScript frameworks?

Categories: Others Tags:

Semantic menu context

November 11th, 2021 No comments

Scott digs into the history of the

element. He traced it as far back as HTML 2 (!) in a 1994 changelog. The vibe then, it seems, was to mark up a list. I would suspect the intention is much like

Categories: Designing, Others Tags:

Easy Dark Mode (and Multiple Color Themes!) in React

November 11th, 2021 No comments
Not much to look at yet, but we’ll change that!

Running npm start next starts your development server, and produces this in a new browser window:

And, finally, go ahead and install the use-local-storage package with:

npm i use-local-storage

And that’s it for the initial setup of the project!

Code setup

Open the App.tsx file and get rid of the stuff we don’t need.

I was working on a large React application for a startup, and aside from just wanting some good strategies to keep our styles organized, I wanted to give this whole “dark mode” thing a shot. With the huge ecosystem around React, you might think that there would be a go-to solution for style themes, but a little web searching shows that really isn’t the case.

There are plenty of different options out there, but many of them tie into very specific CSS strategies, like using CSS Modules, some form of CSS-in-JS, etc. I also found tools specific to certain frameworks, like Gatsby, but not a generic React project. What I was looking for was a basic system that’s easy to set up and work with without jumping through a ton of hoops; something fast, something easy to get a whole team of front-end and full-stack developers onboarded with quickly.

The existing solution I liked the best centered around using CSS variables and data attributes, found in this StackOverflow answer. But that also relied on some useRef stuff that felt hack-y. As they say in every infomercial ever, there’s got to be a better way!

Fortunately, there is. By combining that general CSS variable strategy with the beautiful useLocalStorage hook, we have a powerful, easy-to-use theming system. I’m going to walk through setting this thing up and running it, starting from a brand new React app. And if you stick around to the end, I also show you how to integrate it with react-scoped-css, which is what makes this my absolutely preferred way to work with CSS in React.

Project setup

Let’s pick this up at a very good place to start: the beginning.

This guide assumes a basic familiarity with CSS, JavaScript, and React.

First, make sure you have a recent version of Node and npm installed. Then navigate to whatever folder you want your project to live in, run git bash there (or your preferred command line tool), then run:

npx create-react-app easy-react-themes --template typescript

Swap out easy-react-themes with the name of your project, and feel free to leave off the --template typescript if you’d rather work in JavaScript. I happen to like TypeScript but it genuinely makes no difference for this guide, other than files ending in .ts/.tsx vs .js/.jsx.

Now we’ll open up our brand new project in a code editor. I’m using VS Code for this example, and if you are too, then you can run these commands:

cd easy-react-themes
code .
Not much to look at yet, but we’ll change that!

Running npm start next starts your development server, and produces this in a new browser window:

And, finally, go ahead and install the use-local-storage package with:

npm i use-local-storage

And that’s it for the initial setup of the project!

Code setup

Open the App.tsx file and get rid of the stuff we don’t need.

We want to go from this…
…to this.

Delete the entire content in App.css:

Woot! Now let’s create our themes! Open up the index.css file and add this to it:

:root {
  --background: white;
  --text-primary: black;
  --text-secondary: royalblue;
  --accent: purple;
}
[data-theme='dark'] {
  --background: black;
  --text-primary: white;
  --text-secondary: grey;
  --accent: darkred;
}

Here’s what we have so far:

See what we just did there? If you’re unfamiliar with CSS Custom Properties (as also known as CSS variables), they allow us to define a value to be used elsewhere in our stylesheets, with the pattern being --key: value. In this case, we’re only defining a few colors and applying them to the :root element so they can be used be used wherever else we need them across the whole React project.

The second part, starting with [data-theme='dark'], is where things get interesting. HTML (and JSX, which we’re using to create HTML in React) allows us to set completely arbitrary properties for our HTML elements with the data-* attribute. In this case, we are giving the outermost

element of our application a data-theme attribute and toggling its value between light and dark. When it’s dark, the CSS[data-theme='dark'] section overrides the variables we defined in the :root, so any styling which relies on those variables is toggled as well.

Let’s put that into practice. Back in App.tsx, let’s give React a way to track the theme state. We’d normally use something like useState for local state, or Redux for global state management, but we also want the user’s theme selection to stick around if they leave our app and come back later. While we could use Redux and redux-persist, that’s way overkill for our needs.

Instead, we’re using the useLocalStorage hook we installed earlier. It gives us a way to store things in local storage, as you might expect, but as a React hook, it maintains stateful knowledge of what it’s doing with localStorage, making our lives easy.

Some of you might be thinking “Oh no, what if the page renders before our JavaScript checks in with localStorage and we get the dreaded “flash of wrong theme?” But you don’t have to worry about that here since our React app is completely rendered client-side; the initial HTML file is basically a skeleton with a with a single

that React attaches the app to. All of the final HTML elements are generated by JavaScript after checking localStorage.

So, first, import the hook at the top of App.tsx with:

import useLocalStorage from 'use-local-storage'

Then, inside our App component, we use it with:

const defaultDark = window.matchMedia('(prefers-color-scheme: dark)').matches;
const [theme, setTheme] = useLocalStorage('theme', defaultDark ? 'dark' : 'light');

This does a few things for us. First, we’re checking if the user has set a theme preference in their browser settings. Then we’re creating a stateful theme variable that is tied to localStorage and the setTheme function to update theme. useLocalStorage adds a key:value pair to localStorage if it doesn’t already exist, which defaults to theme: "light", unless our matchMedia check comes back as true, in which case it’s theme: "dark". That way, we’re gracefully handling both possibilities of keeping the theme settings for a returning user, or respecting their browser settings by default if we’re working with new users.

Next, we add a tiny bit of content to the App component so we have some elements to style, along with a button and function to actually allow us to toggle the theme.

The finished App.tsx file

The secret sauce is on line 14 where we’ve added data-theme={theme} to our top-level

. Now, by switching the value of theme, we are choosing whether or not to override the CSS variables in :root with the ones in the data-mode='dark' section of the index.css file.

The last thing we need to do is add some styling that uses those CSS variables we made earlier, and it’ll up and running! Open App.css and drop this CSS in there:

.App {
  color: var(--text-primary);
  background-color: var(--background);
  font-size: large;
  font-weight: bold;
  padding: 20px;
  height: calc(100vh - 40px);
  transition: all .5s;
}
button {
  color: var(--text-primary);
  background-color: var(--background);
  border: 2px var(--text-primary) solid;
  float: right;
  transition: all .5s;
}

Now the background and text for the main

, and the background, text, and outline of the
Categories: Designing, Others Tags: