Continuous Integration: The What, Why and How
Not long ago, I had a novice understanding of Continuous Integration (CI) and thought it seemed like an extra process that forces engineers to do extra work on already large projects. My team began to implement CI into projects and, after some hands-on experience, I realized its great benefits, not only to the company, but to me, an engineer! In this post, I will describe CI, the benefits I’ve discovered, and how to implement it for free, and fast.
CI and Continuous Delivery (CD) are usually discussed together. Writing about both CI and CD within a post is a lot to write and read about all at once, so we’ll only discuss CI here. Maybe, I will cover CD in a future post. ?
Table of Contents:
- What is CI?
- Why CI should be used everywhere
- No excuses, use CI
- What problems does CI solve?
- Recommended CI tools
- High level CI setup
- Summary
What is CI?
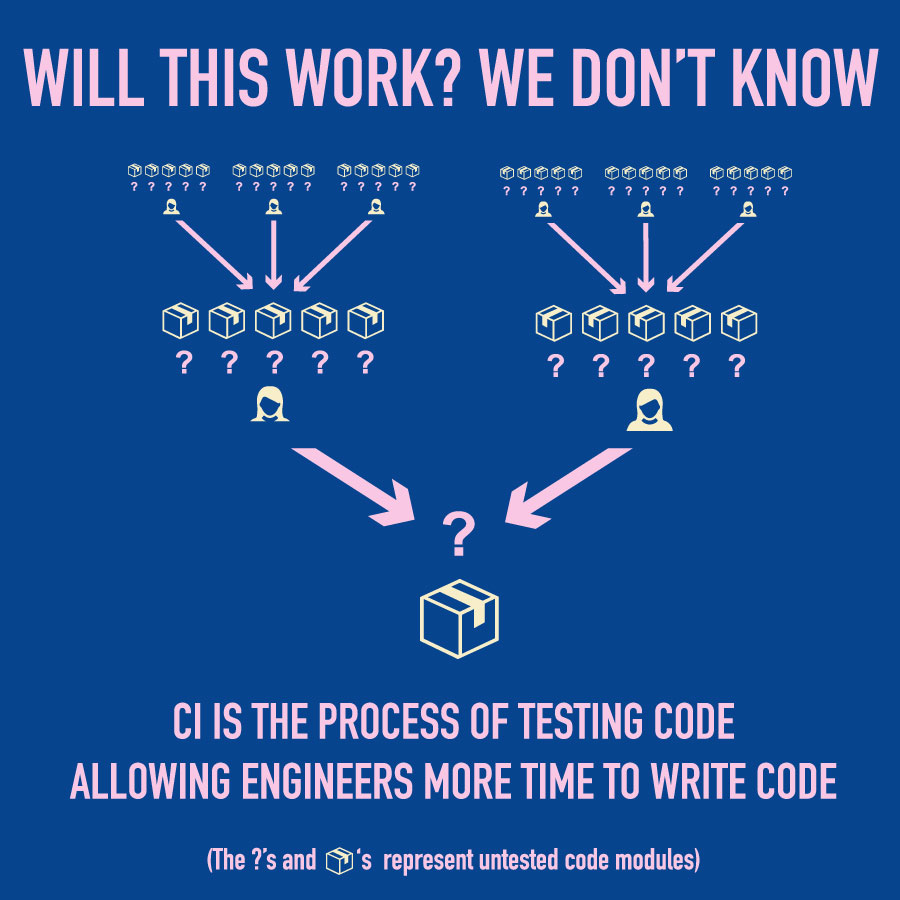
Continuous Integration, as I understand it, is a pattern of programming combining testing, safety checks, and development practices to confidently push code from a development branch to production ready branch continuously.
Microsoft Word is an example of CI. Words are written into the program and checked against spelling and grammar algorithms to assert a document’s general readability and spelling.
Why CI should be used everywhere
We’ve already touched on this a bit, but the biggest benefit of CI that I see is that it saves a lot of money by making engineers more productive. Specifically, it provides quicker feedback loops, easier integration, and it reduces bottlenecks. Directly correlating CI to company savings is hard because SaaS costs scale as the user base changes. So, if a developer wants to sell CI to the business, the formula below can be utilized. Curious just how much it can save? My friend, David Inoa, created the following demo to help calculate the savings.
See the Pen Continuous Integration (CI) Company Cost Savings Estimator by David (@davidinoa) on CodePen.
What really excites enough to scream to the top of the rooftops is how CI can benefit you and me as developers!
For starters, CI will save you time. How much? We’re talking hours per week. How? Oh, do I want to tell you! CI automatically tests your code and lets you know if it is okay to be merged in a branch that goes to production. The amount of time that you would spend testing your code and working with others to get code ready for production is a lot of time.
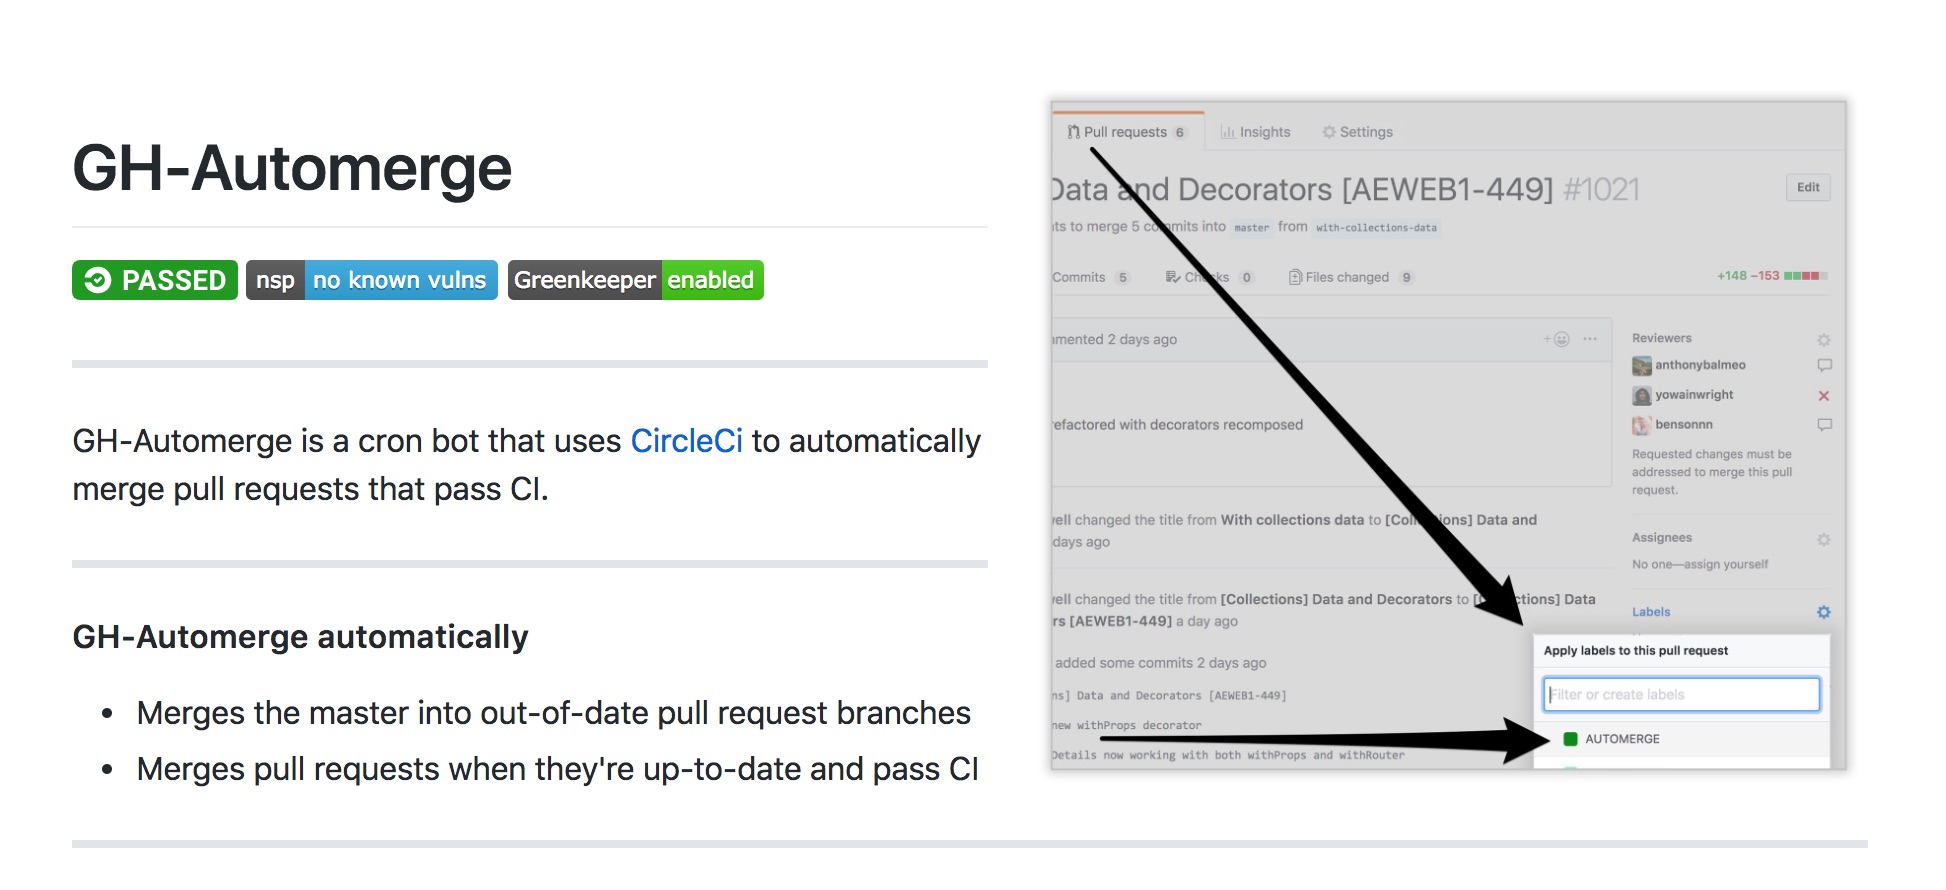
Then there’s the way it helps prevent code fatigue. It sports tools like Greenkeeper, which can automatically set up — and even merge — pull requests following a code review. This keeps code up-to-date and allows developers to focus on what we really need to do. You know, like writing code or living life. Code updates within packages usually only need to be reviewed for major version updates, so there’s less need to track every minor release for breaking changes that require action.

No excuses, use CI!
When talking to developers, the conversation usually winds up something like:
“I would use CI but…[insert excuse].”
To me, that’s a cop out! CI can be free. It can also be easy. It’s true that the benefits of CI come with some costs, including monthly fees for tools like CircleCI or Greenkeeper. But that’s a drop in the bucket with the long-term savings it provides. It’s also true that it will take time to set things up. But it’s worth calling out that the power of CI can be used for free on open source projects. If you need or want to keep your code private and don’t want pay for CI tools, then you really can build your own CI setup with a few great npm packages.
So, enough with the excuses and behold the power of CI!
What problems does CI solve?
Before digging in much further, we should cover the use cases for CI. It solves a lot of issues and comes in handy in many situations:
- When more than one developer wants to merge into a production branch at once
- When mistakes are not caught or cannot be fixed before deployment
- When dependencies are out of date
- When developers have to wait extended periods of time to merge code
- When packages are dependent on other packages
- When a package is updated and must be changed in multiple place

Recommended CI tools
Let’s look at the high level parts used to create a CI feedback loop with some quick code bits to get CI setup for any open source project today. We’ll break this down into digestible chunks.
Documentation
In order to get CI working for me right away, I usually set CI up to test my initial documentation for a project. Specifically, I use MarkdownLint and Write Good because they provide all the features and functionality I need to write tests for this part of the project.
The great news is that GitHub provides standard templates and there is a lot of content that can be copied to get documentation setup quickly. about quickly setting up documentation and creating a documentation feedback loop.
I keep a package.json file at the root of the project and run a script command like this:
"grammar": "write-good *.md --no-passive",
"markdownlint": "markdownlint *.md"
Those two lines allow me to start using CI. That’s it! I can now run CI to test grammar.
At this point, I can move onto setting up CircleCI and Greenkeeper to help me make sure that packages are up to date. We’ll get to that in just a bit.
Unit testing
Unit tests are a method for testing small blocks (units) of code to ensure that the expected behavior of that block works as intended.
Unit tests provide a lot of help with CI. They define code quality and provide developers with feedback without having to push/merge/host code. about unit tests and quickly setting a unit test feedback loop.
Here is an example of a very basic unit test without using a library:
const addsOne = (num) => num + 1 // We start with 1 as an initial value
  const numPlus1 = addsOne(3) // Function to add 3
  const stringNumPlus1 = addsOne('3') // Add the two functions, expect 4 as the value

  /**
    * console.assert
    * https://developer.mozilla.org/en-US/docs/Web/API/console/assert
    * @param test?
    * @param string
    * @returns string if the test fails
    **/

  console.assert(numPlus1 === 4, 'The variable `numPlus1` is not 4!')
  console.assert(stringNumPlus1 === 4, 'The variable `stringNumPlus1` is not 4!')
Over time, it is nice to use libraries like Jest to unit test code, but this example gives you an idea of what we’re looking at.
Here’s an example of the same test above using Jest:
const addsOne = (num) => num + 1

describe('addsOne', () => {
  it('adds a number', () => {
    const numPlus1 = addsOne(3)
    expect(numPlus1).toEqual(4)
  })
  it('will not add a string', () => {
    const stringNumPlus1 = addsOne('3')
    expect(stringNumPlus1 === 4).toBeFalsy();
  })
})
Using Jest, tests can be hooked up for CI with a command in a package.json like this:
"test:jest": "jest --coverage",The flag --coverage configures Jest to report test coverage.
Safety checks
Safety checks help communicate code and code quality. Documentation, document templates, linter, spell checkers, and type checker are all safety checks. These tools can be automated to run during commits, in development, during CI, or even in a code editor.
Safety checks fall into more than one category of CI: feedback loop and testing. I’ve compiled a list of the types of safety checked I typically bake into a project.
All of these checks may seem like another layer of code abstraction or learning, so be gentle on yourself and others if this feels overwhelming. These tools have helped my own team bridge experience gaps, define shareable team patterns, and assist developers when they’re confused about what their code is doing.
- Committing, merging, communicating: Tools like husky, commitizen, GitHub Templates, and Changelogs help keep CI running clean code and form a nice workflow for a collaborative team environment.
- Defining code (type checkers): Tools like TypeScript define and communicate code interfaces — not only types!
- Linting: This is the practice of ensuring that something matches defined standards and patterns. There’s a linter for nearly all programming languages and you’ve probably worked with common ones, like ESlint (JavaScript) and Stylelint (CSS) in other projects.
- Writing and commenting: Write Good helps catch grammar errors in documentation. Tools like JSDoc, Doctrine, and TypeDoc assist in writing documentation and add useful hints in code editors. Both can compile into markdown documentation.
ESlint is a good example for how any of these types of tools are implemented in CI. For example, this is all that’s needed in package.json to lint JavaScript:
"eslint": "eslint ."Obviously, there are many options that allow you to configure a linter to conform to you and your team’s coding standards, but you can see how practical it can be to set up.
High level CI setup
Getting CI started for a repository often takes very little time, yet there are plenty of advanced configurations we can also put to use, if needed. Let’s look at a quick setup and then move into a more advanced configuration. Even the most basic setup is beneficial for saving time and code quality!
Two features that can save developers hours per week with simple CI are automatic dependency updates and build testing. Dependency updates are written about in more detail here.
Build testing refers to node_modules installation during CI by running an install — for example, (npm install where all node_modules install as expected. This is a simple task and does fail. Ensuring that node_modules installs as expected saves considerable time!
Quick CI Setup
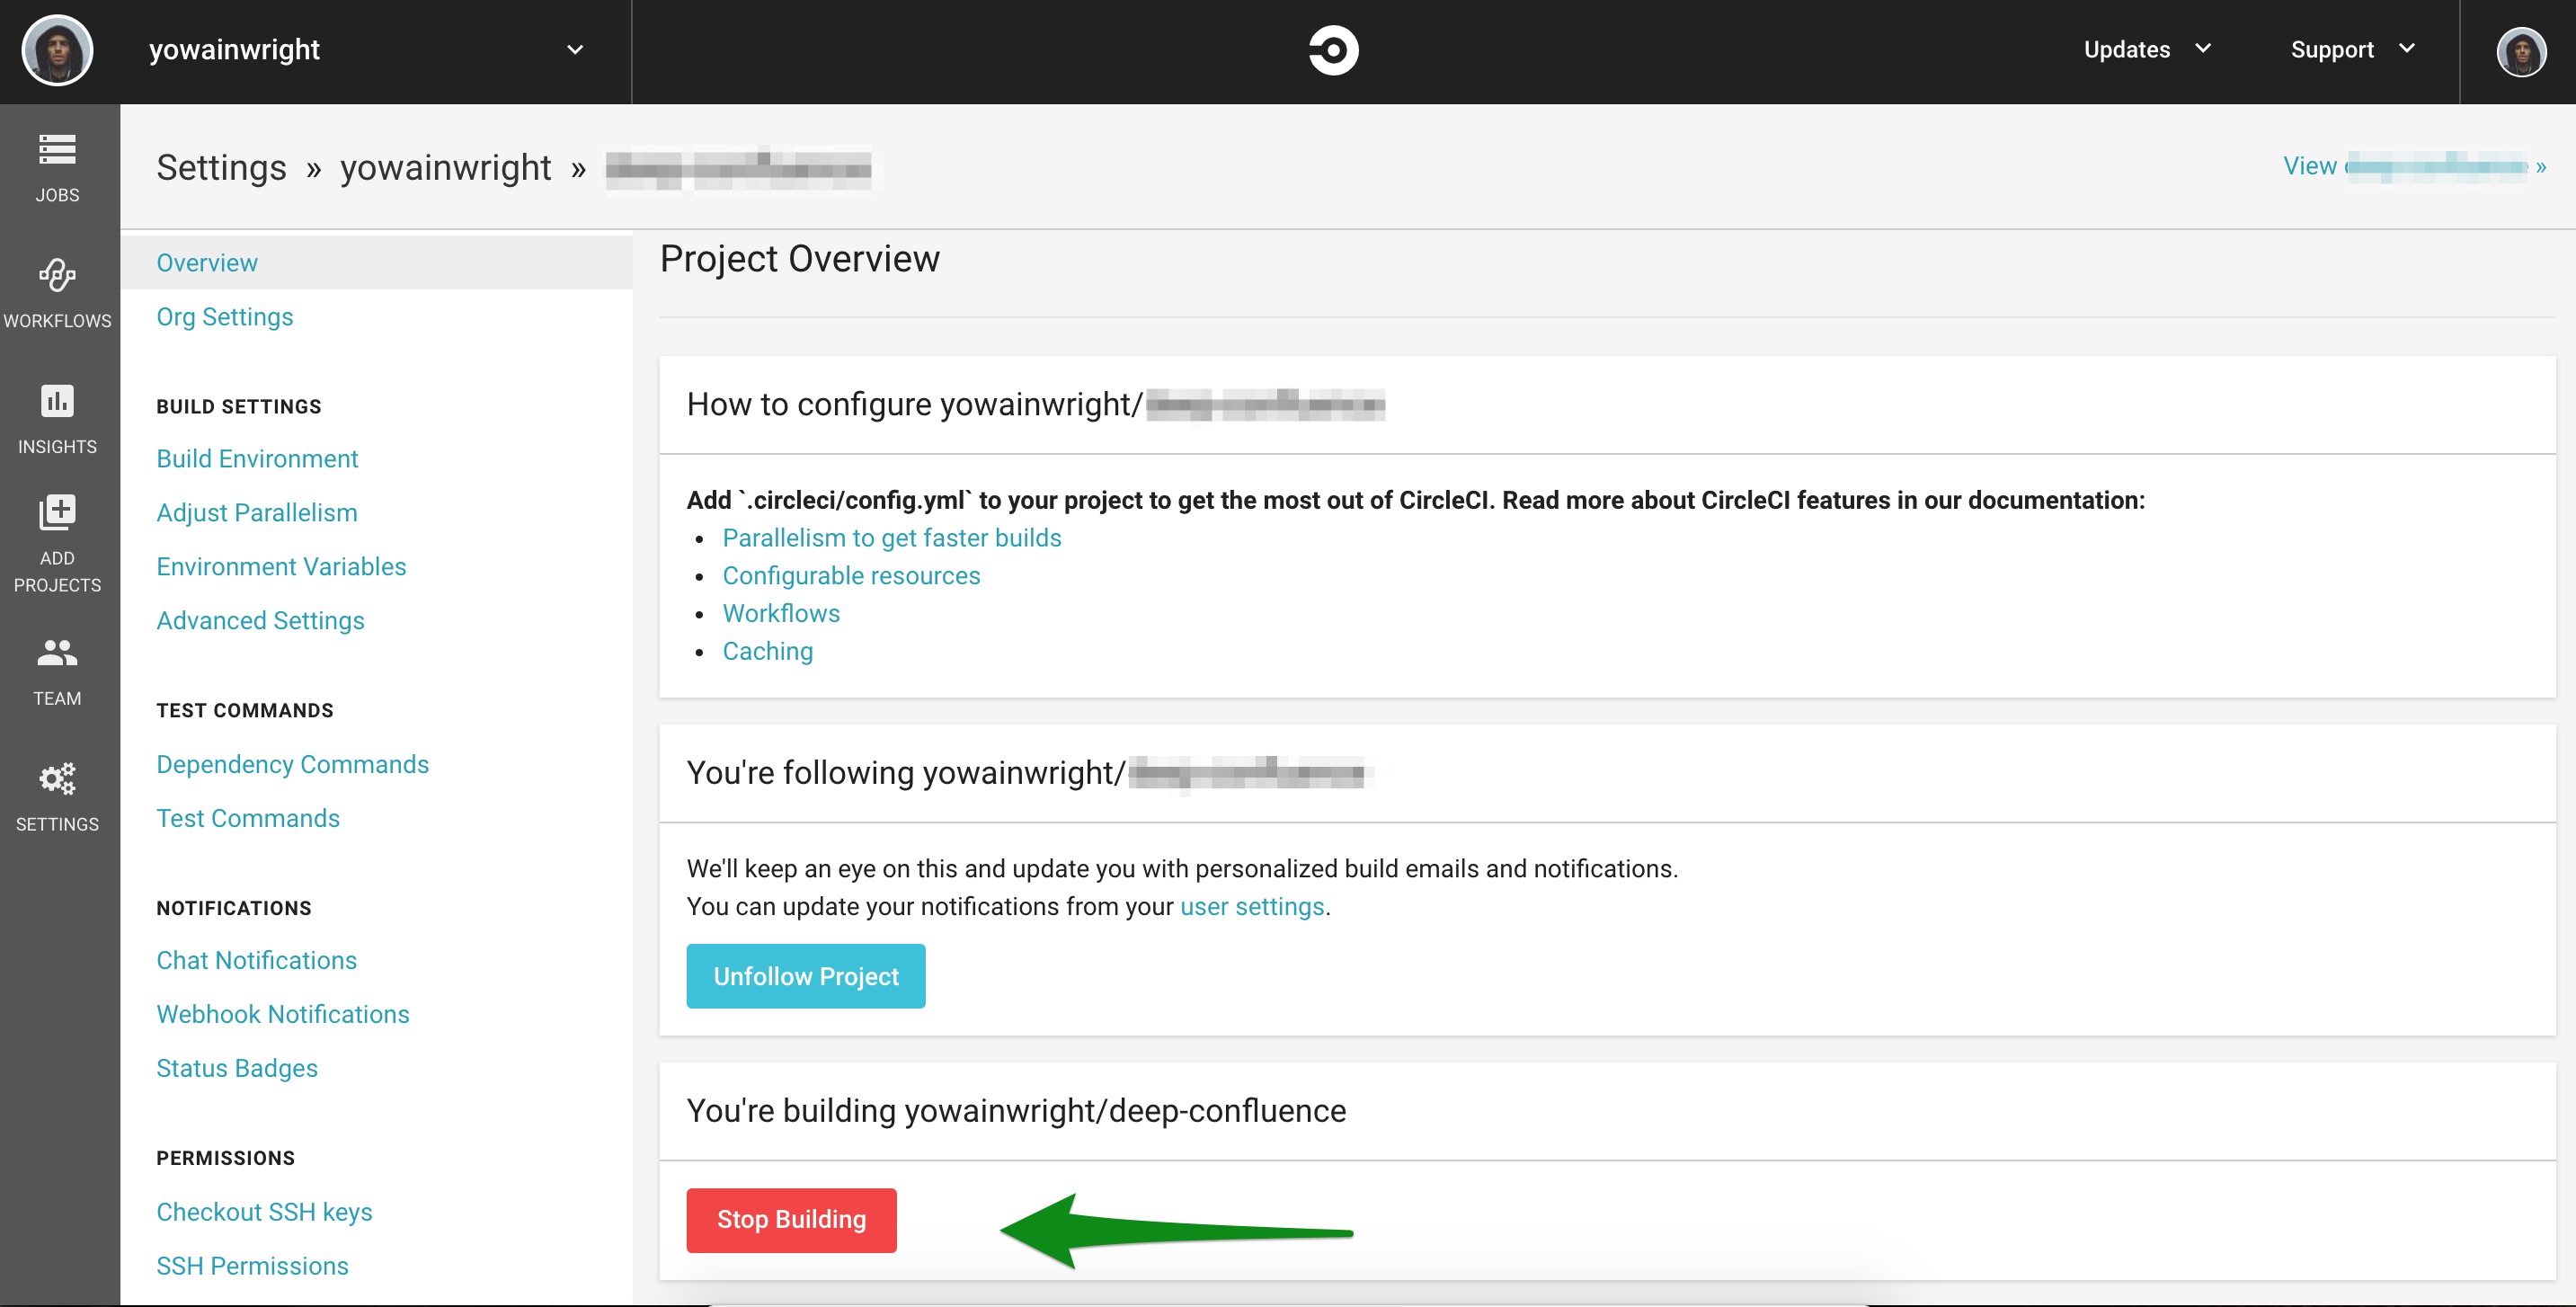
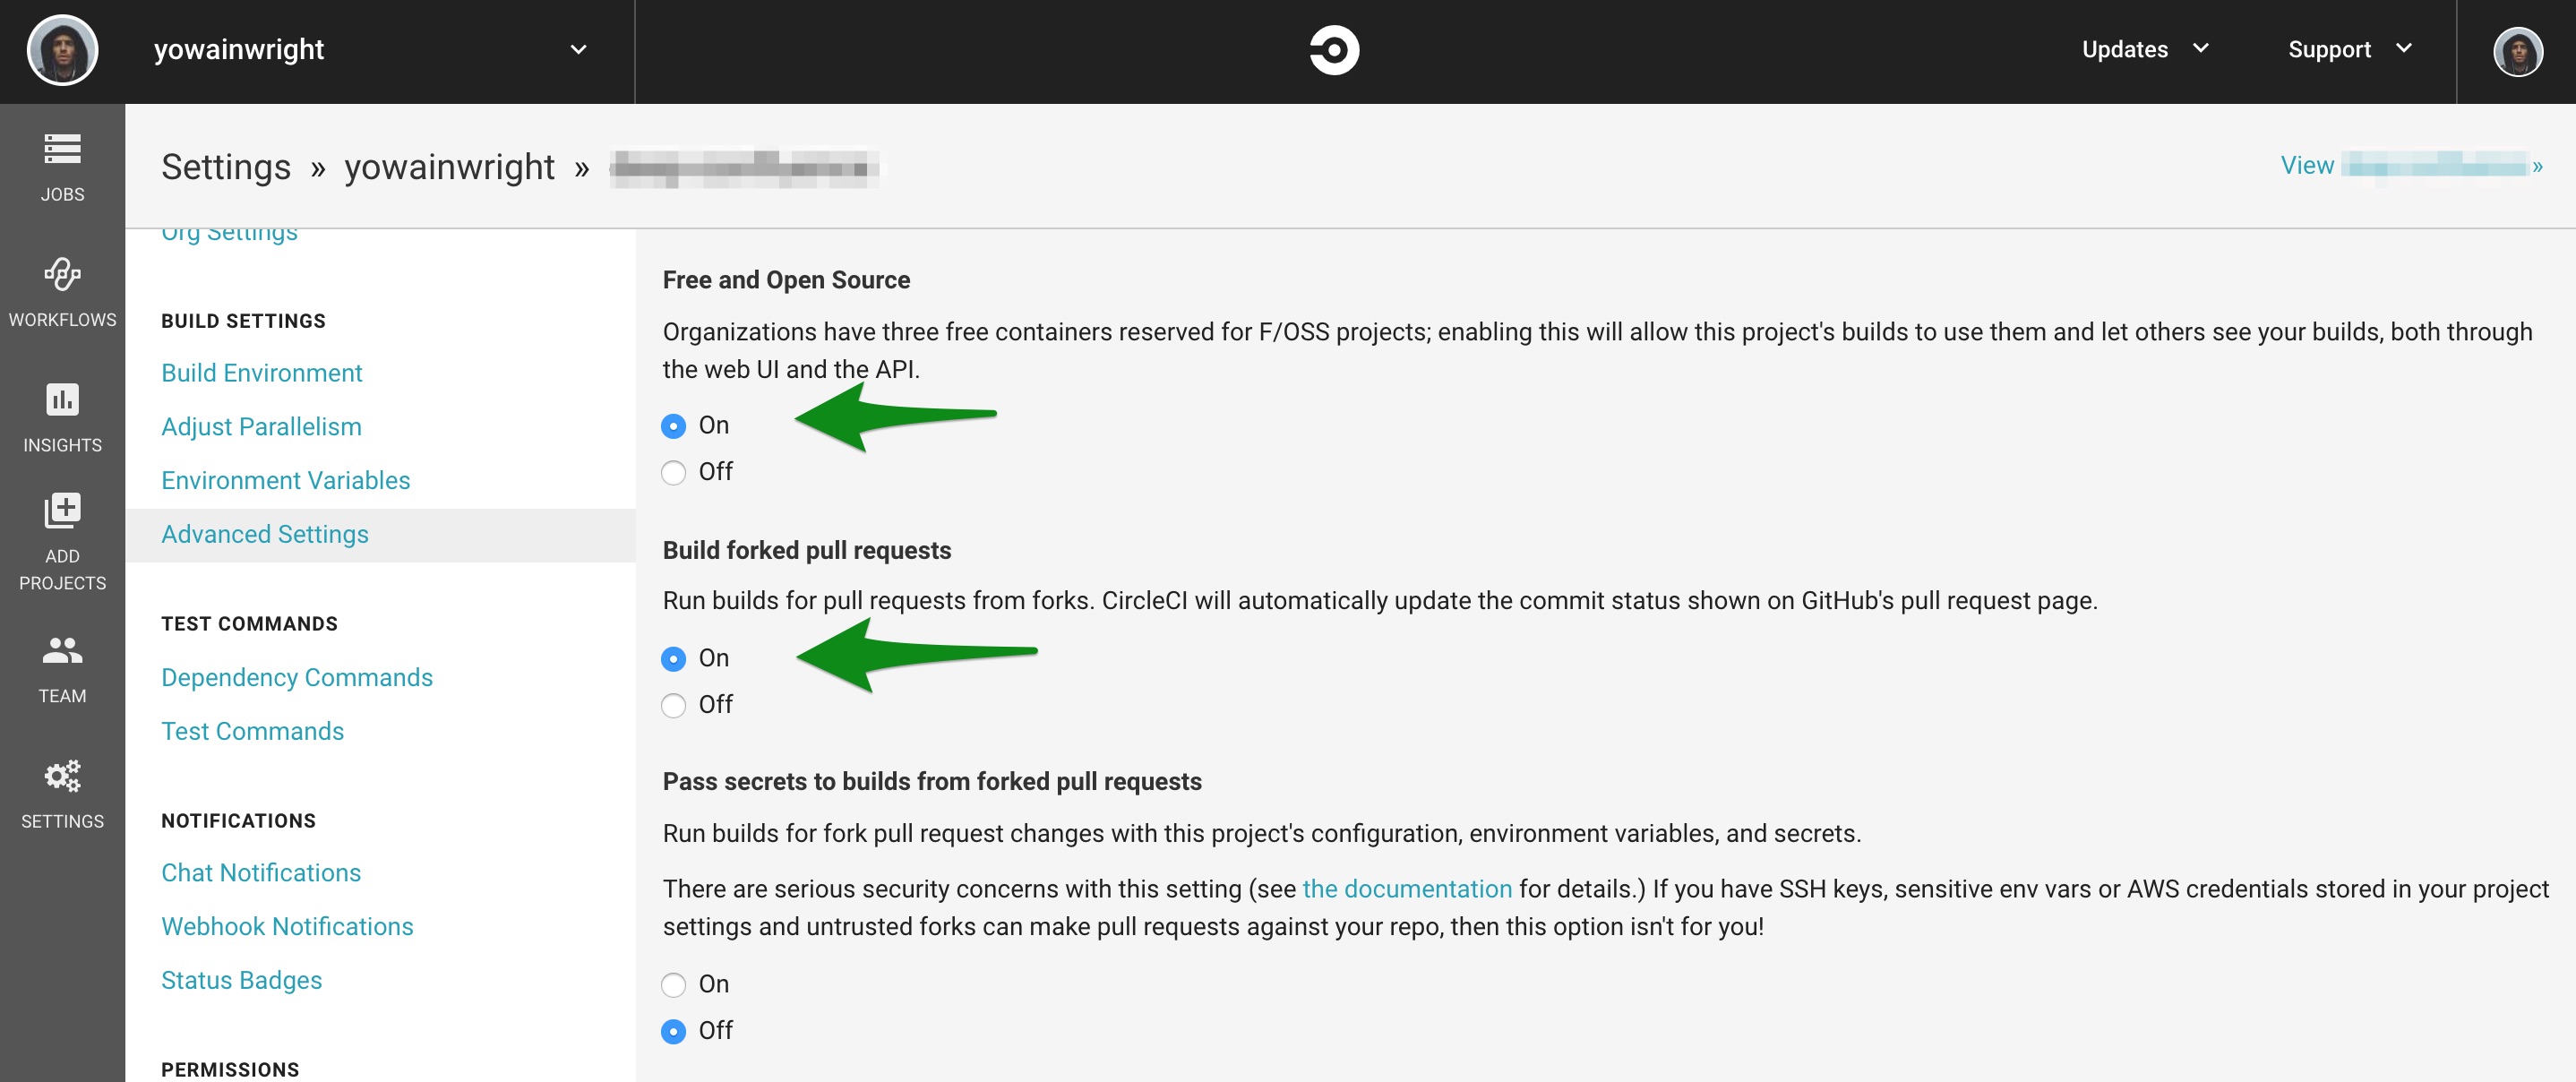
CI can be setup automatically for both CircleCI and Travis! If a valid test command is already defined in the repository’s package.json, then CI can be implemented without any more configuration.
In a CI tool, like CircleCI or Travis, the repository can be searched for after logging in or authentication. From there, follow the CI tool’s UI to start testing.

For JavaScript, CircleCI will look at test within a repository’s package.json to see if a valid test script is added. If it is, then CircleCI will begin running CI automatically! Read more about setting up CircleCI automatically here.

Advanced configurations
If unit tests are unfinished, or if a more configuration is needed, a .yml file can be added for a CI tool (like CircleCI) where the execute runner scripts are made.
Below is how to set up a custom CircleCI configuration with JavaScript linting (again, using ESlint as an example) for a CircleCI.
First off, run this command:
mkdir .circleci && touch .circleci/config.ymlThen add the following to generated file:
defaults: &defaults
  working_directory: ~/code
  docker:
    - image: circleci/node:10
  environment:
  NPM_CONFIG_LOGLEVEL: error # make npm commands less noisy
  JOBS: max <h3>https://gist.github.com/ralphtheninja/f7c45bdee00784b41fed
    version: 2
    jobs:
    build:
      <<: *defaults
      steps:
        - checkout
        - run: npm i
        - run: npm run eslint:ci
After these steps are completed and after CircleCI has been configured in GitHub (more on that here), CircleCI will pick up .circleci/config.yml and lint JavaScript in a CI process when a pull request is submitted.

I created a folder with examples in this demo repository to show ideas for configuring CI with config.yml filesand you can reference it for your own project or use the files as a starting point.

The are more even more CI tools that can be setup to help save developers more time, like auto-merging, auto-updating, monitoring, and much more!


Summary
We covered a lot here! To sum things up, setting up CI is very doable and can even be free of cost. With additional tooling (both paid and open source), we can have more time to code, and more time to write more tests for CI — or enjoy more life away from the screen!
Here are some demo repositories to help developers get setup fast or learn. Please feel free to reach out within the repositories with questions, ideas or improvements.
- Developer CI Benefits Repository
- Developer CI Benefits Demo
- Developer CI Benefits Demo Dependent
- Jonathan Ong’s CI Workshop
The post Continuous Integration: The What, Why and How appeared first on CSS-Tricks.