How to Skew a Circular Symbol in Illustrator
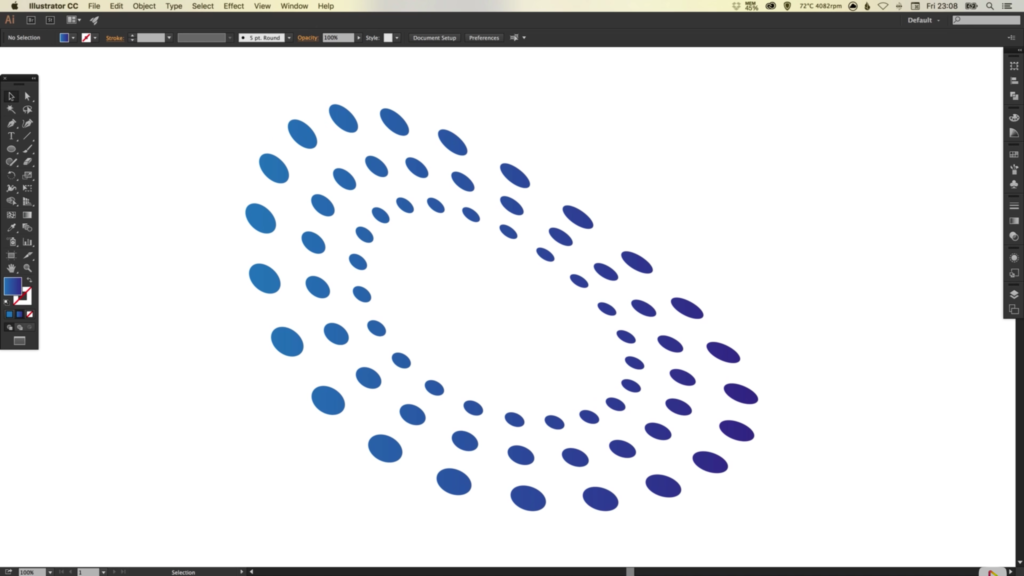
In this tutorial, we’re going to learn how to draw and skew a circular symbol in Adobe Illustrator.
The Steps (1-11)
1. Create a New Document.
2. Select the Ellipse Tool, Left-click and hold Shift to draw a circle. Remove any Fill and apply a Stroke width of your choice. For this tutorial, I’ve used a Stroke Width of 30 pixels, and given the colour black #000000.
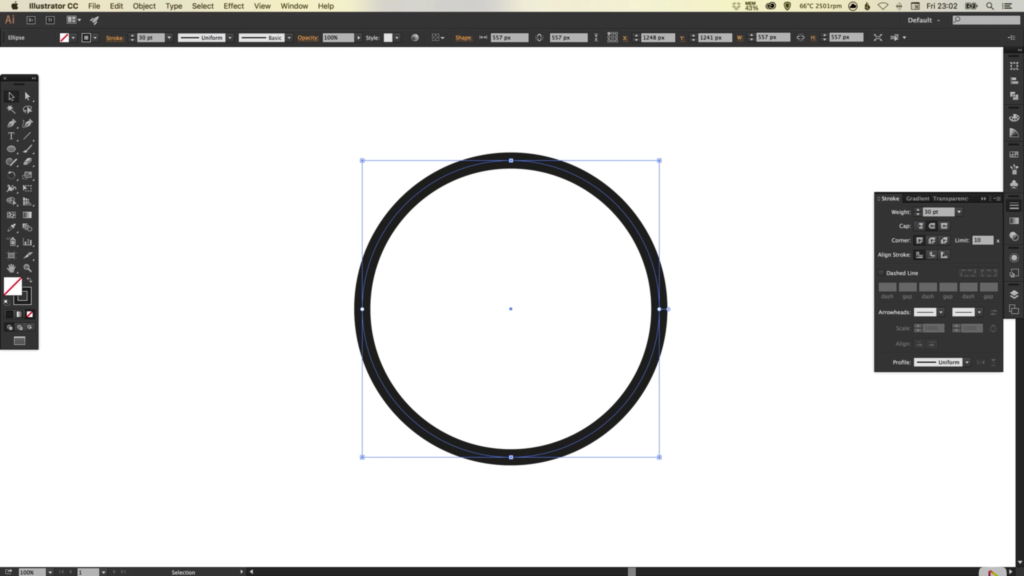
3. In the Stroke Palette, select the box labeled Dashed Line, select 0 for the Dash, and approximately 65 for the Gap. Also select Round as the Cap. If done correctly, you should now have a circle made up of a dotted stroke.
4. Once you are happy with the size and spacing of your dotted stroke, go to Object > Expand, and click OK.
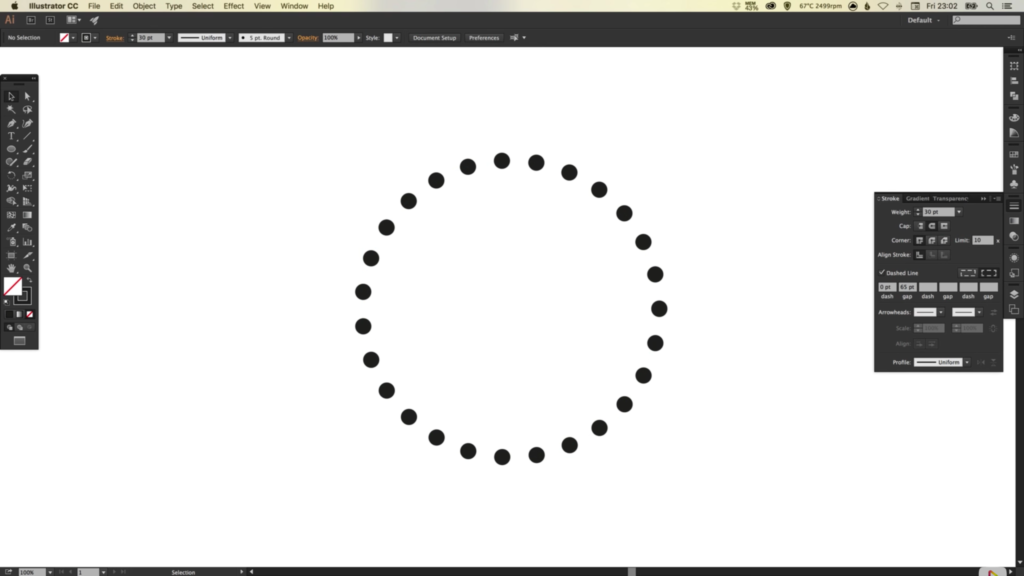
5. Left-click on the circle, and holding Alt + Shift, scale up from the centre and also create a larger copy of the dotted circle.
6. Repeat Step 5 as many times as you like, depending on the number of rings you wish to include in your design.
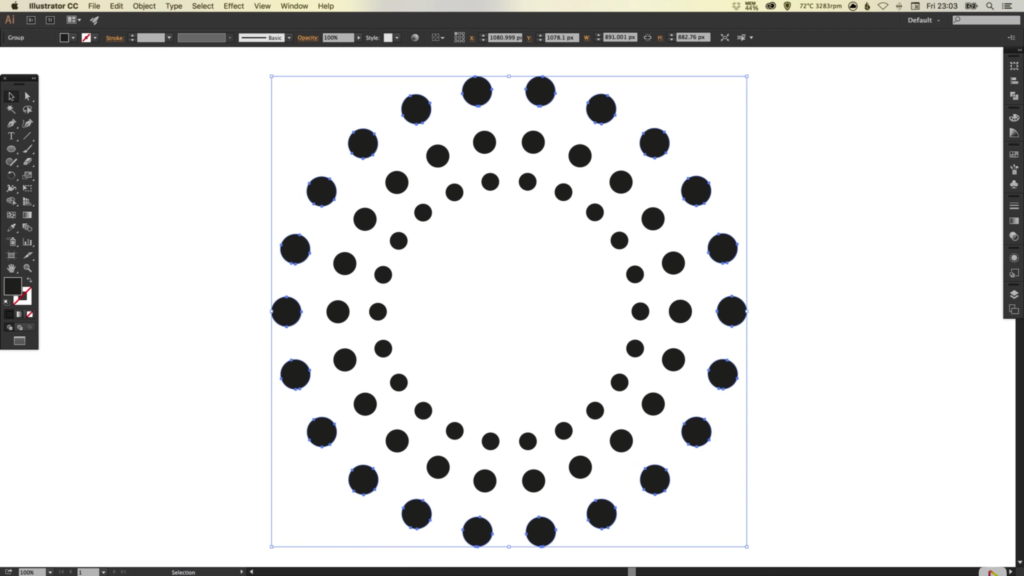
7. Drag over all shapes with your mouse to select everything on the artboard, and Left-click in the Gradient Palette to apply the default black/white gradient.
8. Next, select two colours of your choice, and drag each of the these colours in turn, to either end of the Gradient Slider. Each of the circles that make up your design should now have a gradient individually applied to them, with the two colours that you selected.
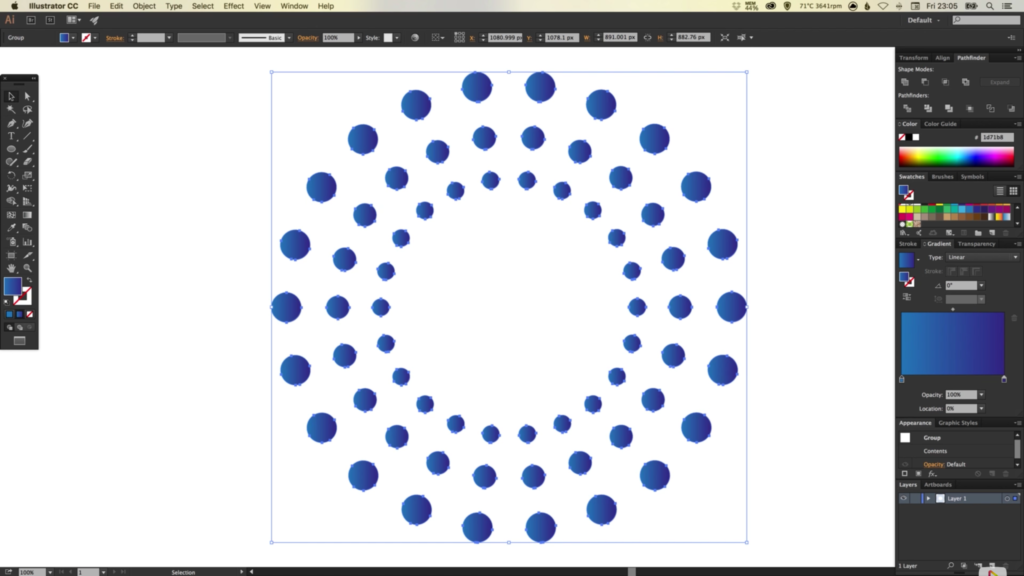
9. To make the gradient flow through the entire shape as a whole (rather than each circle individually), go to Object > Compound Path, and select Make.
10. Lastly, to distort the shape, go to Effect > Distort, and select Free Distort. Adjust the anchor points in the preview box until you are happy and click OK.
11. To edit the distorted shape, select the Free Distort effect listed in the Appearance Palette.
Read More at How to Skew a Circular Symbol in Illustrator
