634 Icons for Adobe Muse – Font Awesome Icon Set
634 Font Awesome Icons for Adobe Muse. No Coding Skills Required.

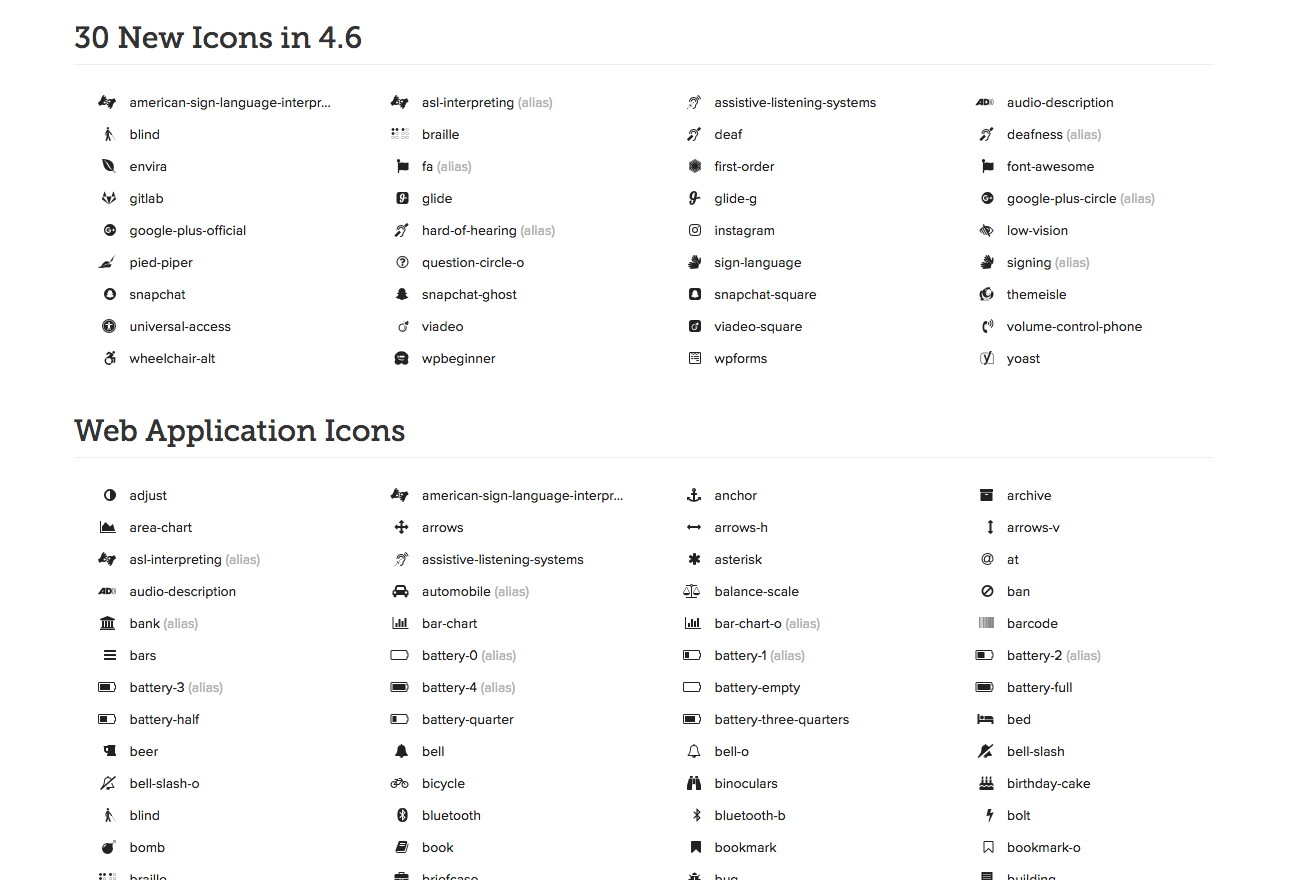
Icons are an essential part of any website. They can lead you to social media, represent an idea, or add more style to your website. One of the most known icons for web designers is the “Font Awesome” icon set. They are by Dave Gandy and are completely free. There are a total of 634 icons in the icon set. There is an icon for just about any topic you can think of, and the set also includes social media icons.

What’s great about this icon set is that you can download it as a font and install directly into Adobe Muse. It takes less than 5 minutes and you can instantly have access to 634 “Font Awesome” icons for your Adobe Muse website.

Here are the steps to install the icons into Adobe Muse:
1. Download the font from http://fontawesome.io/get-started/
2. Unzip the zip file and install the font onto your computer.
3. Go into Adobe Muse and select File—>Add/Remove Web Fonts…
4. Select “Self Hosted Fonts,” and click on “+Add Fonts.”
5. Drag and Drop the .woff, .eot, and svg files from the “Font Awesome” fonts folder.
6. After a few notices the font is installed into Adobe Muse.
7. Create a text box in Adobe Muse and then access the icons from the “Glyphs” panel. If you do not see the Glyphs panel go to Library—>Glyphs.
8. Done!
It’s that easy. You now have access to 634 icons that you can use for your Adobe Muse website. The icons work similar to fonts so you can change the color of the icons and make them any size you’d like.
In the video above I go over how to install the “Font Awesome” icon set and then where to access in Adobe Muse.
For more video tutorials and widgets for Adobe Muse visit http://museforyoushop.com.
Happy Musing :).
Read More at 634 Icons for Adobe Muse – Font Awesome Icon Set
